how to make candle flowers
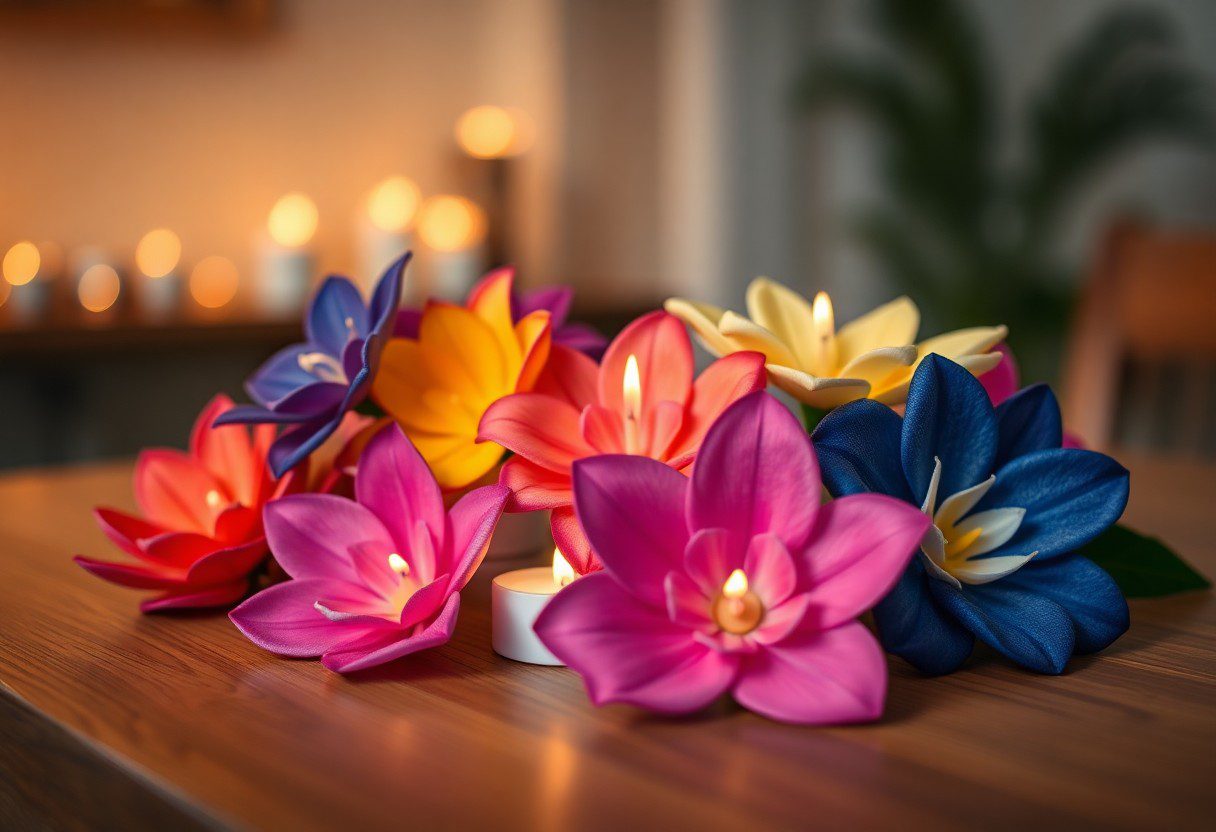
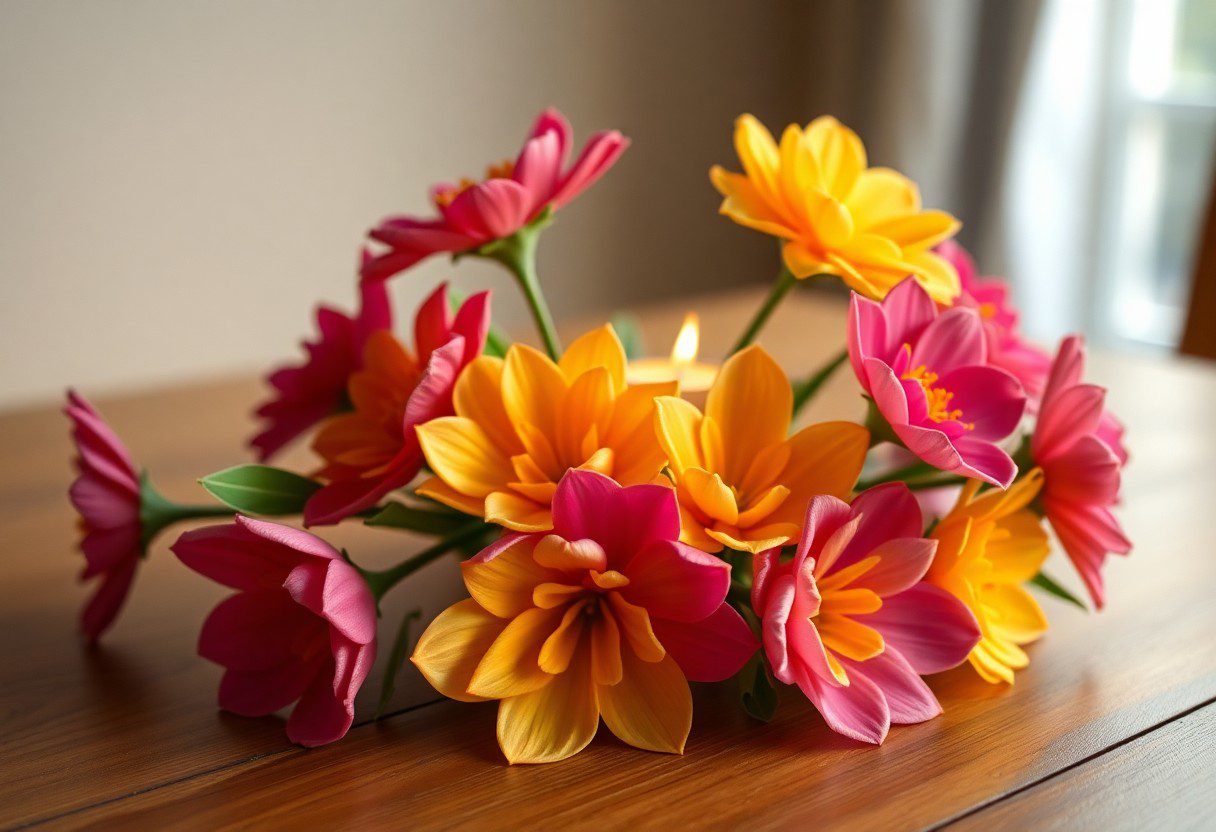
Many people enjoy the calming and creative process of crafting their own decorative elements, and making candle flowers is a delightful addition to your DIY repertoire. By following a few simple steps, you can transform wax into stunning floral shapes that not only brighten up your space but also fill the air with pleasant aromas. Ensure that you pay attention to safety, as hot wax can cause burns, and take necessary precautions while working with flame and heat. With the right materials and techniques, you’ll create beautiful candle flowers that will impress everyone.
Materials Needed
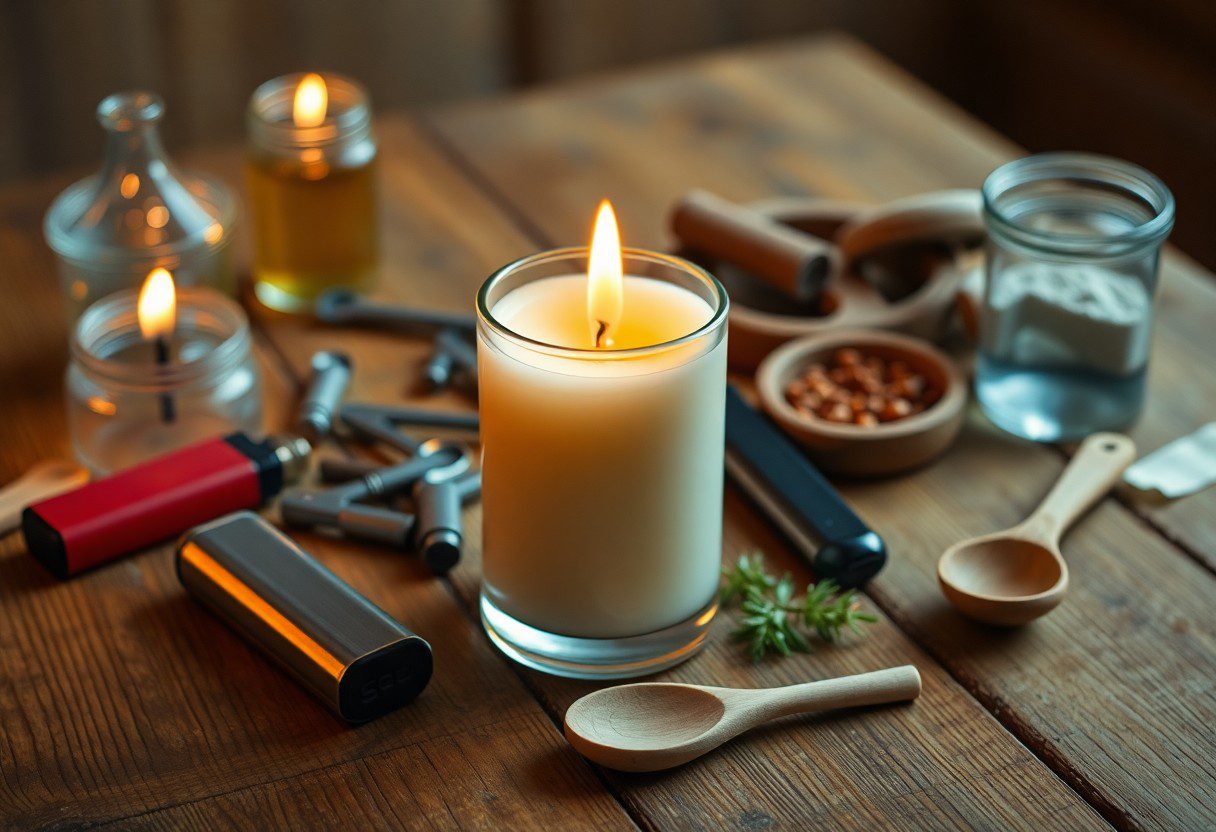
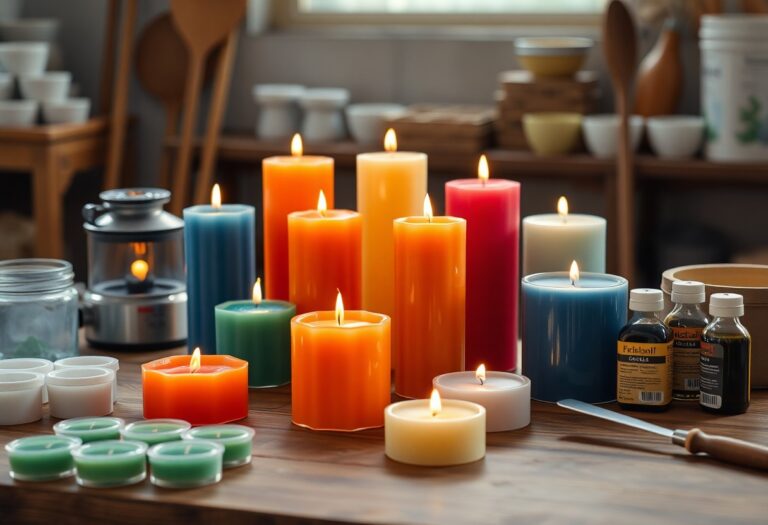
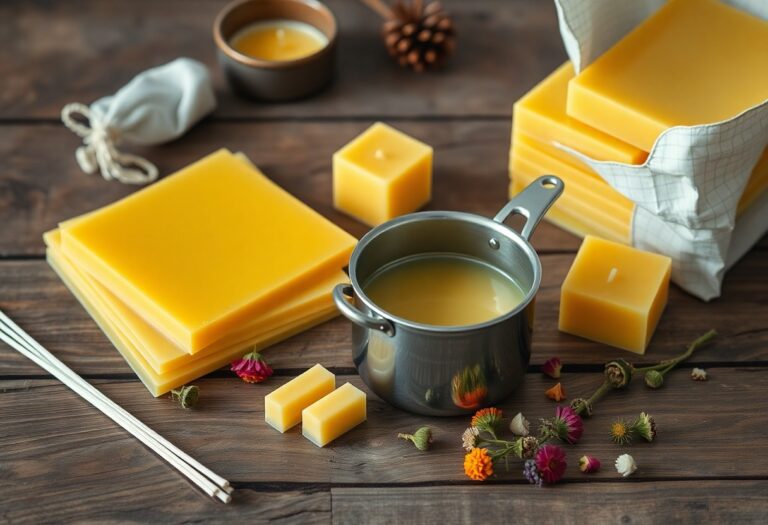
Your journey to creating beautiful candle flowers begins with gathering the right materials. You’ll need specific items to ensure your projects are successful and safe. Here’s a breakdown of what you’ll require:
| Item | Description |
| Candle wax | Your primary medium for making candle flowers |
| Wicks | Essential for the candles to burn properly |
| Colorants | To add vibrancy to your candle flowers |
| Fragrances | Enhances the sensory appeal of your candles |
| Containers | Acts as the base for your candle flowers |
Wax Types
For creating your candle flowers, you can choose from various types of wax. Each type has unique properties that affect the final look and performance of your candles:
- Paraffin wax – Widely available and affordable
- Beeswax – Natural and has a lovely scent
- Soy wax – Eco-friendly and burns clean
- Palm wax – Produces unique textures
- Gel wax – Great for clear and decorative effects
The choice of wax influences the visual and functional characteristics of your candle flowers.
Wick Selection
Across all candle-making projects, proper wick selection is important for optimal burning. The wick diameter and type should match the wax and container size.
At this stage, consider the size and material of your wick. For example, cotton wicks offer a steady burn, while wooden wicks impart a unique ambiance. Ensure that the wick is appropriately sized for your candle’s diameter—too small may drown in wax, while too large could lead to excessive smoke. Always perform a burn test to find the right wick for your crafted flowers.
Colorants and Fragrances
Across your candle project, using colorants and fragrances can transform basic wax into vibrant flower replicas. The right shades and scents can evoke emotions and set a particular mood.
It’s important to use high-quality colorants specifically designed for candles to ensure even distribution and strong color retention. Similarly, choose skin-safe fragrances if you’ll be using your candles in enclosed spaces. Properly balancing color and scent enhances your candle’s aesthetic and olfactory appeal, making them delightful additions to any room.
Tools Required
Any candle-making endeavor, including crafting candle flowers, requires specific tools to ensure a successful outcome. You’ll need melting equipment, molds to shape your creations, safety gear to protect yourself during the process, and a few basic supplies like wicks and fragrances. Having these tools on hand will make your experience smoother and more enjoyable.
Melting Equipment
An vital part of making candle flowers involves melting your wax. You will need a double boiler or a melting pot to effectively heat the wax without burning it. Using a thermometer can help you monitor the temperature, ensuring the wax is melted to the correct degree before pouring into your molds.
Molds and Shapes
On your journey to creating beautiful candle flowers, selecting the right molds is important. You can choose from various molds, such as silicone, metal, or plastic, depending on the intricate designs you desire. Each material has unique properties that affect the final product’s finish and ease of use.
Considering the mold shapes is vital for achieving the aesthetic you want. Silicone molds allow for intricate detailing and are easy to release, while metal molds provide a more classic finish but may require additional preparation. Evaluate the design complexity you aim for, and select molds that align with your vision for the candle flowers.
Safety Gear
Molds are not the only vital tools; wearing safety gear is necessary for safe candle-making. You should have gloves, goggles, and an apron to protect yourself from potential spills and hot wax splashes. Proper safety equipment helps ensure you have a fun and safe crafting experience.
Consequently, investing in quality safety gear is wise. The hot wax can cause burns, and wearing protective gloves not only shields your skin but also ensures a better grip while working with potentially slippery materials. Prioritizing your safety will enhance your confidence and enjoyment during the candle flower-making process.
Preparing the Workspace
Unlike traditional candle-making, crafting candle flowers requires a bit more attention to detail in your workspace. Start by ensuring a clean and organized area, free from clutter. For guidance on incorporating dried flowers safely, refer to Can Dried Flowers Go in Candles? How to Safely Make …, which contains useful tips to avoid mishaps during the process.
Setting Up Your Area
To create the perfect environment for your candle flower project, gather all necessary materials beforehand, including candle wax, wicks, and your chosen dried flowers. Lay down a protective covering on your work surface to prevent any spills or messes, and ensure adequate lighting to help you focus on the intricate steps involved.
Safety Precautions
Workspace safety is paramount while making candle flowers. Always work in a well-ventilated area to avoid inhaling fumes from melting wax and fragrance oils. Keep flammable items away from your workspace, and use proper tools to handle hot materials. You should also wear gloves to protect your skin from any harsh chemicals or hot wax.
In fact, by following proper safety measures, you can greatly reduce the chances of accidents. Always have a fire extinguisher nearby just in case of emergencies, and never leave melting wax unattended as it can cause a fire hazard. By taking these important steps, you ensure a safe and enjoyable candle-making experience.
Step-by-Step Candle Making Process
Keep your workspace organized and gather all necessary materials before starting the candle making process. Follow this breakdown:
| Step | Description |
| 1. | Melting the wax |
| 2. | Adding color and fragrance |
| 3. | Pouring and shaping |
Melting the Wax
Process your wax by choosing the right type and cutting it into small pieces for even melting. Use a double boiler to heat it gently until completely liquid, ensuring it doesn’t scorch, which can affect fragrance and color quality.
Adding Color and Fragrance
To personalize your candle flowers, incorporate your chosen color and scent once the wax is melted. Stir thoroughly to ensure even distribution, taking care not to overheat the wax, which can alter the intended effects.
The addition of color and fragrance is vital for creating an appealing final product. Use high-quality, appropriate dyes that are specifically designed for candle making to achieve vibrant hues. Select fragrance oils that complement your color choices, keeping in mind that a little goes a long way—too much can lead to undesirable results.
Pouring and Shaping
By carefully pouring the melted wax into your candle molds, you can create unique shapes. Allow the wax to cool for a short period, then insert your wick and continue cooling until set completely.
Understanding the pouring process is vital for developing beautiful candle flowers. Aim for a steady hand when pouring to prevent splashes and air bubbles, which can compromise appearance and burn quality. Always ensure your wick is centered to support even burning and prevent uneven melting.
Creating Flower Designs
To craft beautiful flower designs, start by visualizing your desired outcome and selecting appropriate colors and wax types. Make sure to research different techniques and styles that suit your vision. For detailed guidance, check out this How To Make Pink Rose Flower Candles | DIY Make Wax …. Once you have a plan, gather your materials and tools, ensuring you have everything at hand to create stunning floral masterpieces.
Techniques for Petal Formation
On your journey to crafting intricate flower candles, focus on mastering various petal formation techniques. You can utilize molds, hand-sculpting, or layering methods to create realistic petals. Experimenting with shapes and sizes is important, as it allows you to express creativity and develop your unique style. Try combining these techniques to achieve diverse effects and bring your floral candle designs to life.
Layering for Depth and Texture
Formation of depth and texture in your candle flowers adds dimension and realism to your creations. Use varying thicknesses of wax to build layers, allowing each petal to stand out while blending harmoniously. This technique not only enhances the visual appeal but also elevates the overall design. Pay attention to the temperature of your wax; too hot can cause merging, while too cool may hinder adhesion. Always use caution with heat to avoid burns. With practice, you’ll achieve stunning layered effects that make your candles truly remarkable.
Even small details play a significant role in achieving a stunning candle flower. When layering, consider using different colors to create shadows and highlights, making your flowers more lifelike. Begin with a solid base layer and gradually add additional tiers, applying wax gently to avoid over-saturation. Let each layer cool before applying the next to maintain defined shapes. Combining these techniques can lead to breathtaking results, showcasing your creativity and effort, while keeping your workspace safe and organized.
Finishing Touches
Despite the intricate work you’ve put into making your candle flowers, the final steps can elevate them from lovely to stunning. Focus on the details that will make your creations truly stand out. This phase is your opportunity to refine your candles, ensuring they not only smell and look fantastic but also last longer and burn safely.
Trimming Wicks
To ensure an even and clean burn, trim the wicks of your candle flowers to about ¼ inch above the wax surface. This will help prevent excessive soot and flame flickering. Regular trimming enhances the overall appearance and performance of your candle, making for a pleasant experience.
Adding Decorative Elements
At this stage, you can introduce decorative elements to your candle flowers for a personalized touch. Embellish your creations with items like dried flowers, glitter, or natural fibers, reflecting your personal style and enhancing their visual appeal.
With the right decorative elements, your candle flowers can become unique pieces of art. Consider using dried herbs for a rustic charm, or add vital oil-infused charms to enhance the fragrance. Be cautious when choosing materials, as some can be flammable. Aim for a look that’s harmonious and complements your candles, ensuring each flower radiates beauty while remaining safe for use.
Final Words
Now that you understand the steps to make candle flowers, you can unleash your creativity and create beautiful floral designs that enhance any space. Choose your favorite colors and scents to personalize your candle flowers, making them perfect for gifts or home decor. With practice, you’ll refine your technique and develop unique styles. Enjoy the process and let your imagination guide you as you craft stunning candle flowers that will impress others and brighten your own environment.
Q: What materials do I need to make candle flowers?
A: To create candle flowers, you’ll need the following materials: wax (beeswax or paraffin), candle wicks, a double boiler or a melting pot, flower-shaped molds, fragrance oils (optional), and dye (optional). Additionally, you’ll need a thermometer to monitor the wax temperature and a stirring tool. If you’re creating layered or multi-colored flowers, gather additional colors of wax as well.
Q: How do I pour the wax into the molds for candle flowers?
A: Start by melting the wax in the double boiler, ensuring the temperature reaches around 180°F (82°C) for optimal pouring. Once melted, you can add fragrance oils and dye, if desired. Secure the wick in the center of the mold using a wick holder or by dipping the bottom in melted wax. Slowly pour the melted wax into the mold, filling it to the desired level while being careful to avoid air bubbles. Allow the wax to cool partially before topping off with additional wax for a smoother finish. Once fully hardened, gently remove the candle from the mold.
Q: How can I decorate or enhance my candle flowers?
A: To enhance your candle flowers, consider adding embellishments such as dried flowers, herbs, or glitter on the surface of the candle while the wax is still soft. You can also use different colors of wax to create layered effects by allowing each layer to cool slightly before adding the next. Additionally, applying a thin layer of clear wax over the completed candle can give it a glossy finish. For scent, ensure your fragrance oils are well blended into the wax before pouring to achieve an even aroma throughout the candle flower.

