Crafting With Nature – How To Make Your Own DIY Beeswax Candles
Just imagine filling your home with the warm glow and natural scent of handmade beeswax candles. In this guide, you will learn how to create your own candles using simple materials, allowing you to connect with nature and add a personal touch to your décor. Not only are beeswax candles eco-friendly, but they also purify the air, making your space healthier. With a straightforward process and a little creativity, you can enjoy the benefits of natural lighting while indulging in a rewarding crafting experience.
Understanding Beeswax
For those venturing into the world of candle-making, understanding beeswax is crucial. This natural substance, produced by honeybees, has been utilized for centuries due to its unique properties and benefits. Crafted from the wax secreted by bees to build their honeycombs, beeswax is a renewable resource that offers a sustainable option for your DIY projects, aligning with environmentally friendly practices.
What is Beeswax?
Assuming you are new to beeswax, it is a natural wax derived from the glands of honeybees. The bees consume honey and secrete wax, which they then mold into honeycomb structures. Because it is a byproduct of honey production, beeswax is non-toxic and safe to use in various crafts, including candle-making.
Benefits of Using Beeswax for Candles
Now, as you explore the benefits of using beeswax for candles, you will discover its many advantages. Beeswax candles burn longer and produce less soot compared to other types of candles. They also emit a subtle, natural honey scent while purifying the air, creating a warm and inviting atmosphere in your home. Additionally, beeswax is associated with positive health benefits due to its ability to release negative ions, which can help alleviate allergies and respiratory issues.
Using beeswax for your candles not only offers longer burn times but also contributes to a healthier living environment. Unlike paraffin candles, which can release harmful toxins into the air, beeswax is a natural, non-toxic option that provides an eco-friendly alternative. With its pleasant aroma and air-purifying qualities, you can enjoy the soothing ambiance of beeswax candles while taking care of your well-being.
Materials Needed
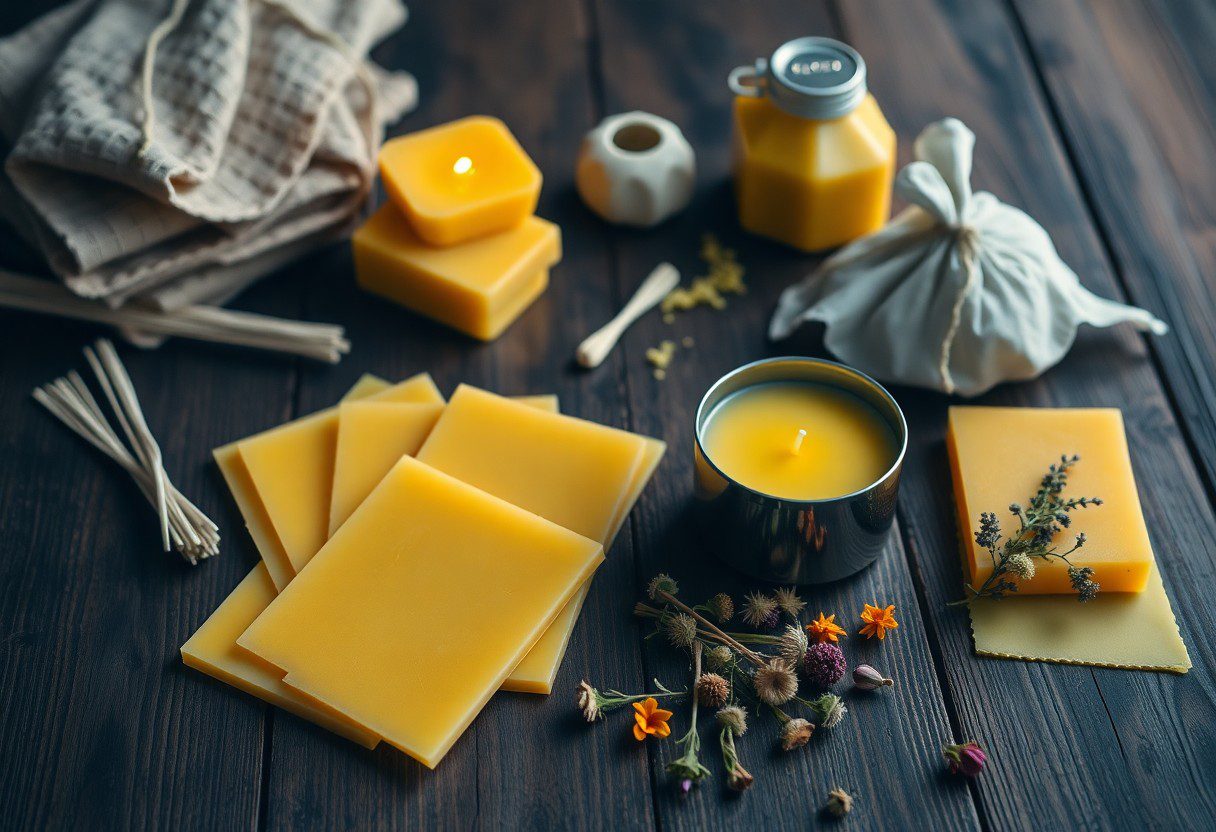
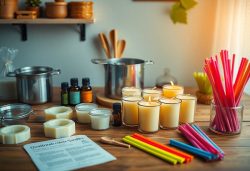
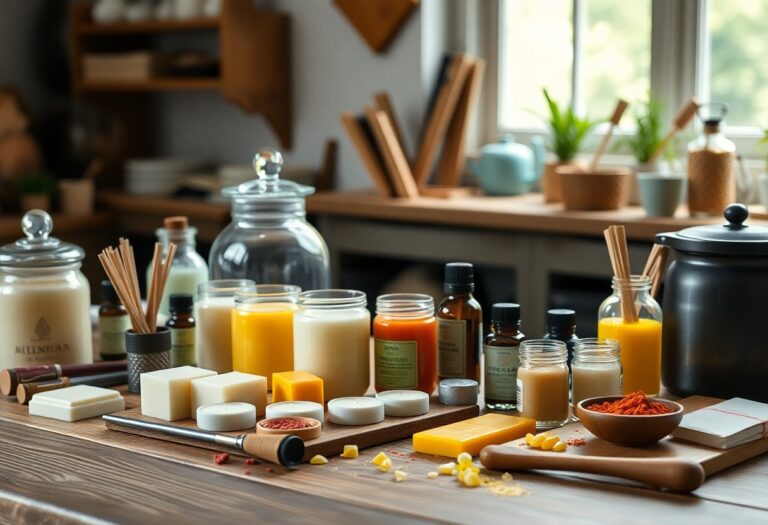
Some vital materials will make your DIY beeswax candle crafting easy and enjoyable. It’s important to gather everything before starting to ensure a smooth process. You’ll need beeswax sheets, wick, a cutting tool, a heat source to melt the wax, and a mold or container to shape your candles. Don’t forget to have a safe workspace to avoid any mess while crafting!
Essential Supplies for DIY Beeswax Candles
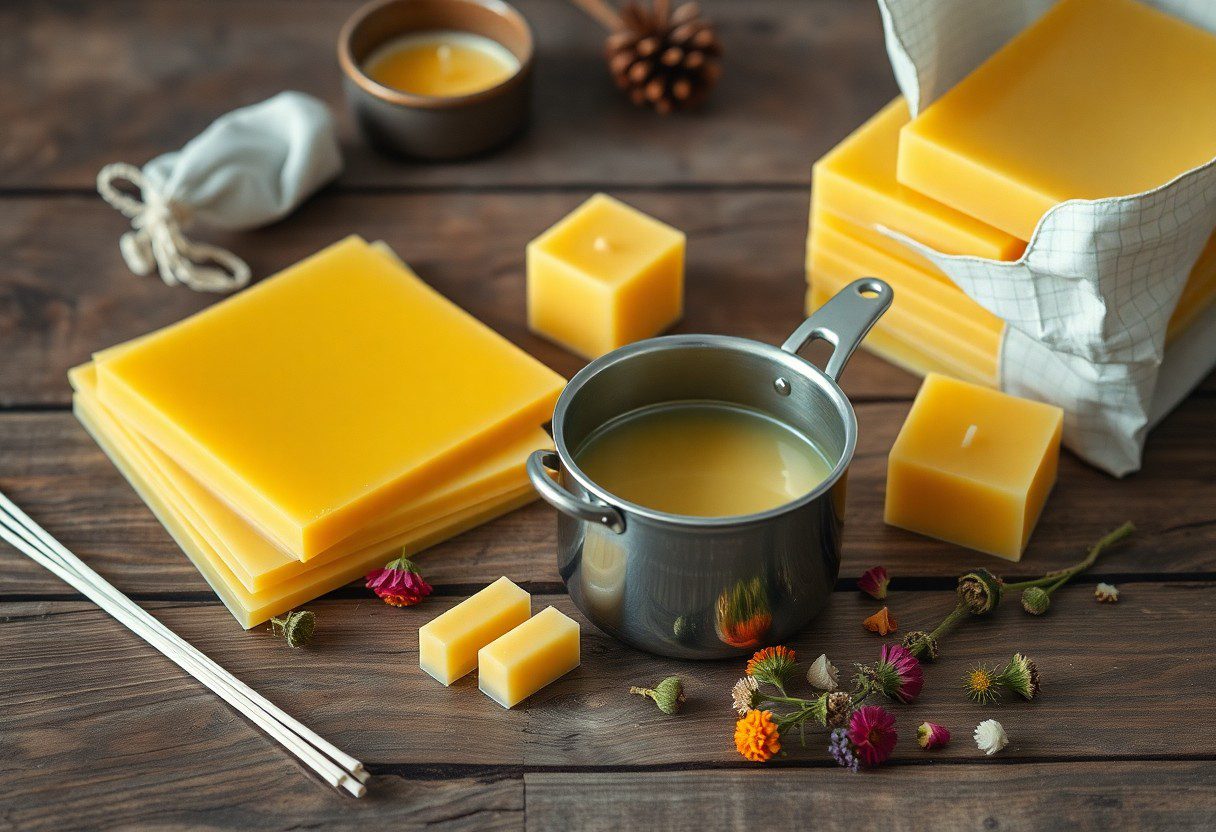
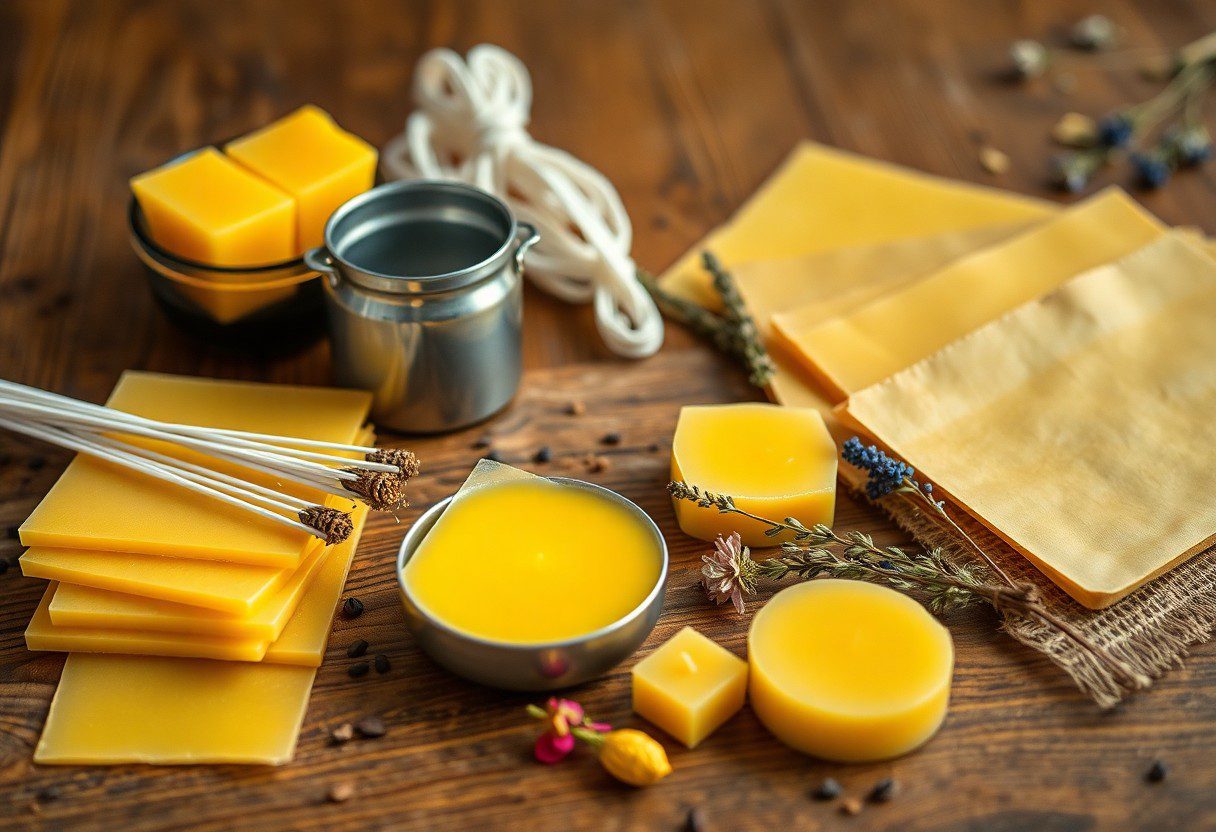
Needed for your DIY beeswax candles are sheets of beeswax, candle wicks, a sharp knife or scissors, and a heat source—such as a double boiler. You can also use small molds or containers to create unique shapes. Make sure to choose high-quality beeswax to achieve the best results!
Optional Enhancements for Customization
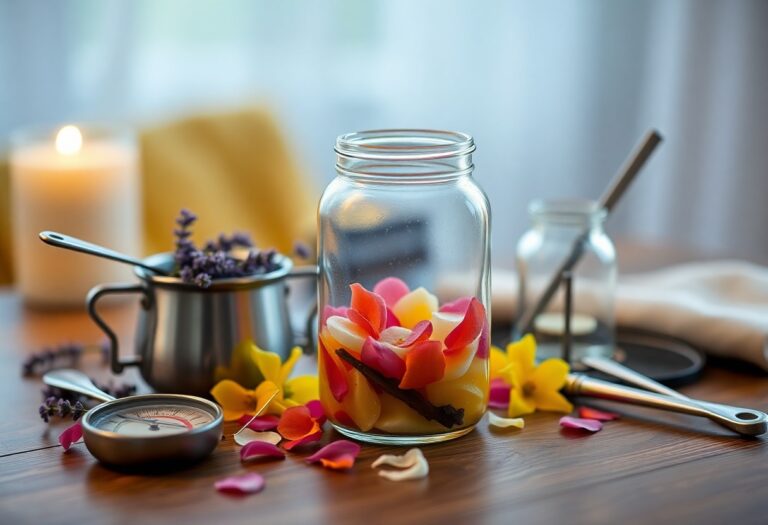
Some fun additions can elevate your candle-making experience. You may consider using vital oils, natural dyes, or decorative elements to personalize your candles. Adding these enhancements can create a custom scent or a unique look tailored to your preferences.
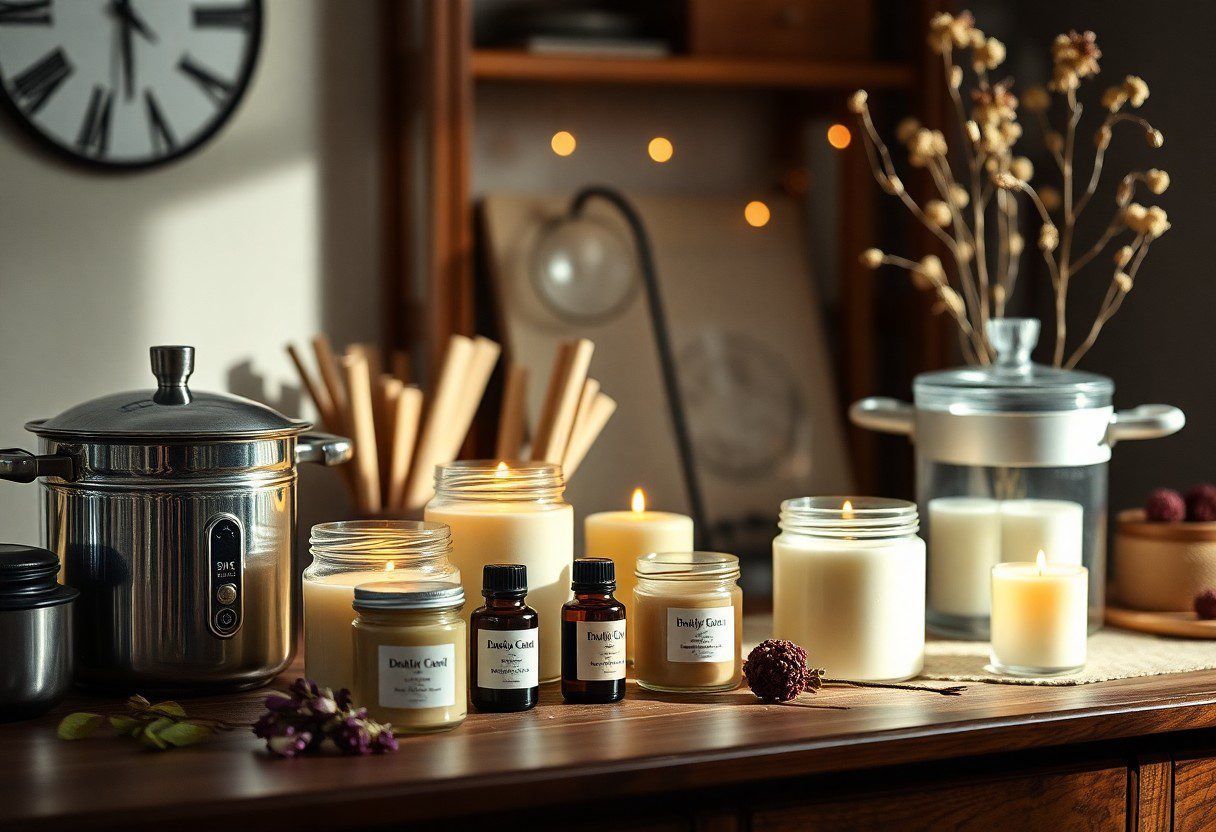
This process allows you to unleash your creativity and turn simple candles into unique masterpieces. Experiment with different vital oil blends to add delightful scents, or incorporate natural colors to enhance their appearance. Additionally, using dried flowers or herbs can give your candles a visually appealing touch. Just ensure that anything you add is safe for burning to prevent harmful fumes. Customizing your candles not only makes them beautiful but also adds a personal touch perfect for gifting or home decor.
Step-by-Step Guide to Making Beeswax Candles
One of the best ways to make your own beeswax candles is to follow a simple How to Make Beeswax Candles process. Start by gathering your materials and setting up your workspace. Then, melt the beeswax and pour it into your chosen molds. Finally, you can add fragrance and color to personalize your candles. Below, you’ll find an easy-to-follow table that outlines each step to guide you through this rewarding DIY project.
| Step | Description |
| 1 | Prepare your workspace with all necessary materials. |
| 2 | Carefully melt the beeswax. |
| 3 | Pour the melted wax into molds. |
| 4 | Add fragrance and color to your candles. |
Preparing Your Workspace
The importance of preparing your workspace cannot be overstated. Make sure to choose a flat, heat-resistant surface and gather all necessary supplies, including beeswax sheets, candle wicks, molds, and a double boiler. Safety first: you should work in a well-ventilated area and keep flammable materials away from your setup.
Melting and Pouring Beeswax
An crucial step in candle making is melting and pouring the beeswax. Use a double boiler setup to gently heat the beeswax, ensuring it melts evenly without getting too hot. Once melted, carefully pour the wax into your prepared molds, taking care to keep the wicks centered.
It is vital to monitor the temperature of the beeswax while melting. Overheating can release harmful fumes or compromise the wax’s quality. Pouring the wax into molds should be done at the right temperature to ensure a smooth finish and to prevent cracks once it solidifies.
Adding Fragrance and Color
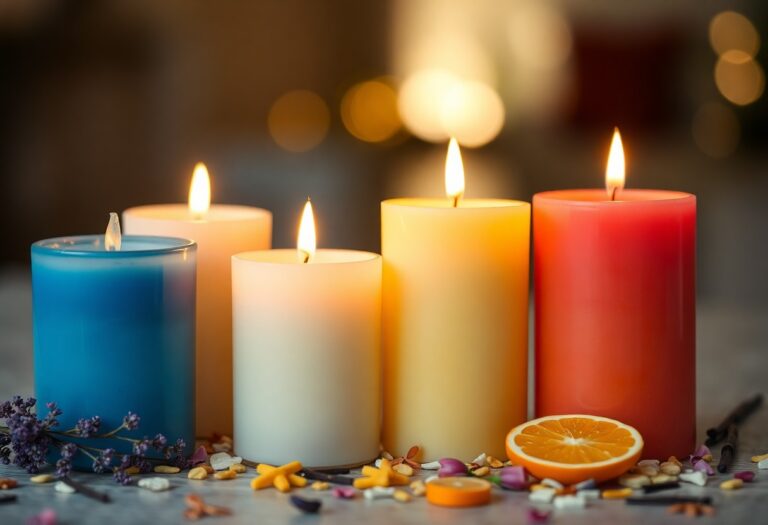
On your creative journey, don’t forget to enhance your candles with fragrance and color. You can add crucial oils or candle-safe fragrances to the melted wax before pouring it into the molds. This is where you will really make your candles unique.
Adding color is just as simple, with options like color chips or liquid dyes designed for candle making. Make sure to use products that are safe and specifically formulated for candles, as non-candle-specific dyes can lead to poor results or even dangerous reactions. Enjoy personalizing each candle to reflect your style!
Tips for Perfecting Your Candles
Keep your candle-making experience smooth by following these crucial tips for perfecting your beeswax candles:
- Measure your beeswax accurately for optimal results.
- Use a thermometer to maintain the right melting temperature.
- Choose the right wick size for your candle’s diameter.
- Allow candles to cool slowly from the top down for an even finish.
After you feel ready to start, consider investing in a DIY Natural Beeswax Candle Making Kit to streamline the process.
Common Mistakes to Avoid
With candle making, it’s easy to fall into a few traps that can ruin your projects. Avoid overheating the beeswax, as this can lead to discoloration and a compromised scent. Be cautious with the wick size—too large can create excessive soot, while too small can lead to inadequate burning. Don’t skip priming your wicks, as this can affect how well they burn and impact your candle’s overall performance.
Techniques for Enhancing Your Candle’s Appearance
On your journey to craft beautiful beeswax candles, consider these enhancement techniques: layering different colors of beeswax can create stunning visual effects, while embedding dried flowers or herbs adds a personalized touch. You might also experiment with different molds for unique shapes or textures. Each technique can enhance the aesthetic appeal of your candles!
Tips for enhancing your candle’s appearance include using natural colorants for a consistent finish and ensuring that your molds are clean for sharp edges. Personalize your creations by adding crucial oils along with the beeswax—this will not only enhance the fragrance but also elevate the overall experience. Finally, always ensure proper ventilation as some fragrances can be potent; safety is key while crafting your beautiful candles!
Factors Affecting Candle Quality
Many aspects can influence the quality of your DIY beeswax candles. Consider the following factors:
- Wax purity
- Wick type
- Fragrance additives
- Pouring temperature
- Storage conditions
Assume that addressing these elements will lead to a more satisfying candle-making experience and better results.
Choosing the Right Wick
The right wick is imperative for achieving an even burn and optimal fragrance throw in your beeswax candles. Select a wick suitable for the diameter of your candle, ensuring it is made of natural materials to complement the eco-friendly nature of beeswax. Consider using a cotton or wood wick for best results.
Storage and Care for Your Candles
The way you store and care for your candles can greatly affect their longevity and performance. Ensure you keep them in a cool, dry place away from direct sunlight and heat sources.
Care for your candles by avoiding exposure to moisture and extreme temperatures. Keep them in a stable environment to maintain their shape and fragrance. If you notice any deformation or discoloration, it may mean they’ve been stored improperly. Always trim the wick to about ¼ inch before lighting to promote an even burn and prevent excessive soot. An attentive approach to storage and care allows your beautiful creations to shine brightly for longer.
Creative Uses for Beeswax Candles
Not only do beeswax candles illuminate your space, but they also offer various creative uses. You can incorporate them into your crafting projects, use them for aromatherapy by adding necessary oils, or even enhance your meditation practice. The natural and eco-friendly properties of beeswax make it an excellent choice for all your creative endeavors, allowing you to harmonize the beauty of nature with your artistic expressions.
Gift Ideas and Packaging Options
The possibilities for gifting homemade beeswax candles are endless. You can personalize your candles by adding unique scents or colors, and package them in eco-friendly materials like burlap or recycled boxes. Pair your candles with a handwritten note or a cozy gift basket containing items like matches, necessary oils, or a candle holder to create a thoughtful gift that anyone would appreciate.
Using Candles in Home Decor
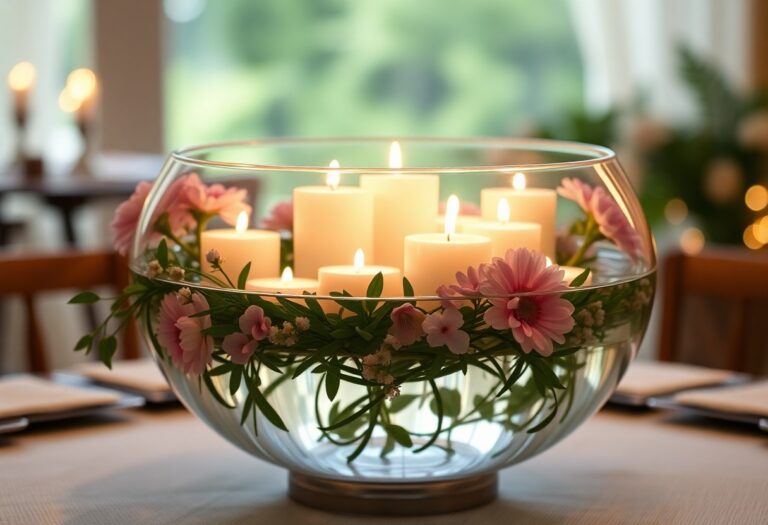
The way you showcase beeswax candles in your home can significantly enhance the overall ambiance. Place them on dining tables, shelves, or in decorative holders to create a warm and inviting atmosphere. Experiment with different sizes and heights for added visual interest. It’s recommended to use these candles in areas where you can enjoy their warm glow and natural scent, as they can even purify the air by releasing negative ions. Just ensure you always place them on a safe, stable surface to avoid any fire hazards.
It’s important to note that when using beeswax candles in home decor, you should consider their placement carefully. Choose spots away from drafts or flammable materials to prevent any unsafe situations. Using distressed metal trays, wooden platters, or ceramic dishes can create a rustic look while keeping your candles secure. The warm, honey-like fragrance of the beeswax not only adds a touch of elegance to your decor but can also provide health benefits by helping to improve air quality through the release of negative ions. With a bit of creativity and consideration for safety, your beeswax candles can transform your home into a cozy sanctuary.
Final Words
The process of crafting your own DIY beeswax candles not only allows you to create beautiful, natural décor for your home, but it also connects you with nature and sustainable practices. By utilizing beeswax and vital oils, you can enjoy a clean-burning candle that enhances your environment. With the simple steps and tips provided, you can confidently initiate on your candle-making journey, adding a personal touch to your space while promoting an eco-friendly lifestyle. Enjoy the satisfaction of creating something unique with your own hands!
FAQ
Q: What materials do I need to make DIY beeswax candles?
A: To make your own DIY beeswax candles, you will need natural beeswax sheets or blocks, a wick (cotton or wooden), a double boiler for melting the wax, a mold or a container (like glass jars), and optional necessary oils for fragrance. You might also want to have a pair of scissors for trimming the wick, and a thermometer to check the temperature of the wax if you are pouring it. Crafting tools like a spatula and measuring cup may also be useful for pouring and shaping the candles.
Q: Are beeswax candles safe to use indoors?
A: Yes, beeswax candles are safe to use indoors. They are made from natural beeswax, which burns cleanly and produces very little smoke compared to other types of candles. Additionally, beeswax candles emit negative ions when burned, which can help purify the air and reduce allergens. However, like any candle, they should be used responsibly, kept away from flammable materials, and should never be left unattended while burning.
Q: How long do beeswax candles typically burn?
A: Beeswax candles are known for their long burn time. The burn time can vary depending on the size of the candle and thickness of the wick, but generally, beeswax candles can last approximately 2-3 hours per ounce of beeswax. For instance, if you make a candle that weighs 8 ounces, you can expect it to burn for about 16-24 hours, making them a great choice for extended use. Proper care, such as trimming the wick to 1/4 inch before lighting, can also enhance burn time and performance.

