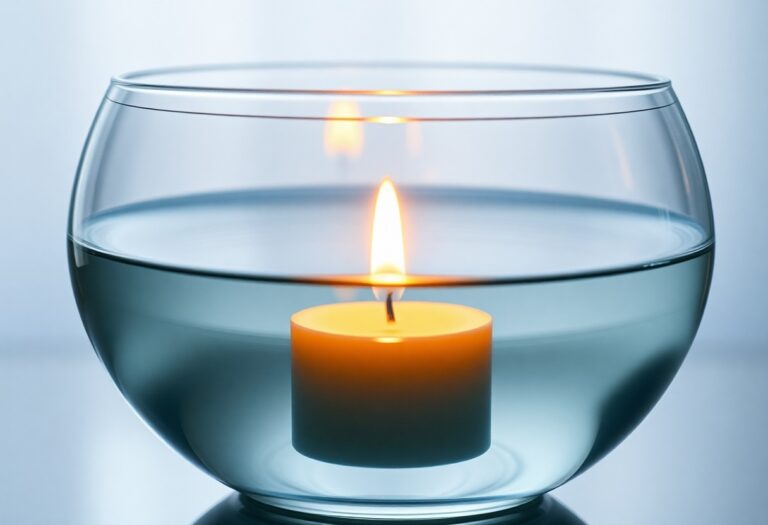
Container Candle Making 101 – Everything You Need To Know To Create Gorgeous DIY Candles
Many DIY enthusiasts are turning to container candle making as a fulfilling and creative hobby. In this guide, you will discover important materials, safety tips, and techniques to help you craft beautiful candles in your own containers. From choosing the right wax to mastering your fragrance blends, this post will provide you with the knowledge and confidence you need to create stunning candles that brighten up your home or make thoughtful gifts. Get ready to transform simple materials into captivating works of art!
Understanding Candle Making Essentials
A solid foundation in candle making begins with understanding the right materials and tools necessary for creating beautiful candles. You’ll need to familiarize yourself with different types of wax, wicks, and fragrance oils. This knowledge of the necessary components will enable you to create stunning, customized candles that suit your aesthetic and functional needs.
Types of Wax
On your journey into candle making, you’ll find several types of wax that each have unique properties and benefits. Here’s a breakdown of some popular options:
| Paraffin Wax | Cost-effective and widely used, excellent scent throw. |
| Soy Wax | Eco-friendly, longer burn time, and good scent throw. |
| Beeswax | Natural, produces negative ions that purify the air. |
| Gel Wax | Allow for creative designs, clarity makes for beautiful displays. |
| Coconut Wax | Soft, blends well with other waxes, excellent scent throw. |
Thou can now choose the ideal wax type based on your preferences and goals for candle crafting.
Wick Selection
At the heart of a well-burning candle lies the right wick selection. Selecting a wick that complements your chosen wax type and the size of your container is necessary for maximizing burn efficiency and minimizing soot.
The wicks you choose have a significant impact on your candle’s performance. It’s vital to consider the size and type of the wick based on the wax’s melting point and the container’s dimensions. A wick that is too small will lead to insufficient melt pool, while one that is too large may cause excessive flickering and soot. Additionally, cotton wicks are popular for their clean burning properties, while wooden wicks offer a unique aesthetic and crackling sound. Testing different combinations will help you achieve the perfect burn and an enjoyable experience for your candle users.
Container Considerations
Assuming you want to create beautiful candles, the choice of container is vital. Containers not only define the aesthetic of your candles but also impact the burn quality. You can learn how to make candles that are visually appealing and safe by understanding different materials and sizes.
Choosing the Right Container
The options for candle containers are vast, ranging from glass jars to metal tins. Selecting a non-flammable and heat-resistant container ensures safety and enhances your candle’s appearance.
Preparing Containers for Pouring
Below, you’ll find vital tips for preparing your containers to ensure a smooth pouring process. Proper preparation eliminates issues that can arise during the candle-making process.
Containers should be clean and dry before you pour the wax. This prevents any impurities from affecting your candle’s quality. Ensure that no dust or residue remains inside, as this can lead to uneven burns or adverse reactions with the wax. Consider pre-heating your containers slightly for better adhesion of the wick and to minimize the risk of cracking, especially with glass materials. Additionally, using a wick holder can help keep your wick centered while the wax sets, ensuring a consistent burn.
Fragrance and Color
It’s important to elevate your container candles with delightful fragrances and visually appealing colors. The right combination not only enhances the aesthetic but also creates an immersive experience that captivates the senses. Take the time to experiment with various scents and hues to find the perfect blend that reflects your style and purpose.
Selecting Fragrance Oils
Along your candle-making journey, you’ll discover a wide variety of fragrance oils to choose from. Opt for high-quality oils that are specifically designed for candles to ensure they burn evenly, providing a strong scent throw while preventing soot. Consider your desired ambiance, whether you lean towards fresh, floral, or warm notes, and play with different blends to find your signature scent.
Adding Color to Your Candles
Across your creative process, incorporating color into your candles can make them striking and unique. You can use specially formulated candle dyes, pigments, or even natural colorants like herbs or spices.
In addition to visual appeal, using the right colorants is important to achieve the desired outcome. Liquid dyes and dye chips are popular choices, but be sure to check their compatibility with the wax you are using. Always add colorant in small increments, as it’s easier to darken than to lighten the shade. Furthermore, some colors may appear differently when melted; always test a small batch to see how the final product looks. With thoughtful selection and experimentation, you can create candles that not only smell divine but also add a splash of color to your space.
The Candle Making Process
To create beautiful DIY container candles, you’ll go through a straightforward yet rewarding process. It involves melting the wax, adding fragrances and colors, and finally pouring the wax into your chosen container. Each step plays a vital role in developing the texture, scent, and overall appearance of your candles, allowing you to express your creativity and personalize your space with handmade pieces.
Melting the Wax
An vital part of candle making is properly melting the wax. Choose a suitable wax, such as soy or paraffin, and use a double boiler method to heat it gradually. This ensures that the wax melts evenly without burning, allowing you to achieve a smooth texture necessary for a professional finish.
Pouring and Setting
One of the most exciting stages of candle making is pouring and setting your melted wax into the containers. After achieving the perfect consistency and temperature, carefully pour the wax into each container, allowing it to flow slowly for a clean finish.
Pouring the wax at the right temperature is vital for achieving a smooth surface and avoiding cracking as it cools. As you pour, ensure that you leave some space at the top of the container for expansion. Once poured, leave your candles in a cool, undisturbed area to set completely, which typically takes several hours. Practicing this technique will help you create not only visually appealing candles but also enhance the scent throw once lit.
Safety Tips and Best Practices
Keep your candle-making experience enjoyable and secure by following these vital safety tips and best practices:
- Always work in a well-ventilated area.
- Use a thermometer to monitor the melting wax temperature.
- Wear protective gloves and eyewear when handling fragrance oils.
- Keep flammable materials away from your workspace.
- Have a fire extinguisher nearby just in case.
After taking these precautions, you can focus on crafting your beautiful DIY candles without worry.
Equipment Safety
Safety first! Ensure all your equipment is in good condition before starting your candle-making project. Check for any signs of wear on your tools and replace them if necessary. Always use heat-resistant containers when working with hot wax, and keep any sharp tools out of reach when not in use.
Handling Hot Materials
An vital aspect of candle-making is knowing how to handle hot materials safely. Use heat-resistant gloves and avoid pouring hot wax too quickly to prevent spills and burns.
Hence, understanding the basic handling of hot wax is imperative! Pouring or touching anything above 200°F can cause severe burns, so always exercise caution. Invest in a sturdy pouring pot for easier handling and control. Be aware that hot wax can splatter, so keeping a safe distance from the container is necessary. Your safety should be top priority, ensuring a fun and worry-free candle-making experience.
Customization and Creativity
Your candle-making journey is an opportunity to showcase your unique style. Dive into the world of customization, where you can experiment with different scents, colors, and containers to create stunning pieces. If you’re looking for inspiration, check out this guide on How to Make Scented Candles from Scratch. With a little creativity, your DIY candles can reflect your personality and elevate your home decor.
Personalizing Your Candles
Personalizing your candles allows you to infuse them with your signature flair. From selecting distinctive fragrances that resonate with your mood to choosing colors that complement your space, each candle can tell a story. Consider incorporating meaningful quotes or even photos on the container for a truly custom piece that adds a heartfelt touch to your decor.
Creative Techniques and Designs
Creativity knows no bounds in candle making. You can play with layering different scents or colors to create visually stunning candles that change as they burn. Consider using natural elements like dried flowers or herbs for added texture and appeal, or embed decorative items in your candles for an artistic twist. Experimenting with various molds and containers can lead to fabulous outcomes while allowing for endless possibilities in shape and design.
For instance, you might want to try pouring your wax in layers, using contrasting colors to create a striped effect. This technique not only adds visual interest but also allows for different scents to blend as the candle burns. Using non-toxic materials ensures a safe burning experience, while playing with temperature during pour can enhance the final look of your candles. Merge functionality with artistry as you create delightful, aromatic pieces that brighten any space.
Summing up
Upon reflecting, you now have a comprehensive understanding of container candle making, equipping you with the knowledge to create stunning DIY candles. By selecting the right materials, mastering the melting process, and experimenting with scents and colors, you can transform ordinary containers into beautiful, personalized pieces. This guide empowers you to unleash your creativity and develop your skills, ensuring that your candle-making journey is both enjoyable and fulfilling. Dive into this rewarding craft, and let your imagination illuminate your space with your own handcrafted creations.
FAQ
Q: What materials do I need to get started with container candle making?
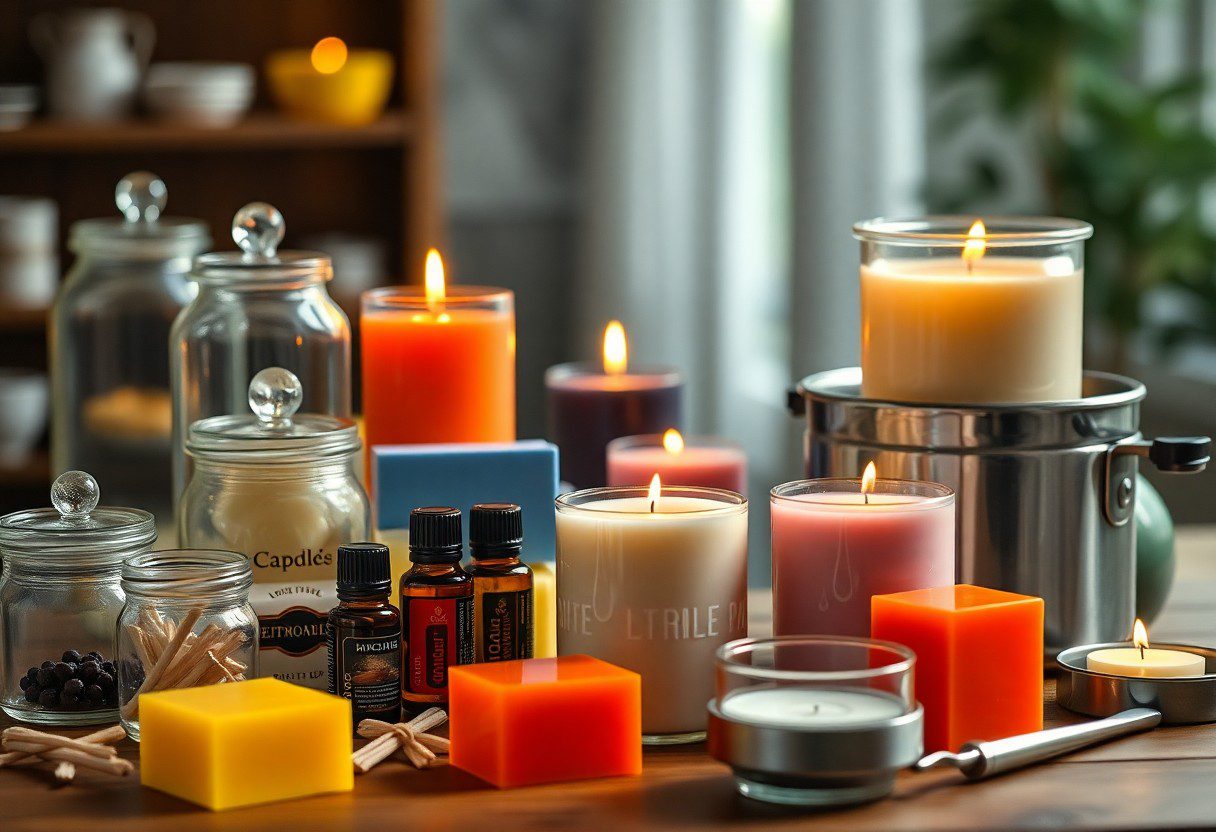
A: To begin your journey into container candle making, you’ll need a few crucial materials. First, select a container such as glass jars or metal tins, which will hold your finished candles. Next, you’ll require candle wax—paraffin, soy, or beeswax are popular options. You’ll also need wicks, which come in various sizes depending on your container and wax type. Additionally, consider using fragrance oils for scent and color dyes to enhance your candles’ appearance. Finally, gather tools like a double boiler for melting wax, a thermometer to monitor temperature, and a stirring utensil for mixing.
Q: How do I choose the right wick for my container candles?
A: Choosing the right wick is crucial for ensuring that your container candles burn efficiently and evenly. Wick size is determined by the diameter of your container and the type of wax you’re using. Generally, thicker wicks are suitable for larger diameters, while thinner wicks work best for smaller containers. Check wick manufacturer’s guidelines for specific recommendations based on your container’s size and wax type. It’s also helpful to conduct a burn test with multiple wick sizes to find the one that produces the best performance and burn quality.
Q: What safety precautions should I take while making container candles?
A: Safety should be a top priority while making container candles. Always work in a well-ventilated area to avoid inhaling fumes from melting wax or fragrances. Wear protective gear, such as gloves and safety goggles, to protect your skin and eyes from hot wax. Use a thermometer to monitor the temperature of the melted wax, as overheating can be dangerous. Additionally, never leave melting wax unattended and keep flammable materials away from your work area. It’s also wise to have a fire extinguisher nearby, just in case.

