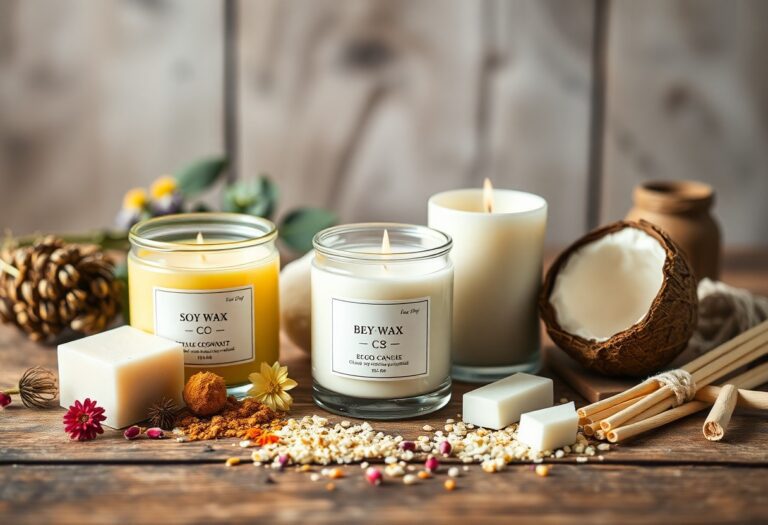
how to paint candles with wax
Candles can transform any space with their inviting ambiance, and painting them with wax adds a personal touch to your decor. In this guide, you will learn vital techniques to achieve stunning results while ensuring your safety throughout the process. With every brushstroke, you can unleash your creativity without compromising the candle’s functional integrity. From selecting the right wax to applying it efficiently, you’ll discover how to bring your artistic vision to life while crafting beautifully unique candles that enhance your home’s atmosphere.
Materials Needed
Your journey to paint candles with wax begins with gathering necessary materials. You will need different types of wax, dye, and a sturdy work surface. It’s also important to have molds and sealing agents on hand to achieve the desired finish. Don’t forget your safety gear to protect against spills and heat. Here’s a detailed list of what you’ll need:
| Type of Wax | Beeswax, Paraffin, Soy Wax, Gel Wax, Palm Wax |
| Dyes | Liquid or Powdered Dyes |
| Work Surface | Heat-Resistant Countertop |
| Molds | Silicone or Metal Molds |
| Sealing Agents | Wax Sealers |
Types of Wax
Your options for wax include a variety of materials, each offering unique properties. The most common types are Beeswax, known for its natural aroma and firmness; Paraffin, which allows for easy molding and painting; Soy Wax, a sustainable choice; Gel Wax, perfect for embedding objects; and Palm Wax, which creates a beautiful crystalline effect. This variety ensures that you can choose the wax that best suits your candle painting project.
Tools and Equipment
To successfully paint candles, you’ll need a range of tools and equipment. Essential items include a double boiler for melting wax, temperature thermometer to monitor wax temperature, and paintbrushes or sponges for applying color. You’ll also need a heat gun for precision detailing and safety gear such as gloves and goggles to protect your skin and eyes from hot wax.
Plus, having high-quality tools can enhance your experience and ensure gorgeous results. A reliable double boiler minimizes the risk of burns, while a thermometer helps maintain the right temperature. Using gloves and goggles is necessary to shield yourself from hot splashes. If you invest in the right equipment, you will pave the way for a safe and enjoyable crafting session.
Preparing the Candles
You’ll want to begin by selecting the right type of candles for painting. Opt for smooth, clean surfaces without any bumpy textures that might hinder your artwork. You can learn more about Candle painting: How to paint candles using wax to ensure your preparation is spot on.
Cleaning and Prepping Surfaces
By ensuring your candles are free of dust and any residues, you set a solid foundation for the paint to adhere properly. A simple wipe with a soft, dry cloth can help in maintaining a pristine surface for your creative efforts.
Choosing Your Design
For the design, consider the themes and colors that resonate with you. Sketch out a few ideas before committing to your candle, as this will help you visualize your final product.
And when it comes to selecting your design, think about how the colors will interact with the wax, and what themes will enhance the ambiance of the space where the candle will be used. Whether you opt for intricate patterns or simple designs, make sure they align with your style. Take your time to experiment; the process should be fun while also being a safe exploration of your creativity.
Melting the Wax
Clearly, melting the wax is an crucial step in your candle painting project. This process requires patience and precision to achieve the perfect consistency for your artistic application. You’ll want to ensure that the wax is adequately heated so that it becomes smooth and workable, allowing you to create the designs you envision on your candles.
Techniques for Melting
Along this journey, there are several techniques you can use to melt your wax effectively. A double boiler method is highly recommended, as it allows for gentle heating, preventing the wax from burning. Alternatively, you can use a microwave, but be sure to monitor it closely to avoid overheating and spillage.
Safety Precautions
Melting wax can pose some hazards, so it’s crucial to take appropriate safety precautions. Keep your workspace well-ventilated to avoid inhaling fumes, and always use heat-resistant containers to prevent burns. Additionally, keep a fire extinguisher nearby, as wax can ignite if overheated.
With any melting process, proper ventilation and heat-resistant materials help ensure a safe experience. Avoid melting wax near open flames or flammable materials, as this could lead to dangerous situations. Always wear heat-resistant gloves to protect your hands from burns, and never leave melting wax unattended. By adhering to these guidelines, you can create a safe and enjoyable environment for your artistic expression.
Applying the Wax
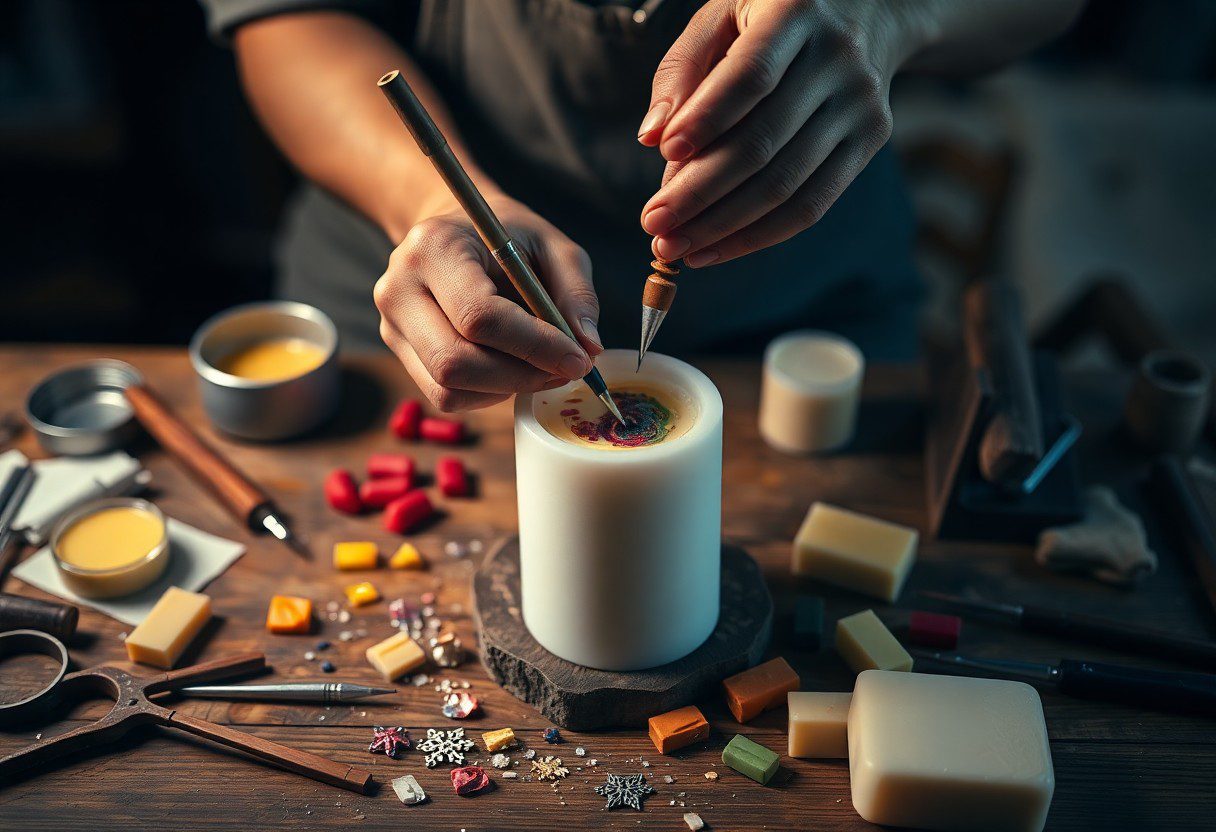
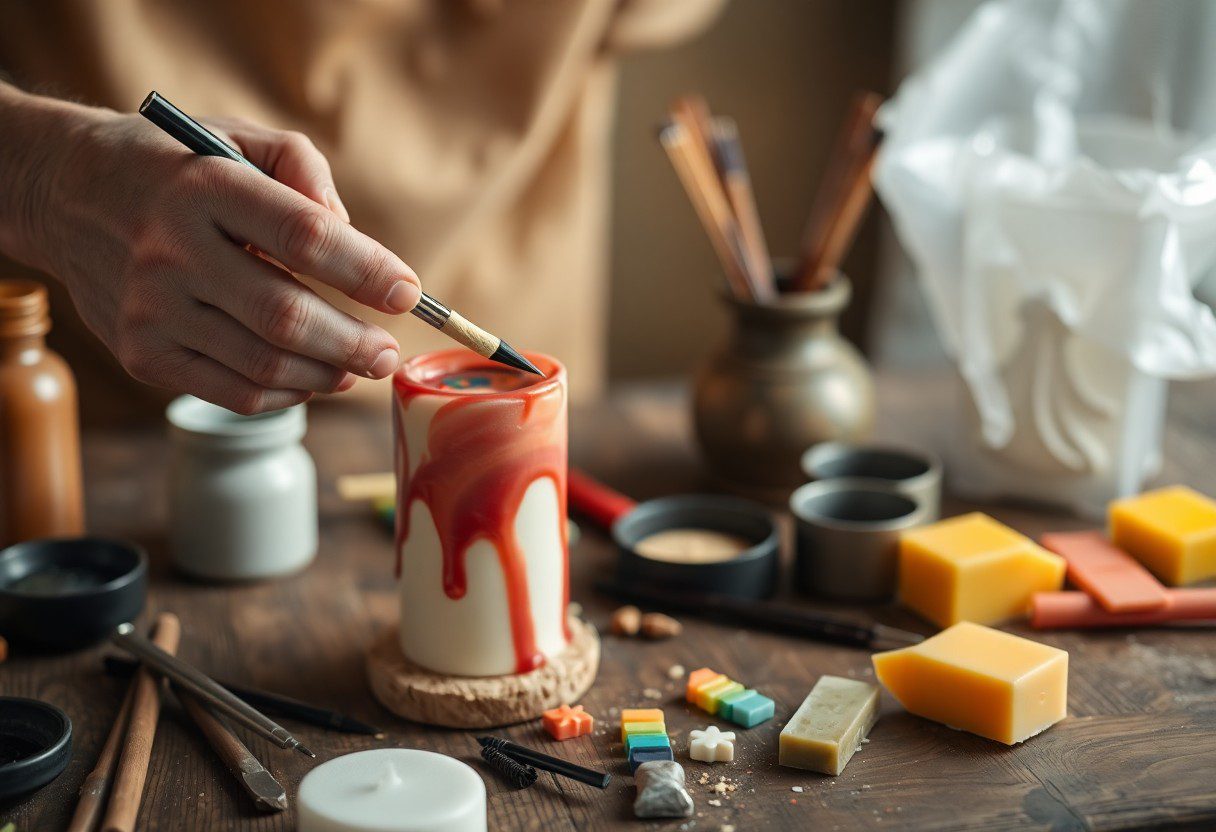
Once again, it’s time to get your hands sticky and unleash your creativity! Start by carefully heating the wax to achieve a workable consistency, ensuring it isn’t too hot to damage your candle. Dip your brush into the melted wax, allowing it to soak up enough to create an even coat. With a steady hand, apply the wax to your candle in smooth, sweeping strokes, making sure to cover any uneven areas. Don’t worry about perfection—embrace any little imperfections as part of your unique design!
Brush Techniques
Applying different brush techniques can greatly enhance the texture and appearance of your candle. Explore using broad strokes for a painted look or finer strokes for intricate details. You can also experiment with sponging or stippling to add dimension and interest. The key is to regularly clean your brushes to avoid any unwanted color mixing and to ensure the best results on your candles.
Layering and Blending Colors
Colors play a vital role in bringing your candle design to life. By layering different shades of wax, you can create depth and visual intrigue that captivates the eye. Start with a base layer and gradually add additional colors, blending them while they are still warm to create a seamless transition between tones. This technique can lead to stunning, one-of-a-kind pieces that truly reflect your artistic style.
In fact, layering and blending colors allow you to develop a rich, multi-dimensional look that enhances your candle’s aesthetic appeal. For optimal results, work quickly while the wax is still pliable, and consider using a heat gun to gently soften edges where two colors meet. This approach can create a sophisticated gradient effect that elevates your craft. Furthermore, be sure to experiment with different color combinations to find the ones that resonate with you and your space; the right colors can transform a simple candle into a striking centerpiece for any occasion.
Setting the Painted Candles
Keep in mind that once your painted candles have dried, the next step is to set them properly. Placing your candles in a cool, dry area allows the paint to adhere better to the wax surface. For additional guidance, check out this Wax painting on candles, looking for tips and tricks to ensure your candles look their best.
Cooling Process
Painted candles must undergo a proper cooling process to ensure durability. Allow the painted candles to rest at room temperature for several hours to fully set the wax paint. Avoid placing them in direct sunlight or near heat sources, as this can warp the wax and affect your design.
Finishing Touches
Cooling your painted candles is just the beginning of achieving a polished look. It’s important to ensure the wax paint is fully set before proceeding with any finishing touches. Once cooled, consider giving your candles a gentle buff with a soft cloth to enhance their shine, but be cautious to not disturb your artwork.
It’s also a good idea to inspect your candles for any imperfections after they have cooled. If you notice any uneven areas or smudges, you can carefully touch them up with more paint. Always ensure you are working in a well-ventilated area and using safe materials to avoid toxic fumes. Incorporating these finishing touches will help your candles to look professional and aesthetically pleasing, perfect for your home decor or as thoughtful gifts.
Tips for Success
All you need are some simple strategies to enhance your candle painting experience. To achieve the best results, keep the following tips in mind:
- Choose the right type of wax for your project.
- Ensure your candles are clean and dry before applying paint.
- Work in a well-ventilated area to avoid inhaling fumes.
- Use a steady hand to create smooth designs.
- Experiment with different colors and textures.
Recognizing these tips will help you achieve beautifully painted candles.
Common Mistakes to Avoid
Among the top missteps in painting candles, failing to prep your candles properly is a significant oversight. Skipping the cleaning process can lead to uneven paint adherence, while not allowing the wax to cool adequately before painting can ruin your design. Ensure you avoid these errors to achieve a polished final product.
Creative Inspiration
Success in candle painting often comes from your creative imagination. Look for design ideas in nature, art, or even your favorite patterns. Don’t hesitate to mix colors or try innovative techniques, such as layering or using stencils. Embrace various themes, from minimalistic styles to vibrant, multi-colored patterns, that reflect your unique personality and taste.
Avoid conventional designs that may not resonate with your individual style. You can take your inspiration from unconventional sources, such as your surroundings, festivals, or even emotions. Use this creativity to craft personalized candles that tell a story or evoke memories. Think beyond traditional palettes; mixing unexpected colors can lead to stunning, one-of-a-kind pieces. When you inject your personality into your designs, the result will be striking and meaningful.
To wrap up
As a reminder, painting candles with wax is a creative and fulfilling process that enhances your candle-making experience. Start by melting your wax and selecting your colors before applying them with a brush or sponge. Make sure to let each layer dry thoroughly to ensure a smooth finish. Experiment with techniques and patterns to personalize your candles to match your style or occasion. By following these steps, you will be well on your way to creating beautiful, customized candles that will brighten any space.
FAQ
Q: What materials do I need to paint candles with wax?
A: To paint candles with wax, you’ll need a few crucial materials. First, gather paraffin or soy wax, candle dye or colored wax chips, a double boiler for melting the wax, and a brush or sponge to apply the wax. Additionally, have a thermometer on hand to monitor the wax temperature, as well as protective gear like gloves and an apron to keep your work area clean. You might also want to have wax paper or silicone molds to catch any drips while your candles dry.
Q: How do I prepare the candles for painting?
A: Before painting, ensure your candles are clean and ready for the wax application. Start by wiping the surface of the candles with a cloth to remove dust. If you’re working with smooth candles, consider lightly sanding the surface to help the wax adhere better. If you want to create designs or patterns, sketch them out on a piece of paper first. It can also help to do a test run on a scrap piece of wax or an old candle to practice your technique.
Q: How do I properly paint the candles with wax?
A: To paint the candles with wax, begin by melting your colored wax in the double boiler until it reaches the desired consistency. Once the wax is melted and cooled slightly to around 150°F (65°C), dip your brush or sponge into the wax and begin applying it to the candle surface. Work in thin layers, as multiple layers will create a more vibrant color. Allow each layer to dry completely before adding another. After finishing your design, let the candle cool for a few hours or until the wax solidifies completely. This will ensure your painted finish is durable and long-lasting.

