Color Your World – How To Make DIY Crayon Candles With Kids
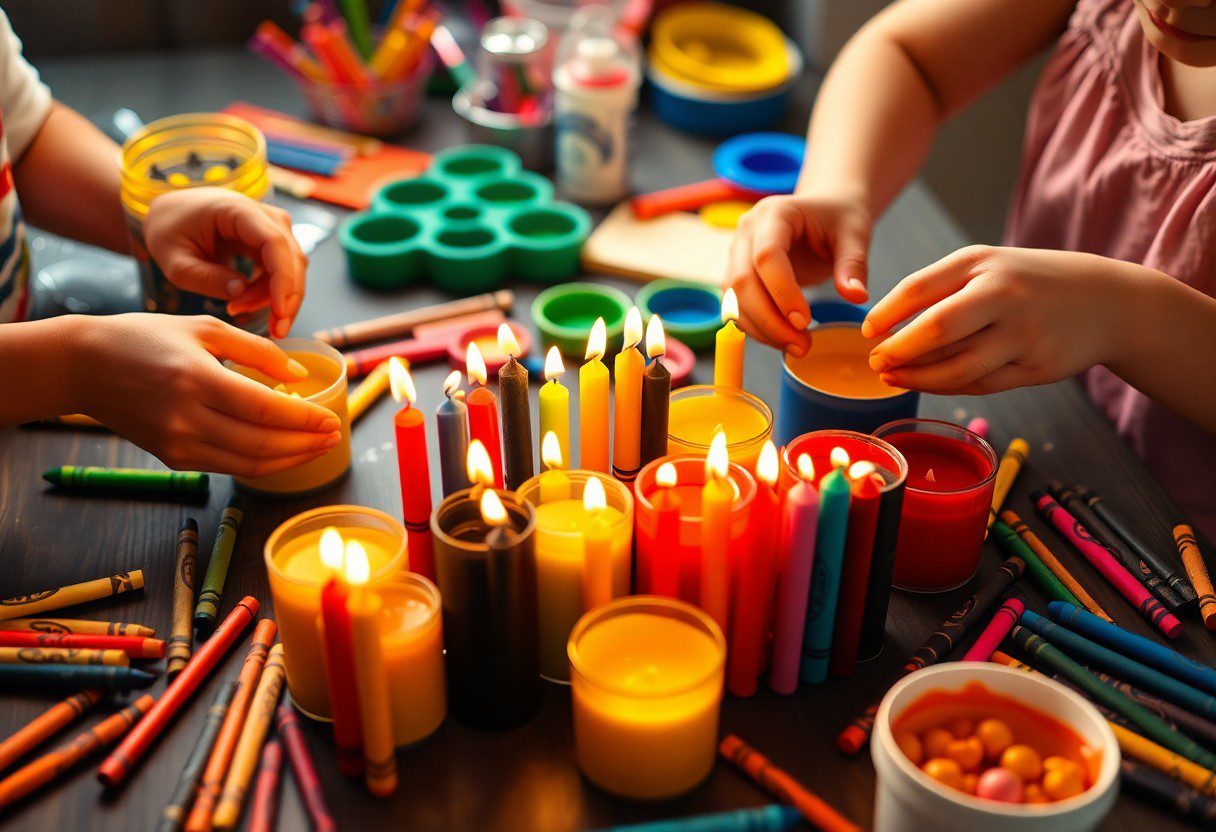
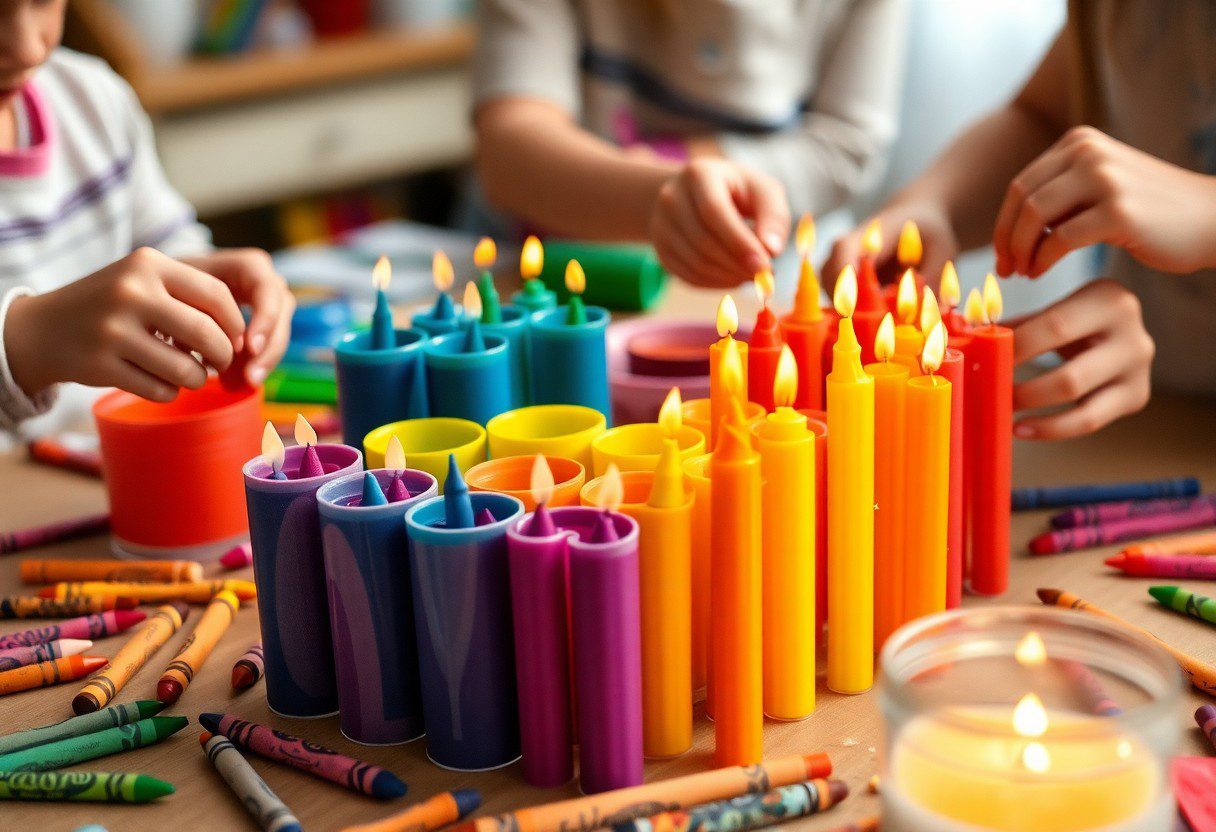
DIY crayon candles are a fun and creative way for you and your kids to express artistic flair while also recycling old crayons. This engaging project not only teaches your children about color mixing and candle-making but also allows you to bond over a shared creative activity. Always ensure you’re using adult supervision throughout the candle-making process, especially when working with melting wax. Follow this guide to create colorful, personalized candles that will brighten up your home and make fantastic gifts!
Getting Started
As you initiate on this exciting adventure of making DIY crayon candles with your kids, it’s imperative to set the stage for a fun and safe crafting experience. Gather your little ones and prepare to unleash your creativity while learning about colors and the fun of candle-making. The process combines art and science, perfect for a memorable family activity!
Gathering Materials
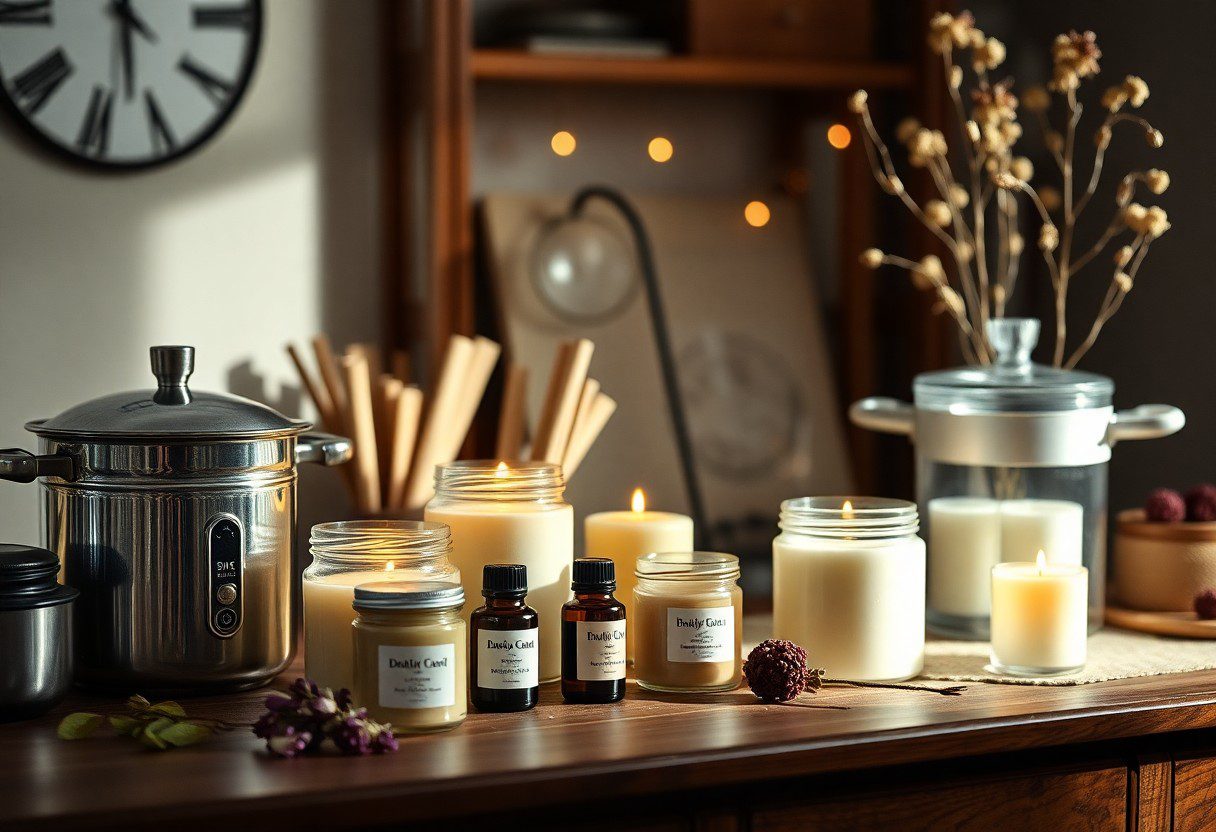
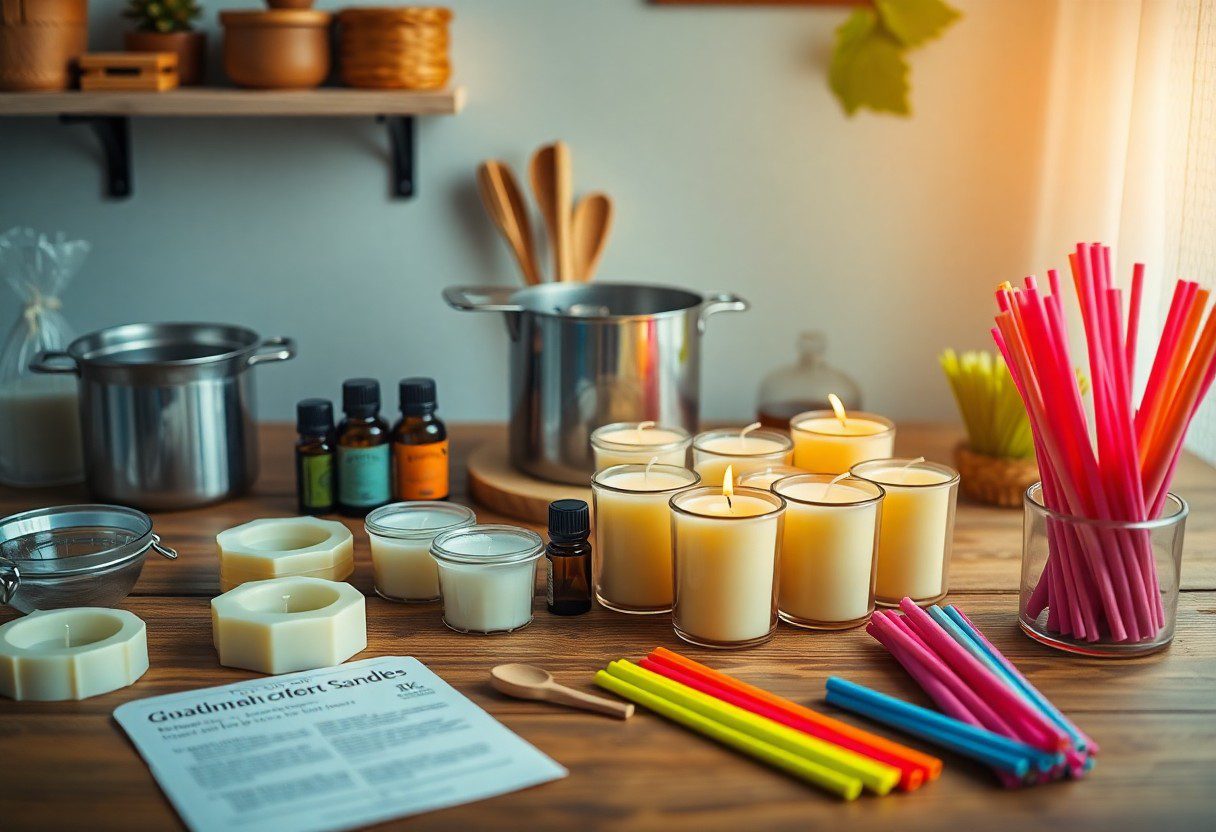
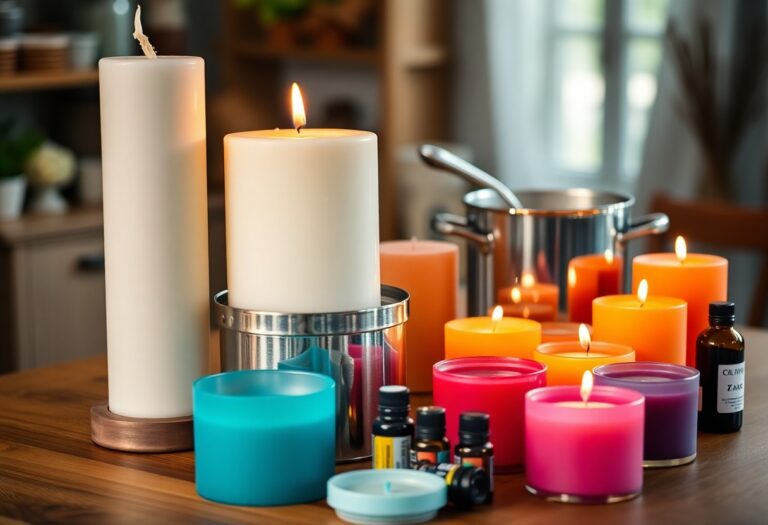
Now it’s time to round up all the materials you will need. Start by collecting old crayons, wax, a heat-proof container, candle wicks, and fragrance oils for added scent. Don’t forget safety gear, such as gloves and goggles, to ensure you and your kids are protected while crafting. Your gathering can be a part of the fun, so involve your children in choosing their favorite colors!
Safety Tips
On this crafting journey, safety is key. Before diving in, ensure you cover these important aspects:
- Always supervise children when using hot materials.
- Use a double boiler to melt wax safely.
- Have a fire extinguisher nearby in case of emergencies.
Assume that with proper precautions, you can enjoy a safe and fun candle-making experience.
Materials such as wax and crayons are involved in this project, which means there are potential hazards you should be aware of. Always work on a heat-resistant surface and wear appropriate protective gear to avoid burns or spills. It’s best to explain these safety measures to your kids beforehand, so they understand the importance of staying cautious. Assume that following these guidelines will lead to a delightful crafting experience without any hiccups!
Preparing the Crayons
Even though making DIY crayon candles with kids can be a delightful experience, proper preparation is important. Begin by gathering an assortment of used crayons, ensuring they are clean and dry. You can find helpful tips on how to Make DIY Crayon candles with kids this Diwali. This stage sets the foundation for an exciting craft session!
Choosing Colors
You can let your creativity flow by selecting your favorite crayon colors. Consider mixing vibrant shades to create unique candle hues. Encourage your kids to pick colors based on themes or their favorite colors, as this will make the project more enjoyable for everyone involved.
Breaking and Sorting
For the next step, break the selected crayons into smaller pieces. This ensures that they melt evenly and fit nicely into your candle molds. Supervise your kids during this process to keep it safe and fun!
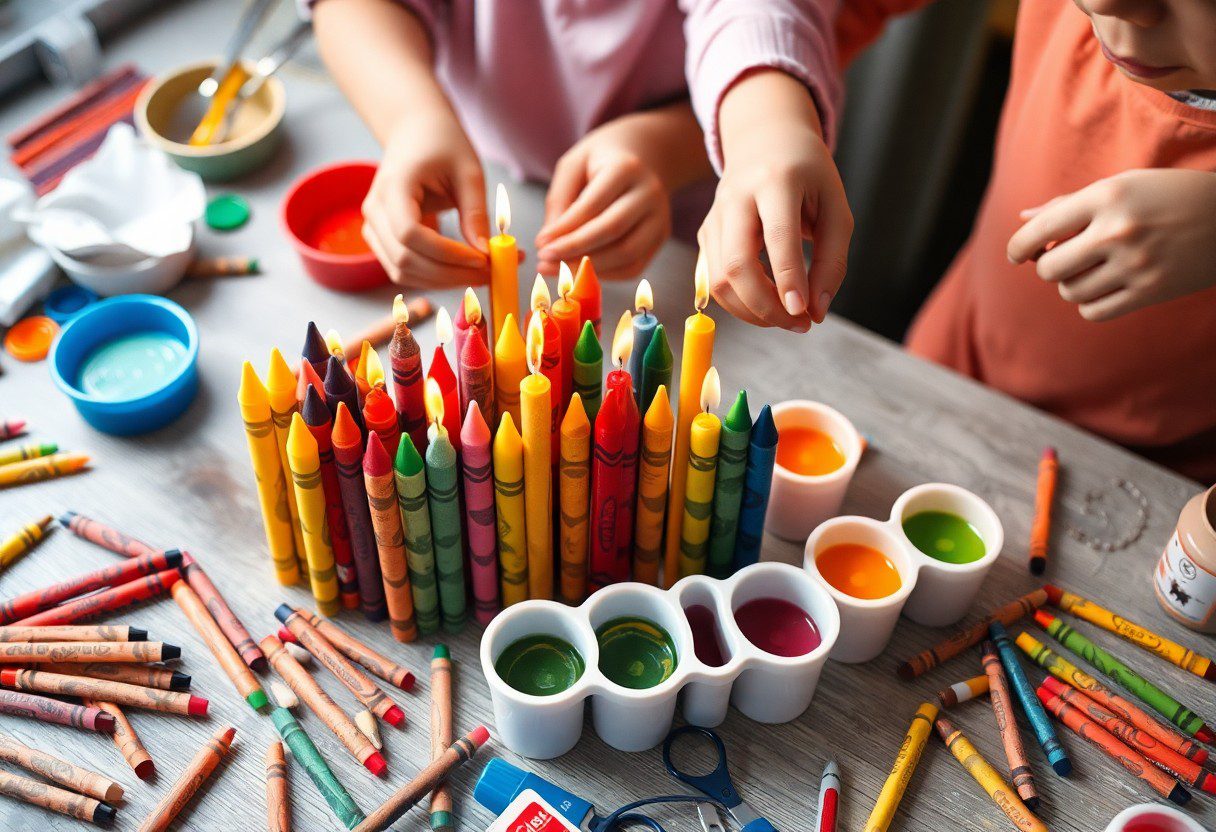
This is where the real fun begins! Gather the broken crayon pieces and sort them by color in separate bowls. This allows your kids to observe the variations in shades and encourages organization skills. Ensure that the breaking of crayons is done carefully to avoid any injuries, as some parts can be small and sharp. By keeping the experience positive, you can enhance your child’s creativity and excitement about the project!
Melting the Crayons
Clearly, melting the crayons is a vital step in creating your DIY crayon candles. You’ll witness the vibrant colors transform into a smooth liquid, ready to be poured into molds. The melting process can be a fun and educational experience for your kids, allowing them to see how heat changes the form of solid crayons. Just be sure to supervise to ensure safety!
Methods for Melting
If you want to melt your crayons efficiently, you can use one of two popular methods: the microwave or a double boiler. The microwave is a quick option—simply chop up your crayons, place them in a microwave-safe container, and heat in short intervals. Alternatively, a double boiler helps control the temperature, providing a more gradual melt to prevent burning.
Tips for Even Melting
Melting crayons can sometimes lead to uneven results, but a few simple tips can help achieve a consistent blend. First, chop your crayons into smaller pieces for faster melting. Second, avoid overheating to prevent burnt wax, which can alter colors and produce smoke. Lastly, stir regularly while melting for an even mix. The
- smaller pieces ensure quicker melting
- avoid overheating for better results
- stir regularly to maintain even consistency
Melting your crayons can be a straightforward process if you take the right precautions. To achieve consistent results, use a thermometer to monitor the temperature, keeping it below 350°F. Opt for a well-ventilated area during melting to prevent any overwhelming smells. The
- thermometer ensures you avoid overheating
- well-ventilated area is imperative for comfort
- uniform stirring enhances the color mix
Pouring the Wax
For an exciting finish to your DIY crayon candles, pouring the wax is a thrilling step. Make sure to Learn How to Make Crayon Candles: 15 Steps (with Pictures), and as you pour, focus on creating an even distribution of wax and color. Be cautious; hot wax can be dangerous, so keep a steady hand and take your time!
Preparing the Candle Molds
While getting ready to pour, ensure your candle molds are clean and dry. This is the perfect time to use silicone molds, as they make it easy to pop out your finished candles. If you’re using metal molds, lightly grease them to ensure smooth removal once the wax has cooled. Proper preparation here can save you a lot of hassle later on.
Pouring Techniques
Some effective pouring techniques can enhance the look of your candles and prevent mess. Start by holding the pouring container at a slight angle, allowing the wax to flow slowly into the mold. This helps prevent air bubbles and creates a smoother finish. Additionally, try to pour the wax in small amounts at a time, allowing it to settle before adding more. This results in a cleaner and more aesthetically pleasing candle when it solidifies.
Pouring the wax can be an exciting yet potentially dangerous step. Ensure you use a heat-resistant container and keep hot wax away from children. Pour slowly and steadily, and aim for the center of the mold to minimize splashes. If you notice any bubbles forming, gently tap the mold on the surface to release them. Always prioritize safety by wearing gloves and protective eyewear during this process, as hot wax can cause burns.
Adding Fragrance and Color
Now that you have your DIY crayon candles melted and poured, it’s time to elevate the experience by adding fragrance and vibrant colors! Selecting the right scents and shades can make your candles truly enchanting. Choose fragrance oils or necessary oils that appeal to you and your kids. Keep in mind that the colors you choose can impact the mood and aesthetic of the candle, so let your creativity shine as you blend colors for a personalized result!
Essential Oils Considerations
Assuming you wish to incorporate necessary oils, it’s important to choose those that are safe for children, as some oils can be irritants or toxic. Opt for oils derived from natural sources, such as lavender or orange, which provide delightful scents and calming effects. Always dilute the necessary oils properly and consider conducting a patch test to ensure no skin reactions occur, making this a safe and enjoyable crafting experience for you and your kids.
Layering Colors Effectively
For stunning visuals, layering colors in your candles will create an impressive effect. Choose contrasting shades for a bold look or similar hues for a gradient style. Allow each layer to cool slightly before pouring the next to achieve clear boundaries and prevent blending, ensuring that you create distinct layers. Use a spoon or a stick to gently scrape the edges between layers if they cool too much and need a little merging for a seamless transition.
Layering your colors can create a beautiful, artistic effect in your candles. Start by pouring one color and allowing it to cool until it’s just firm, which typically takes about 10-15 minutes. Then, pour the next layer carefully on top to avoid mixing. If you wish to add texture between layers, gently swirl the top of the previous layer with a toothpick or stick after it cools, ensuring you maintain distinct layers without allowing them to completely mix. This careful technique will grant your candles a professional appearance, while the vibrant hues serve to enhance your home décor or make wonderful gifts!
Final Touches
Many children will be thrilled to see their creative efforts bloom into beautiful candles. Once you have poured the colored wax into the molds and added the crayons, now it’s time to finish them off with a few final touches. These thoughtful details not only enhance their beauty but also make the candles uniquely yours. From selecting appropriate wicks to arranging intricate designs, this final stage will elevate your handmade creations into something truly special.
Cooling and Setting
Setting the candles properly is vital for achieving a smooth finish. After pouring the melted wax, allow the candles to cool at room temperature for about 30 to 60 minutes. This process helps the wax solidify evenly, ensuring a sturdy candle. If you’re in a hurry, placing the molds in the fridge for about 15 minutes can expedite cooling, but be cautious not to rush the process too much, as this may cause cracks.
Decorating the Candles
You can elevate your DIY crayon candles by incorporating unique decorations. This can involve adding embellishments like dried flowers, glitter, or even layering different colored wax for a striped effect. The possibilities are endless, allowing your children to express their creativity fully.
Understanding how to enhance your candles with decorations can make them even more appealing. If using glitter, ensure you choose a non-flammable type designed for candle use. Adding dried flowers can give your candles a beautiful, natural aesthetic — just make sure they’re safely embedded within the wax to prevent any fire hazards. By supporting your kids in these decoration efforts, you’re not only enhancing the final product but also fostering their creativity and imagination.
Final Words
From above, engaging in DIY crayon candle-making with your kids is a creative and fun way to explore art and science together. Not only do you repurpose old crayons, but you also enjoy quality bonding time while crafting unique candles for your home. By following the simple steps outlined, you’ll empower your children to express their creativity while learning about the candle-making process. Embrace this colorful adventure, and let your imagination shine as you light up your world with your handmade creations.
FAQ
Q: What materials do we need to make DIY crayon candles with kids?
A: To make DIY crayon candles, you will need the following materials:
– Crayons (broken or whole, various colors for fun)
– Candle wax (soy wax or paraffin wax)
– Candle wicks
– Small containers (like metal tins or glass jars)
– Double boiler or microwave-safe bowl
– Stirring sticks (like wooden spoons or chopsticks)
– Optional: scents or imperative oils for added fragrance
Q: How can we safely melt the crayon wax without harming the kids?
A: It’s important to prioritize safety when melting wax. Use a double boiler method, where you place a smaller pot or bowl inside a larger pot filled with water. This helps to gently melt the wax without direct heat that can cause burns. If using a microwave, melt the wax in short intervals (15-30 seconds), stirring in between to avoid overheating. Always supervise kids during this process and ensure they stay a safe distance from the heat source.
Q: What are some creative ideas for customizing our DIY crayon candles?
A: Customizing your DIY crayon candles can be a fun project! Here are some ideas:
– Layered Colors: Pour different colors of melted wax one layer at a time for a striped effect.
– Fun Shapes: Use silicone molds to create unique shapes, such as animals or stars.
– Scent Combinations: Mix crayon colors with complementary imperative oils to make the candles smell as good as they look.
– Themed Candles: Make seasonal candles (like red and green for Christmas, pastels for Easter) using specific color combinations.
Encourage your kids to experiment with their creativity and come up with their own designs!

