how to make pillar candle
There’s a delightful satisfaction in creating your own pillar candle, allowing you to customize the size, shape, and fragrance to fit your style. In this guide, you will learn the vital steps to safely melt wax, use molds, and add color or scents to your creation. Handling hot wax requires care, so be vigilant about safety precautions. With a few simple materials and techniques, you’ll not only enhance your space with your beautiful, homemade candles but also gain a rewarding skill that you can share with others.
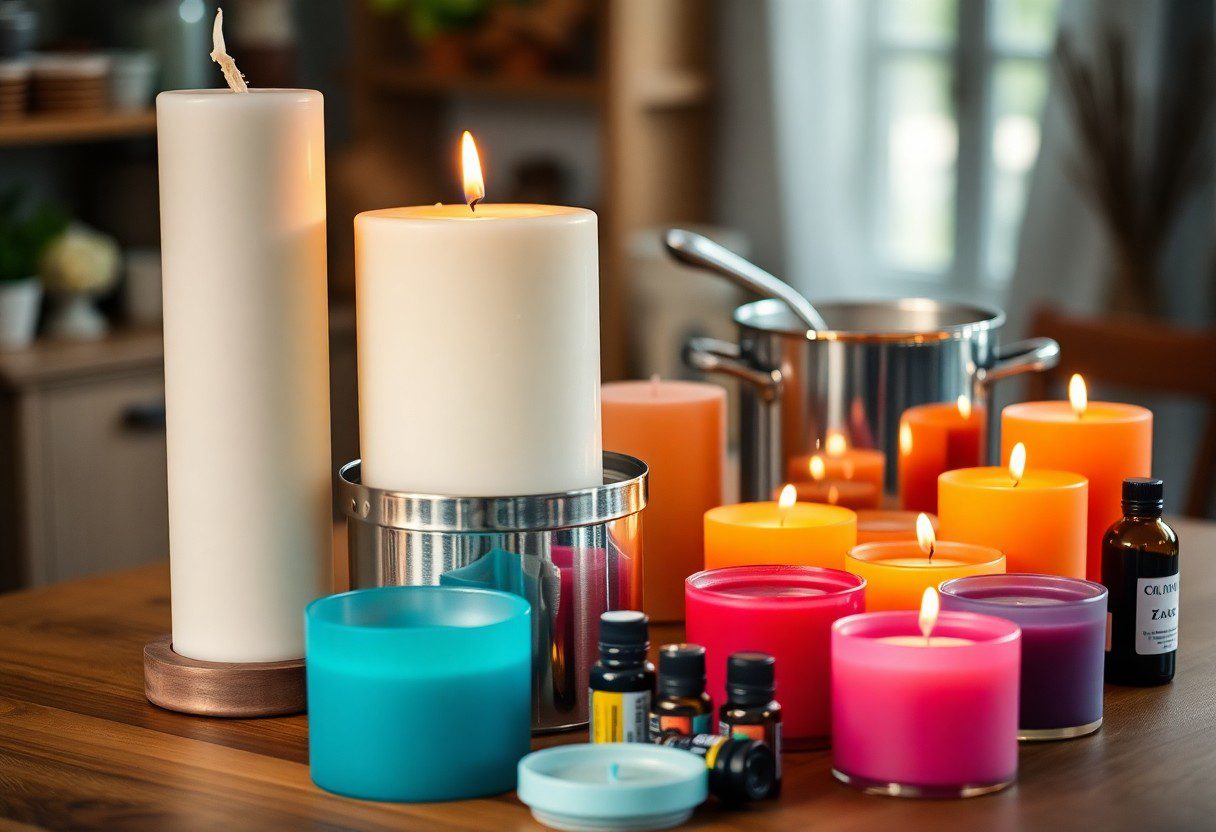
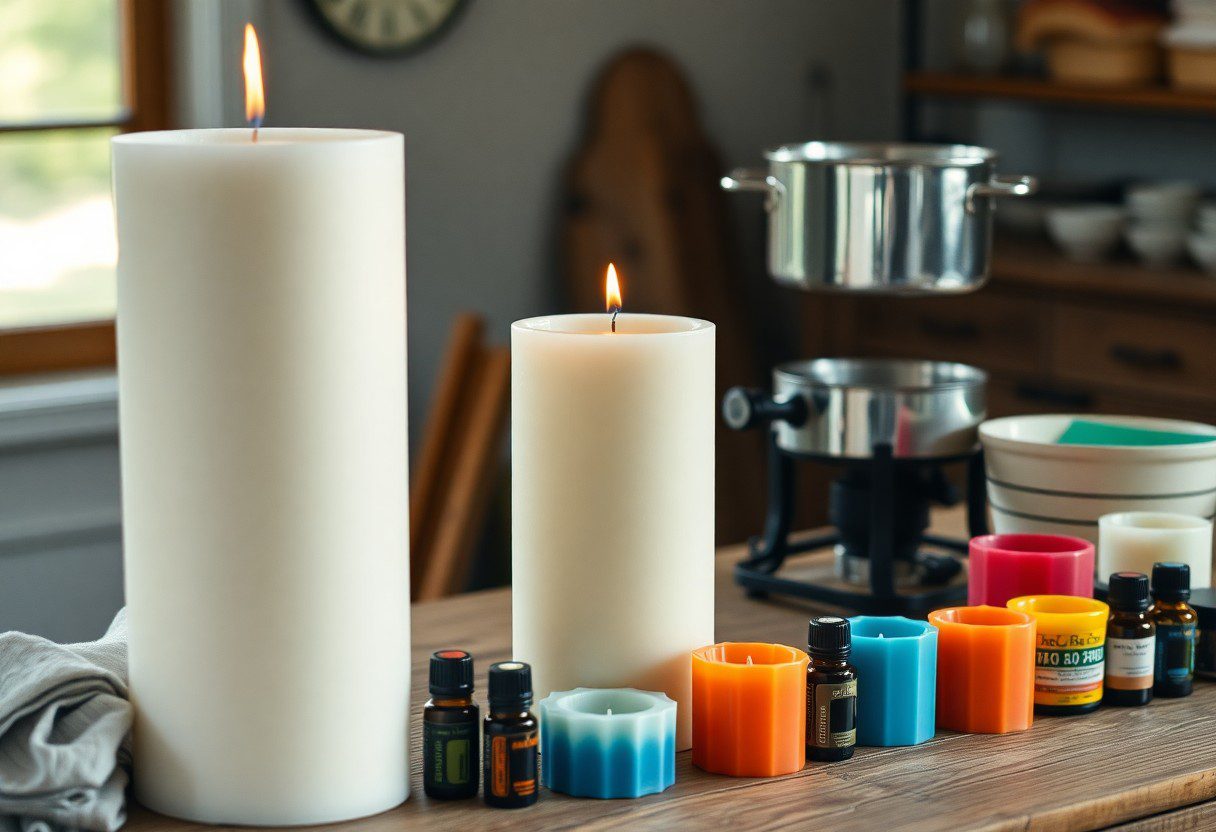
Materials and Tools Required
The items you will need to create your own pillar candle include wax, wicks, molds, and a double boiler for melting. Don’t forget to stock up on a thermometer to check the temperature, a pouring pot for seamless pouring, and dye and fragrance for customization. Having these necessary tools and materials ready ensures a smooth candle-making process and enhances the quality of your end result.
Wax Types
The type of wax you choose is important for the performance and aesthetics of your candle.
- Paraffin Wax: This is the most common and affordable option for beginners.
- Soy Wax: A popular eco-friendly alternative that burns cleanly.
- Beeswax: Known for its natural scent and long burn times.
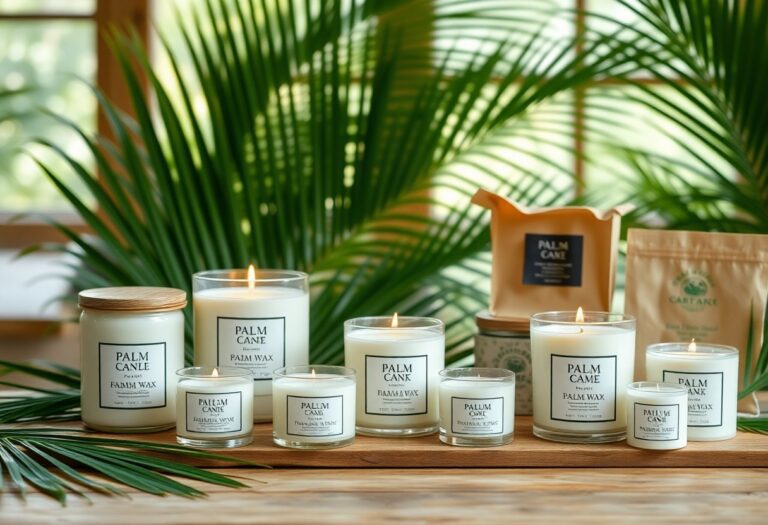
- Palm Wax: Often used for its unique crystalline appearance.
- Gel Wax: Best for decorative candles due to its transparency.
Thou can choose based on your preferences and the desired effect of your candle.
Wick Selection
A variety of wick sizes and materials are available to suit your candle’s size and wax type.
Wick selection involves choosing the right size and type, including cotton, wood, or even eco-friendly options. A wick that is too small will lead to an inconsistent burn, while one that is too large can create soot and excessive smoke. You want to ensure optimal performance, so take the time to test different wick sizes with your chosen wax type to achieve a balanced flame.
Molds and Containers
Across this project, the choice of molds and containers will influence the shape and burn characteristics of your pillar candle.

Hence, be sure to select molds made of heat-resistant materials such as metal or silicone, which can withstand the molten wax temperatures. Various designs and sizes are available, from traditional cylindrical molds to decorative shapes. Make sure your mold is adequately prepared with a release agent if necessary to enable easy removal of your candle once hardened.
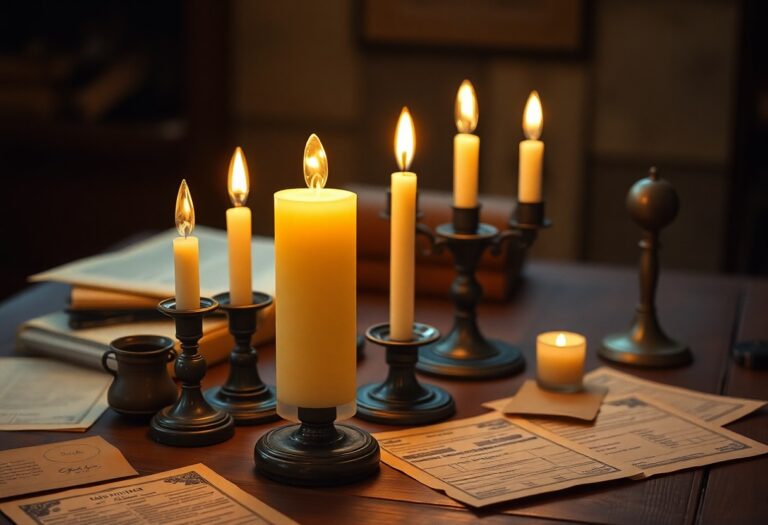
Preparing the Workspace
It is crucial to prepare your workspace effectively to ensure a smooth candle-making process. Begin by selecting a flat, stable surface that is well-ventilated and free from clutter. Lay down some newspaper or a drop cloth to catch any spills, as candle wax can be challenging to clean. Gather all the necessary tools and supplies, including wax, wicks, molds, and a double boiler, to keep everything within reach and organized.
Safety Precautions
Beside ensuring an orderly workspace, you must prioritize safety. Wear protective gloves and eyewear to shield yourself from hot wax splatters. Keep a nearby fire extinguisher handy and avoid distractions while working to minimize risks. Additionally, work in a well-ventilated area to prevent inhalation of any fumes from the melting wax.
Setting Up the Work Area
Behind a well-arranged work area lies the foundation for a successful candle-making experience. Clear your surface of unnecessary items and position all your materials close to you, including melting pot, thermometer, thermometer, and fragrance oils. Ensure that all equipment is in good condition and ready for use. This organization will help you to maintain focus and efficiency during the process.
Consequently, a well-prepared work area not only enhances your productivity but also reduces the risk of accidents that could occur during candle making. Make sure you have your double boiler ready on a stable surface, as it will be crucial for melting the wax safely. Stay organized by placing your molds and tools within easy reach, which allows you to focus on crafting beautiful candles without unnecessary interruptions. Always keep a fire extinguisher accessible in case of emergencies, as candle-making involves working with hot materials.
Melting the Wax
Not all wax melts in the same way, so it’s important to use a method that suits your setup and needs. Whether you prefer using a double boiler, microwave, or electric wax melter, choose a method that allows for safe heat application. Safety is key here; always monitor the process closely to prevent any risks associated with overheating the wax.
Choosing the Right Method
The method you select for melting wax can significantly impact the quality of your pillar candle. A double boiler allows for even heat distribution, while a microwave offers speed. Ensure you follow safety guidelines no matter which technique you choose.
Temperature Control
Melting wax at the correct temperature is important for a successful candle. Too high a temperature can cause the wax to burn and release toxic fumes, while too low can prevent proper melting. Keep a thermometer handy to monitor the temperature carefully.
Temperature Guidelines| Wax Type | Optimal Temperature |
| Paraffin | 180-190°F |
| Soy | 170-180°F |
Melting your wax correctly is more than just about temperature; it’s about achieving the right consistency for pouring. Use a thermometer to keep a close check on the wax’s temperature throughout the melting process, ensuring it doesn’t exceed recommended levels. Always create a safe working environment, as improperly handled wax can be hazardous.
Method Comparison| Method | Pros and Cons |
| Double Boiler | Even heat, safe; takes longer |
| Microwave | Quick, convenient; risk of overheating |
By selecting the appropriate melting method and maintaining temperature control, you set yourself up for a successful candle-making experience. Evaluate your options carefully to combine speed and safety effectively, ensuring your pillar candle creation goes smoothly.
Pouring the Candle
Despite the challenges, pouring your candle can be an enjoyable and fulfilling experience. You’ll want to ensure that your wax is at the right temperature before pouring it into the mold for optimal results. For a comprehensive guide, check out How to Make a Pillar Candle, which offers detailed steps and tips to achieve a beautifully crafted candle.
Pouring Techniques
At this stage, you can choose to pour your wax in a steady stream to ensure an even fill or utilize a spoon for a more controlled approach. The pour temperature will typically range between 140°F to 160°F, avoiding air bubbles and ensuring the wax adheres well to the sides of the mold.
Layering for Color Effects
On your journey to creating visually stunning candles, layering wax in different colors can add a unique touch. Start by pouring a layer of your first color and allow it to cool until it sets, then pour your second layer. By repeating this process, you can achieve beautiful gradients and patterns.
Understanding the importance of timing is imperative when layering for colors. Allow each layer to cool sufficiently but not completely solidify before adding the next. This way, the layers can adhere properly for a strong bond. You should also use high-quality dyes that are designed for candle making to avoid fading. Additionally, ensure safety precautions when handling hot wax, as it can cause burns if spilled.
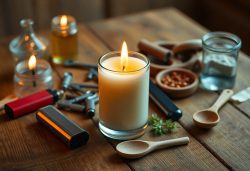
Setting and Finishing
All your hard work pays off during the setting and finishing stage. Once your pillar candle has cooled, ensure it is set securely and looks polished. You may need to level the top surface, which can be achieved by briefly heating a flat spatula and smoothing it over the surface. Finally, clean any drips or imperfections to achieve your desired aesthetic for a beautiful final product.
Cooling Time
At this stage, it’s important to remain patient and allow your candle to cool completely. Cooling typically takes several hours, depending on the size of your candle, so placing it in a safe, undisturbed area will ensure it sets properly. Avoid rushing this process to prevent cracks or uneven surfaces.
Trimming the Wick
About trimming the wick, this step enhances the overall appearance and functionality of your candle. After your pillar candle has fully cooled, use scissors to cut the wick to about ¼ inch above the wax surface. A trimmed wick will not only ensure a cleaner burn but also reduce soot and smoke.
And don’t underestimate the importance of a well-trimmed wick. A wick that is too long can create a large flame, increasing the risk of fire hazards and causing excessive soot. Conversely, a properly trimmed wick allows for an even burn while extending the life of your candle. Regular maintenance is key to getting the most out of your beautifully made pillar candle.
Decorating Your Candle
Unlike the straightforward process of pouring wax, decorating your candle allows for personalization and creativity. You can add various elements such as herbs, flowers, or colored wax layers to enhance its aesthetic appeal. For more detailed techniques and inspiration, check out The Ultimate Guide To Making Pillar Candles.
Additives and Fragrances
Among the various ways to elevate your candle-making experience, incorporating additives and fragrances can significantly transform your final product. You might choose natural options like imperative oils or synthetic fragrances to create a unique scent that personalizes your candles and enhances ambiance.
Surface Techniques
One approach to making your pillar candle truly unique is through surface techniques. Using methods like carving, embossing, or layering colors can dramatically alter the visual appeal of your candles, making them more attractive and engaging.
But while employing these surface techniques, be cautious of the tools and materials you use. Always opt for sharp carving tools and ensure proper safety gear to avoid injuries. Additionally, managing the temperature of your wax is important to prevent burns or accidental overheating. When done correctly, these techniques can yield stunning results, enhancing your candles’ beauty and offering a personal touch that reflects your creativity.
Summing up
Now that you understand the steps involved in making a pillar candle, you can confidently gather your materials and start crafting your own unique designs. By melting your wax, adding fragrance and color, pouring it into a mold, and allowing it to cool properly, you will create beautiful candles that enhance any space. Experiment with different shapes and scents to personalize your creations, and enjoy the soothing ambiance they bring to your home.
Q: What materials do I need to make a pillar candle?
A: To make a pillar candle, you will need the following materials: wax (paraffin, beeswax, or soy wax), a pillar candle mold, wick (cotton or wood), wick holder, fragrance oils (optional), colorants (optional), double boiler or a microwave-safe container, and a thermometer. Ensure you have a clean workspace and protective gear, such as gloves and eye protection, to keep safe while working with hot wax.
Q: How do I prepare the wax for pouring into the mold?
A: Start by cutting the wax into smaller pieces to help it melt evenly. Place the wax in a double boiler or microwave-safe container. Heat the wax gradually until it reaches the appropriate pouring temperature—typically around 170-180°F (77-82°C) for most types of wax. If you’re adding fragrance oils or colorants, do so once the wax is fully melted and at the correct temperature, stirring thoroughly to ensure even distribution.
Q: How do I properly set the wick in the pillar candle mold?
A: Before pouring the wax, secure the wick in the center of the mold using a wick holder or an adhesive. Make sure the wick is straight and centered to prevent uneven burning. Once the wax is melted and ready to be poured, carefully pour it into the mold, leaving a small space at the top to avoid overflow. Allow the candle to cool and harden completely before removing it from the mold.