Transform Your Space – A Complete Guide To DIY Scented Candles
Over the years, making your own scented candles has become a popular way to enhance your home’s atmosphere and express your creativity. In this complete guide, you will learn how to create beautiful, aromatic candles that not only illuminate your space but also fill it with delightful fragrances tailored to your taste. From selecting high-quality ingredients to mastering the pouring techniques, you will gain the skills to transform your environment with flavorful scents while enjoying a rewarding, hands-on project that can elevate any room.
Types of Scented Candles
The variety of scented candles available enhances your space and mood. Here’s a breakdown:
| Type | Description |
| Soy Candles | Made from soy wax, known for being eco-friendly. |
| Beeswax Candles | Natural and emits negative ions, purifying the air. |
| Paraffin Candles | Popular and affordable, however, may release toxins when burned. |
| Scented Tealights | Small, versatile, and perfect for creating ambiance. |
| Aromatherapy Candles | Infused with important oils for relaxation and wellness. |
Recognizing the different types of candles can help you choose the perfect one for your home.
Soy Candles
An excellent choice for the environmentally conscious, soy candles are made from soybean oil and burn cleaner compared to paraffin. They provide a longer burn time and can hold more fragrance, making them a favorite among candle enthusiasts.
Beeswax Candles
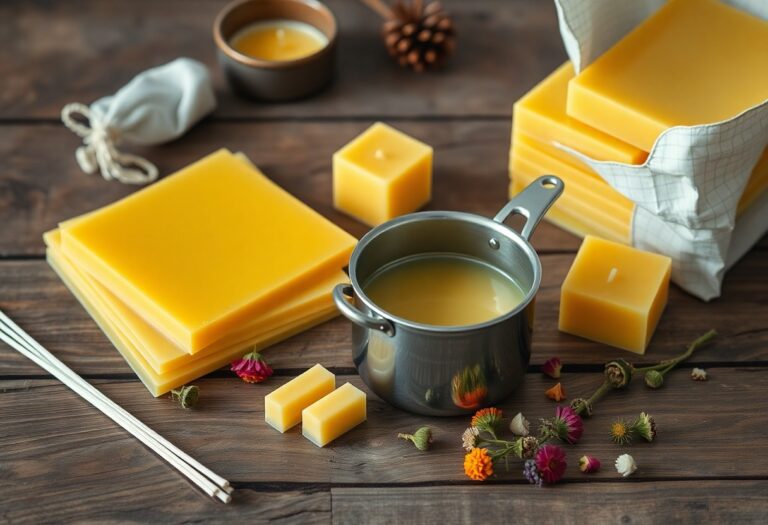
Even more natural, beeswax candles are derived from the wax produced by honeybees. They burn longer and produce minimal smoke, generating a warm glow and a subtle honey scent.
Beeswax candles not only create a cozy atmosphere but are also known for their natural air-purifying qualities. They emit negative ions when burned, which can help eliminate allergens, dust, and pollutants from your space, ensuring the air you breathe is cleaner and fresher.
Paraffin Candles
There’s a reason paraffin candles remain popular; they are widely available and economical. However, they are made from petroleum byproducts and can emit harmful chemicals when burned.
Types of paraffin candles can vary in quality; lower-quality ones may release carcinogens and soot into the air, potentially posing health risks when regularly used. Always consider opting for higher-quality options or other natural alternatives to enjoy a safer candle experience in your home.
Essential Tips for DIY Candle Making
Some imperative tips to enhance your DIY candle making experience include:
- Use high-quality wax for better results.
- Select the right wicks based on your jar size.
- Opt for premium fragrance oils to achieve desired scents.
- Test your candles for scent throw and burn quality.
Assume that with practice, you will master the art of candle making!
Selecting the Right Ingredients
Little attention to detail in selecting your ingredients can elevate your candle making. Start by choosing the best wax for your needs, whether it’s soy, paraffin, or beeswax. Next, focus on finding quality fragrance oils and color additives to achieve your desired scent and look. Your choices will significantly affect the final outcome of your candles.
Tools and Supplies Needed
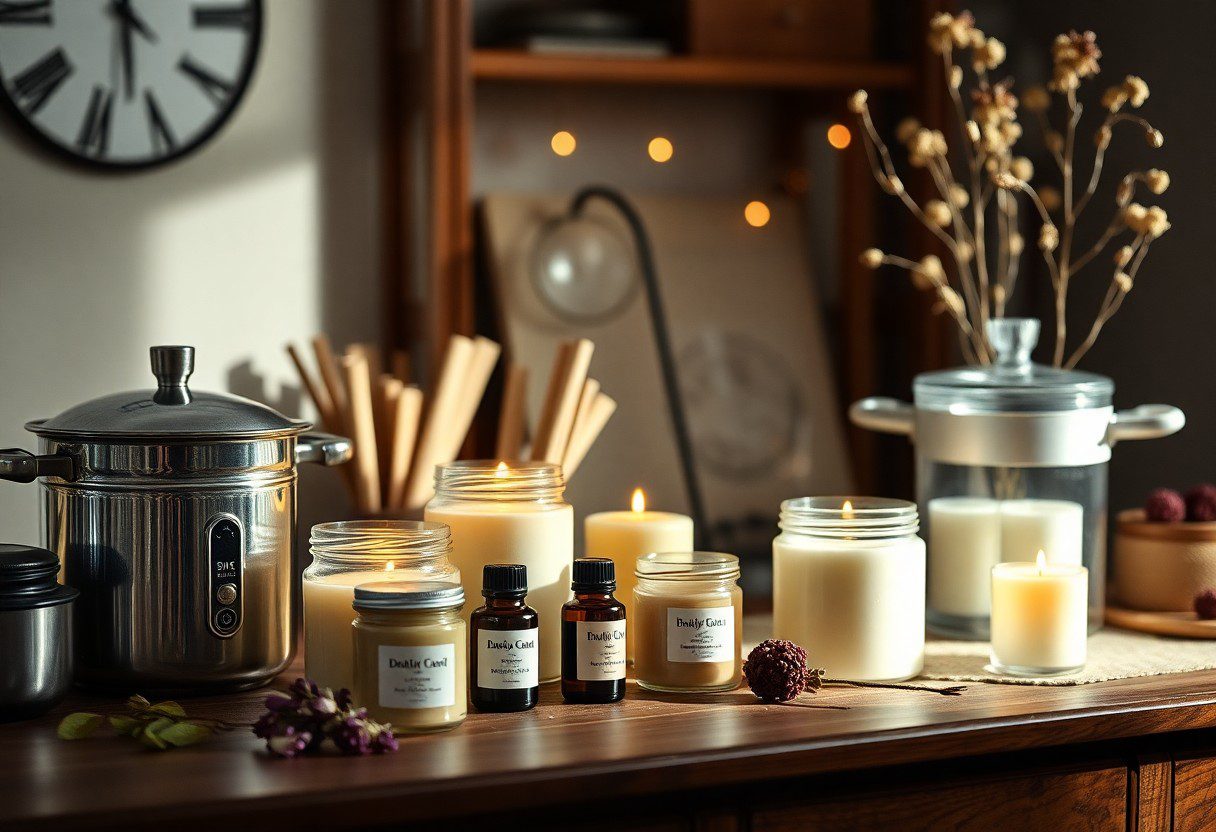
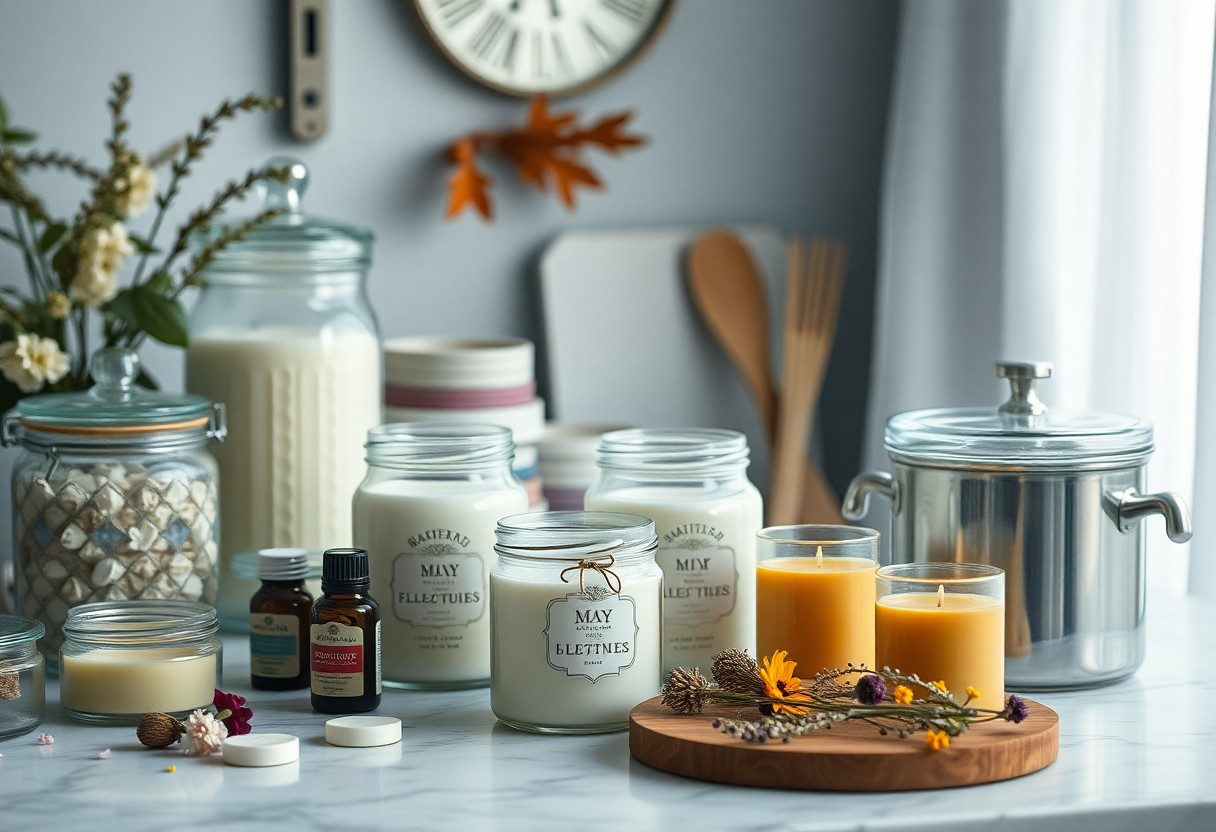
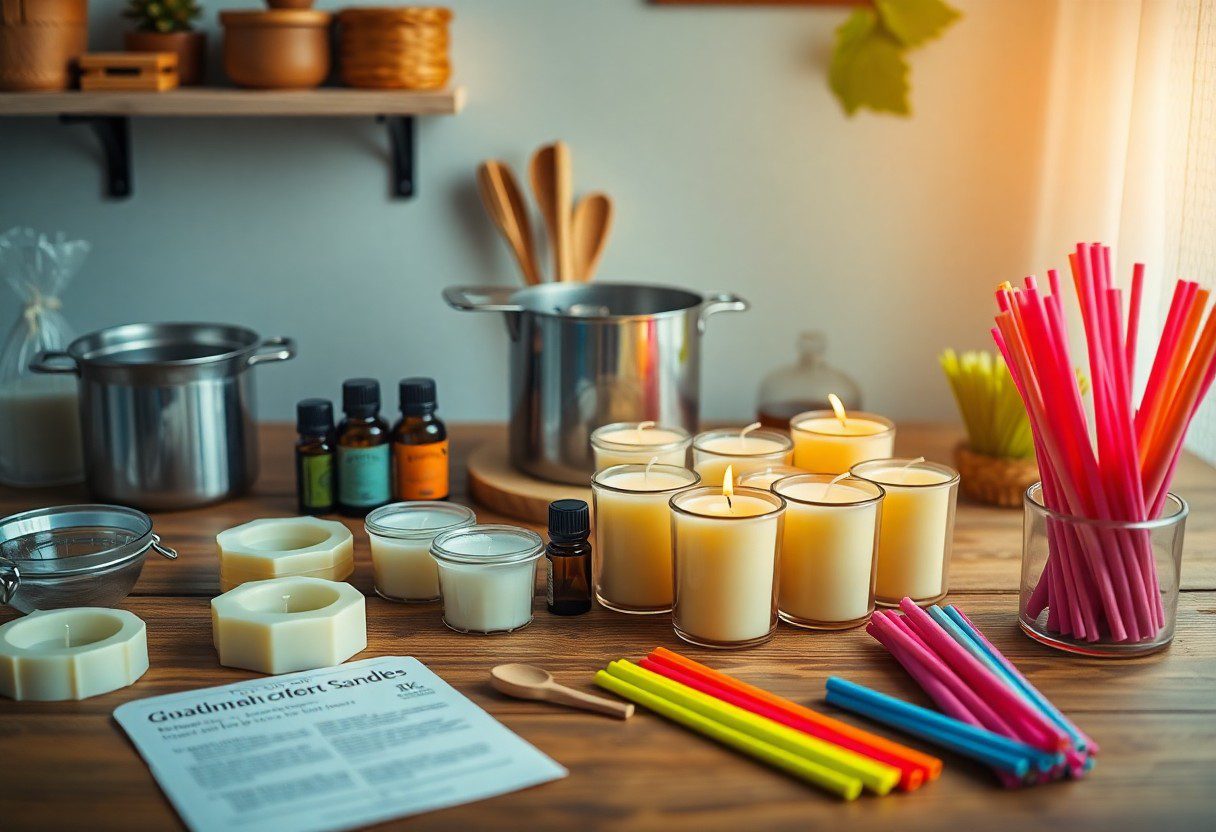
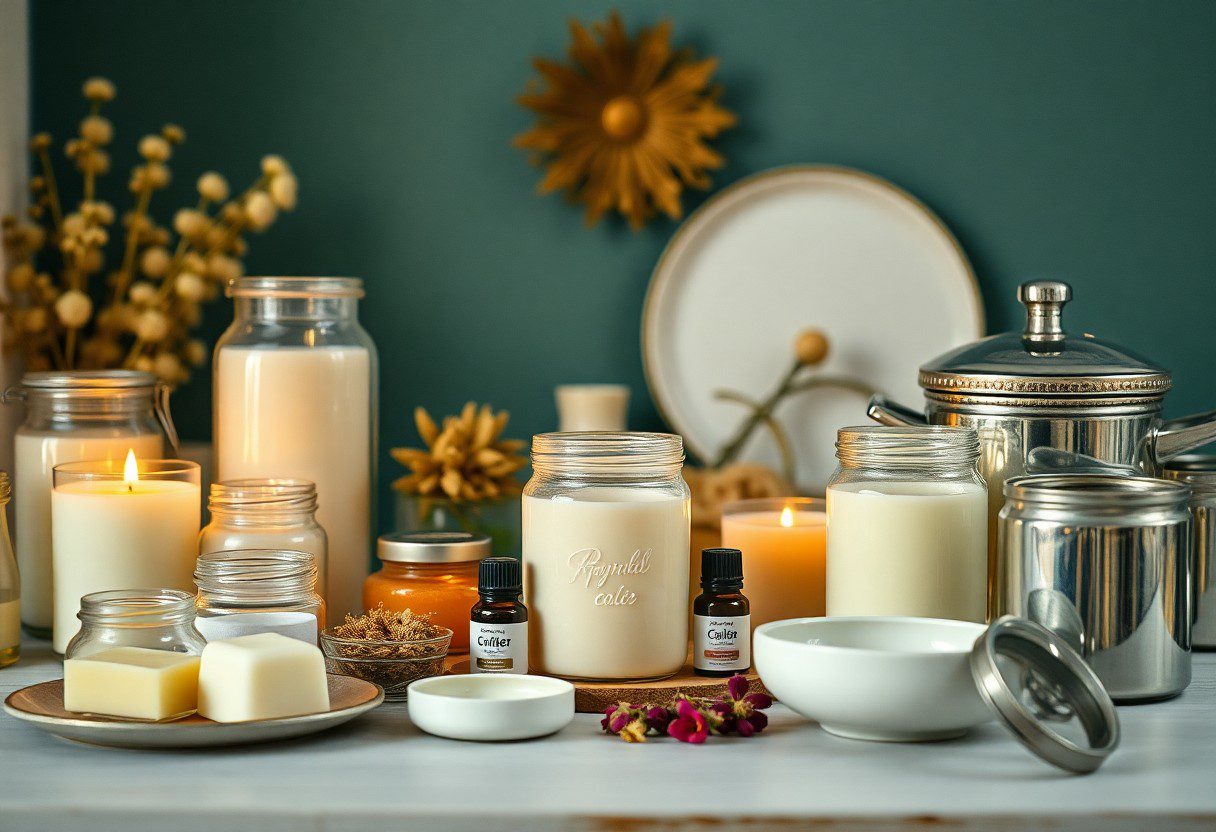
Essential tools and supplies for making scented candles include a double boiler for melting wax, thermometer to monitor temperatures, and various containers like jars or molds. You’ll also need a sturdy pair of scissors, a stirring utensil, and a scale for accurate measurements. Lastly, don’t forget the right wicks and fragrance oils to personalize each candle.
Making beautiful scented candles can be a rewarding process, provided you equip yourself with the right tools and supplies. Utilize a reliable double boiler to safely melt your wax; this minimizes the risk of overheating. Ensure your thermometer is accurate for optimal fragrance infusion and appropriate pouring temperatures. Use quality, suitable wicks to avoid issues like tunneling or uneven burning. By investing in these imperatives, your candle-making journey will be both enjoyable and successful.
Step-by-Step Guide to Making Your Own Scented Candles
Once again, creating your own scented candles is an enjoyable and rewarding experience! To guide you through the process, check out this 7-Step Guide to DIY Scented Candles for Beginners. Let’s break down the steps for your candle-making adventure:
| Preparation | Gather all your materials and ensure your workspace is clean. |
| Melting | Heat the wax until it reaches the appropriate temperature. |
| Mixing | Add fragrance oils and colorants to the melted wax. |
| Pouring | Carefully pour the mixture into your candle molds. |
| Setting | Allow the candles to cool and solidify properly. |
Preparing Your Workspace
Even before you start making candles, ensuring your workspace is well-organized is important. Clear a flat surface in your kitchen or craft area, and gather all necessary supplies like wax, wicks, and fragrance oils. Having everything accessible will make the process smoother and more enjoyable.
Melting and Mixing
Mixing your selected wax with fragrance oils is a thrilling step! Keep your thermometer handy to monitor the temperature, as it should be between 170°F to 180°F for optimal mixing. Pour your scents in at the proper temperature to ensure a strong, even scent in your candle.
Melting wax requires vigilance, as overheating can be dangerous. Use a double boiler for heating your wax gently to avoid direct heat. Stir while melting to achieve even consistency. After reaching the desired temperature, blend in your fragrance oils and colorants. This ensures that your candles not only smell delightful but are visually appealing.
Pouring and Setting
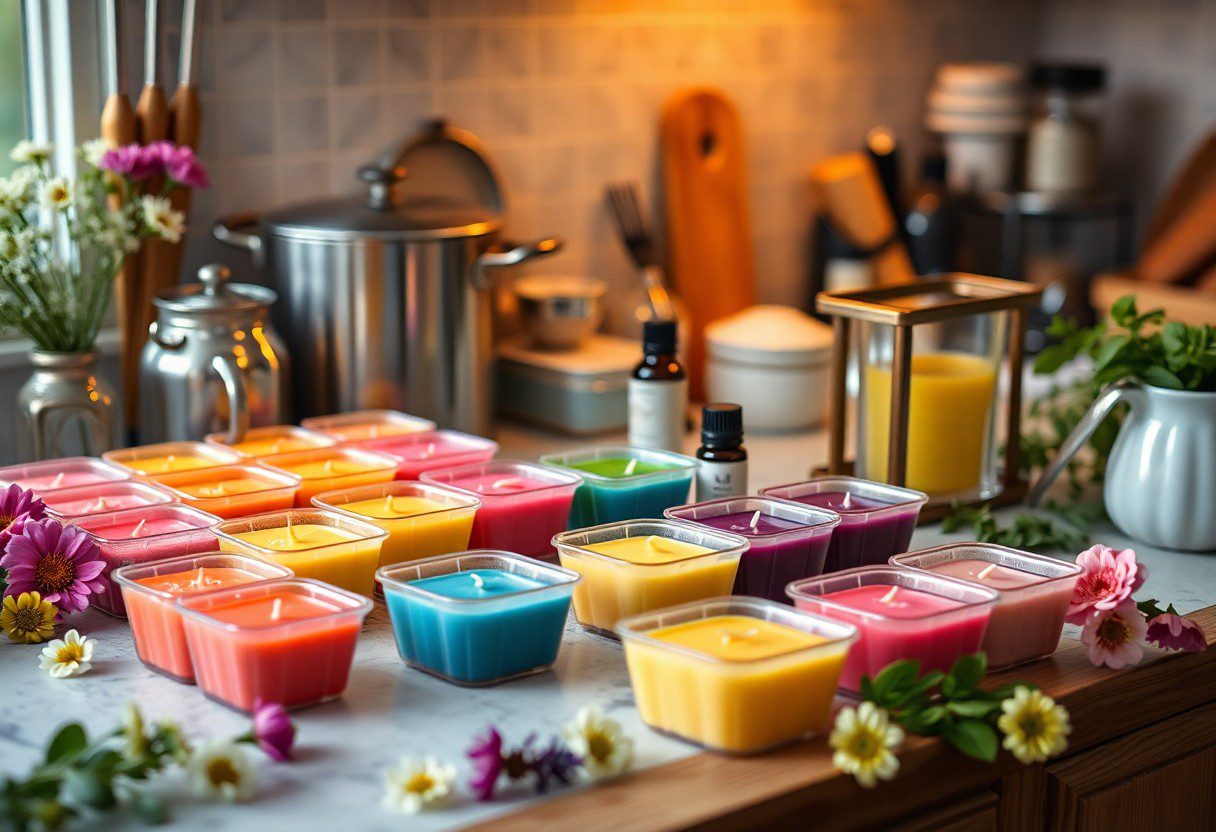
Scented wax is gently poured into the prepared containers, allowing you to create beautiful designs. Be cautious during this process, as the liquid wax is extremely hot. Fill each container, leaving a small amount of space at the top to prevent overflow.
A critical step in candle making is the setting phase. Allow the poured candles to cool undisturbed for several hours. As they solidify, you may notice small surface imperfections which you can fix by using a heat gun to smooth them out before fully setting. Once cooled and set, enjoy the fruits of your labor as your home fills with delightful fragrances!
Factors to Consider When Choosing Scents
Many factors come into play when selecting the perfect scents for your DIY scented candles. Consider your personal preferences, the mood you want to create, and the occasion for use. Additionally, think about the season and how different fragrances interact with your space. Being mindful of the surrounding environment will enhance your candle-making experience. Knowing these elements can elevate your scented candles from basic to extraordinary.
Personal Preferences
There’s no one-size-fits-all when it comes to selecting scents for your candles. Your personal preferences play a major role in shaping your candle experience. You might gravitate toward floral fragrances, earthy scents, or refreshing citrus notes. Take time to explore various aroma profiles and find combinations that resonate with you.
Seasonal Considerations
Assuming you want your candles to complement your environment, you might consider seasonal shifts in scent preferences. Each season brings distinct emotions and atmospheres, influencing your choices. Imagine cozy, warm spices like cinnamon in winter and bright, fresh florals during spring. You can enhance the ambiance of your home by aligning your candles with these seasonal themes.
Preferences often shift with the seasons, making it vital for you to tailor your scents accordingly. Using fragrances like pumpkin spice in fall or lavender in summer can create a harmonious atmosphere. Opt for festive scents during the holidays to evoke warmth and cheer, while crisp and clean aromas can refresh your space in spring. By adapting your candle scents to the season, you not only create a more inviting environment but also enhance your overall sensory experience.
Pros and Cons of DIY Scented Candles
To help you make an informed decision about creating your own scented candles, here’s a breakdown of the pros and cons:
| Pros | Cons |
|---|---|
| Customization of scents and colors | Time-consuming process |
| Use of natural ingredients | Potential for uneven burning |
| Cost-effective compared to store-bought | Requires initial investment in supplies |
| Fun and creative activity | Possible mess during the process |
| Ability to gift personalized candles | Safety concerns if not handled properly |
For more information, check out DIY Candles: The Ultimate Guide.
Advantages of Making Your Own
You can enjoy the freedom of personalizing each candle to your taste, selecting unique scents and colors that reflect your style. By using natural ingredients, such as soy or beeswax, you can create eco-friendly candles that complement your home environment. Furthermore, making candles can be a fulfilling and enjoyable activity, perfect for gifting them to friends and family on special occasions.
Disadvantages and Challenges
Making your own candles comes with specific challenges that you should consider.
Challenges may include ensuring safety when working with hot wax and maintaining proper ventilation to avoid inhaling fumes. Furthermore, you may encounter uneven burning or poor scent throw if the materials and methods are not correctly applied. Understanding how different waxes and wicks affect the burn can take time, and inconsistent results may require patience and experimentation. It’s crucial to follow safety guidelines and remain aware of the potential hazards involved in candle-making.
Creative Scent Blending Techniques
All great scents start with creativity and imagination. In this section, you will learn how to craft unique and stimulating aromas by blending different fragrance oils or vital oils. Experimenting with various combinations allows you to develop signature scents that not only reflect your personality but also transform your space into a fragrant haven. The art of scent blending is about finding harmony and balance between complementary notes, allowing you to elevate your DIY scented candle experience to new heights.
Layering Scents
If you want to add depth to your candles, layering scents is a fantastic technique to explore. By pouring different colors and fragrances in stages, you can create visually stunning candles that emit delightful aromas as they burn. Start with the base note, which is heavier and more robust, followed by middle notes for character, and finish with lighter top notes that provide a refreshing finish. It’s all about finding the perfect balance and allowing your imagination to soar.
Using Essential Oils
On your journey to create aromatic candles, incorporating vital oils can lead to delightful and therapeutic blends. They not only provide delicious scents but also offer potential wellness benefits. You can combine vital oils for calming effects, invigorating aromas, or even uplifting fragrances that enhance your mood. With so many options available, the possibilities for creating tailored scented candles are endless.
The benefits of using vital oils go beyond just fragrance. They can promote relaxation, stress relief, and even improve your focus. While working with vital oils, it’s important to note that some oils may be irritating to the skin or respiratory system, so always ensure proper dilution and perform a patch test if necessary. Opt for high-quality, therapeutic-grade oils to guarantee the best results. By blending different vital oils based on their individual profiles, your scented candles can become a source of both pleasure and well-being.
To wrap up
Taking this into account, creating your own scented candles can significantly enhance your living space while allowing you to express your unique style. By following the steps outlined in this guide, you can customize scents, colors, and containers to suit your preferences. You’ll not only enjoy a fragrant environment but also gain a rewarding sense of accomplishment from your DIY project. Embrace the creativity and soothing ambiance that homemade candles bring, and transform your space into a personal sanctuary of comfort and relaxation.
Q: What materials do I need to get started with DIY scented candles?
A: To commence on your DIY scented candle journey, you’ll need a few vital materials: wax (such as soy, paraffin, or beeswax), wick, fragrance oils, a double boiler or microwave-safe container for melting the wax, candle molds or jars, a thermometer, and a stirring utensil. Additionally, you might want to have a scale for accurate measurements, a pour pot for easy transfer, and colorants if you wish to add color to your candles.
Q: How can I choose the right fragrance for my candles?
A: Selecting the perfect fragrance for your candles involves considering both personal preference and seasonal themes. Start by exploring different fragrance oils available in stores or online. You can create a fragrance profile by blending scents, such as combining floral notes with citrus or woody undertones. It’s also beneficial to consider how strong you want the scent to be—typically, a ratio of 1 ounce of fragrance oil to every pound of wax works well. Experimenting with small batches can help you find the ideal scent for your space.
Q: What safety precautions should I take while making scented candles?
A: Safety is paramount when making scented candles. First, work in a well-ventilated area to avoid inhaling fumes from melting wax and fragrance oils. Use heat-resistant containers and tools to prevent burns, and always keep a thermometer handy to monitor the temperature of the wax. Additionally, be cautious of flammable materials and always keep water or a fire extinguisher nearby. Lastly, if you’re using any dyes, ensure they’re specifically meant for candle making to avoid unwanted reactions.

