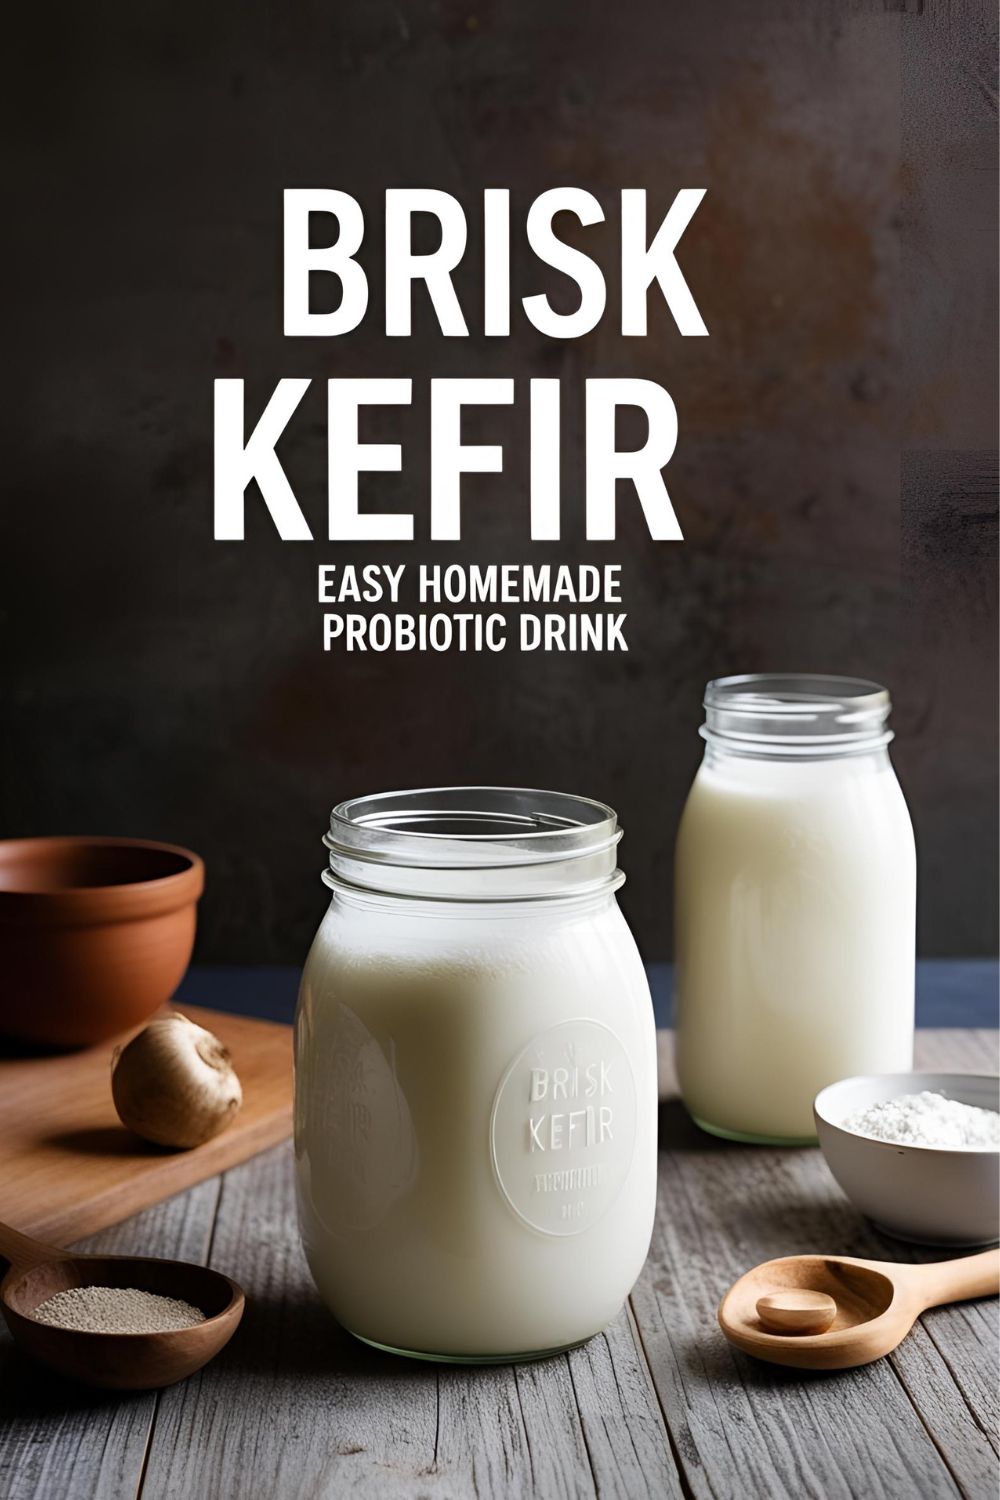
Brisk Kefir: The Lazy Person’s Guide to Probiotic Glory
A Quick, Catchy Intro with a Viral Hook
Ever stared at a bottle of store-bought kefir, squinted at the price tag, and thought, “Wait, I’m paying how much for fermented milk?” Same. Good news: making brisk kefir at home is so easy, even your cat could probably do it (though we don’t recommend letting Whiskers near your dairy).
If you’ve ever wanted to feel like a kitchen wizard with zero effort, this is your moment. Let’s turn your fridge into a probiotic powerhouse with this brisk kefir recipe.
Why This Recipe Is Awesome
Why should you care about brisk kefir? Oh, let me count the ways:
- Ridiculously easy: No fancy equipment, no culinary degree required.
- Budget-friendly: Your wallet will thank you.
- Gut health galore: Packed with probiotics to keep your digestive system humming.
- Customizable: Sweet, savory, fruity—your kefir, your rules.
- Impressive AF: Serve it to friends and bask in their awe.
Basically, it’s the superhero of fermented drinks—minus the cape.
Ingredients
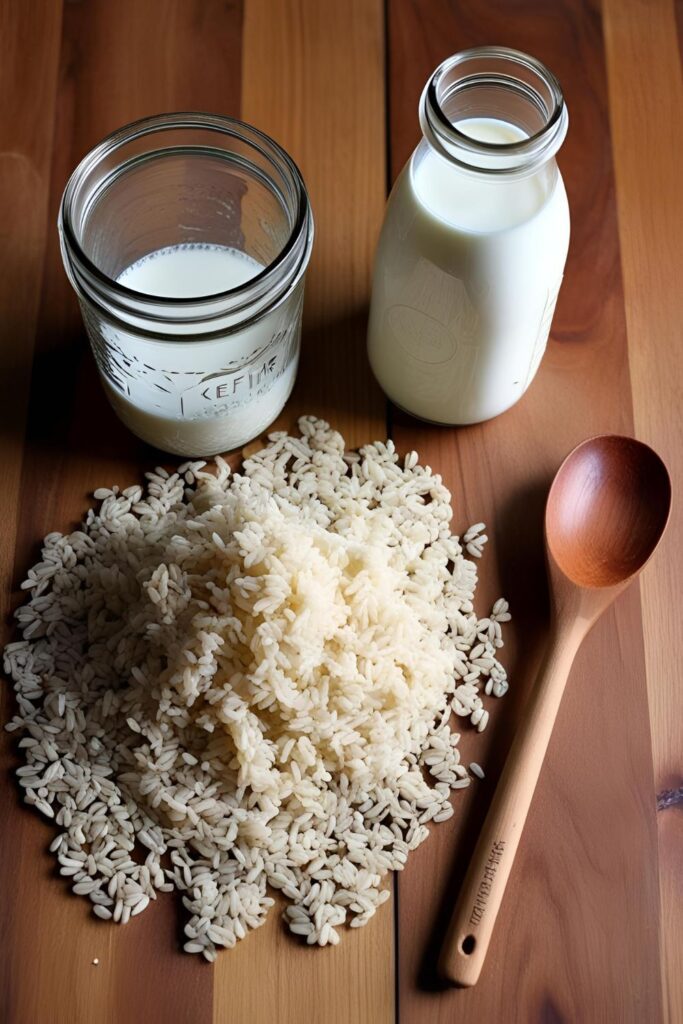
- 1 tablespoon kefir grains (the magical stuff)
- 2 cups fresh milk (whole milk preferred, but 2% works too)
- Substitutions: Goat milk, sheep milk, or non-dairy alternatives like coconut or almond milk. Just avoid ultra-pasteurized milk—it’s a no-go for fermentation.
Tools & Kitchen Gadgets Used
To make your brisk kefir, you’ll need:
- Glass jar (quart-sized mason jar is perfect)
- Plastic or wooden spoon (metal can harm the grains)
- Plastic mesh strainer (again, no metal)
- Coffee filter or paper towel (to cover the jar)
- Rubber band (to secure the cover)
- Measuring spoons
Optional but helpful:
- Thermometer (to monitor room temperature)
- Plastic funnel (for transferring kefir into bottles)
Step-by-Step Instructions
- Clean your tools: Wash everything with hot, soapy water. Rinse well. Your kefir grains are alive and deserve a clean home.
- Add kefir grains to the jar: Place 1 tablespoon of kefir grains into your clean jar.
- Pour in the milk: Add 2 cups of fresh milk to the jar.
- Cover the jar: Place a coffee filter or paper towel over the jar opening and secure it with a rubber band.
- Let it ferment: Leave the jar at room temperature (68–78°F or 20–25°C) for 24–48 hours. The longer it ferments, the tangier it gets.
- Check the consistency: After 24 hours, check if the milk has thickened to your liking. If not, let it ferment longer.
- Strain the kefir: Use a plastic mesh strainer to separate the kefir grains from the liquid. Gently stir with a plastic or wooden spoon to help the liquid pass through.
- Store the kefir: Transfer the strained kefir into a clean bottle or jar. Refrigerate and enjoy within a week.
- Reuse the grains: Place the kefir grains into a new batch of milk and repeat the process.
Calories & Nutritional Info
Per 1-cup serving of plain kefir:
- Calories: ~150
- Protein: 8g
- Fat: 8g
- Carbohydrates: 12g
- Probiotics: Billions (yes, billions) of CFUs
- Calcium: 30% of the RDA

Note: Nutritional values may vary based on the type of milk used.
Common Mistakes to Avoid
- Using ultra-pasteurized milk: It won’t ferment properly. Stick to regular pasteurized or raw milk.
- Metal utensils: Metal can harm the kefir grains. Use plastic or wooden tools.
- Neglecting cleanliness: Dirty equipment can introduce bad bacteria. Cleanliness is key.
- Over-fermenting: Leaving the kefir too long can make it overly sour and separate into curds and whey.
- Improper storage: Always store finished kefir in the refrigerator.
Variations & Customizations
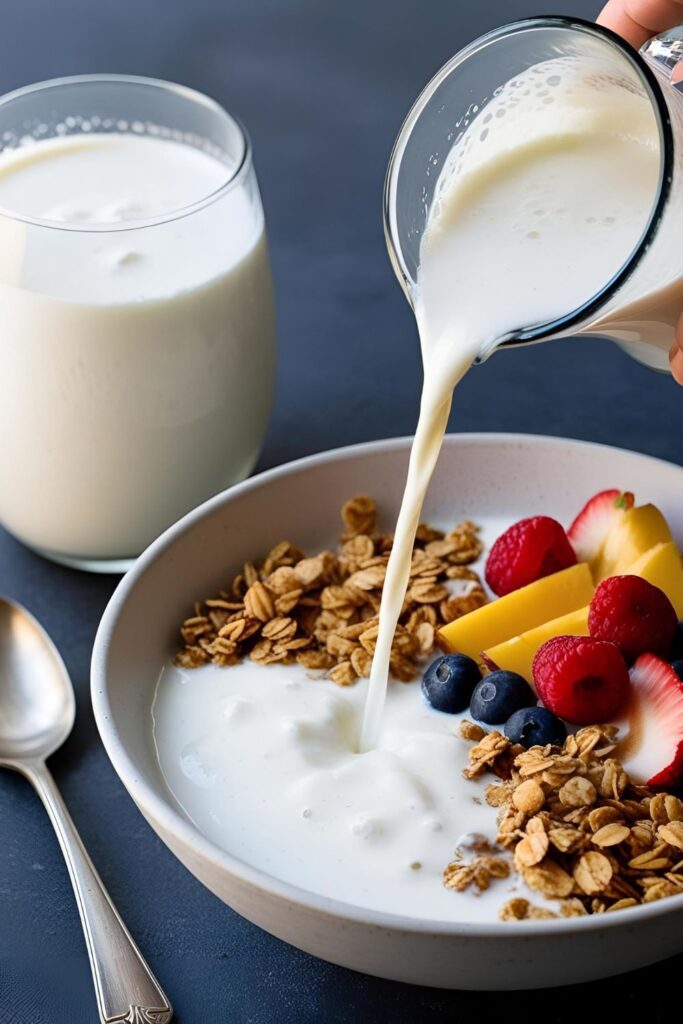
- Fruit-Infused Kefir: After fermentation, blend the kefir with fruits like strawberries, mangoes, or blueberries for a tasty smoothie.
- Herb-Infused Kefir: Add herbs like mint or basil during fermentation for a refreshing twist.
- Non-Dairy Kefir: Use coconut or almond milk for a dairy-free version. Note: You’ll need to refresh the grains in dairy milk periodically to keep them healthy.
FAQ Section
Q1: How long does it take to make kefir?
A: Typically, 24–48 hours at room temperature. The longer it ferments, the tangier it becomes.
Q2: Can I use non-dairy milk?
A: Yes, but the grains need to be refreshed in dairy milk every few batches to stay healthy.
Q3: How do I know if my kefir is ready?
A: It should have a tangy taste and a slightly thickened consistency.
Q4: Can I reuse kefir grains?

A: Absolutely! They can be reused indefinitely with proper care.
Q5: My kefir separated into curds and whey. Is it bad?
A: Not at all. Just give it a good stir or blend it for a smoother texture.
Q6: How should I store kefir grains when not in use?
A: Place them in fresh milk and store in the refrigerator for up to a week.
Q7: Is kefir safe during pregnancy?
A: Generally, yes. However, consult your healthcare provider if you have concerns.
Final Thoughts
Congratulations! You’ve just unlocked the secret to making brisk kefir at home. Not only is it cost-effective, but it also allows you to customize flavors to your heart’s content. Say goodbye to overpriced store-bought kefir and hello to your new probiotic BFF.

Got a favorite kefir flavor combo? Share it with us! And remember, in the world of fermentation, patience and cleanliness are your best friends.