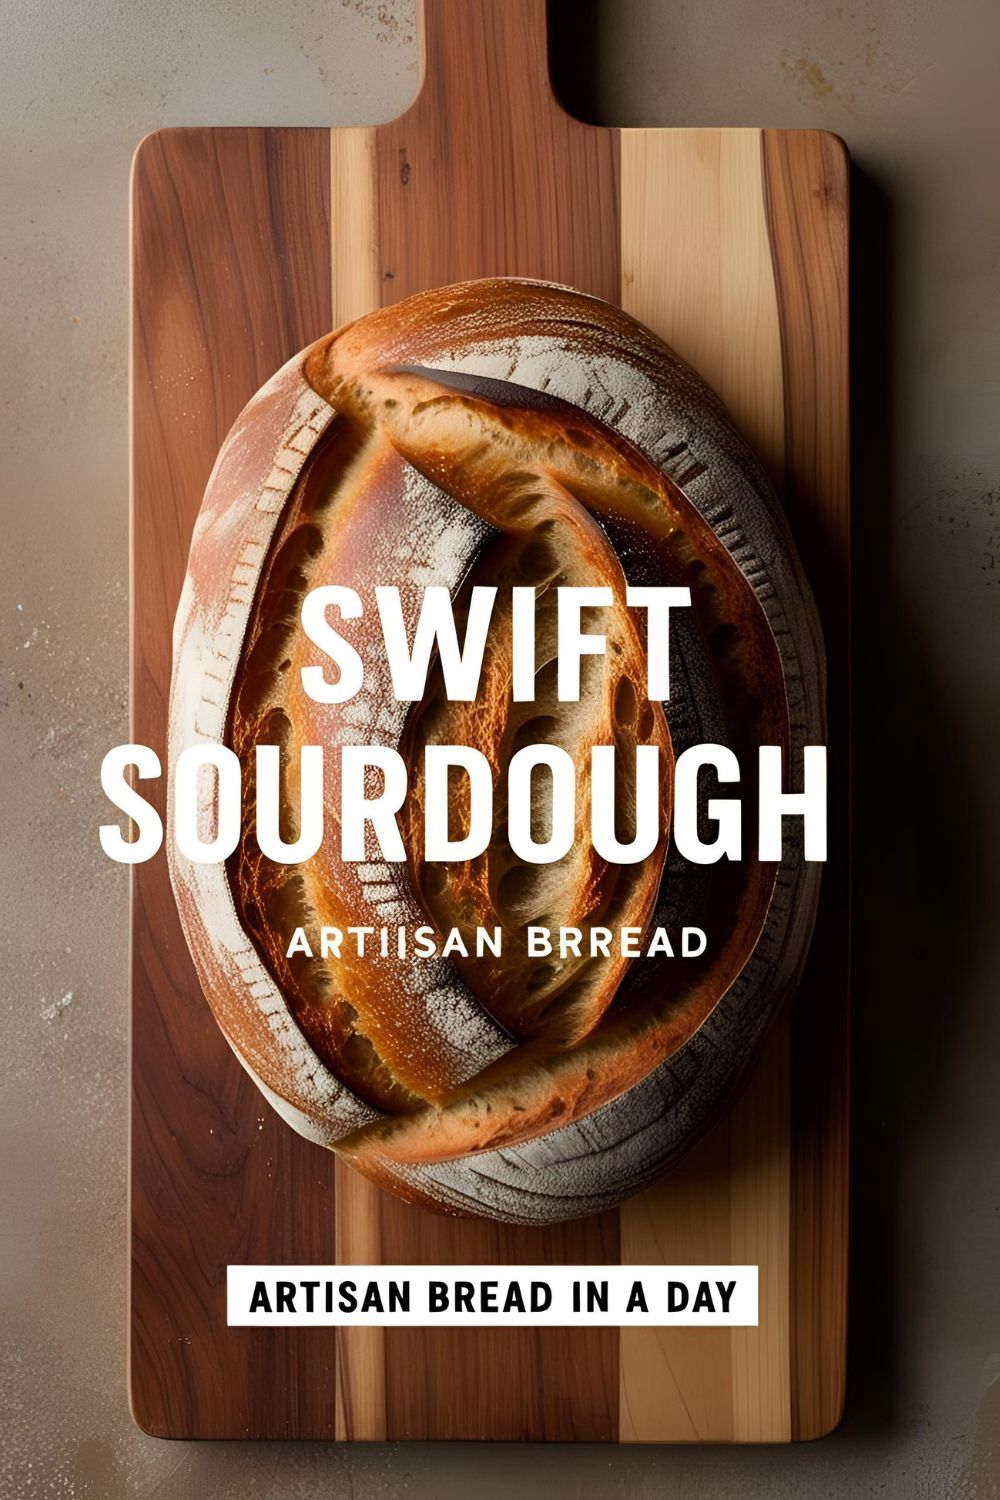
Swift Sourdough: The Lazy Baker’s Guide to Artisan Bread in a Day
Intro: “Sourdough? Ain’t Nobody Got Time for That!”
Let’s be real. Traditional sourdough baking feels like adopting a needy pet—it demands attention, feeding, and a 3-day commitment. But what if I told you that you could have a crusty, tangy loaf of sourdough in just one day? No, this isn’t a scam. Welcome to the world of swift sourdough—where patience is optional, and deliciousness is guaranteed.
Why This Recipe Is Awesome
- Time-Saving: Ready in a single day—because who has 72 hours to babysit dough?
- Flavorful: Achieves that classic sourdough tang without the prolonged wait.
- Beginner-Friendly: No need for a PhD in fermentation science.
- Impressive: Your friends will think you trained in a Parisian bakery.
Ingredients
- 500g bread flour (or all-purpose flour, if that’s what you have)
- 350g water (lukewarm)
- 100g active sourdough starter (fed and bubbly)
- 10g salt
- Optional: A pinch of commercial yeast for an extra boost
Tools & Kitchen Gadgets Used
- Large mixing bowl
- Bench scraper
- Digital kitchen scale
- Dutch oven or cast-iron pot with lid
- Parchment paper
- Lame or sharp knife for scoring
- Proofing basket or bowl with a tea towel
- Oven mitts
Step-by-Step Instructions
- Mix It Up: In your large mixing bowl, combine the flour and water. Mix until no dry bits remain. Let it rest for 30 minutes (autolyse).
- Add the Starter & Salt: Incorporate the sourdough starter and salt into the dough. Mix until fully combined.
- Stretch & Fold: Every 30 minutes for the next 2 hours, perform a series of stretch and folds to develop gluten.
- Bulk Fermentation: Let the dough rest at room temperature for 4-6 hours, or until it has doubled in size.
- Shape the Dough: Turn the dough onto a floured surface. Shape it into a tight ball and place it seam-side up in a floured proofing basket or bowl lined with a tea towel.
- Final Proof: Let it proof for 1-2 hours, or until it passes the poke test (a gentle poke springs back slowly).
- Preheat the Oven: Place your Dutch oven in the oven and preheat to 450°F (232°C).
- Score & Bake: Carefully transfer the dough onto parchment paper. Score the top with a lame or sharp knife. Place it into the hot Dutch oven, cover, and bake for 20 minutes.
- Uncover & Finish Baking: Remove the lid and bake for an additional 25-30 minutes, or until the crust is deep golden brown.
- Cool Down: Let the bread cool on a wire rack for at least an hour before slicing.
Calories & Nutritional Info (Per Slice, Assuming 12 Slices)

- Calories: Approximately 160
- Carbohydrates: 33g
- Protein: 5g
- Fat: 0.5g
- Fiber: 1g
Common Mistakes to Avoid
- Skipping the Autolyse: This rest period helps hydrate the flour and improves gluten development.
- Underproofing: If the dough hasn’t doubled, give it more time. Patience is key.
- Overproofing: Don’t let it go too long, or you’ll end up with a flat loaf.
- Not Preheating the Dutch Oven: A hot pot ensures a good oven spring.
- Cutting Too Soon: Let the bread cool completely to avoid a gummy interior.
Variations & Customizations
- Herb-Infused: Add chopped rosemary or thyme for an aromatic twist.
- Cheese Lover’s: Incorporate shredded cheddar or parmesan into the dough.
- Seeded Crust: Roll the shaped dough in sesame or poppy seeds before the final proof.
FAQ Section
Q: Can I use whole wheat flour?
A: Yes, but it will result in a denser loaf. Consider mixing with bread flour for better texture.
Q: What if I don’t have a Dutch oven?
A: Use a baking stone or sheet and place a pan of water in the oven to create steam.
Q: How do I know if my starter is active?
A: It should double in size within 4-6 hours of feeding and pass the float test.
Q: Can I refrigerate the dough overnight?
A: Absolutely. After shaping, refrigerate overnight and bake straight from the fridge.
Q: Why is my crust too hard?
A: Overbaking or lack of steam can cause a tough crust. Ensure proper baking times and steam.
Q: How do I store the bread?
A: Keep it in a paper bag at room temperature for up to 3 days. For longer storage, freeze it.
Q: Can I add nuts or dried fruits?
A: Yes! Fold them in during the last stretch and fold session.
Final Thoughts
There you have it—a swift sourdough recipe that doesn’t require a weekend commitment. It’s the perfect blend of convenience and artisan quality. So, roll up your sleeves, and let’s get baking!


