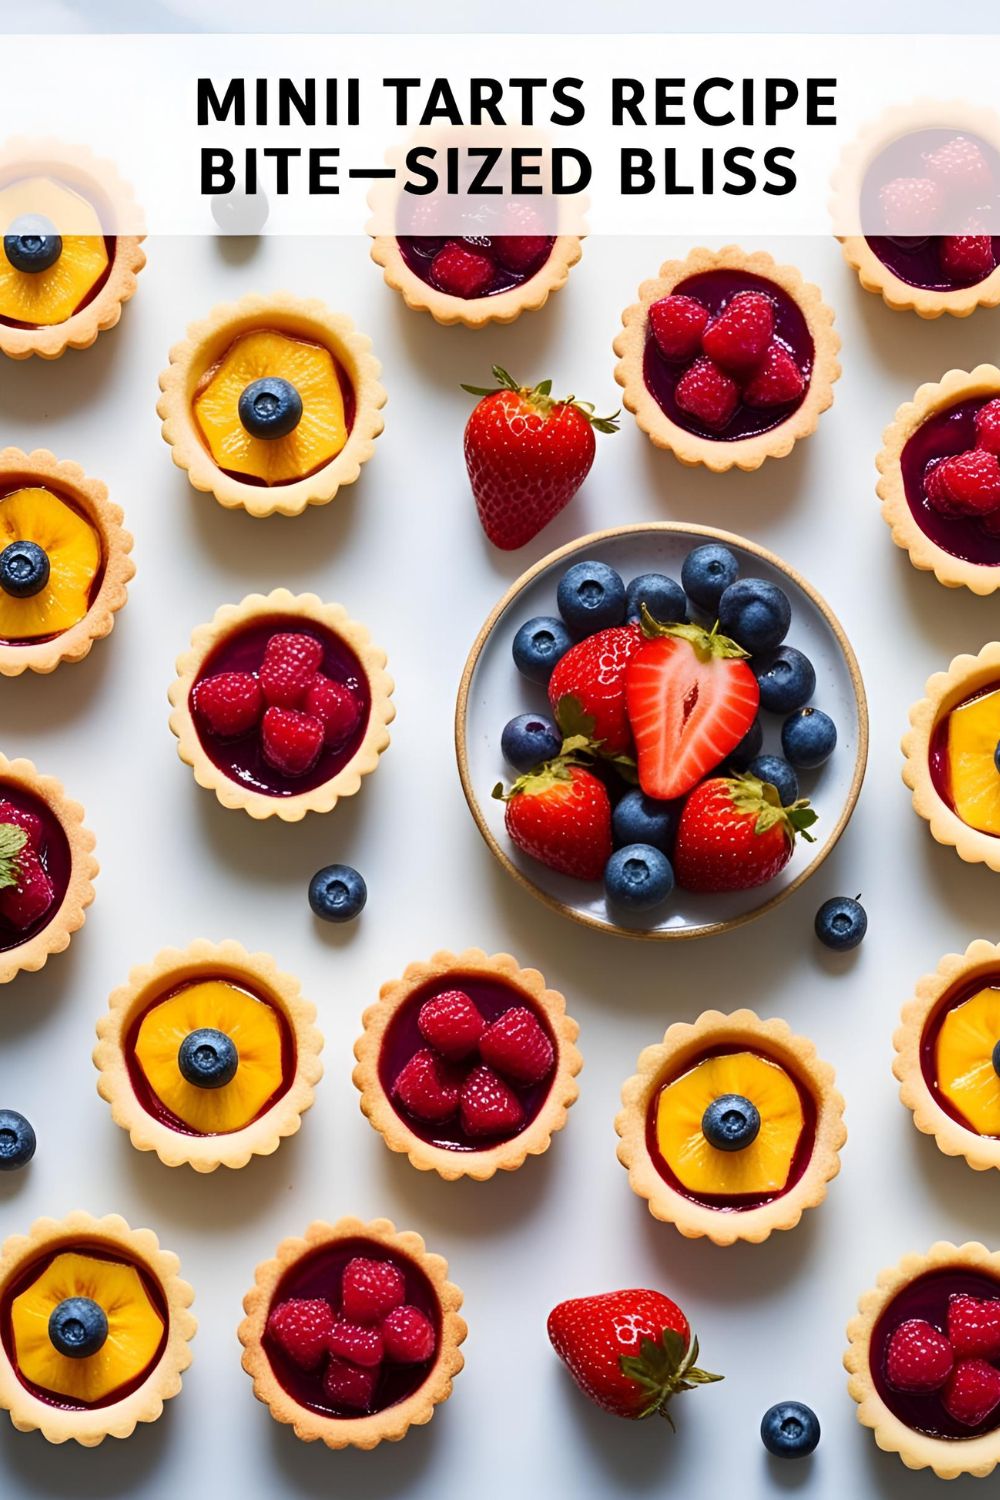
Mini Tarts Recipe: The Tiny Treats That’ll Make You a Dessert Hero
Intro: Because Full-Sized Desserts Are So Last Season
Ever tried to sneak a slice of pie at a party without looking like a total glutton? Yeah, me too. Enter mini tarts—the bite-sized wonders that let you indulge without the side-eye. They’re cute, they’re classy, and they scream, “I have my life together,” even if your kitchen looks like a flour bomb went off.
Why Mini Tarts Are Your New Best Friend
- Flavor Explosion: Crispy, buttery crust meets creamy, dreamy fillings.
- Easy Peasy: No need for a culinary degree. If you can stir, you can tart.
- Impress Without Stress: Serve these at your next gathering, and watch your guests swoon.
- Versatile AF: Sweet, savory, fruity, chocolaty—you name it.
Ingredients: The Dream Team
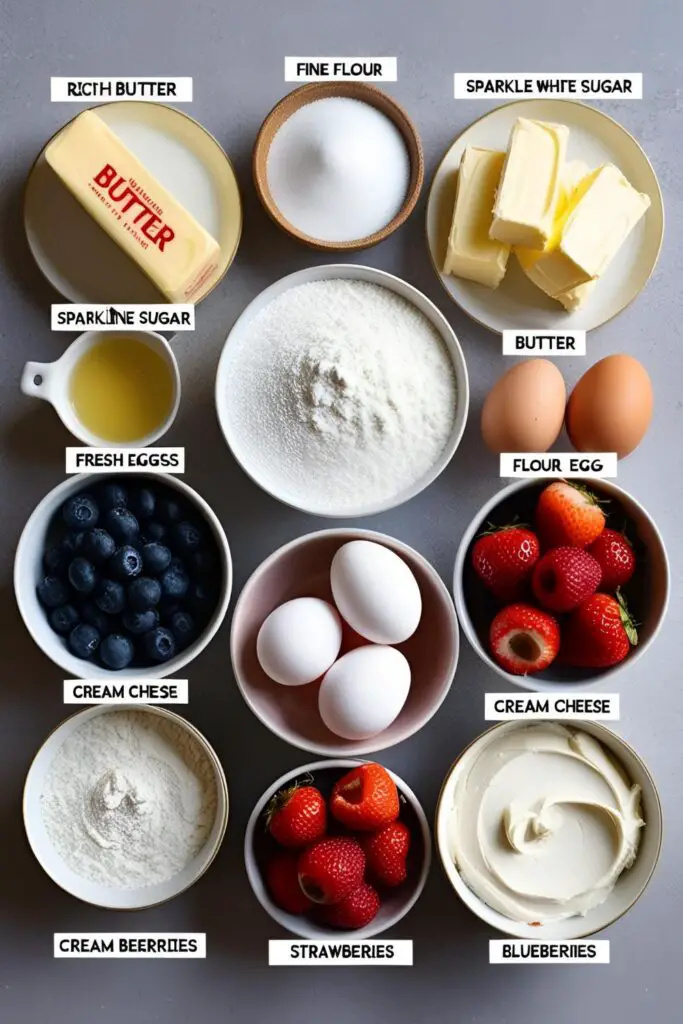
For the Crust:
- 1 cup unsalted butter, room temp
- ½ cup granulated sugar
- ¼ cup powdered sugar
- 1 large egg, room temp
- 1½ tsp vanilla extract
- 2½ cups all-purpose flour
- 1 tbsp cornstarch
Substitutions: No cornstarch? Use more flour. Gluten-free? Swap in your favorite GF blend.
For the Filling:
- 1 cup heavy cream
- 8 oz cream cheese, softened
- ½ cup powdered sugar
- 1 tsp vanilla extract
- Assorted fresh fruits (berries, kiwi, mango—go wild)
Tools & Gadgets: Your Kitchen Arsenal
- Mini muffin pan
- Mixing bowls
- Electric mixer or whisk
- Rolling pin
- Cookie cutters
- Piping bag (or a ziplock bag with the corner snipped)
- Cooling rack
- Measuring cups & spoons
Step-by-Step: Let’s Get Tarty
1. Make the Dough:
- Cream together butter, granulated sugar, and powdered sugar until fluffy.
- Add egg and vanilla; mix until combined.
- Gradually add flour and cornstarch; mix until dough forms.
- Wrap in plastic wrap and chill for at least 1 hour.
2. Shape the Shells:
- Preheat oven to 350°F (175°C).
- Roll out dough to about ¼ inch thickness.
- Cut circles and press into mini muffin pan.
- Prick bottoms with a fork to prevent puffing.
3. Bake:
- Bake for 12–15 minutes, or until golden.
- Let cool completely before filling.
4. Prepare the Filling:
- Whip heavy cream until stiff peaks form.
- In a separate bowl, beat cream cheese, powdered sugar, and vanilla until smooth.
- Fold whipped cream into cream cheese mixture.
5. Assemble:
- Pipe filling into cooled tart shells.
- Top with fresh fruits.
- Chill for 30 minutes before serving.
Nutritional Info (Per Tart):

- Calories: ~120
- Fat: 8g
- Carbs: 10g
- Protein: 2g
Note: These are estimates; actual values may vary.
Common Mistakes to Avoid
- Skipping the Chill: Warm dough = melty mess. Chill it, folks.
- Overfilling: Less is more. Don’t let your tart become a fruit volcano.
- Ignoring the Fork Prick: Those little holes prevent puffing. Don’t skip it.
Variations & Customizations
- Chocolate Lovers: Add cocoa powder to the crust and top with chocolate panache.
- Savory Twist: Skip the sugar in the crust and fill with goat cheese and roasted veggies.
- Tropical Vibes: Use coconut cream and top with pineapple and mango.
FAQ
Q: Can I make the crust ahead of time?
A: Absolutely! Freeze the dough or baked shells for up to a month.
Q: How do I prevent soggy bottoms?
A: Ensure shells are fully cooled before adding filling.
Q: Can I use store-bought crust?
A: Sure, but homemade tastes better. Just saying.
Q: What’s the best way to store leftovers?
A: In an airtight container in the fridge for up to 3 days.

Q: Can I use frozen fruit?
A: Fresh is best, but thawed and well-drained frozen fruit works in a pinch.
Q: How do I make them gluten-free?
A: Use a gluten-free flour blend in place of all-purpose flour.
Q: Can I make these vegan?
A: Use plant-based butter, cream cheese, and whipped topping.
Final Thoughts: Go Forth and Tart
There you have it—mini tarts that are big on flavor and low on effort. Make them, share them, hoard them (we won’t judge). Just don’t be surprised when you’re suddenly the most popular person at the party.