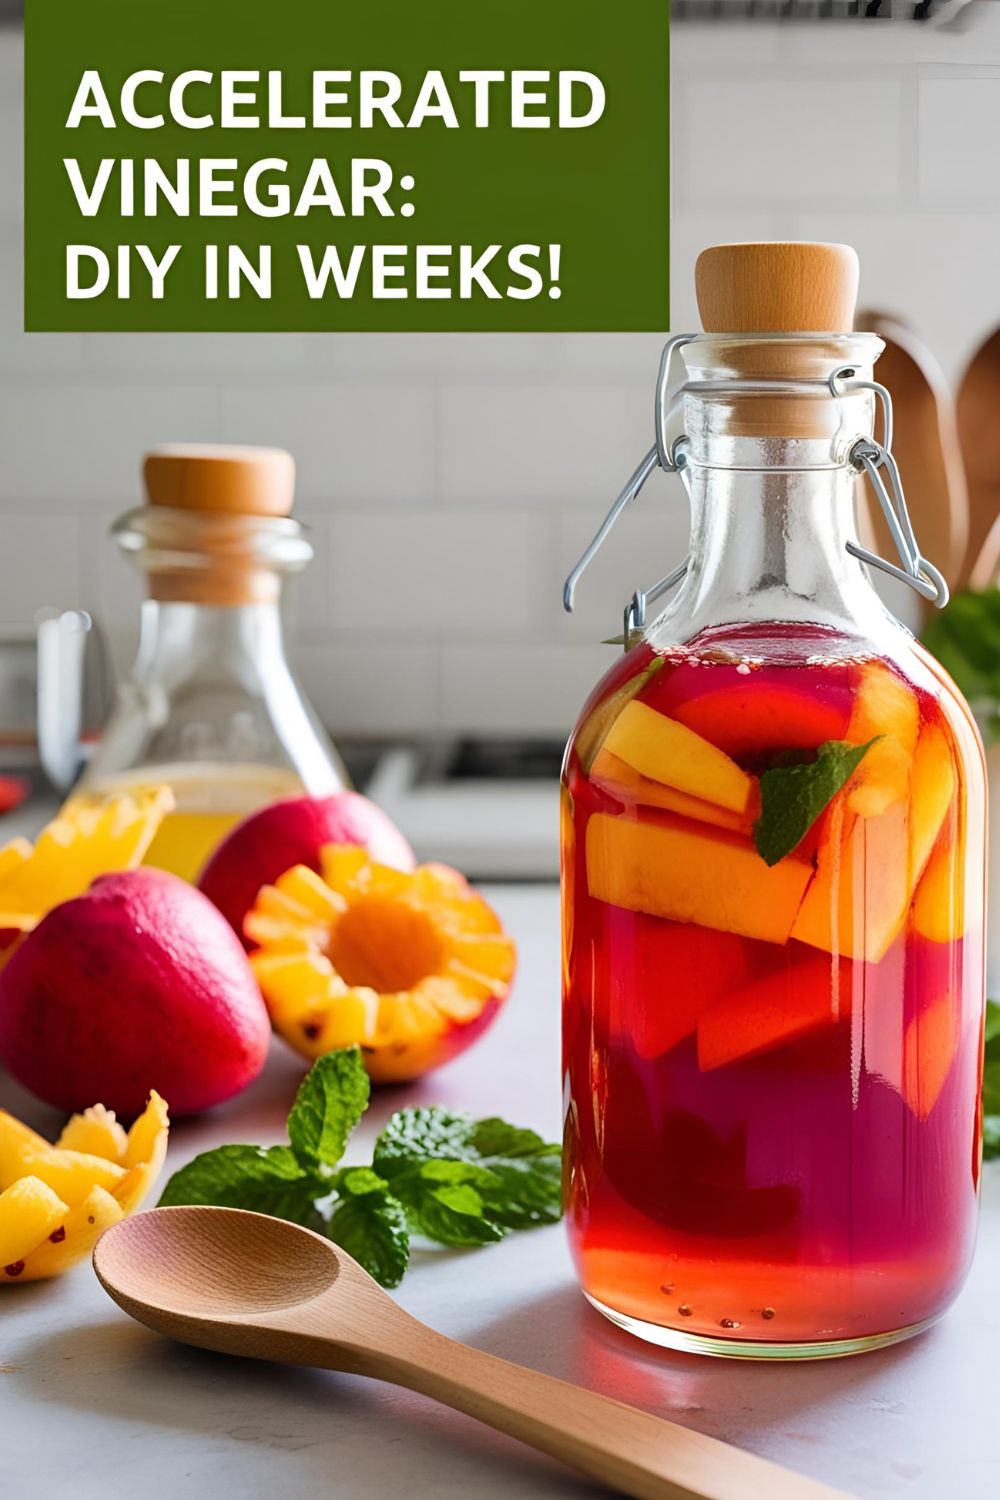
How to Make Accelerated Vinegar at Home (Without Waiting 3 Months)
🍷 Why Make Accelerated Vinegar?
Let’s be honest—store-bought vinegar is fine. But homemade vinegar? That’s next-level. It’s tangy, complex, and makes you feel like a kitchen wizard. Plus, with this accelerated method, you can have your own vinegar in just a few weeks instead of months. Impress your friends, reduce waste, and elevate your dishes—all with a simple DIY project.
🧂 Ingredients
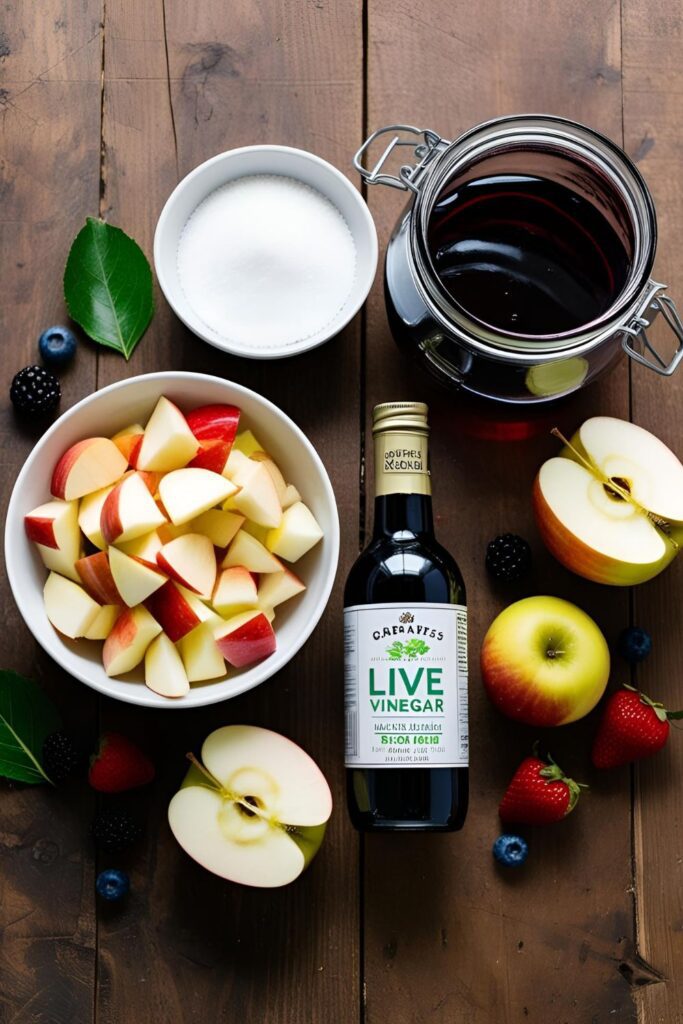
- 2 lbs fruit scraps (apple peels, berry stems, overripe fruit—get creative!)
- 1 cup sugar (white, brown, honey, or maple syrup)
- 2 tablespoons live vinegar (like raw apple cider vinegar with the mother)
- 2 quarts water
- Optional: ½ cup wine or beer (to speed up fermentation)
🛠️ Tools & Kitchen Gadgets
- Large glass jar or food-grade plastic container (1-gallon capacity)
- Cheesecloth or breathable fabric (to cover the jar)
- Rubber band or string (to secure the cover)
- Wooden spoon (for stirring)
- Air pump with air stone (optional, for faster fermentation)
- Strainer or cheesecloth (for filtering the vinegar)
- Funnel (for bottling)
- Glass bottles with caps (for storing the finished vinegar)
👩🍳 Step-by-Step Instructions
- Prepare the Fruit: Chop your fruit scraps into small pieces. The more surface area, the better.
- Mix Ingredients: In your large jar, combine the fruit scraps, sugar, and water. Stir until the sugar dissolves.
- Add Live Vinegar: Pour in the live vinegar. This introduces the acetic acid bacteria needed for fermentation.
- Optional Alcohol Boost: Add wine or beer to kickstart the fermentation process.
- Cover the Jar: Place the cheesecloth over the jar and secure it with a rubber band. This keeps out bugs while allowing air in.
- Stir Daily: Stir the mixture once a day to aerate and prevent mold.
- Optional Air Pump: For faster fermentation, use an air pump with an air stone to increase oxygen exposure.
- Wait and Taste: After 2 weeks, start tasting the vinegar. Once it reaches your desired acidity, it’s ready.
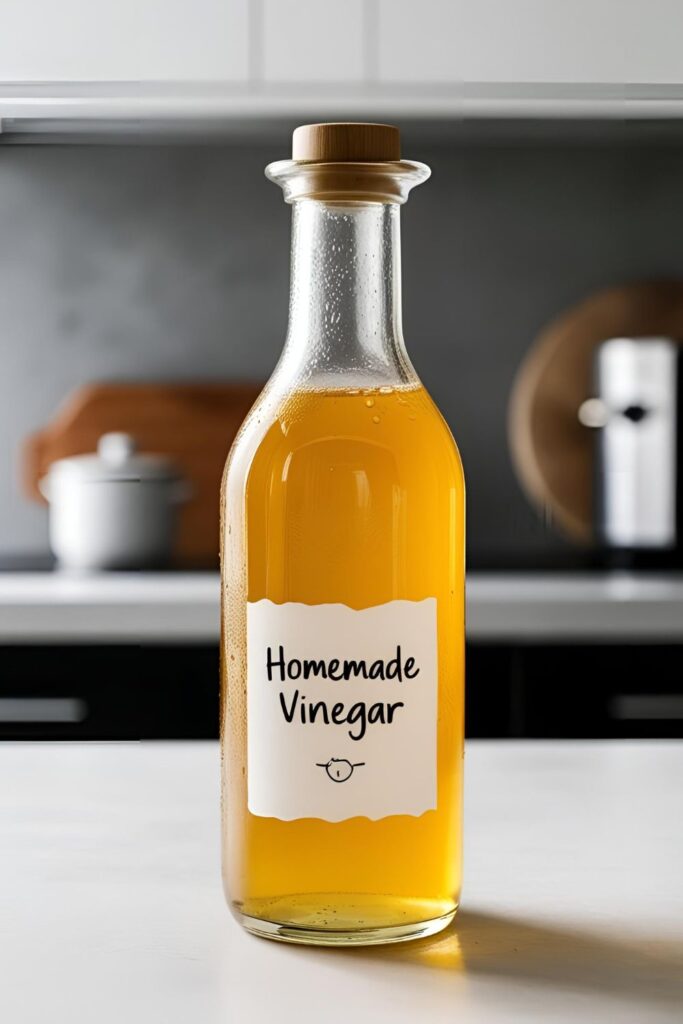
- Strain and Bottle: Remove the solids by straining the mixture through cheesecloth. Funnel the liquid into glass bottles and cap them.
- Store: Keep your vinegar in a cool, dark place. It can last for months and will continue to develop flavor over time.
🔢 Calories & Nutritional Info
- Calories: Approximately 5 calories per tablespoon
- Carbohydrates: 1g
- Sugars: 1g
- Fat: 0g
- Protein: 0g
- Sodium: 0mg
Note: Nutritional values may vary based on the fruit and sugar used.
⚠️ Common Mistakes to Avoid
- Using Chlorinated Water: Chlorine can kill the beneficial bacteria. Use filtered or dechlorinated water.
- Sealing the Jar: The bacteria need oxygen. Always cover with breathable fabric, not a tight lid.
- Skipping Daily Stirring: This can lead to mold growth. Stir daily to keep things moving.
- Using Moldy Fruit: Only use fresh, clean fruit scraps. Mold can ruin the batch.
- Not Tasting Regularly: Taste your vinegar every few days after the first week to monitor acidity.
🔄 Variations & Customizations
- Spicy Vinegar: Add chili peppers or garlic for a kick.
- Herb-Infused Vinegar: Include herbs like rosemary, thyme, or basil during fermentation.
- Citrus Vinegar: Use citrus peels for a bright, zesty flavor.
❓ FAQ Section
Q1: Can I use any type of fruit?
A1: Yes, but avoid overly moldy or rotten fruit. Apples, berries, and citrus work well.
Q2: How long does homemade vinegar last?
A2: Properly stored, it can last for several months to a year.
Q3: Can I use metal containers?
A3: It’s best to use glass or food-grade plastic. Metal can react with the acid.
Q4: What if mold appears?
A4: If you see mold, discard the batch and start over. Mold can be harmful.
Q5: Can I speed up fermentation without an air pump?
A5: Stirring daily and keeping the jar in a warm place can help.
Q6: Is the vinegar safe to consume?
A6: Yes, as long as no mold is present and it smells and tastes like vinegar.
Q7: Can I reuse the fruit scraps?

A7: It’s best to use fresh scraps for each batch to ensure quality.
🎉 Final Thoughts
Making your own accelerated vinegar is a fun and rewarding project. Not only do you get to experiment with flavors, but you also reduce waste and impress your friends with your culinary prowess. So, grab those fruit scraps and get fermenting!