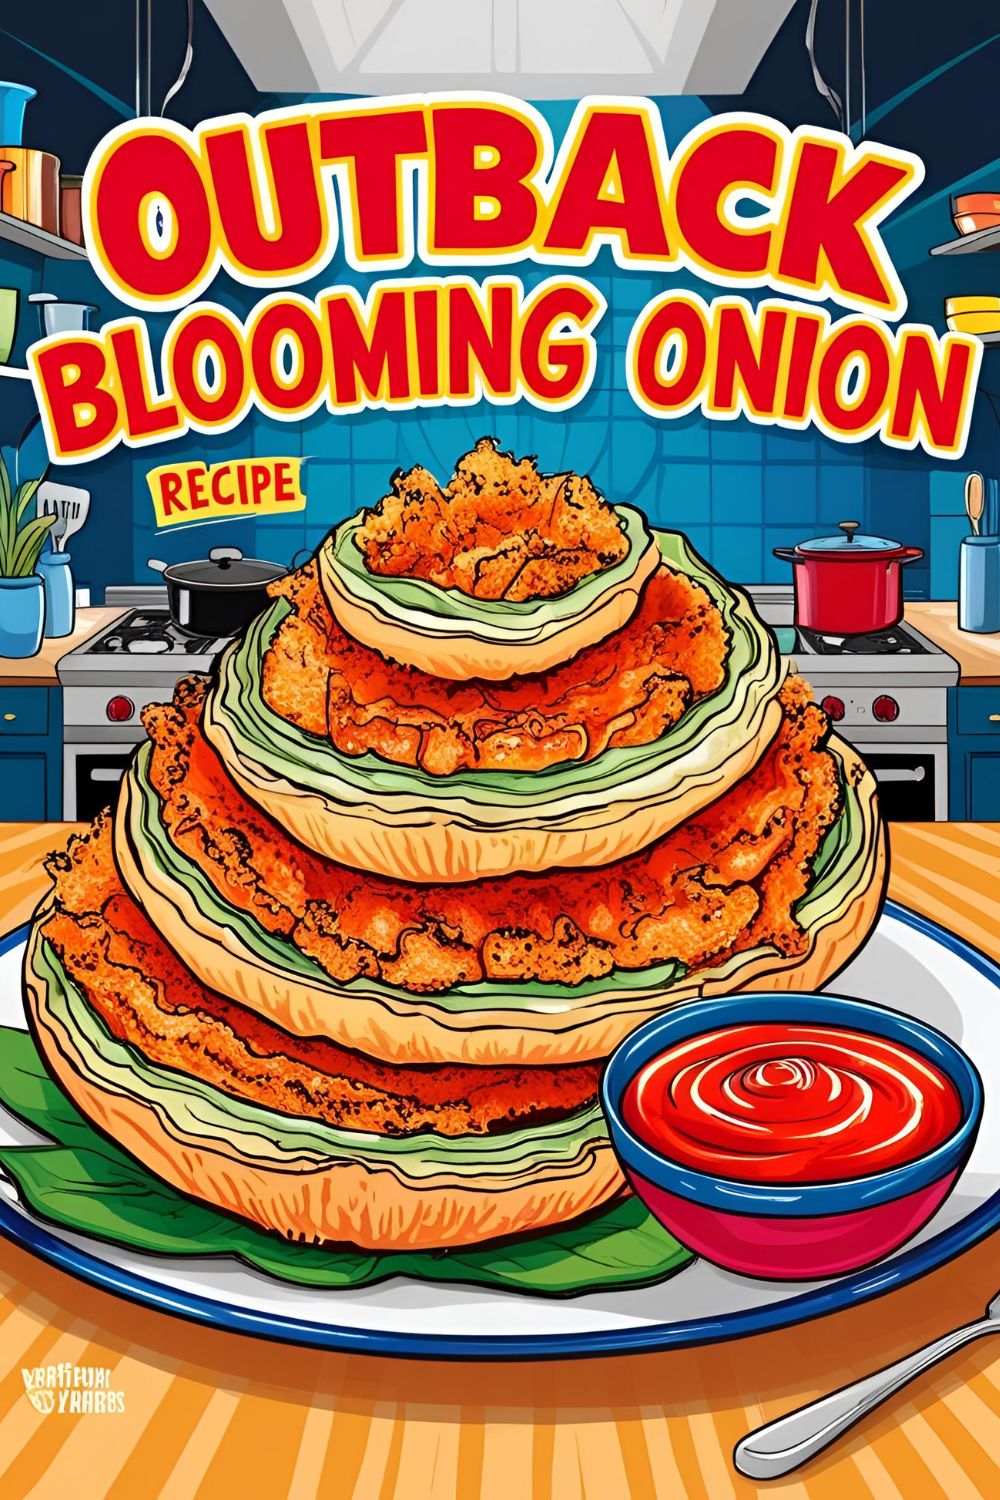
How to Make the Perfect Outback Blooming Onion at Home (Without Crying Over Oil)
A Quick, Catchy Intro with a Viral Hook
Ever sat across from a Blooming Onion at Outback Steakhouse and thought, “I could totally make this at home”? Then you remember the last time you tried deep-frying and ended up with a kitchen that smelled like a fast-food joint for a week. But hey, YOLO, right?
Well, buckle up, buttercup. We’re diving into the crispy, golden world of the Outback Blooming Onion. It’s big, it’s bold, and it’s about to become your new party trick. Just maybe open a window before you start frying.

Why This Recipe Is Awesome
Why should you attempt this culinary feat?
- Flavor Explosion: Crispy, seasoned petals with a tender onion heart.
- Impress Your Guests: Serve this, and suddenly you’re the host with the most.
- DIY Satisfaction: Because nothing says “I love you” like a deep-fried vegetable.
Plus, making it at home means you can tweak it to your heart’s content. Want it spicier? Go for it. Extra crispy? You got it.
Ingredients
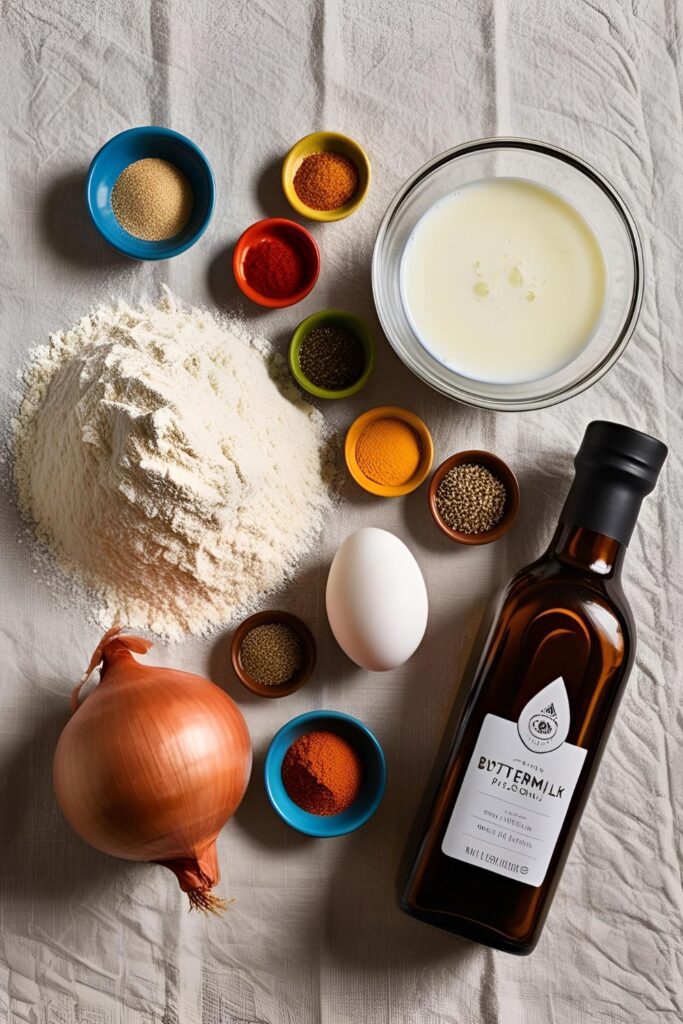
Here’s what you’ll need:
- 1 large sweet onion (Vidalia is perfect)
- 1 cup all-purpose flour
- 1 tablespoon paprika
- 1 teaspoon garlic powder
- 1 teaspoon salt
- ½ teaspoon black pepper
- ½ teaspoon cayenne pepper (optional, for a kick)
- 1 cup buttermilk
- 1 large egg
- Oil for frying (vegetable or canola works best)
Substitutions:
- No buttermilk? Mix 1 cup of milk with 1 tablespoon of lemon juice or vinegar.
- Gluten-free? Use a gluten-free flour blend.
Tools & Kitchen Gadgets Used
To make your own Outback Blooming Onion, you’ll need:

- Sharp knife: For precise cuts.
- Cutting board: Preferably non-slip.
- Mixing bowls: At least two.
- Whisk: For blending your batter.
- Deep fryer or large pot: For frying.
- Slotted spoon or tongs: To safely remove the onion.
- Paper towels: For draining excess oil.
- Thermometer: To monitor oil temperature.
Step-by-Step Instructions
- Prep the Onion: Cut off the top (pointy end) of the onion and peel it. Place it cut-side down. Starting ½ inch from the root, make downward cuts all around the onion to create petals. Turn the onion over and gently separate the layers.
- Soak the Onion: Place the onion in a bowl of cold water for a few minutes to help it bloom.
- Prepare the Batter: In one bowl, mix flour, paprika, garlic powder, salt, pepper, and cayenne. In another bowl, whisk together buttermilk and egg.
- Coat the Onion: Dredge the onion in the flour mixture, ensuring it gets between all the petals. Then dip it into the buttermilk mixture, followed by another round in the flour mixture.
- Heat the Oil: Heat oil in your fryer or pot to 375°F (190°C).
- Fry the Onion: Carefully lower the onion into the oil, cut-side down. Fry for about 3-4 minutes, then flip and fry for another 3-4 minutes until golden brown.
- Drain and Serve: Remove the onion and place it on paper towels to drain. Serve with your favorite dipping sauce.
Calories & Nutritional Info

Per serving (approximate):
- Calories: 800
- Fat: 45g
- Carbohydrates: 85g
- Protein: 10g
Note: These values can vary based on oil absorption and portion size.
Common Mistakes to Avoid
- Overcutting the Onion: Don’t slice too deep; you want the base intact.
- Oil Temperature Too Low: This leads to soggy, greasy onions.
- Skipping the Second Dredge: Double coating ensures maximum crispiness.
- Crowding the Fryer: Fry one onion at a time to maintain oil temperature.
Variations & Customizations
- Spicy Bloom: Add extra cayenne or chili powder to the flour mix.
- Cheesy Bloom: Sprinkle grated Parmesan between the petals before frying.
- Air-Fried Bloom: For a lighter version, use an air fryer at 375°F for 20 minutes, flipping halfway.
FAQ Section
Q: Can I make this ahead of time?
A: It’s best served fresh, but you can prep the onion and refrigerate it before frying.
Q: What’s the best onion to use?
A: Sweet onions like Vidalia are ideal for their mild flavor.
Q: Can I bake it instead of frying?
A: Baking won’t give the same crispiness, but it’s a healthier alternative.

Q: How do I store leftovers?
A: Store in an airtight container in the fridge for up to 2 days. Reheat in the oven for best results.
Q: What dipping sauce pairs well?
A: A mix of mayo, ketchup, horseradish, and spices makes a great bloom sauce.
Q: Can I use gluten-free flour?
A: Yes, a gluten-free blend works well.
Q: Is there a vegan version?
A: Substitute buttermilk with plant-based milk and lemon juice, and use a flaxseed egg.
Final Thoughts

Congratulations! You’ve just made a restaurant-quality Outback Blooming Onion at home. Your kitchen might smell like a fryer, but your taste buds are doing a happy dance. Share your creation, bask in the compliments, and remember: you don’t need a steakhouse to enjoy this iconic appetizer.