how to dye candle wax with food coloring
You can easily enhance the beauty of your homemade candles by learning how to dye candle wax with food coloring. Using food coloring is a safe and straightforward method that allows you to customize the hue of your candles. It’s important to select high-quality wax and food coloring for the best results. Be cautious of the amount you use, as too much can affect the burning properties of the candle. Follow this guide, and soon you’ll be creating vibrant candles that add color and personality to your space.
Materials Needed
For dyeing candle wax with food coloring, you will need a few imperative items. Gather your preferred type of candle wax, a double boiler or microwave-safe container for melting, food coloring of your choice, a thermometer, and a stirring utensil. Having a pouring pitcher, molds, and safety gear like gloves and aprons will also ensure a neat and safe process.
Types of Candle Wax
Candle wax comes in various types, each affecting how well it absorbs food coloring. Here’s a breakdown of the most common options:
| Type | Description |
| Paraffin Wax | Inexpensive and readily available. |
| Soy Wax | Eco-friendly and easy to color. |
| Beeswax | Natural and has a yellow hue. |
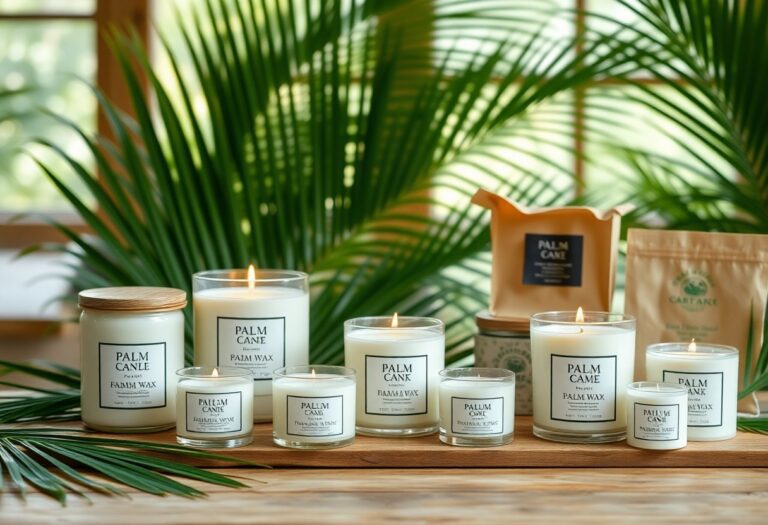
| Palm Wax | Produces unique textures and patterns. |
| Gel Wax | Translucent, allowing for creative designs. |
After selecting the right wax, you can proceed with your coloring journey!
Food Coloring Options
Against common belief, not all food colorings work well with candle wax. You should opt for liquid or gel formulations as they mix more effectively, while powdered food coloring may not blend evenly. Avoid using water-based colors, as they do not mix well with wax, resulting in a poor final product.
Considering the vast array of food coloring options available, it’s important to test small amounts first. You can use brands specifically designed for candle making, which are often highly concentrated and yield vibrant hues. When choosing colors, be aware that some may alter the texture of your wax. Always ensure your workspace is well-ventilated and use proper safety equipment to protect against any potential irritation from the dyes.
Preparing the Wax
If you’re ready to create beautifully colored candles, begin by preparing your candle wax. Start by choosing the right type of wax for your project, such as paraffin, soy, or beeswax. Each type can absorb food coloring differently, affecting the final hue of your candles. Measure out the amount of wax you’ll need based on the size of your container or mold, and make sure to set it aside in a heat-safe container, ready for melting.
Melting Techniques
Around the best methods for melting wax include using a double boiler or a microwave. A double boiler offers a gentle heating option, reducing the chance of overheating, while the microwave is ideal for quick melting. If using a microwave, heat the wax in short intervals, stirring between each until fully melted, ensuring it doesn’t become too hot.
Safety Precautions
Preparing your workspace and practicing safety precautions is imperative when working with hot wax. Hence, always wear heat-resistant gloves and protective eyewear to shield yourself from splashes. Ensure your work area is well-ventilated, as wax can emit fumes when heated. Keep a fire extinguisher nearby, as hot wax can catch fire if overheated. Be mindful of your surroundings and keep hot tools away from flammable materials to ensure a safe candle-making experience.
Adding Food Coloring
Any time you’re ready to add food coloring to your candle wax, it’s necessary to use high-quality gel food coloring for the best results. Start with a small amount and gradually increase to achieve your desired hue. For a detailed guide, check out Red Candles: How to dye candles to understand how to achieve vibrant colors.
Understanding Color Mixing
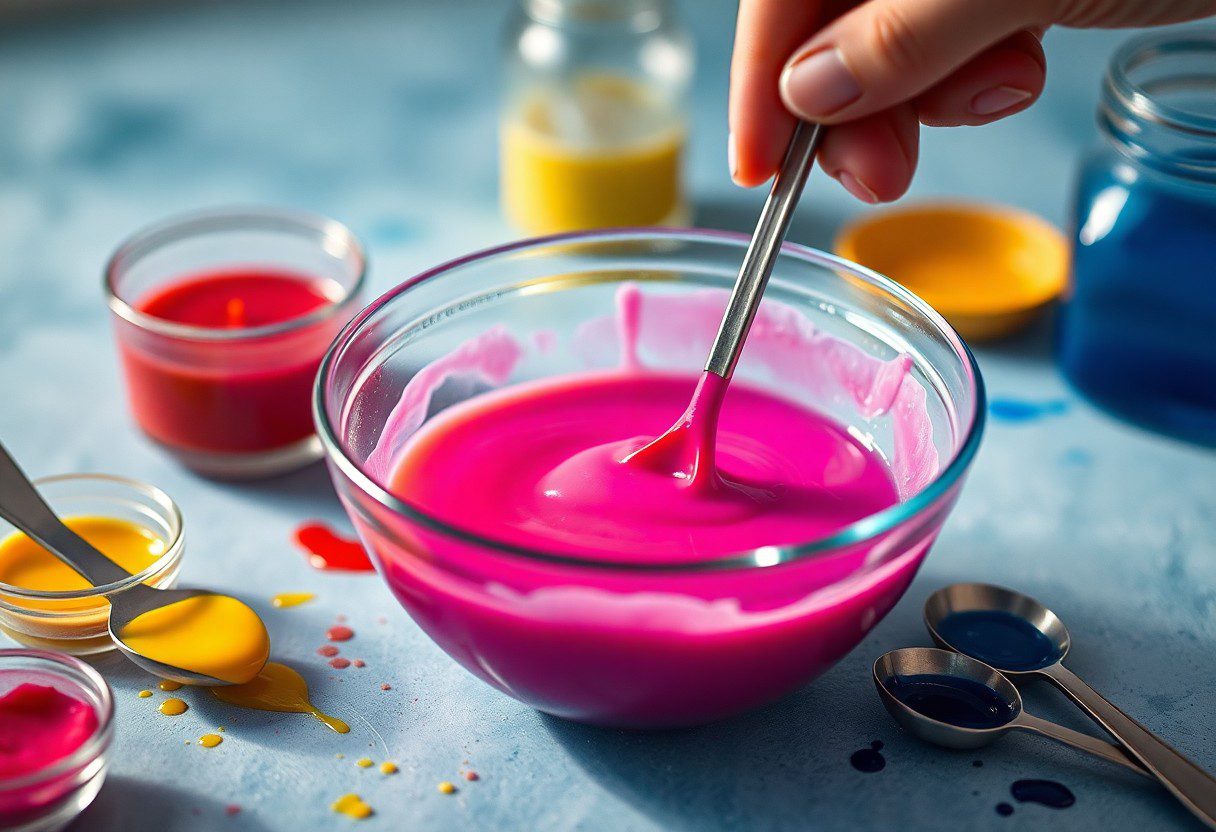
Adding food coloring to candle wax can be an exciting way to play with various shades. Different colors can mix together, creating new shades and depths. Always test a small batch first to see how the colors blend, because the final product can look different once the wax hardens.
Proportions for Desired Shades
By adjusting the amount of food coloring you use, you can achieve the shades you want. Start with a few drops and increase as needed, but ensure you keep track of the quantities for future batches.
Food coloring is a versatile ingredient that can transform your candle-making experience. When considering the proportions, you can start with one drop of gel color per pound of wax for a subtle tint, gradually increasing for a more intense shade. Be cautious with darker colors, as they can overpower your wax. Just a few drops can dramatically change the appearance, so always test your mixture in a small amount of wax before committing to larger batches.
Pouring and Setting the Candle
Your next step is to pour the heated, colored wax into your prepared mold. Ensure that your mold is stable and on a flat surface to prevent any spills or mishaps. Slowly pour the wax to avoid creating bubbles, and leave a small amount in the pot for topping off later, if needed. Allow the wax to set completely to achieve a smooth finish before moving on to the next step.
Molding Techniques
On this journey of candle-making, experimenting with various molding techniques can elevate your creations. You can use silicone molds for intricate designs or simple glass containers for classic structures. Ensure the molds are clean and dry before pouring the wax for the best results.
Cooling and Curing Process
Before you get too eager to light your new candle, it’s important to let it cool and cure properly. This process allows the wax to solidify uniformly and enhances the scent throw of your candle.
The cooling and curing process is vital to achieving the perfect candle. Once poured, allow the candle to cool at room temperature—this may take several hours—to avoid cracks and uneven surfaces. After cooling, let your candle cure for at least 24 to 48 hours before burning. This waiting period is beneficial since it allows the wax and fragrance to bind tightly, resulting in a stronger scent when lit and a more satisfying burn. Keeping your candle in a stable environment can also minimize any risks during this phase.
Troubleshooting Common Issues
Now, if you encounter problems while dyeing your candle wax, don’t worry; they are easily fixable. If you’re unsure about the process, check out How to Use Candle Dye – NorthWood Distributing for more tips. Knowing how to troubleshoot will help you achieve the perfect color without hassle.
Color Fading
Fading can occur due to exposure to light or heat, leading to a dull appearance over time. To combat this, always store your candles in a cool, dark place away from direct sunlight.
Uneven Coloring
Across your candles, you may notice patches of color or streaks that disrupt the desired look. This often happens if the wax is not thoroughly mixed with the dye before pouring.
Hence, it’s crucial to continually stir the wax while adding the color. Ensure the temperature is consistent during the melting process, as this will improve dye distribution. A stronger mix will likely yield a more vibrant hue, so don’t hesitate to adjust your ratios for the best results. If you notice inconsistencies, consider melting the entire batch and re-mixing for a uniform appearance.
Creative Techniques for Unique Designs
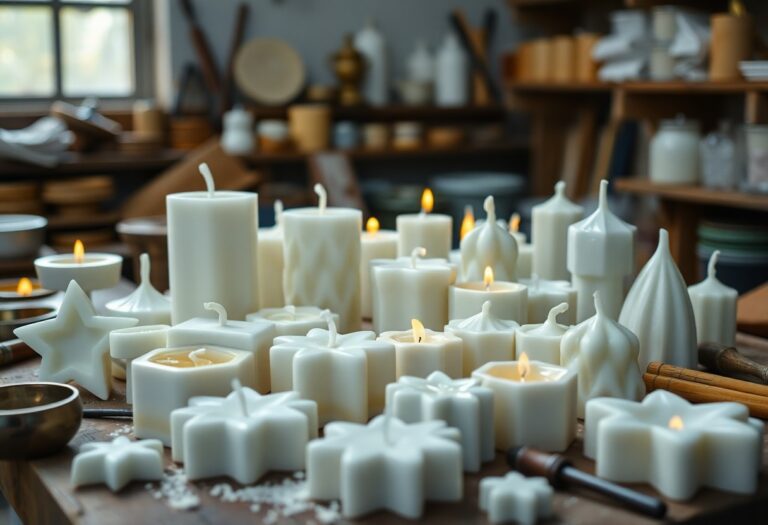
Despite following basic dyeing methods, you can elevate your candles with unique designs by experimenting with creative techniques. By layering colors and creating patterns, you can produce stunning visual effects that transform ordinary candles into extraordinary pieces of art. Let your imagination run wild with these simple yet effective approaches!
Layering Colors
Creative layering is a fantastic way to achieve depth and dimension in your candles. Start by pouring one color and allowing it to partially set before adding the next. This technique enables you to create beautiful transitions between shades, giving your candles a unique, multi-tonal effect that stands out.
Creating Patterns
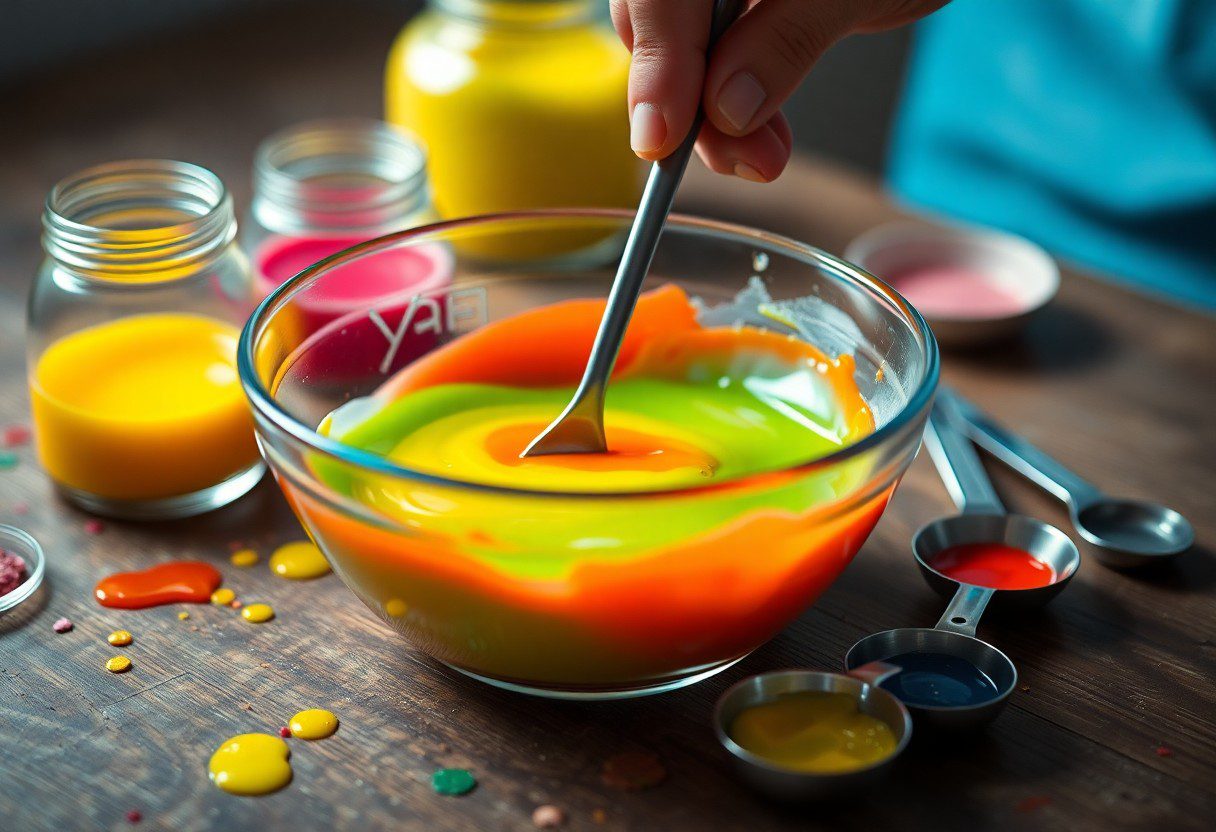
Techniques for creating patterns can vastly enhance the aesthetic appeal of your candles. You can utilize tools like toothpicks or skewer sticks to swirl colors together and form intricate designs. Additionally, pouring wax in different temperatures or using silicone molds can create exciting shapes. Creating a layered swirl or geometric shapes will add a visually striking element to your candles. Experimenting with contrasting colors can yield fantastic results; just ensure you allow each layer to cool properly to avoid mixing. With practice, you’ll master the art of crafting visually stunning candles that impress everyone!
Summing up
To wrap up, dyeing candle wax with food coloring is a straightforward process that enhances the visual appeal of your candles. Start by melting your wax and gradually add food coloring until you achieve your desired shade. Stir well to ensure even distribution, and be mindful of the temperature, as overheating can affect the consistency. Once combined, pour your colored wax into molds and allow it to cool completely. With these simple steps, you can create vibrant, personalized candles that reflect your style and creativity.
Q: Can I use any type of food coloring to dye candle wax?
A: While you can use food coloring to dye candle wax, it’s best to choose gel-based food coloring or liquid food coloring that is highly concentrated. These types dissolve well in wax and provide vibrant colors. Avoid using oil-based colors, as they may not blend properly and could affect the wax’s ability to hold onto the dye.
Q: How much food coloring should I use to achieve my desired color intensity in candle wax?
A: The amount of food coloring to use will depend on the type of dye and the color intensity you desire. Start with a small amount, about 1/8 teaspoon of gel food coloring for every pound of wax, and mix thoroughly. You can then gradually add more coloring until you reach your preferred shade. Testing a small amount of the mixture can help you see the final color once the wax has cooled and hardened.
Q: Will using food coloring affect the burning quality of my candles?
A: Using food coloring in moderation should not significantly impact the burning quality of your candles. However, excessive amounts of dye can affect the wax’s ability to maintain its structure and could lead to uneven burning. It’s advisable to stick to recommended amounts and test your candles to ensure they burn safely and effectively.

