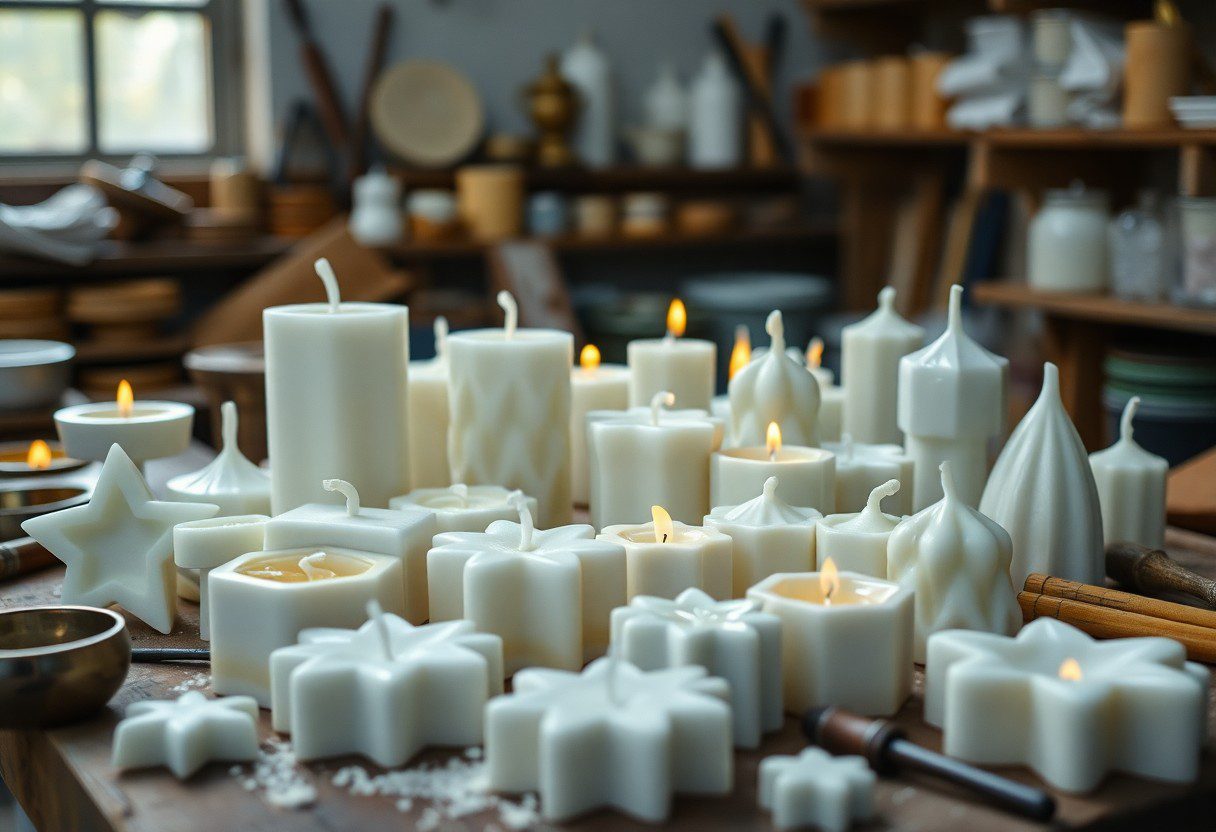
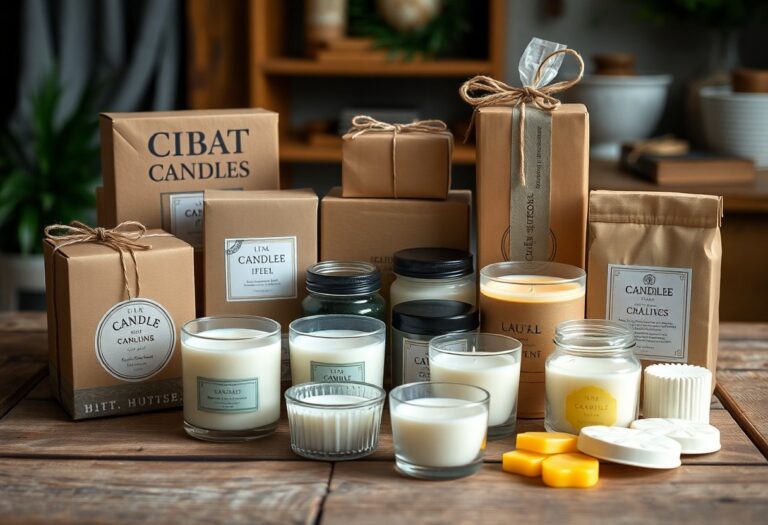
Various candle molds and their use in creating different candle shapes.
Over time, your creativity can flourish by exploring the diverse world of candle molds. They play a vital role in shaping your candles, allowing you to produce unique and eye-catching designs that enhance any decor. From simple geometric shapes to intricate floral patterns, the right mold can inspire your artistic vision and elevate your candle-making skills. Embrace the potential of various materials such as silicone, metal, or plastic that can cater to your desired outcome, while also ensuring safety during the pouring process. This guide will walk you through the different options available to transform your creations.
Types of Candle Molds
While exploring the world of candle making, you will encounter various types of candle molds that can greatly enhance your creations. Each mold type serves a different purpose and caters to distinct design preferences. Here’s a breakdown:
| Type of Mold | Key Features |
|---|---|
| Silicone Molds | Flexible and non-stick, ideal for intricate designs. |
| Metal Molds | Durable and heat conductive for smooth finish. |
| Plastic Molds | Lightweight and affordable, suitable for beginners. |
| Multi-Cavity Molds | Allows you to create several candles at once. |
| Custom Molds | Personalized options for unique designs. |
Recognizing the right mold for your project can elevate your candle-making experience.
Silicone Molds
Above all, silicone molds are favored for their flexibility, which makes them easy to release candles without damaging the shape. These molds can produce intricate designs, from floral patterns to geometric shapes. Their non-stick surface also allows for quick cleaning, enabling you to spend more time crafting.
Metal Molds
An excellent choice for serious candle makers, metal molds offer durability and improved heat conductivity, resulting in smoother finished candles. Often made of aluminum or tin, these molds are designed to withstand the heat of molten wax, ensuring an even pour.
But be cautious when using metal molds, as they can become very hot and may cause burns if not handled properly. Always use protective gear, like gloves, and ensure the mold is sturdy. They are also ideal for creating clean lines and polished finishes that can enhance the appearance of your candles.
Plastic Molds
Molds made from plastic serve as a great beginner option for candle makers. They are generally lightweight, easy to handle, and available in various shapes and sizes. However, ensure to use heat-resistant plastic to avoid warping during the candle-making process.
The main advantage of plastic molds is their affordability and availability in diverse styles, but you should keep in mind that they might not withstand repeated high-temperature use like silicone or metal. If you opt for plastic molds, be sure to check their heat tolerance and follow proper melting guidelines to avoid mishaps.
Popular Candle Shapes
It’s fascinating to explore the variety of popular candle shapes available today, each offering unique aesthetic and functional qualities. Whether you’re looking to enhance your home décor or create ambiance for special occasions, understanding these shapes can inspire your next candle-making project.
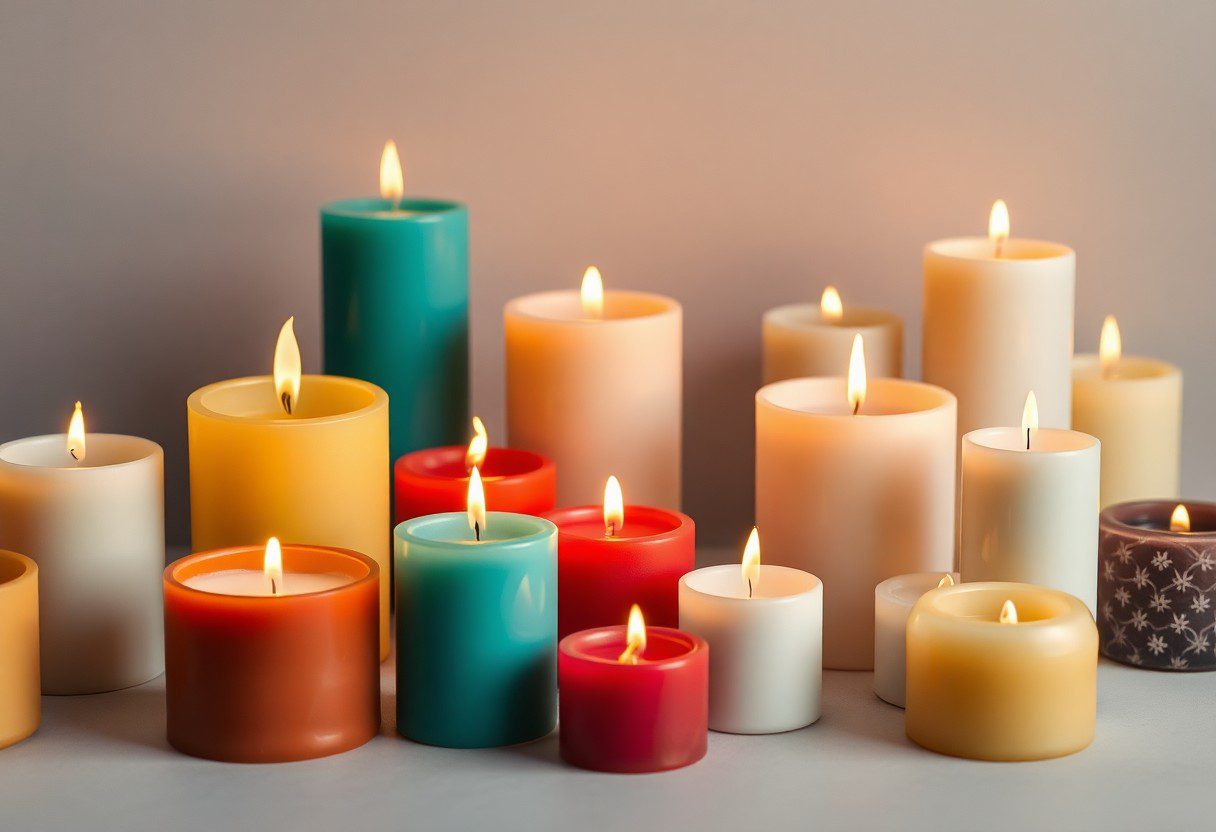
Traditional Pillar Candles
Between the many candle shapes, traditional pillar candles stand out for their classic and versatile design. These cylindrical candles can be crafted in various sizes and can serve as stunning centerpieces for any setting.
Unique Sculptural Candles
Across the landscape of candle creations, unique sculptural candles bring artistry and character into play. These candles often feature intricate designs and forms that captivate the eye, transforming ordinary lighting into a work of art.
It’s imperative to source high-quality materials when creating sculptural candles to achieve the best results. These designs can range from whimsical figures to abstract forms, allowing you to express your creativity. Utilizing specialized molds for these shapes not only enhances their visual appeal but also makes your candle stand out as a prime décor piece in your space.
Votive and Tealight Candles
Above all candle shapes, votive and tealight candles offer convenience and flexibility. Their small size and portability make them perfect for various occasions, providing soft lighting wherever needed.
Candles in the votive and tealight categories are ideal for creating a cozy atmosphere without overwhelming the space. You can easily customize them using different scents and colors, allowing you to elevate your home environment or enhance events. These candles also fit snugly into decorative holders, adding a touch of elegance while ensuring safety during use.
Factors to Consider When Choosing Molds
Unlike selecting candles, choosing the right molds is pivotal for creating stunning shapes. Consider these factors:
- Material compatibility
- Design complexity
- Size and volume
- Durability
Knowing how these elements align with your candle-making goals can elevate your outcome. For more insights, you can check out Making Candles with Candle Molds.
Material Compatibility
One of the fundamental aspects of selecting a mold is ensuring its material compatibility with the candle wax you intend to use. Different waxes can have varying melting points, which may cause certain molds to warp or degrade over time.
Design Complexity
To achieve intricate candle shapes, you need to consider the design complexity of your chosen mold. Some molds are designed for simple shapes, while others allow for more detailed and elaborate structures, affecting your overall design process.
It’s vital to evaluate the intricacies within your design and ensure the mold can accommodate these details without compromising the final product’s quality. Complex designs may also require additional time for preparation and demolding.
Size and Volume
Against a backdrop of creativity, the size and volume of your selected mold play a significant role in determining the quantity of candles you can produce. Larger molds may yield bigger candles, while smaller options can help you make unique, decorative pieces.
Another important thing to consider is the pouring capacity of your mold. Keep in mind that larger molds can consume more wax and time, while smaller molds can allow for trial and error, giving you the chance to experiment with various designs.
Techniques for Using Candle Molds
Despite the various challenges you might face in candle-making, mastering the techniques for using molds can significantly enhance your craft. From preparing the mold to pouring wax and finishing your candles, each step requires precision and care. With the right methods, you’ll create stunning shapes that wow your audience, all while enjoying the creative process.
Melting and Pouring Wax
Melting your wax properly is necessary for a successful candle-making experience. Start by choosing a suitable wax type for your project, then heat it gently until it reaches the specific temperature for pouring. Maintain consistent stirring to avoid bubbles and ensure smoothness, and once melted, carefully pour the wax into your mold without rushing, as this helps maintain the shape of your candle.
Adding Color and Fragrance
Fragrance oils and color dyes can dramatically enhance your candle’s aesthetic and aroma. Choose a high-quality fragrance oil for a lasting scent, and mix it into your melted wax while it’s still hot. For color, use candle dye chips or liquid dye; adding them gradually will allow you to achieve your desired shade. Keep in mind that the color may deepen as the wax cools.
Adding color and fragrance is more than just an aesthetic choice; it enriches the sensory experience of your candles. Ensure that you use proportions specified by the manufacturer for both dyes and fragrances to maintain a safe and effective product. Experiment with different combinations to find the perfect balance that reflects your personal style, and enhances your space.
Demolding and Finishing
The process of demolding your candles requires care to avoid damage. Allow your candles to cool completely before gently removing them from the molds. If you encounter resistance, tap the mold lightly or place it in the freezer for a few minutes to help release the candle. Once removed, inspect your candles and trim any excess wick or rough edges to achieve a polished finish.
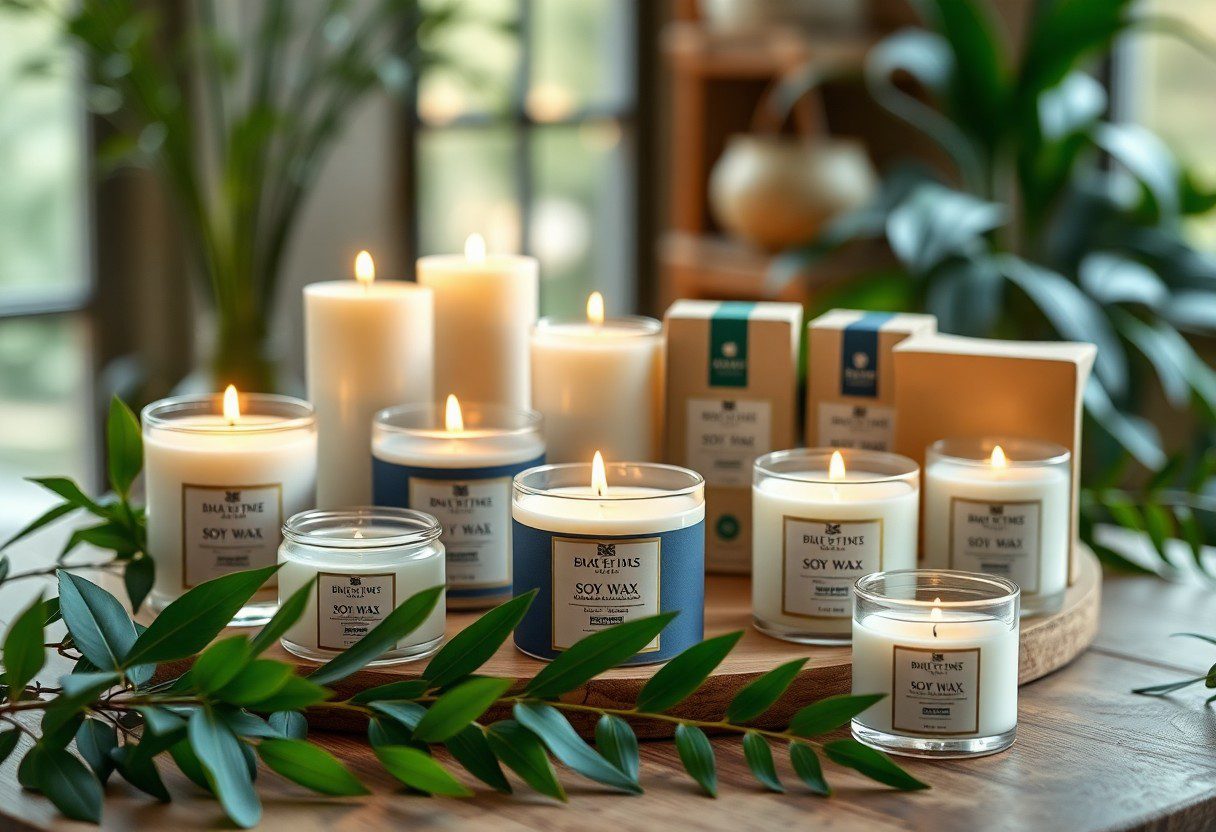
Further finishing touches can elevate your candles from ordinary to extraordinary. Sanding down imperfections, adding labels, or decorative elements will provide a professional appearance. Always handle your candles with care during this stage, as ensuring their quality will enhance your brand’s reputation and leave your customers impressed with your craftsmanship.
Creative Candle Projects
Not all candle-making ends with traditional shapes; creativity can take you beyond the basics. By exploring various candle molds, you can craft unique designs that are both functional and decorative. Think outside the box and let your imagination soar as you experiment with different colors, fragrances, and molds to produce stunning, personalized candles for yourself or as gifts.
Seasonal and Holiday Designs
Designs inspired by seasons and holidays can elevate any celebration. Utilize special molds to create candles that reflect themes such as Christmas, Halloween, or summer festivities. Incorporate colors and scents that resonate with these occasions, ensuring your candles become a central part of the festivities.
Custom Gifts and Favors
By crafting personalized candles, you can turn them into unique gifts or charming favors for special events like weddings or birthdays. Tailor the shapes, scents, and colors to suit the recipient’s preferences, making your gifts memorable and special.
Projects that involve creating custom gifts not only show thoughtfulness but are also a fantastic way to showcase your creativity. You can personalize candles with names, dates, or meaningful quotes. By selecting unique molds and scents that resonate with the occasion, your candles become cherished keepsakes that are both useful and aesthetically pleasing.
Decorative Centerpieces
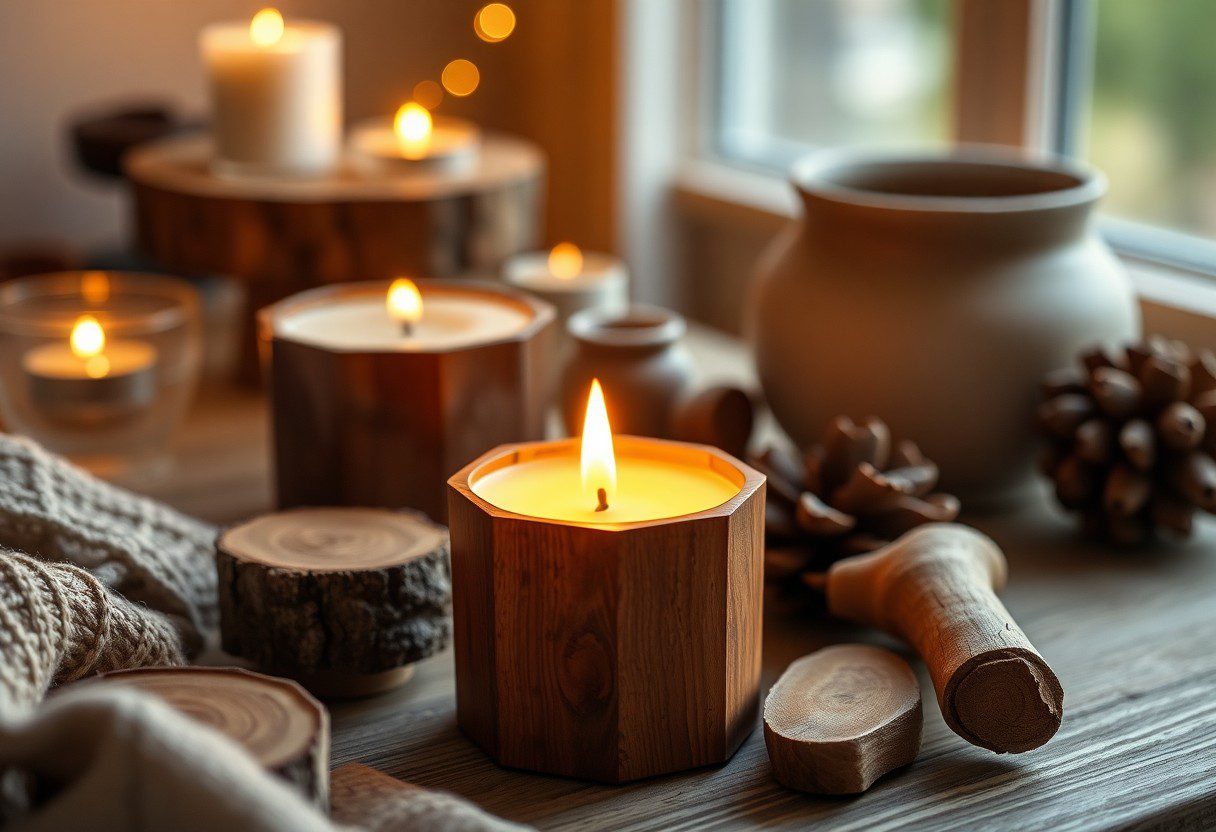
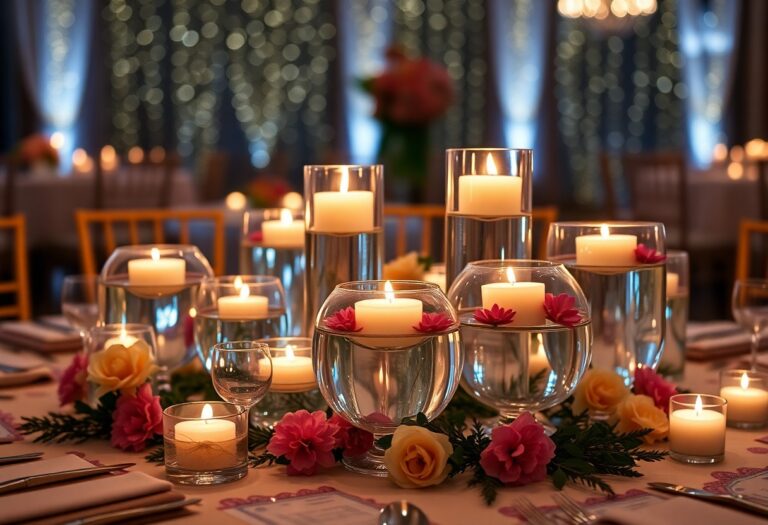
For your gatherings, decorative centerpieces featuring candles can set the mood beautifully. Use unique candle molds to create stunning displays that complement your event’s theme, adding elegance and warmth to your table settings.
Due to their visual appeal, decorative candle centerpieces can easily transform an ordinary space into an extraordinary setting. Experiment with different heights, shapes, and arrangements to create a captivating focal point. By incorporating varied textures and colors, you enhance the aesthetic while ensuring your candles are safe and functional, giving your decor a vibrant touch.
Maintenance and Care for Candle Molds
To ensure your candle molds last and perform well, it is important to regularly maintain and care for them. You can explore the Different Types of Candle Molds for Candle Making to better understand their specific needs. Proper care will help you create beautiful candles without any issues.
Cleaning Techniques
To keep your candle molds in top condition, clean them after each use. You can wipe them down with warm, soapy water, ensuring to remove any leftover wax or residue. Avoid using abrasive cleaners, as they can damage the mold’s surface.
Storage Tips
On storing your candle molds, place them in a cool, dry location away from direct sunlight. This preserves the integrity of your molds and prevents warping. Use the following tips for optimal storage:
- Keep your molds in a designated storage box with padding.
- Stack them carefully to avoid any scratches or dents.
- Avoid exposing them to extreme temperatures.
Recognizing the importance of proper storage will help extend the life of your molds and improve your candle-making experience.
This helps maintain their shape and functionality. You’ll appreciate having a dedicated area free of dust and clutter for your molds. This also minimizes the risk of accidental damage or contamination. Invest time in securely storing your molds for best results over time.
Longevity and Care
About keeping your candle molds lasting longer, regular inspection for signs of wear can save you from problems during production. Be vigilant for any cracks or scratches that may develop on the surface.
Care for your molds involves treating them with respect. Use a medium that will not harm them and ensure a proper wax release agent is applied when necessary. By doing so, you’ll maintain their shape and functionality, ultimately enhancing your candle-making projects.
Final Words
So, as you explore the world of candle making, you’ll discover that various candle molds allow you to create an exciting range of shapes and sizes to suit your preferences. From traditional pillar molds to intricate novelty shapes, each mold brings its own unique flair to your creations. By choosing the right mold, you can elevate your candle-making skills and produce visually appealing candles that enhance your decor or serve as thoughtful gifts. Embrace the possibilities and experiment with different molds to make your candles truly your own.
FAQ
Q: What types of candle molds are available for crafting?
A: There are numerous types of candle molds available, including silicone molds, metal molds, and plastic molds. Silicone molds are highly favored for their flexibility and ease of use, allowing for intricate designs and easy release of the finished candle. Metal molds are more durable and can withstand higher temperatures, while plastic molds are lightweight and often less expensive but may not provide the same level of detail.
Q: How do I choose the right mold for my candle-making project?
A: When deciding on a mold, consider the shape and size of the candle you wish to create, as well as the type of wax you plan to use. If you’re working with a more detailed design, silicone molds are typically the best option. For larger candles, a sturdy metal mold might be more appropriate. Additionally, think about the complexity of the mold; simpler designs can often be made with plastic molds.
Q: Can I use regular household items as candle molds?
A: Yes, you can repurpose various household items as candle molds, such as glass jars, tin cans, or even cardboard tubes. Just ensure that the material can withstand the heat of the melted wax and that it can be easily removed once the candle has set. Be cautious with items that may not hold up to heat or may become damaged during the melting and pouring process.
Q: What is the proper technique for pouring wax into molds?
A: To pour wax into molds, first ensure that the mold is clean and dry. If you’re using silicone molds, there’s no need for a release agent; however, for metal or plastic molds, consider lightly greasing them. Melt the wax according to the package instructions, and maintain an appropriate pouring temperature to avoid warping the mold. Pour slowly to minimize air bubbles and fill the mold just below the rim. Allow it to cool completely before removing the candle.
Q: How can I achieve different textures or finishes for candles made from molds?
A: To create different textures or finishes, you can explore various techniques such as using additives to the wax, like colorants or fragrance oils, which can also impact the appearance. Additionally, consider trying different pouring techniques—pouring in layers for a striped effect or swirling colors together can create unique looks. After demolding, you can finish the candle by sanding or adding embellishments like glitter or paint to enhance the texture or aesthetic appeal.

