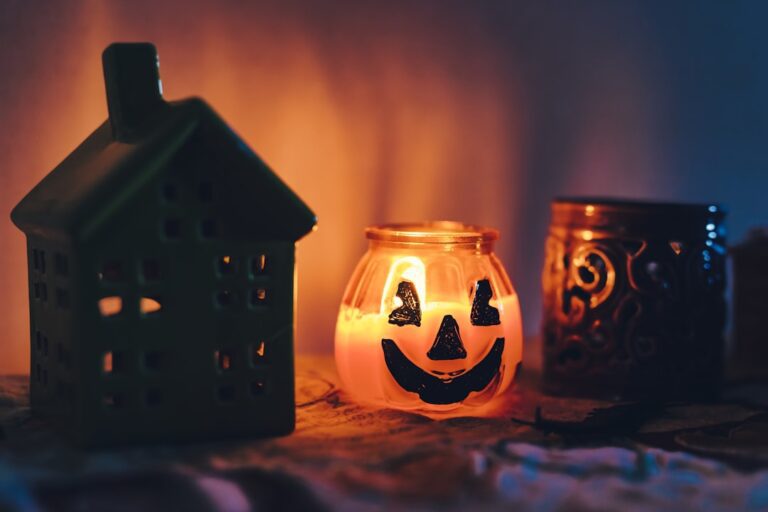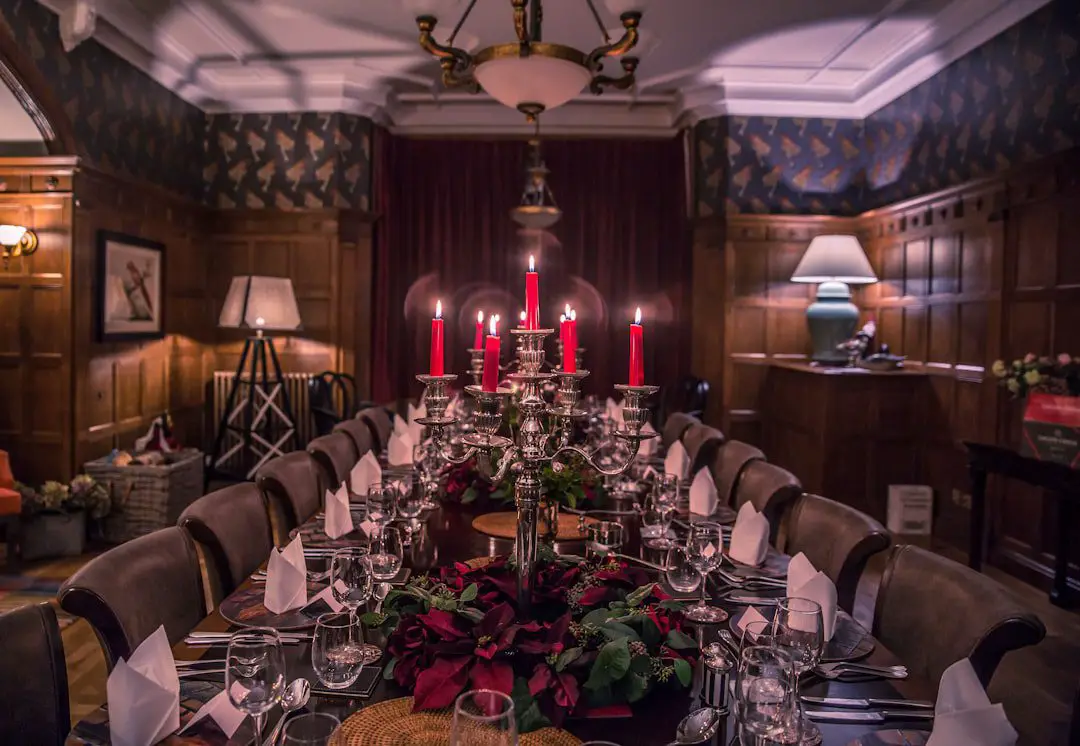
The growing demand for customizable candles and how brands are responding.
In recent years, the candle industry has witnessed a remarkable transformation, with customizable candles emerging as a significant trend. This shift can be attributed to a growing consumer desire for unique and personalized products that reflect individual tastes and preferences. Unlike traditional candles, which often come in standard scents and designs, customizable candles allow consumers to select everything from the fragrance to the container, creating a product that resonates with their personal style.
This trend has not only revitalized the market but has also opened up new avenues for creativity and self-expression among consumers. The rise of customizable candles can also be linked to broader societal trends emphasizing individuality and personalization. As consumers increasingly seek products that tell their stories or evoke specific memories, brands have responded by offering more tailored options.
This movement is particularly evident in the rise of artisanal and small-batch candle makers who prioritize quality and customization over mass production. These brands often leverage local ingredients and craftsmanship, appealing to consumers who value authenticity and a personal touch in their purchases. The result is a burgeoning market where consumers are not just buying candles; they are investing in experiences that resonate with their identities.

Consumer Preferences for Personalized Products
The demand for personalized products has surged across various industries, and candles are no exception. Consumers today are more inclined to seek out items that reflect their unique personalities, lifestyles, and values. This shift in consumer behavior is driven by a desire for authenticity and a rejection of one-size-fits-all solutions.
In the context of candles, this means that shoppers are looking for scents that evoke specific memories or emotions, colors that match their home decor, and even labels that convey personal messages or sentiments. Moreover, the trend towards personalization is closely tied to the rise of e-commerce and digital platforms that facilitate customization. Online retailers often provide interactive tools that allow customers to mix and match scents, choose container styles, and even design their own labels.
This level of engagement not only enhances the shopping experience but also fosters a sense of ownership and pride in the final product. As consumers become more accustomed to these personalized shopping experiences, their expectations for customization in other areas of retail continue to grow, further solidifying the importance of this trend in the candle industry.
How Brands are Adapting to the Trend


In response to the increasing consumer demand for customizable candles, brands are innovating their product offerings and marketing strategies. Many established candle companies have begun to incorporate customizable options into their catalogs, allowing customers to create bespoke products that cater to their individual preferences. This adaptation often involves expanding scent profiles, offering a wider range of container designs, and providing options for personalized labeling.
By doing so, brands not only meet consumer expectations but also differentiate themselves in a crowded marketplace. Additionally, many brands are leveraging collaborations with artists or influencers to create limited-edition customizable candles that appeal to niche markets. These partnerships often result in unique designs or exclusive scents that resonate with specific consumer segments.
For instance, a candle brand might collaborate with a popular lifestyle influencer to create a signature scent that reflects their aesthetic. Such collaborations not only enhance brand visibility but also tap into the influencer’s loyal following, driving sales and fostering community engagement around the product.
The Impact of Customization on the Candle Industry
The impact of customization on the candle industry is profound, reshaping not only consumer expectations but also production processes and marketing strategies. As brands embrace customization, they are compelled to rethink their supply chains and inventory management practices. Traditional candle production often relies on economies of scale, where large batches of standardized products are manufactured.
However, with the rise of customizable options, brands must adopt more flexible production methods that can accommodate smaller batches tailored to individual customer preferences. This shift towards customization also encourages innovation within the industry. Brands are exploring new materials, scents, and design techniques to enhance the customization experience.
For example, some companies are experimenting with eco-friendly waxes or sustainable packaging options that appeal to environmentally conscious consumers. This focus on innovation not only meets consumer demands but also positions brands as leaders in sustainability within the candle market. As a result, customization is not merely a trend; it is driving a fundamental evolution in how candles are produced and marketed.
Technology and Innovation in Customizable Candle Production
The integration of technology into candle production has played a crucial role in facilitating customization. Advances in manufacturing processes, such as 3D printing and automated pouring systems, enable brands to produce customized candles more efficiently than ever before. These technologies allow for rapid prototyping of new designs and scents, reducing lead times and enabling brands to respond quickly to changing consumer preferences.
Moreover, digital platforms have revolutionized how consumers interact with brands when customizing their candles. Many companies now offer online configurators that allow customers to visualize their creations in real-time. These tools often include scent pairing suggestions based on popular combinations or customer reviews, enhancing the decision-making process for consumers.
By harnessing technology in this way, brands can create a seamless and engaging shopping experience that encourages customers to explore their creativity while designing their perfect candle.
The Role of Social Media in Promoting Customizable Candles

Social media has emerged as a powerful tool for promoting customizable candles, allowing brands to showcase their unique offerings and engage directly with consumers. Platforms like Instagram and Pinterest serve as visual marketplaces where brands can share aesthetically pleasing images of their customizable products. This visual appeal is particularly important in the candle industry, where scent is an intangible quality that can be difficult to convey through traditional advertising methods.
Influencer marketing has also become a key strategy for promoting customizable candles on social media. Brands often collaborate with influencers who align with their target audience to create authentic content that highlights the customization process. For instance, an influencer might share a video of themselves selecting scents and designing labels for a custom candle, providing followers with an inside look at the product creation process.
This type of content not only generates excitement around customizable candles but also fosters a sense of community among consumers who share similar interests in home decor and self-care.
Ethical and Sustainable Practices in Custom Candle Making
As consumers become increasingly aware of environmental issues, ethical and sustainable practices have gained prominence in the candle industry. Many brands are now prioritizing eco-friendly materials and production methods when creating customizable candles. This includes using natural waxes such as soy or beeswax instead of paraffin, which is derived from petroleum and can release harmful chemicals when burned.
Additionally, sustainable sourcing of fragrance oils and packaging materials is becoming a standard practice among conscientious brands. Transparency is another critical aspect of ethical candle making. Consumers today want to know where their products come from and how they are made.
Brands that provide detailed information about their sourcing practices, ingredient lists, and production processes often gain consumer trust and loyalty. By emphasizing sustainability and ethical practices in their marketing efforts, these brands not only appeal to environmentally conscious consumers but also contribute positively to the overall perception of the candle industry.
The Future of Customizable Candles: Trends and Forecasts
Looking ahead, the future of customizable candles appears bright as consumer preferences continue to evolve towards personalization and sustainability. One emerging trend is the integration of smart technology into candle design. Brands may begin to explore options such as app-controlled candles that allow users to adjust lighting or scent intensity through their smartphones.
This fusion of technology with traditional candle-making could create entirely new experiences for consumers. Additionally, as sustainability becomes an even more pressing concern globally, we can expect an increase in brands focusing on zero-waste practices within the customizable candle space. This could involve offering refillable containers or encouraging customers to return used vessels for recycling or repurposing.
The emphasis on sustainability will likely drive innovation in materials used for both candles and packaging. In conclusion, the customizable candle market is poised for continued growth as it adapts to changing consumer preferences and technological advancements. With an increasing focus on personalization, sustainability, and ethical practices, brands that embrace these trends will likely thrive in this dynamic landscape.
As consumers seek products that resonate with their identities while aligning with their values, customizable candles will remain at the forefront of this evolving industry.
The growing demand for customizable candles has led brands to respond by offering a variety of options to cater to individual preferences. From eco-friendly soy wax candles to organic candles in the eco-conscious market, consumers are now able to choose candles that align with their values and lifestyle. For more information on the benefits of soy wax candles, check out