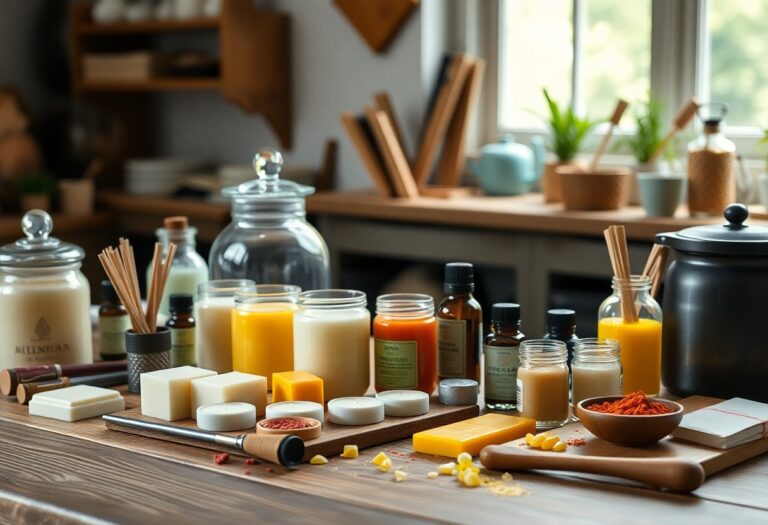
How to use dye and pigments to color candles.
You can easily add vibrant colors to your candles using dye and pigments to enhance your creations. Choosing the right materials is important; ensure you select candle-safe dyes and pigments to avoid unwanted chemical reactions. In this guide, you’ll learn the step-by-step process of incorporating color into your candles while considering factors like melting points and compatibility. By understanding these techniques, you can bring your artistic vision to life and create beautifully colored candles that are both safe and stunning.
Understanding Dyes and Pigments
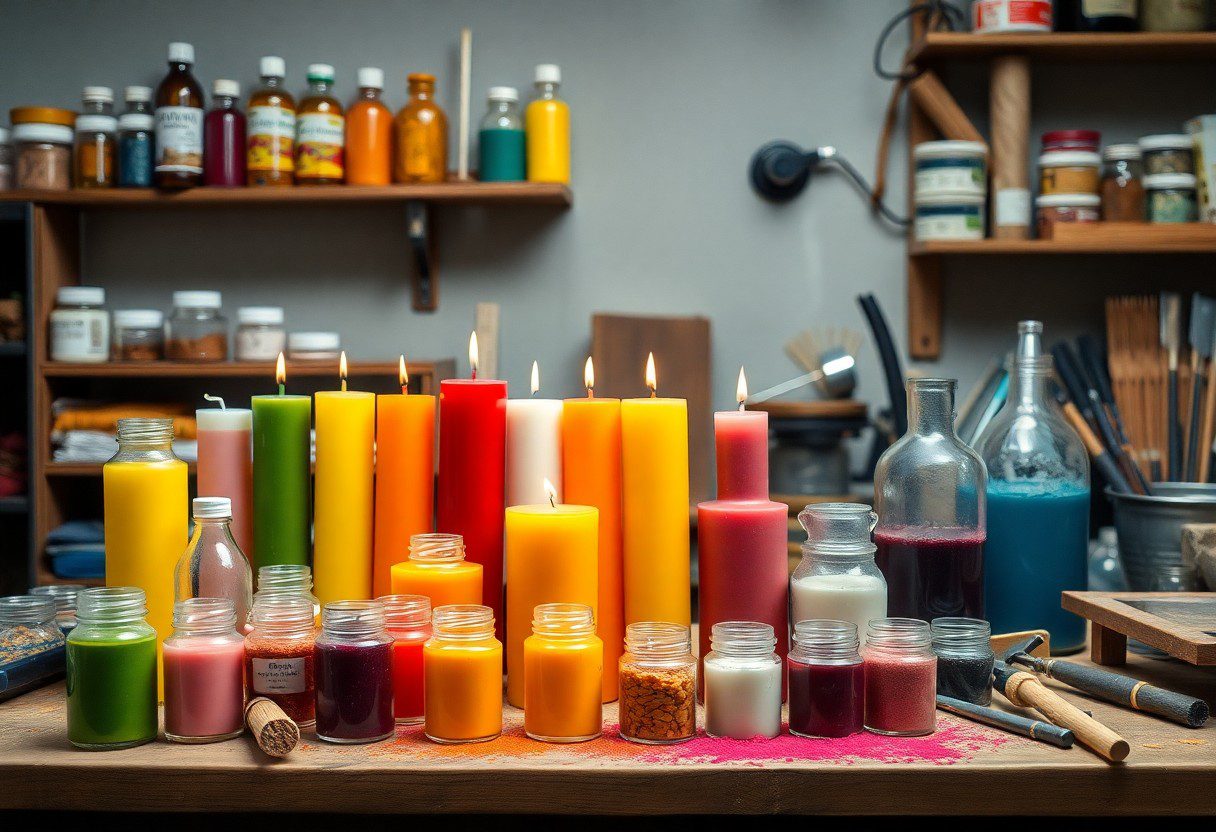
The world of candle making encompasses various methods to achieve stunning colors, primarily through the use of dyes and pigments. Understanding the differences between these coloring agents is vital for achieving your desired effects. Dyes dissolve in wax and create translucent colors, while pigments remain suspended, providing a more opaque finish. By grasping their unique properties, you can enhance the aesthetic appeal of your candles.
Types of Dyes
Assuming you want to explore types of dyes, here’s a breakdown of the options available:
| Liquid Dyes | Highly concentrated and easy to mix. |
| Powdered Dyes | Affordable and versatile, though require thorough mixing. |
| Color Blocks | Pre-measured for uniformity, simply melt and add. |
| Natural Dyes | Derived from plants, offering eco-friendly options. |
| Specialty Dyes | For unique effects like swirls or speckles. |
This guide should help you in selecting the right dye for your candle-making endeavors.
Types of Pigments
An exploration of pigment types reveals a variety of choices to enrich your candles:
| Powdered Pigments | Finely ground and need blending for accuracy. |
| Liquid Pigments | Ideal for achieving a true-to-color finish in candles. |
| Metallic Pigments | Add shimmer and shine, giving candles an elegant touch. |
| Fluorescent Pigments | Bright and vibrant, create eye-catching results. |
| Natural Pigments | Eco-friendly, sourced from minerals and clays. |
Thou can choose the appropriate pigment to achieve your desired finish.
Delving deeper, these pigment types have unique characteristics that can drastically affect the outcome of your candles. For instance, metallic pigments will require you to apply additional care to maintain their shine, whereas fluorescent pigments will illuminate brighter under UV light. Keep in mind that some pigments may affect the scent throw of your candles, so always conduct tests before finalizing your color choices.
| Experiment with blending | To create custom colors. |
| Use safety gear | When handling powdered pigments to avoid inhalation. |
| Balance ratios | To achieve the desired opacity without losing scent. |
| Store pigments properly | To maintain quality over time. |
| Test small batches | Before committing to larger quantities. |
Thou can successfully navigate the intricate world of pigments to elevate your candle-making skills.
Factors to Consider When Choosing Colors
If you’re venturing into candle coloring, consider various factors to enhance your creations. Your choice of colors can significantly impact the overall aesthetic and mood of your candles. Here are some key points:
- Wax Type compatibility
- Colorfastness of pigments
- Desired Color intensity
- Fragrance interaction
The right colors can elevate your candles from ordinary to extraordinary.
Wax Type Compatibility
With different types of wax—such as paraffin, soy, or beeswax—come varying coloring needs. It’s important to choose dyes that meld well with your chosen wax type for optimal results. Each wax has different properties that affect how pigments bind, so make sure to select compatible options to achieve the vibrant colors you desire.
Colorfastness and Stability
There’s nothing worse than spending time on beautiful candles only to see the colors fade over time. Ensuring your pigments are colorfast means they resist fading from light exposure and other external factors. Stability is also important; some colors may change as the wax hardens or burns.
A superior selection of colorfast and stable pigments will ensure your candles maintain their vibrant hues for longer periods. There are different types of colorants available, and while some may deliver stunning results initially, they may not hold up under heat or light. Check product specifications for heat resistance and durability to avoid disappointing outcomes. Choosing the right pigments ensures your hard work is displayed beautifully over time.
How to Use Dyes in Candle Making
Now that you’re ready to add color to your candles, it’s necessary to select the right type of dye. There are various options available, from liquid dyes to powdered pigments. For those just starting, you might find it helpful to explore community insights; check out this post on I’m new to candle making. Has anyone used food coloring … for tips and tricks from fellow novice candle makers.
Measuring and Mixing
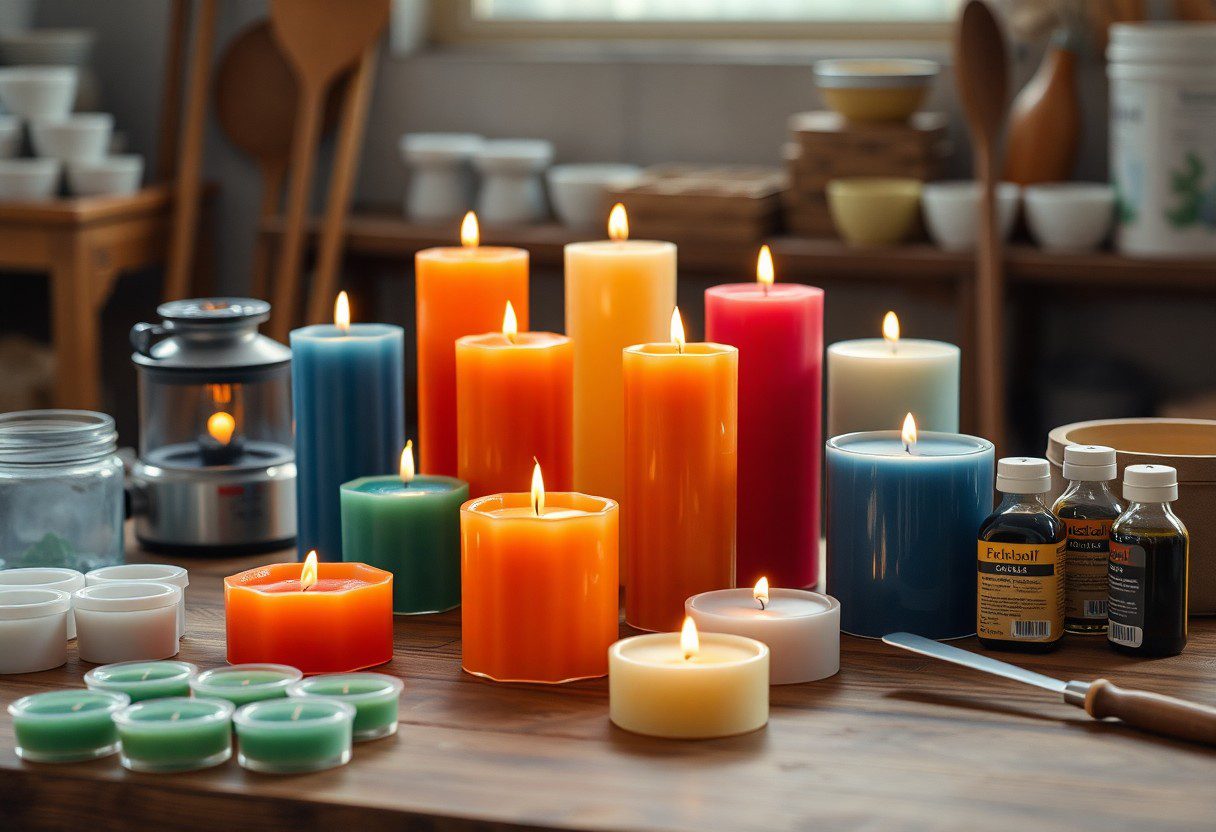
Making precise measurements is necessary for achieving the desired hue. Use a scale to weigh your dye accurately, typically recommended at around 1-2% of the total wax weight. Once measured, mix the dye into the melted wax thoroughly to ensure uniform color distribution before pouring into your molds.
Techniques for Achieving Desired Shades
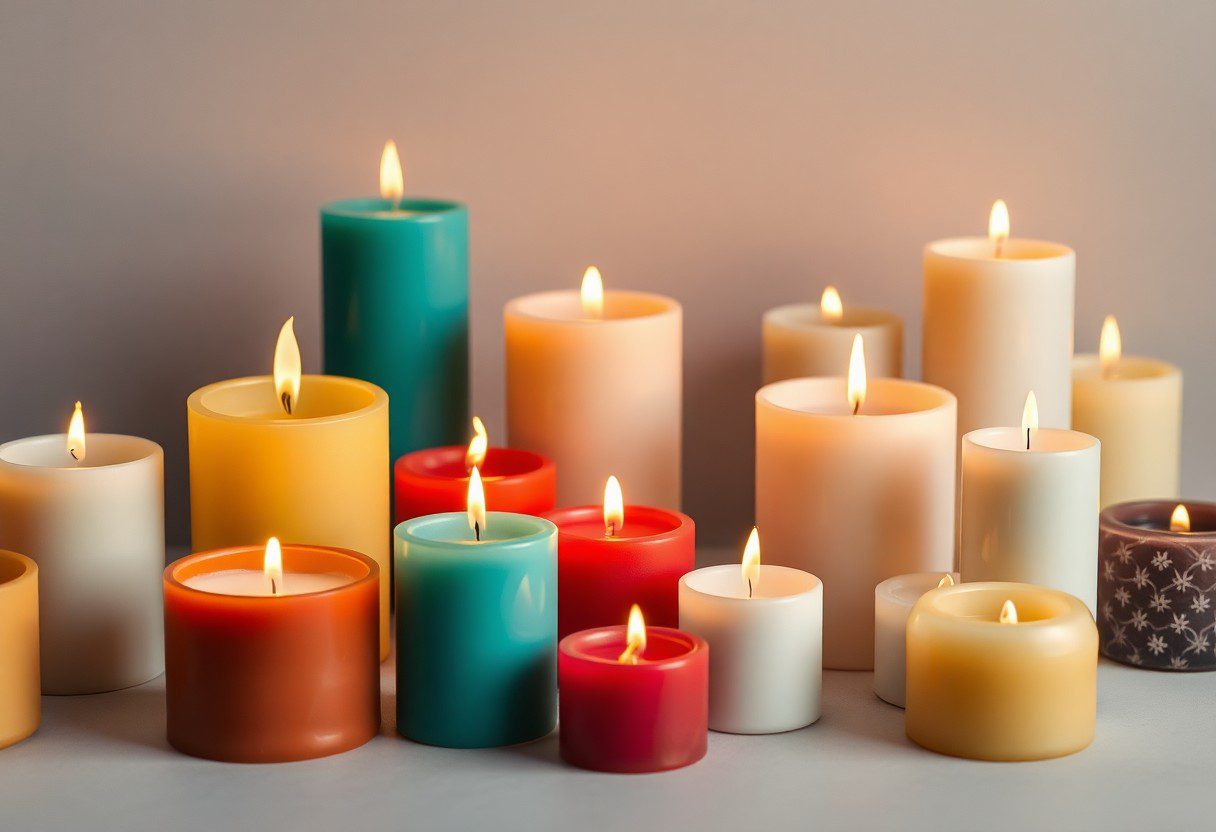
To create a variety of shades in your candles, start by experimenting with different dye concentrations. You can mix primary colors to achieve a broader spectrum or adjust quantities for lighter or darker tones. Always test with small batches to visualize how the colors blend together.
Plus, consider incorporating multiple layers of colors by pouring in stages and allowing each layer to cool slightly before adding the next. This can create a beautiful ombre effect. Also, when using dyes, keep in mind that some may cause a type of bloom or affect the *fragrance throw* of the candle. Always ensure to use candle-specific dyes to achieve the best results and maintain safety in your crafting process.
How to Use Pigments in Candle Making
After you have gathered your materials, using pigments in your candle making process will not only add vibrant colors but also enhance your creations’ visual appeal. Pigments are typically more potent than dyes, providing a gentle and long-lasting hue to your candles. Be mindful to choose the right pigment specifically designed for candle making to ensure quality results, and always read the manufacturer’s instructions for optimal usage.
Integrating Pigments into the Wax
With pigments, integration into the wax requires a specific approach to achieve an even color throughout the candle. When melting your wax, add the desired amount of pigment once the wax reaches a temperature suitable for pouring. Stir thoroughly to disperse the pigment evenly, ensuring that you achieve the most vibrant color without clumping.
Creating Custom Color Blends
With custom color blends, you can truly personalize your candles to match your aesthetic preferences. Experiment by mixing different pigments until you find a combination that resonates with your vision. Start with small amounts and gradually increase until you achieve your desired shade. It’s important to take notes on the ratios used for future reference.
This process allows you to explore a spectrum of colors while enhancing your creativity. By blending different pigment types, you can achieve unique shades that stand out. Be cautious of the quantity you use, as too much pigment can result in a candle that doesn’t burn properly. However, striking the right balance can lead to stunning visual effects and a truly personalized candle that reflects your style. Always test small batches before committing to larger projects.
Tips for Achieving Consistent Colors
Keep your candle-making skills sharp by using the following tips to achieve consistent colors in your creations:
- Maintain a consistent ratio of dye or pigment to wax.
- Use the same type of wax for each batch.
- Opt for reliable colorants from trusted suppliers.
- Take notes on your color mixing process.
Thou shall benefit from experimenting with color combinations to refine your technique.
Batch Testing
There’s no better way to ensure your colors meet your expectations than through batch testing. Before committing to a large batch of wax, create small test samples with different amounts of dye or pigment. This allows you to evaluate how each mixture behaves as it cools and solidifies, ensuring you achieve the desired color intensity.
Documentation and Color Recipes
With proper documentation, you can replicate your favorite colors every time. Keep a detailed log of your color recipes, noting the exact measurements and specific brands of dyes or pigments used in each batch.
The key to successful candle making lies in well-maintained records. By documenting your mixtures, you not only enhance your skills but also save valuable time on future projects. Make sure to include temperature data, any specific mixing techniques, and even the batch number. This level of detail will allow you to replicate successful colors and avoid potential mistakes that could lead to wasted supplies.
Troubleshooting Common Coloring Issues
Once again, encountering issues while coloring candles is part of the process, and knowing how to troubleshoot can save your project. If you’re looking for detailed guidance on common problems, check out Everything You Need To Know To Color Candles Like The Pros.
Fading or Bleeding Colors
On occasion, you might notice that your colors fade or bleed after the candles have set. This issue usually arises from using too much dye or insufficient time for the candles to cure. Always use dyes specifically made for candle making and let your candles rest for at least 48 hours to allow the colors to fully set.
Uneven Color Distribution
Common causes of uneven color distribution include insufficient mixing or adding dye at the wrong temperature. To achieve consistent color throughout your candles, it’s important to stir your mixture thoroughly and to check that your wax is at the recommended pouring temperature before adding pigments or dyes.
Plus, when you mix your dye or pigments, ensure you use a consistent technique like a stick blender or whisk to distribute the color uniformly. If you’re using melted wax that’s too hot, the dye can adhere to the sides of your container instead of blending, leading to uneven patches. Always use a thermometer to check your wax temperature and take your time to blend thoroughly for the best, most vibrant results.
Summing up
Presently, using dye and pigments to color candles allows you to personalize your creations effectively. Start by selecting the right type of colorant, whether liquid dye, powder, or special candle coloring blocks, ensuring it is compatible with your wax. Measure the appropriate amount for the desired shade, and incorporate it when your wax reaches the melting point. Stir thoroughly to achieve an even distribution, and pour your colored wax into molds. By following these steps, you can create beautifully colored candles that enhance your home’s ambiance or make thoughtful gifts.
FAQ
Q: What types of dyes and pigments can I use for coloring candles?
A: For candle making, you can use various types of dyes and pigments, including liquid dyes, dye chips, crayon shavings, and powdered pigments. Liquid dyes are easy to mix and provide vibrant colors, while dye chips offer the advantage of using solid forms that can be melted. Crayon shavings can create interesting colors and textures, though they may not burn cleanly. Powdered pigments are also an option, allowing for customization and unique colors, but they may require more careful mixing to ensure even distribution.
Q: How much dye or pigment should I use to achieve my desired color?
A: The amount of dye or pigment needed largely depends on the type of wax you are using and the intensity of color you desire. As a general guideline, start with approximately 0.1% to 0.5% of the total weight of the wax for intense colors, and adjust as needed. It’s advisable to create test batches, gradually adding more dye until you achieve the preferred shade. Always keep track of the amounts used for consistency in future batches.
Q: Can I mix different colors together when dyeing candles?
A: Yes, you can mix different colors together to create custom shades. Experimenting with various combinations can yield unique results. Be cautious and start with small amounts to avoid wasting materials. Keep in mind that mixing colors can produce unexpected outcomes, so document your mixing ratios to replicate successful results later.
Q: Do I need to heat the dye or pigment before adding it to the wax?
A: Generally, yes; it is best to add dyes and pigments to melted wax. Heating the wax to the appropriate temperature (usually between 170°F to 180°F or 77°C to 82°C) before adding the colorant ensures that it will mix well and distribute evenly throughout the wax. For powdered pigments, it can sometimes help to mix them with a small amount of melted wax first to prevent clumping before adding to the larger batch.
Q: Will the color of my candle change after it cools and hardens?
A: It is possible for the color to change slightly as the candle cools and hardens. Some colors may appear darker while others can lighten, depending on the type of dye or pigment used. To account for this, it is advisable to test a small sample of colored wax first, allowing it to cool and solidify so you can see the final result before proceeding with your full batch.

