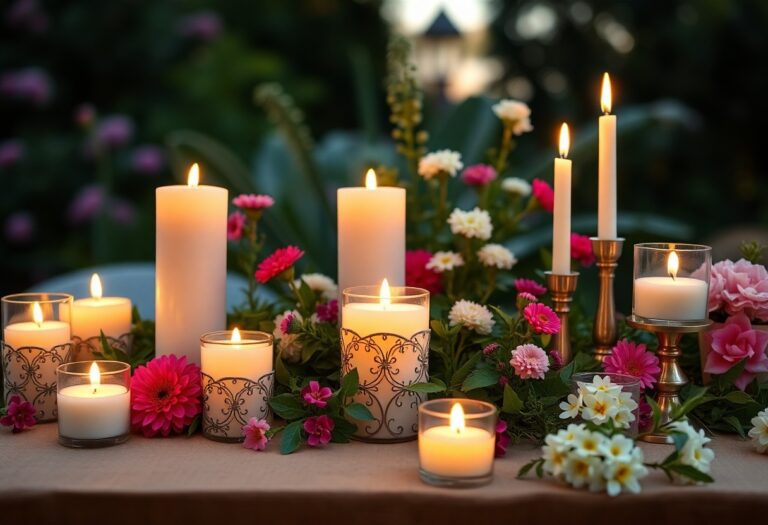
Travel In Style – Simple DIY Travel Candles For Your Adventures And Getaways
You can elevate your travel experience by creating simple DIY travel candles that enhance the ambiance and relaxation of any getaway. These portable candles are not only easy to make, but they also provide comforting scents that can help you unwind after a long day of exploring. With just a few materials and steps, you can customize your candles to reflect your personal style, ensuring your adventures are both memorable and inviting. Let’s explore how you can craft your own unique travel candles for your next adventure.
The Importance of Travel Candles
A well-chosen travel candle can significantly elevate your getaway experience. Not only do they provide ambient light, but they also create a calming atmosphere, helping you unwind and relax in unfamiliar surroundings. Carrying a travel candle allows you to infuse your space with your favorite scents, transforming any location into a sanctuary that feels like home. Their portable nature makes them an excellent addition to your travel imperatives, ensuring you can always enjoy a moment of peace, no matter where you are.
Setting the Mood
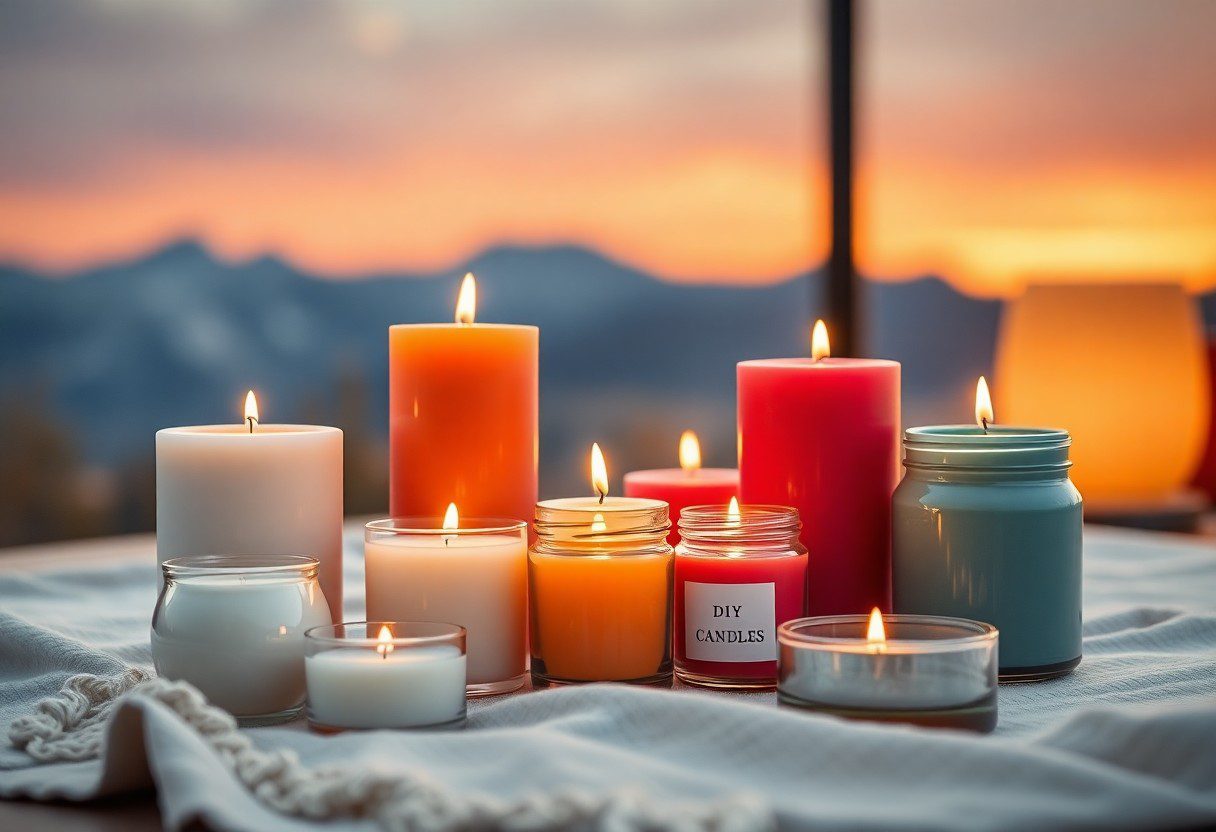
With a simple flicker of a flame, travel candles can instantly transform any environment into a cozy retreat. The warm light and inviting scent can enhance relaxation, allowing you to escape the hustle and bustle of your adventures. Whether you’re unwinding after a day of exploration or enjoying a quiet evening in, the subtle glow of a candle can provide comfort and intimacy, making every moment feel special.
Enhancing Experiences
Behind every memorable trip is the attention to detail that heightens your overall experience. Using travel candles can elevate ordinary moments into extraordinary ones, creating lasting memories.
Candles serve as an excellent way to strike a balance between travel and self-care. They can turn hotel rooms, campsites, or rented homes into a personalized oasis. Lighting a candle after a long day of sightseeing not only fills the air with your chosen fragrance but also creates a space where you can relish those precious moments away from daily stressors. The right scents can even encourage emotional well-being and revive your spirits, ensuring your journey is not just about where you go but how you feel along the way.
Materials Needed for DIY Travel Candles
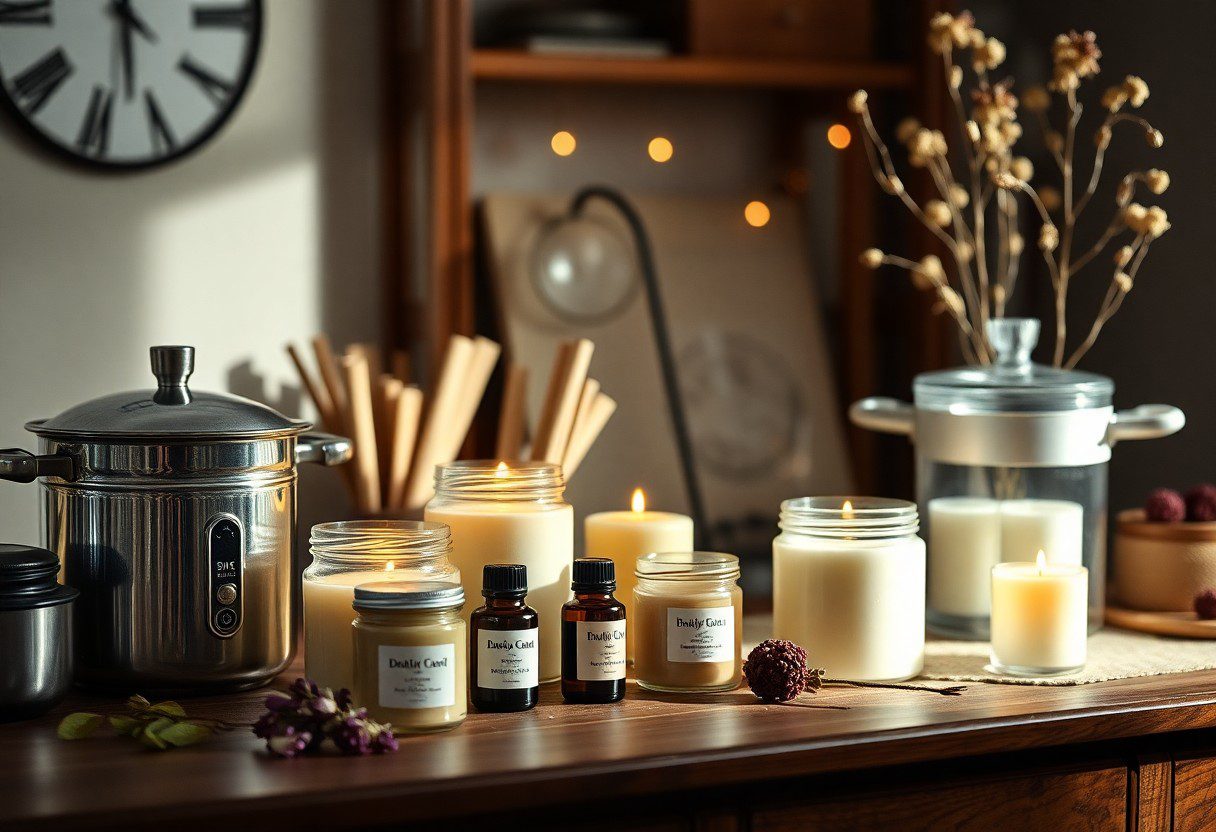
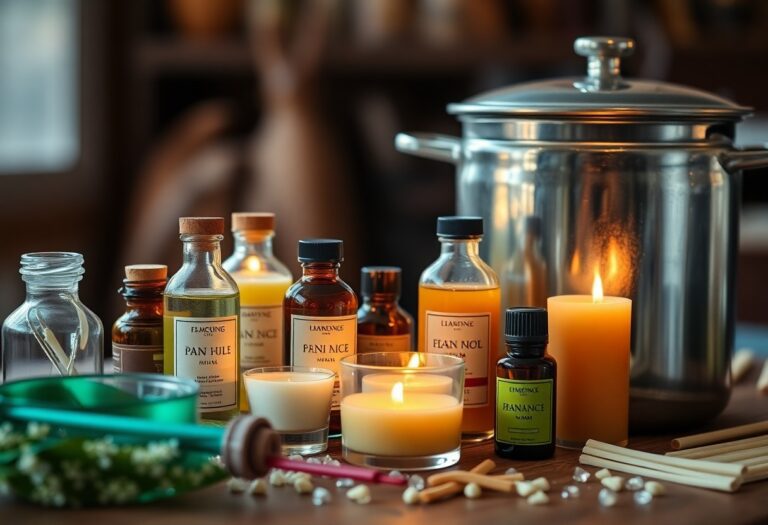
The right materials will make your DIY travel candle project smooth and enjoyable. You will need wax (like soy or beeswax), a candle wick, a heat source, and a container that suits your adventures, such as these 2oz Travel Candles. For fragrances, you may choose important oils or candle scents to create a relaxing atmosphere wherever you are.
Essential Supplies
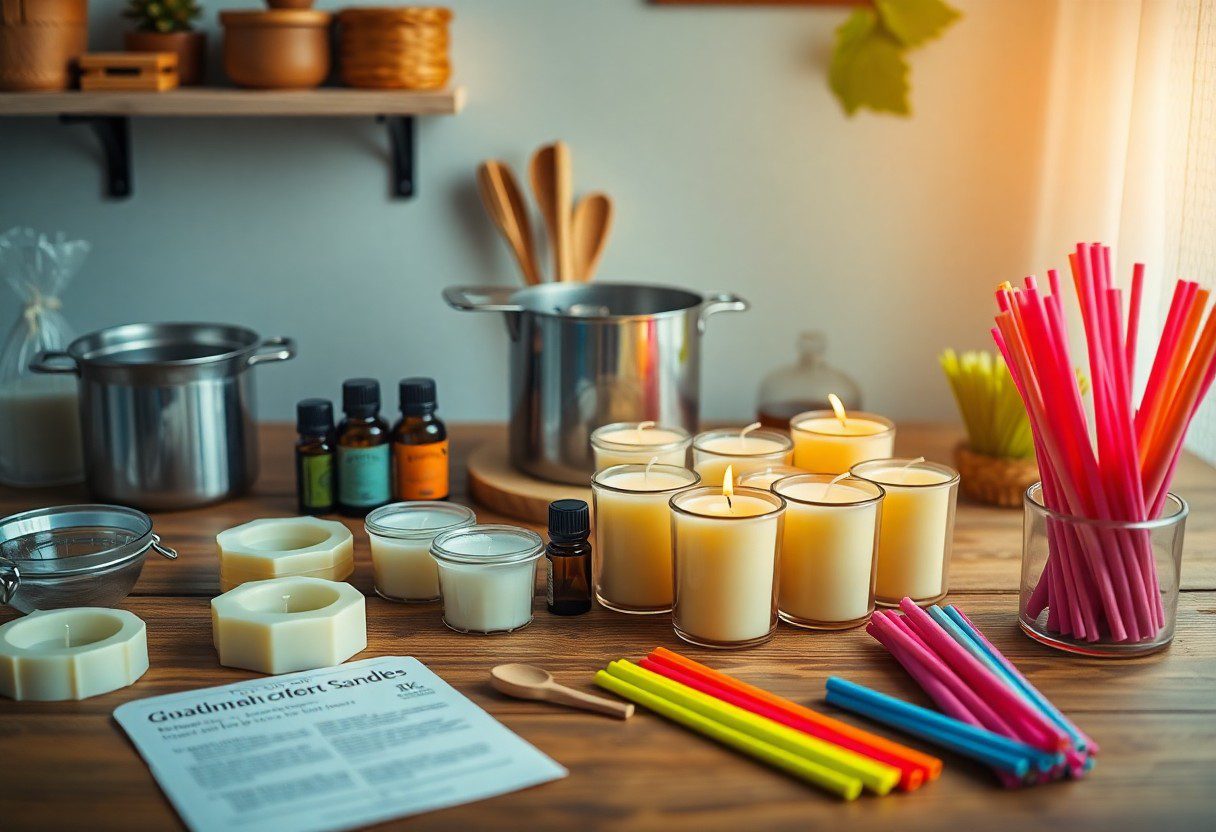
Across your crafting journey, ensuring you have all important supplies will contribute to the success of your travel candle project. Gather wax, wicks, a heat source, and suitable containers. A thermometer and a stirring tool can also help you achieve the perfect melt.
Optional Add-Ons
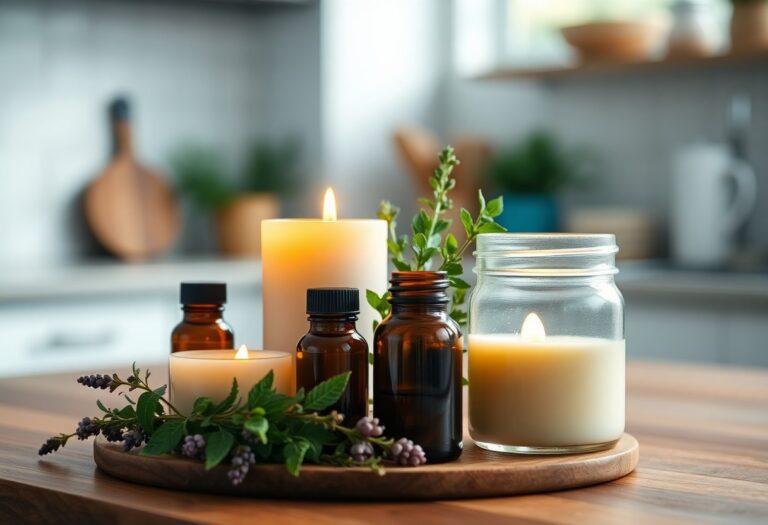
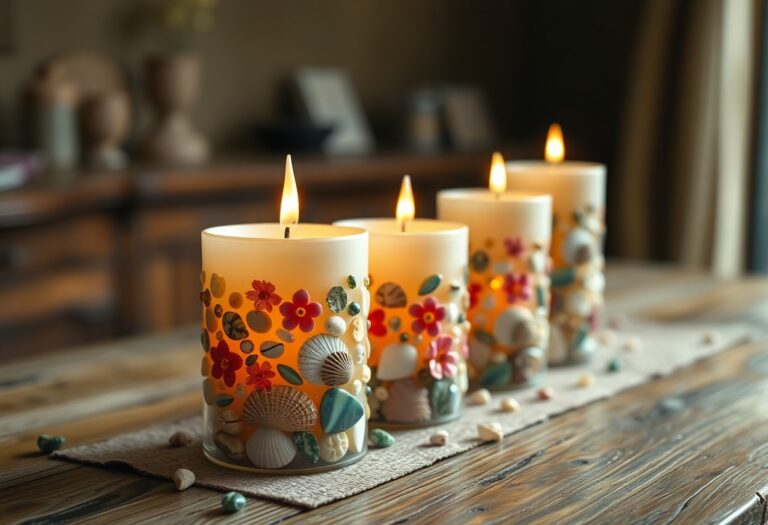
After you’ve prepared your important supplies, consider enhancing your travel candles with optional add-ons. These may include dyes for color, different fragrance blends, or decorative elements like dried flowers and herbs.
It’s exciting to personalize your candles with optional add-ons! Choosing quality fragrances can elevate your experience, while adding colors can decarate your containers. Be cautious when selecting scents, as some may contain allergens. Adding herbs or botanicals not only beautifies your candles but can also contribute to a calming atmosphere. Just ensure all ingredients are safe for burning to maintain a pleasant experience.
Step-by-Step Guide to Making Your Candles
It’s time to initiate on your DIY candle-making adventure! Follow this simple guide to create delightful travel candles suited for your journeys. Below is a breakdown of the process to help you make these beautiful candles with ease.
Process Overview
| Steps | Details |
|---|---|
| 1. Prepare the Wax | Melt your wax using a double boiler. |
| 2. Add Fragrance | Stir in your favorite imperative oils. |
| 3. Pour and Set | Carefully pour the melted wax into your container. |
| 4. Cool Down | Allow the candles to harden before use. |
Preparing the Wax
With a few simple tools, you’re ready to prepare the wax for your candles. Begin by measuring the amount of wax you’ll need based on the size of your containers. Place the wax into a double boiler, ensuring that you melt it slowly to avoid scorching. Monitor the temperature closely, aiming for the ideal melting point.
Pouring and Setting
About to pour your melted wax? Make sure to secure the wick in the center of your container before carefully pouring the wax. Aim for a steady hand to achieve a level finish on the top of your candle. Keep an eye on the wax as it begins to set; this is when you can adjust the wick if necessary and make adjustments to create a flawless finish.
But pouring wax can be tricky if you’re not cautious. Always handle hot materials with care to avoid burns; utilize pot holders and a steady work surface. Once poured, let the candles cool completely at room temperature, avoiding any drafts that may affect the setting process. Once they’ve fully hardened, trim the wick to your desired length and enhance your getaway with your beautifully crafted candles!
Creative Ideas for Customizing Your Candles
Many travelers seek ways to infuse their adventures with personal flair, and customizing your candles is a wonderful method to achieve this. Consider adding unique fragrances or colors that reflect your journey, or even try out a DIY Citronella Outdoor Candle for when you’re relaxing under the stars. The possibilities are endless, and your creativity will transform simple candles into meaningful keepsakes.
Scent Combinations
Your senses play a significant role in the travel experience, and scent combinations can evoke treasured memories. Think about blending earthy sandalwood with floral jasmine or invigorating citrus with warm vanilla. Each combination captures a unique essence of adventure, allowing you to recreate the ambiance of your favorite destinations right at home.
Decorative Containers
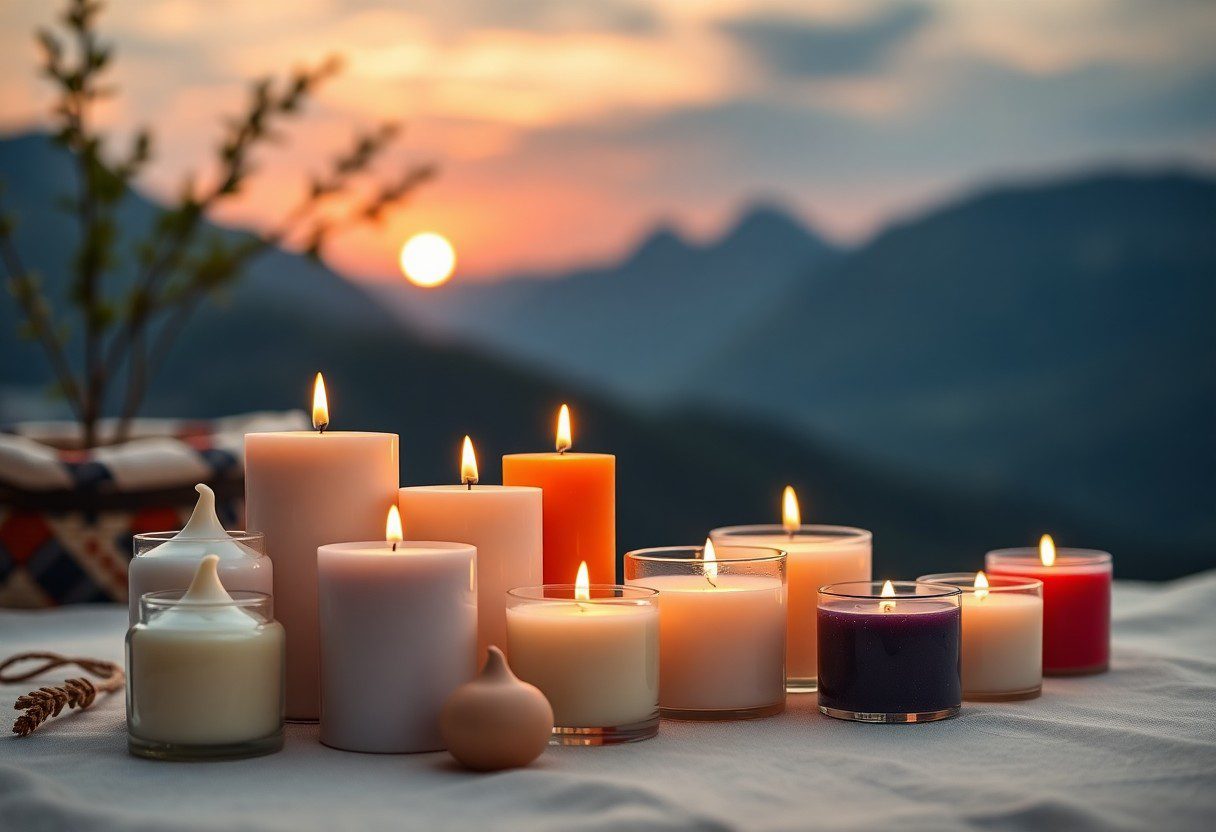
About the containers you choose for your candles, they can add an extra layer of style to your DIY project. Not only can you select materials that match your aesthetic, but you can also repurpose items such as vintage teacups, glass jars, or decorative tins, which tell a story of their own. With the right container, your candles will become eye-catching centerpieces, enhancing your surroundings.
With an eye for creativity, you can select decorative containers that reflect your personality and style. Fragrant, warm, and vintage jars can impart a touch of nostalgia, while modern, sleek designs might resonate with a contemporary elegance. The key is to choose containers that not only hold your candles but also enhance the overall ambiance of your travels, making your candles as beautiful to look at as they are enjoyable to use.
Safe Travel Tips for Candle Enthusiasts
Your adventures can be enriched by incorporating travel candles into your routine, but safety is key. Consider these tips for a worry-free experience:
- Always ensure candles are placed on stable surfaces.
- Keep candles away from flammable materials.
- Never leave burning candles unattended.
- Check local regulations regarding candle use.
Knowing these necessary safety tips will allow you to enjoy your candles without concern.
Storing Your Candles
Beside being a wonderful addition to your travel gear, proper storage of your candles ensures they remain in perfect condition. Use airtight containers or travel tins to protect them from heat and moisture, and consider cushioning them with bubble wrap or cloth fabric to prevent breakage or melting.
Using Candles Responsibly
Among the various aspects of candle use while traveling, responsibility plays a significant role. Always be conscious of your surroundings and the potential hazards associated with igniting your candles.
Candle safety should always be your top priority when using them on the road. Be vigilant to ensure candles can’t ignite flammable objects and monitor the surroundings. When extinguishing your candle, avoid pouring water directly, as this can cause hot wax to splatter. Instead, use a snuffer to ensure it’s properly extinguished. By treating your candles responsibly, you can create a warm and inviting atmosphere during your travels without compromising safety.
Alternative Uses for Travel Candles
After packing your travel candles for a relaxing getaway, consider their versatility beyond creating cozy ambiance. These tiny wonders can serve multiple purposes, elevating your travel experience in unexpected ways. Whether you find yourself in a pinch or looking to add a personal touch to gifts, your DIY candles can shine in these alternative roles.
Emergency Light Source
Around the campsite or during a power outage, your travel candles can be a reliable emergency light source. Lighting a candle can provide enough illumination to help you navigate in the dark, ensuring safety while creating a warm, inviting atmosphere. Keep a few handy in your bag or glove compartment for peace of mind on your travels.
Scented Gifts and Favors
Behind every beautifully crafted travel candle lies the potential to be a thoughtful gift or party favor. You can customize them with your favorite scents, making these candles perfect for special occasions such as weddings or birthdays.
This opportunity allows you to create meaningful personalized gifts for friends and family while showcasing your creativity. You can craft small batches of candles with unique fragrances and decorative touches, turning them into memorable keepsakes that reflect your adventures. Not only do you simplify your gift-giving, but you also offer a delightful, practical, and memorable alternative that is sure to stand out and be appreciated.
Final Words
Considering all points, creating your own DIY travel candles not only enhances your adventures and getaways but also allows you to express your personal style. You can customize scents and designs to fit each destination, making your trips even more memorable. With simple materials and a straightforward process, you can enjoy relaxing moments during your travels. So, why not pack a few handmade candles for your next journey? They’ll serve as a delightful reminder of home while adding a touch of warmth and ambiance to your experiences.
FAQ
Q: What materials do I need to make DIY travel candles?
A: To create your own travel candles, you’ll need the following materials: wax (such as paraffin, soy, or beeswax), a double boiler or a microwave-safe container for melting the wax, candle wicks, imperative oils or fragrance oils for scent, and small containers or tins to hold the candles. You might also want to have a thermometer and a stirring utensil handy for a smooth process.
Q: How can I customize my travel candles to match my style?
A: Customizing your travel candles is easy and fun! You can choose different wax types and colors that resonate with your personal aesthetic. Additionally, blend various imperative oils or fragrance oils to create unique scents that evoke your favorite places or memories. You can even decorate your containers with stickers, washi tape, or paint to make each candle distinct and reflective of your personality.
Q: How can I ensure my travel candles are safe and effective during my adventures?
A: To guarantee the safety and effectiveness of your travel candles, make sure to use a proper wick length that suits the size of your container to avoid overheating and ensure even burning. Always place your candle on a stable surface away from flammable materials while lighting them. For transporting, ensure they are securely closed to prevent spills and keep them in a temperature-regulated environment to avoid melting. Lastly, check to see that your fragrances are safe for travel and won’t react negatively in confined spaces.

