Starbucks Cake Pop Recipe: Make Your Favorite Treat at Home!
Intro: The Cake Pop Conspiracy
Okay, be honest — have you ever walked into Starbucks promising yourself you were only getting a coffee, only to walk out with a cake pop (or three)? No judgment here. We’ve all been personally victimized by those tiny, overpriced spheres of sugary joy. But guess what? You don’t need to sell your soul (or your last $3.95) anymore. Welcome to the DIY revolution, my friend — it’s time you learned how to make your very own Starbucks Cake Pop at home! Yes, you — and no, it’s not rocket science.
Why This Starbucks Cake Pop Recipe Is Life-Changing
First of all, Starbucks Cake Pops are dangerously addictive. Making them at home? Even more dangerous… because now you have, like, two dozen instead of just one.
Here’s why you’ll love this recipe:
- Flavor Bombs: They’re sweet, moist, and taste even better than the store version.
- Easy AF: You don’t need a culinary degree. You barely need to know how to bake.
- Party Trick: Want to look like a Pinterest mom? Whip these out at any party. Instant legend status.
- Money Saver: You can make 20 cake pops for the price of 2 at Starbucks. Do the math.
Ingredients
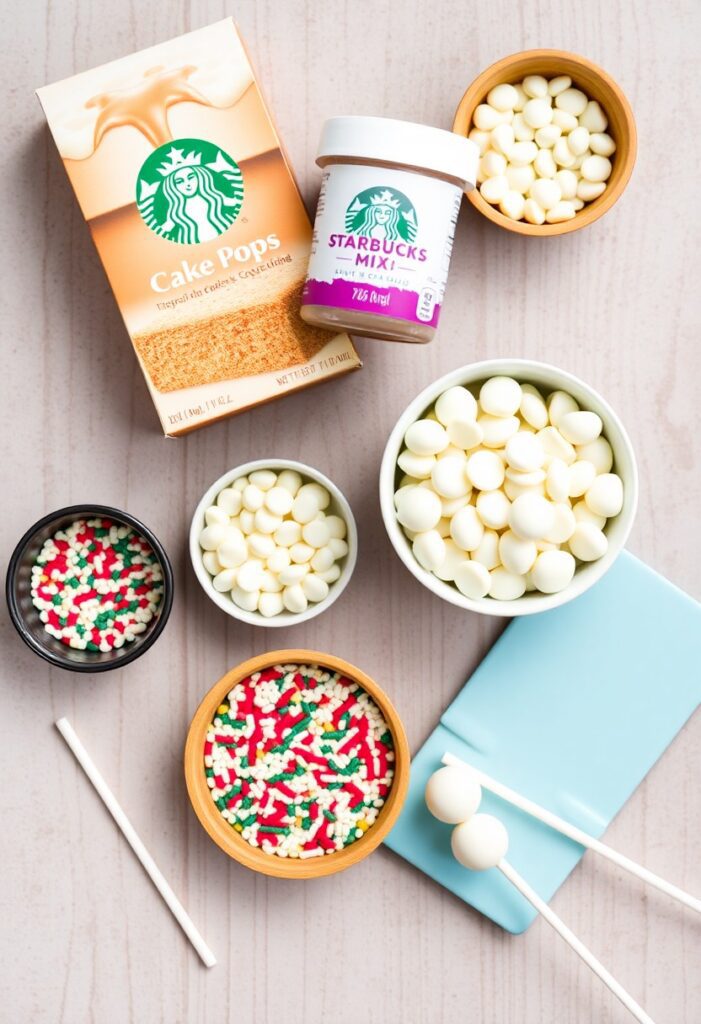
Alright, no fancy pantry ingredients here — we’re keeping it basic (because life is complicated enough):
- 1 box vanilla cake mix (plus ingredients needed per box instructions — usually eggs, oil, water)
- 1 tub vanilla frosting (store-bought or homemade if you’re feeling extra)
- 2 cups white chocolate chips or candy melts (for coating)
- Sprinkles (because… duh)
- Cake pop sticks (you’re not an animal)
Substitutions:
- Swap vanilla for chocolate cake mix if you’re feeling rebellious.
- Use cream cheese frosting for a tangy twist.
Tools & Kitchen Gadgets Used
(Because real friends don’t let friends struggle without the right tools.)
- Mixing bowls
- Hand mixer or stand mixer
- Baking sheet
- Parchment paper
- Microwave-safe bowl (for chocolate melting)
- Cake pop sticks
- Cooling rack
- Cookie scoop (life hack for even pops)
- Styrofoam block or cake pop stand (optional but mega helpful)
Step-by-Step Instructions
You ready? This will be easier than pretending you like your boss’s jokes at the office holiday party.
- Bake the cake.
Follow the box instructions like the responsible adult you are. Bake. Cool. Resist eating half the cake. - Crumble it up.
Once cool, crumble that cake into a giant bowl. We’re talking fine crumbs, not chunky monkey territory. - Mix in frosting.
Add about ¾ of the frosting tub and mix. It should be moist enough to hold together when you squeeze it. If it’s still crumbly, add more frosting slowly (nobody likes a frosting swamp). - Shape into balls.
Use a cookie scoop for evenly sized balls, then roll ’em up nice and tight. About 1 to 1.5 inches wide. - Chill.
Pop the balls on a parchment-lined tray and refrigerate for at least 1 hour. This is mandatory — no cheating. - Dip the sticks.
Melt a little chocolate, dip the tip of each stick, then insert it halfway into a cake ball. Helps the cake stay loyal. - Coat in chocolate.
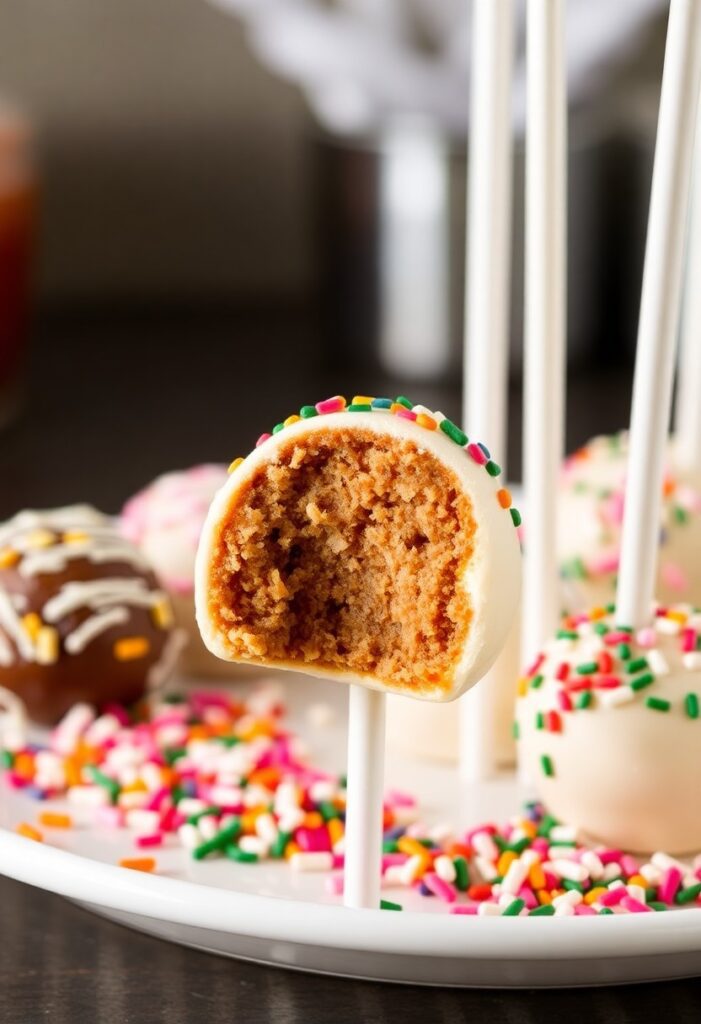
Melt the rest of your chocolate or candy melts, and dip each cake pop carefully. Twirl gently to coat. - Decorate like a boss.
Add sprinkles before the coating sets. Work fast — these guys set up quicker than your ex moved on. - Dry & Devour.
Stick your pops in a stand or Styrofoam block to dry fully. Then, go ahead… taste your masterpiece.
Calories & Nutritional Info (Per Cake Pop)
- Calories: ~180
- Fat: ~8g
- Sugar: ~15g
- Protein: ~2g
- Carbs: ~22g
Note: Highly nutritious for the soul.
Common Mistakes to Avoid
- Using too much frosting: Unless you like cake mush, keep it moist but not wet.
- Skipping the chill: Impatience = cake balls falling off the sticks = sadness.
- Overheating the chocolate: Burnt chocolate smells worse than burnt popcorn. Microwave in 15-30 sec bursts!
- Forgetting to tap off excess chocolate: Otherwise, you’ll get weird lumpy blobs. Not the look we’re going for.
Variations & Customizations
Because you’re the boss of your kitchen.
- Chocolate Overload: Use chocolate cake and chocolate frosting. Drizzle with dark chocolate.
- Birthday Cake Vibes: Use funfetti cake mix and neon sprinkles.
- Keto Swap: Use low-carb cake mix and sugar-free frosting + sugar-free candy melts (yep, it’s possible).
FAQ About Starbucks Cake Pop Recipe
Q1: Can I use homemade cake instead of boxed cake?
A: Absolutely. Martha Stewart, is that you?
Q2: How do you keep cake pops from falling off the stick?
A: Chill them first and dip the stick in melted chocolate before inserting. Game-changer.
Q3: Can I freeze Starbucks cake pops?
A: Heck yes! Wrap tightly and freeze for up to 6 weeks.
Q4: What’s the best chocolate to use?
A: Candy melts are super easy. But Ghirardelli white chocolate chips? Chef’s kiss.
Q5: Why are my cake pops cracking?
A: Usually because the cake is too cold and the coating too hot. Temperature matters, folks.
Q6: How long do homemade cake pops last?
A: About 5-7 days in the fridge. If they last that long.

Q7: Can I make these without a cake pop stand?
A: Yes! Stick them into a piece of Styrofoam, an upside-down colander, or get creative. Necessity = invention.
Final Thoughts
Congratulations — you’ve officially entered your DIY Starbucks era. 🎉 Trust me, once you make these Starbucks Cake Pops yourself, you’ll laugh (and maybe cry) at the idea of paying $4 for one again. Make sure to show off your cake pop glory — and tag me if you accidentally eat 10 in one sitting. I’ll be proud