Raspberry Crumble Bars: The Sweet-Tart Treat You Didn’t Know You Needed
A Quick, Catchy Intro with a Viral Hook
Ever had a raspberry crumble bar so good you considered hiding the last piece from your own family? Yeah, me neither… wink. If you’ve ever found yourself staring at a pint of raspberries wondering, “What now?”—this is your answer. These raspberry crumble bars are the perfect blend of sweet, tart, and buttery goodness that’ll make you the hero of any gathering—or just your own kitchen.
Why This Recipe Is Awesome
Let’s break it down:
- Flavor Explosion: The tartness of fresh raspberries meets the sweetness of a buttery crumble. It’s like a party in your mouth, and everyone’s invited.
- Easy Peasy: No fancy techniques or hard-to-find ingredients. If you can mix, you can make these.
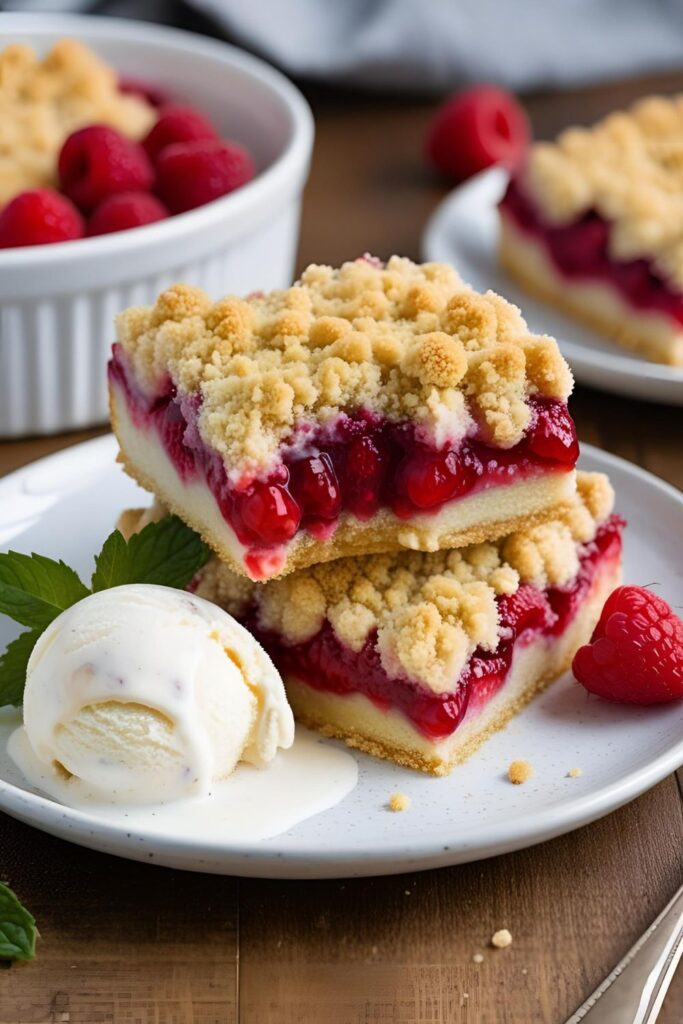
- Versatile: Perfect for dessert, a midday snack, or even breakfast (we won’t judge).
- Crowd-Pleaser: Bring these to a potluck, and watch them disappear faster than you can say “raspberry.”
Ingredients
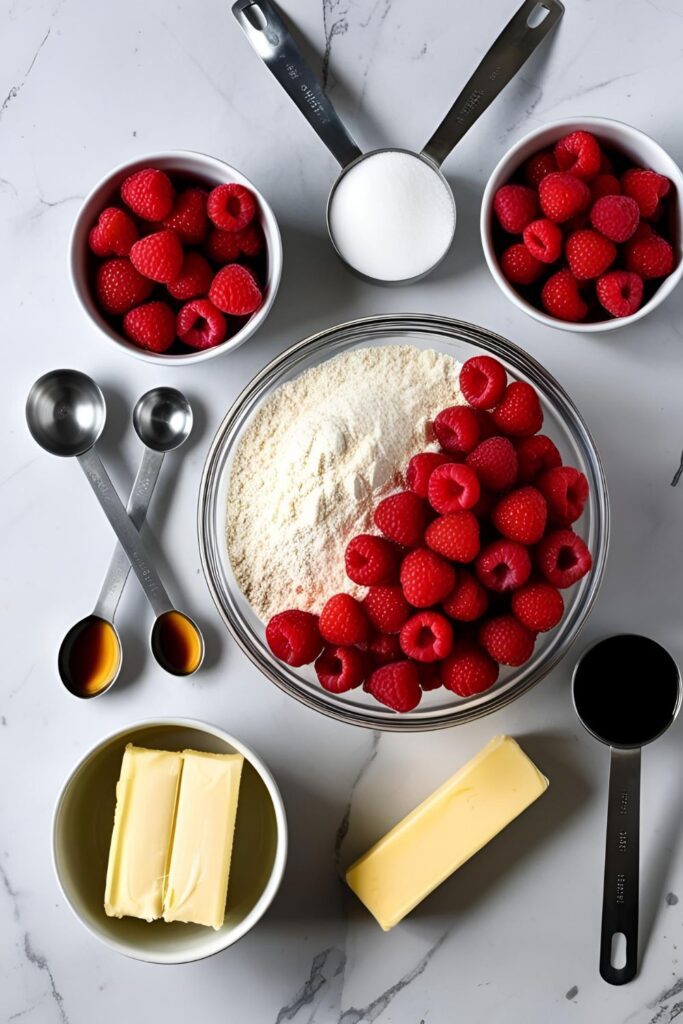
- 1 cup (2 sticks) unsalted butter, melted
- 1 cup granulated sugar
- 1 teaspoon vanilla extract
- 1/2 teaspoon salt
- 2 cups all-purpose flour
- 1 1/2 cups fresh raspberries (or frozen, thawed and drained)
- 1/4 cup granulated sugar (for the raspberry layer)
- 1 tablespoon cornstarch
Substitutions:
- Butter: Use plant-based butter for a vegan version.
- Flour: Gluten-free all-purpose flour works well here.
- Sugar: Coconut sugar can be used for a deeper flavor.
Tools & Kitchen Gadgets Used
To make these raspberry crumble bars, you’ll need:
- Mixing bowls: For combining ingredients.
- Measuring cups and spoons: Precision is key.
- 9×13-inch baking pan: The perfect size for these bars.
- Parchment paper: For easy removal and cleanup.
- Spatula: To spread the layers evenly.
- Oven: Obviously.
Optional but helpful:
- Pastry cutter: If you prefer cutting in butter instead of melting.
- Cooling rack: To cool the bars evenly.
Step-by-Step Instructions
- Preheat your oven to 350°F (175°C). Line your baking pan with parchment paper, leaving an overhang for easy removal.
- Make the crumble: In a mixing bowl, combine melted butter, sugar, vanilla, and salt. Add flour and mix until crumbly.
- Press half of the crumble mixture into the prepared pan. Use your hands or the back of a spoon to press it down evenly.
- Prepare the raspberry layer: In another bowl, gently toss raspberries with sugar and cornstarch until coated.
- Spread the raspberry mixture over the crust in the pan.
- Sprinkle the remaining crumble over the raspberry layer.
- Bake for 35–40 minutes, or until the top is golden and the raspberries are bubbly.
- Cool completely in the pan on a cooling rack. Once cooled, lift out using the parchment overhang and cut into bars.
Calories & Nutritional Info
Per serving (1 bar, assuming 16 bars total):
- Calories: ~220
- Fat: 10g
- Carbohydrates: 30g
- Sugar: 15g
- Fiber: 2g
- Protein: 2g
Note: These are estimates and can vary based on specific ingredients used.
Common Mistakes to Avoid
- Overmixing the dough: This can lead to tough bars. Mix just until combined.
- Using too much fruit: More isn’t always better. Excess raspberries can make the bars soggy.
- Not cooling completely before cutting: Patience is a virtue. Cutting too soon can result in a mess.
- Skipping the parchment paper: Trust us, it makes removal and cleanup a breeze.
Variations & Customizations
- Lemon Raspberry Bars: Add 1 tablespoon of lemon zest to the raspberry layer for a citrusy kick.
- Chocolate Drizzle: Melt some dark chocolate and drizzle over the cooled bars for added decadence.
- Nutty Delight: Mix chopped almonds or pecans into the crumble for extra crunch.
FAQ Section
Q: Can I use frozen raspberries?
A: Absolutely! Just make sure to thaw and drain them well to avoid excess moisture.
Q: How do I store these bars?
A: Store in an airtight container at room temperature for up to 3 days, or refrigerate for up to a week.
Q: Can I freeze these bars?
A: Yes! Freeze in a single layer, then transfer to a freezer-safe container. They’ll keep for up to 3 months.
Q: Can I use other fruits?
A: Definitely. Blueberries, blackberries, or a mix of berries work great.
Q: How do I make this gluten-free?
A: Use a gluten-free all-purpose flour blend in place of regular flour.
Q: Can I make this vegan?
A: Yes! Use plant-based butter and ensure your sugar is vegan-friendly.
Q: What if I don’t have parchment paper?
A: Grease your pan well, but parchment paper is highly recommended for easy removal.
Final Thoughts
There you have it—raspberry crumble bars that are as easy to make as they are to eat. Whether you’re baking for a crowd or just yourself (no judgment), these bars are sure to impress. So go ahead, make a batch, and maybe—just maybe—share them.