Quick-Ferment Beer Recipe: Brew Your Own in Just 7 Days!
🎉 Introduction: Because Who Has Time to Wait?
Ever found yourself staring at the store-bought beer aisle, thinking, “There has to be a better way”? Well, guess what? There is! Introducing the quick-ferment beer method—a game-changer for impatient beer lovers. No more waiting weeks or months; this method gets you from grain to glass in just a week. Intrigued? You should be.
🌟 Why This Recipe is Awesome
- Speedy Results: Enjoy your homemade brew in just 7 days.
- Simple Process: No need for fancy equipment or complicated steps.
- Customizable Flavors: Tailor the taste to your liking with various hops and malts.
- Cost-Effective: Save money by brewing your own beer at home.
- Impress Friends: Serve your unique creation at gatherings and be the star of the show.
🧂 Ingredients
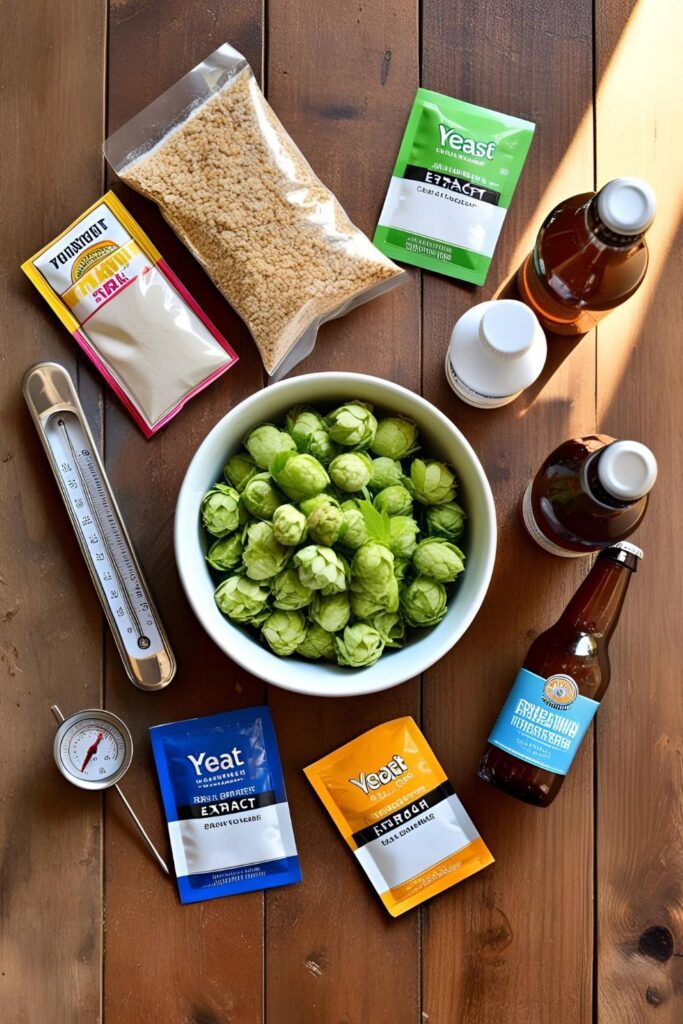
- 6.6 lbs (3 kg) Liquid Malt Extract (LME): Light or amber, depending on your preference.
- 1 oz (28 g) Bittering Hops: Cascade or Centennial for a classic taste.
- 1 oz (28 g) Aroma Hops: Citra or Amarillo for a fragrant finish.
- 1 packet (11 g) Dry Ale Yeast: Safale US-05 or Nottingham for quick fermentation.
- 5 gallons (19 L) Water: Filtered or spring water for best results.
- Optional: Priming sugar for carbonation during bottling.
🛠️ Tools & Kitchen Gadgets Used
- Large Brew Kettle (at least 5 gallons): For boiling your wort.
- Fermentation Bucket with Airlock: To ferment your beer safely.
- Thermometer: To monitor temperatures accurately.
- Hydrometer: To measure specific gravity and track fermentation.
- Sanitizer: Star San or similar to keep everything clean.
- Siphon or Auto-Siphon: For transferring beer without contamination.
- Bottles and Caps: To store your finished beer.
- Bottle Capper: To seal your bottles securely.
👨🍳 Step-by-Step Instructions
- Sanitize Everything: Cleanliness is next to beerliness. Sanitize all equipment to prevent unwanted microbes.
- Boil the Wort: In your brew kettle, bring 2.5 gallons (9.5 L) of water to a boil. Remove from heat and stir in the LME until fully dissolved. Return to heat and bring back to a boil.
- Add Bittering Hops: Once boiling, add the bittering hops and boil for 60 minutes.
- Add Aroma Hops: In the last 5 minutes of the boil, add the aroma hops for that delightful fragrance.
- Cool the Wort: After boiling, cool the wort quickly using an ice bath or wort chiller until it reaches 70°F (21°C).
- Transfer to Fermenter: Pour the cooled wort into your sanitized fermentation bucket. Add additional water to reach 5 gallons (19 L).
- Pitch the Yeast: Sprinkle the dry yeast onto the wort’s surface. No need to stir.
- Seal and Store: Attach the airlock and store the fermenter in a dark, cool place (65-70°F or 18-21°C) for 5 days.
- Check Fermentation: After 5 days, use a hydrometer to check if fermentation is complete (specific gravity should be stable over 2 days).
- Bottle the Beer: If fermentation is complete, dissolve priming sugar in boiling water, cool it, and add to the beer. Siphon the beer into bottles, leaving about an inch of headspace. Cap the bottles.
- Carbonate: Store the bottles at room temperature for 2 days to carbonate.
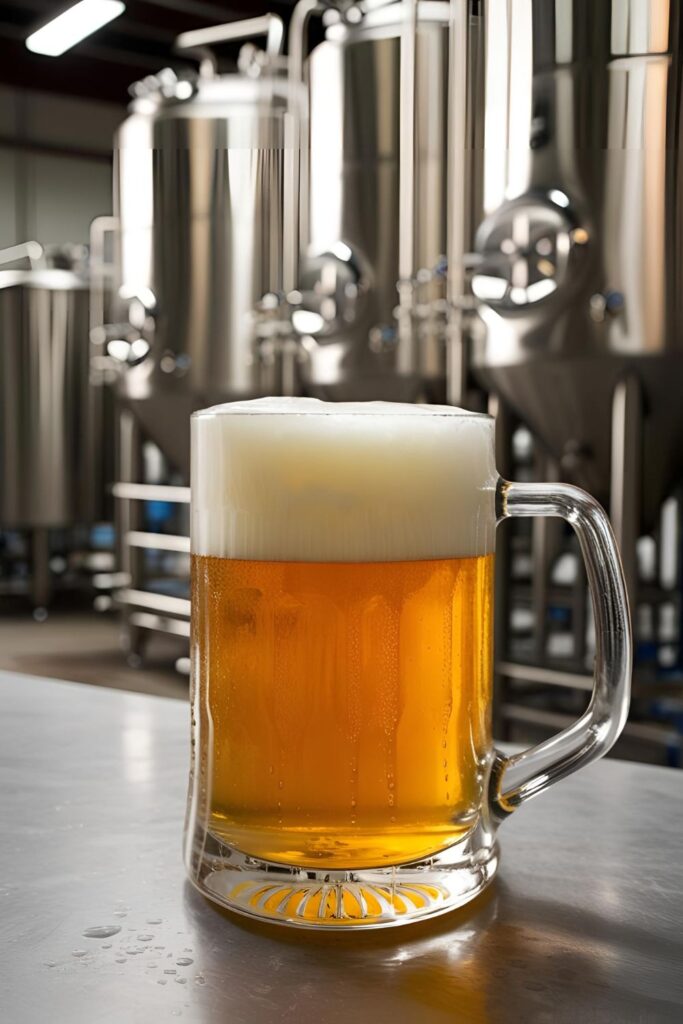
- Chill and Enjoy: Refrigerate the bottles for at least 24 hours before serving. Cheers!
🔢 Calories & Nutritional Info (Per 12 oz Serving)
- Calories: Approximately 150-200 kcal
- Carbohydrates: 12-15 g
- Alcohol Content: Approximately 5% ABV
- Protein: 1-2 g
- Fat: 0 g
Note: Nutritional values may vary based on specific ingredients used.
⚠️ Common Mistakes to Avoid
- Skipping Sanitation: Always sanitize your equipment to prevent contamination.
- Incorrect Temperatures: Pitching yeast into hot wort can kill it. Ensure the wort is cooled to 70°F (21°C).
- Rushing Fermentation: Even though this is a quick-ferment method, ensure fermentation is complete before bottling to avoid over-carbonation.
- Overfilling Bottles: Leave appropriate headspace to prevent bottle explosions.
- Ignoring Hydrometer Readings: Use a hydrometer to confirm fermentation completion.
🔄 Variations & Customizations
- Citrus Twist: Add orange or lemon zest during the last 5 minutes of the boil for a refreshing flavor.
- Spicy Kick: Include a small amount of crushed chili or ginger for a spicy note.
- Dark Ale: Use dark malt extract and roasted barley for a richer, darker beer.
❓ FAQ Section
Q1: Can I use different types of hops?
A1: Absolutely! Experiment with various hop varieties to achieve different flavor profiles.
Q2: How do I know when fermentation is complete?
A2: Use a hydrometer to check if the specific gravity remains constant over 2 days.
Q3: Can I use dry malt extract instead of liquid?
A3: Yes, substitute 1 lb of liquid malt extract with approximately 0.8 lb of dry malt extract.
Q4: What if I don’t have a hydrometer?
A4: While not ideal, you can wait an extra day or two to ensure fermentation is complete.
Q5: How long can I store the bottled beer?
A5: Properly stored, your beer can last up to 6 months.
Q6: Can I reuse the yeast?
A6: Yes, you can harvest and reuse yeast, but ensure it’s stored correctly.
Q7: Is it necessary to use priming sugar?
A7: Priming sugar is essential for carbonation. Without it, your beer will be flat.
🎉 Final Thoughts
Brewing your own quick-ferment beer is not only satisfying but also a fun way to impress your friends. With just a week from start to finish, there’s no reason not to try it. So, roll up your sleeves, gather your ingredients, and embark on your brewing adventure. Cheers to homemade beer!