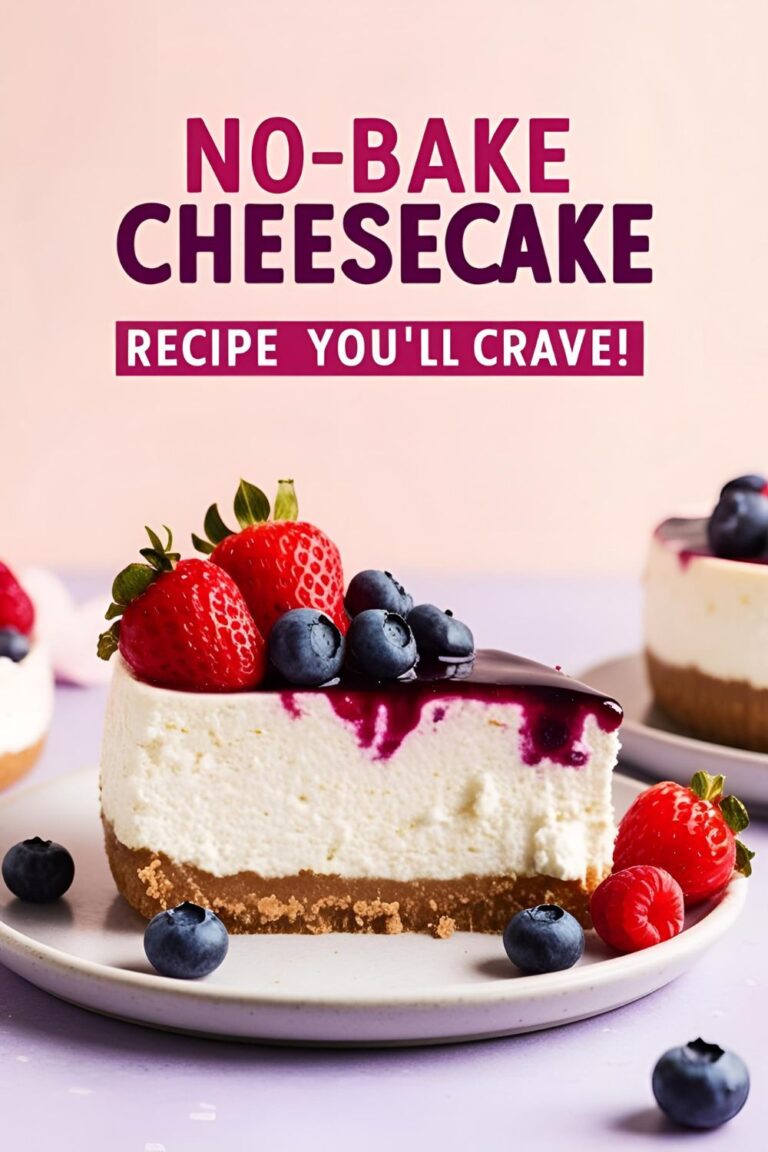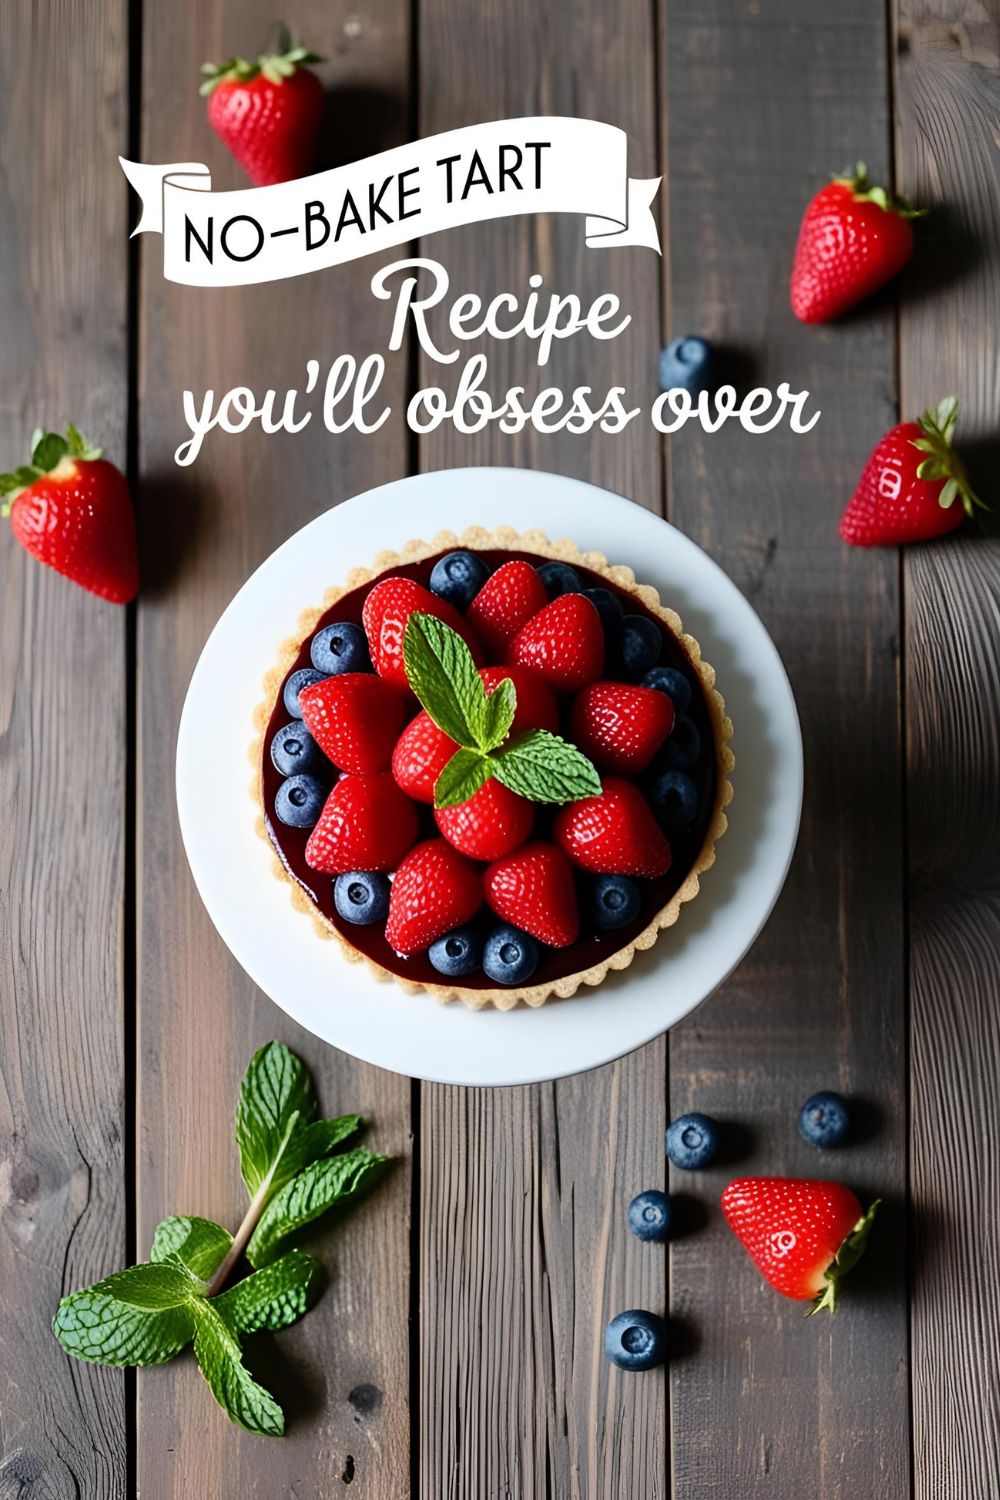
No-Bake Tart Recipe That’ll Make You Ditch Your Oven for Good
This No-Bake Tart Recipe Is the Lazy-Girl Dessert of Your Dreams
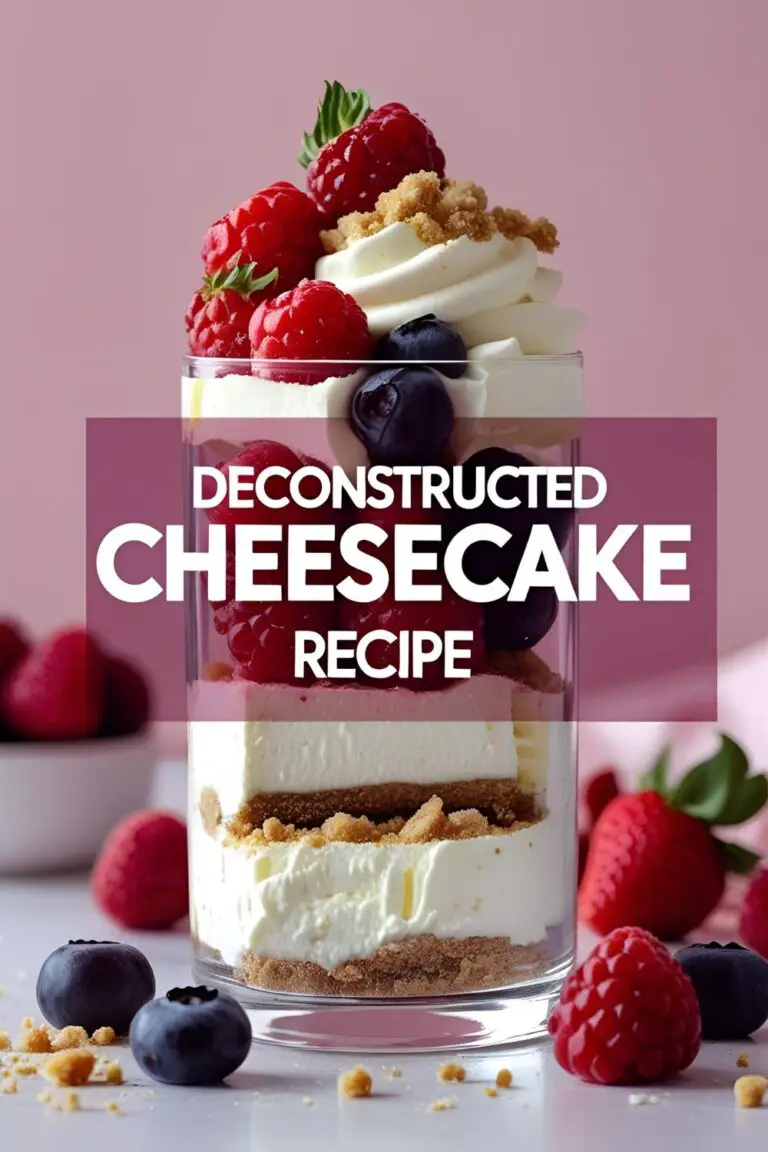
Ever stared at your oven and thought, “Do I really need you today?” Yeah, same. Some days you just want dessert without the whole preheating, baking, and praying-it-doesn’t-burn drama. Enter: the no-bake tart recipe. It’s the culinary equivalent of wearing sweatpants to a wedding and still looking fabulous.
This tart is creamy, dreamy, and ridiculously easy to make. No oven. No water baths. No stress. It’s a total win, whether you’re trying to impress your guests or just stress-eating on a Tuesday night.
Why This No-Bake Tart Recipe Is a Total Game-Changer
Let’s break this down:
- No oven required. (Bless.)
- Crust that snaps and melts in your mouth at the same time? Yes, please.
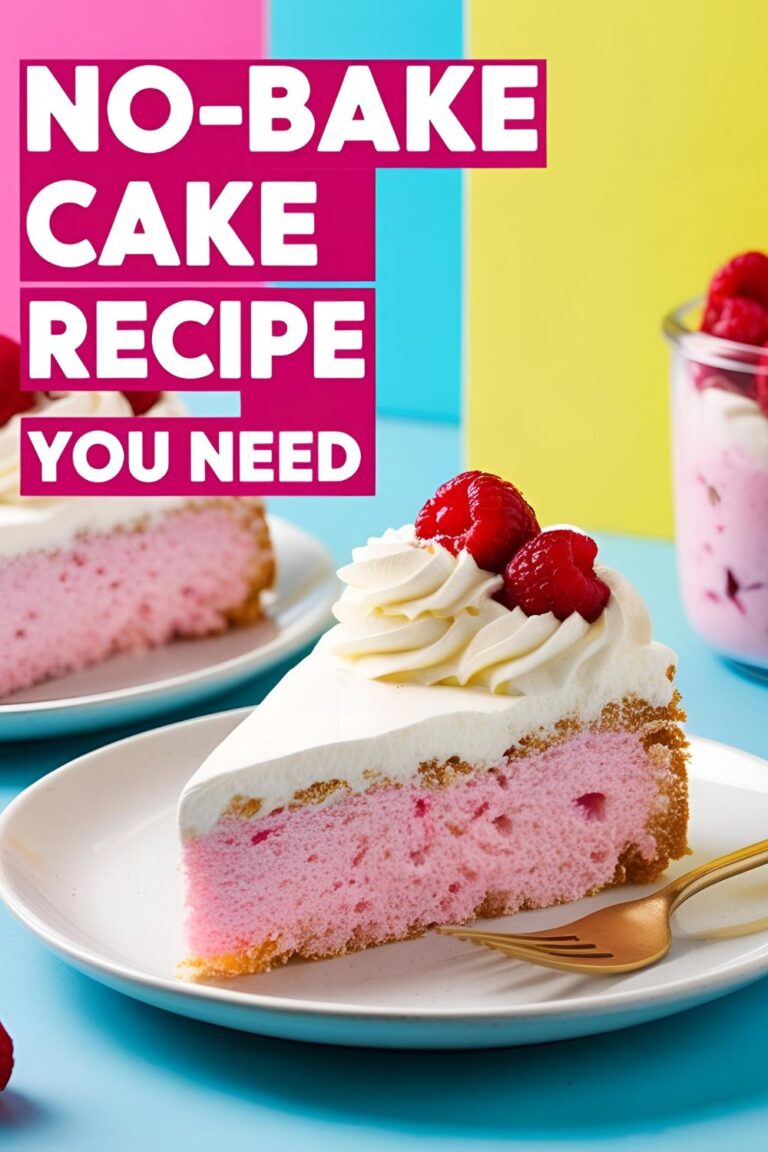
- Creamy filling that tastes like it belongs in a Parisian patisserie.
- It looks like a Pinterest queen made it, but your blender did most of the work.
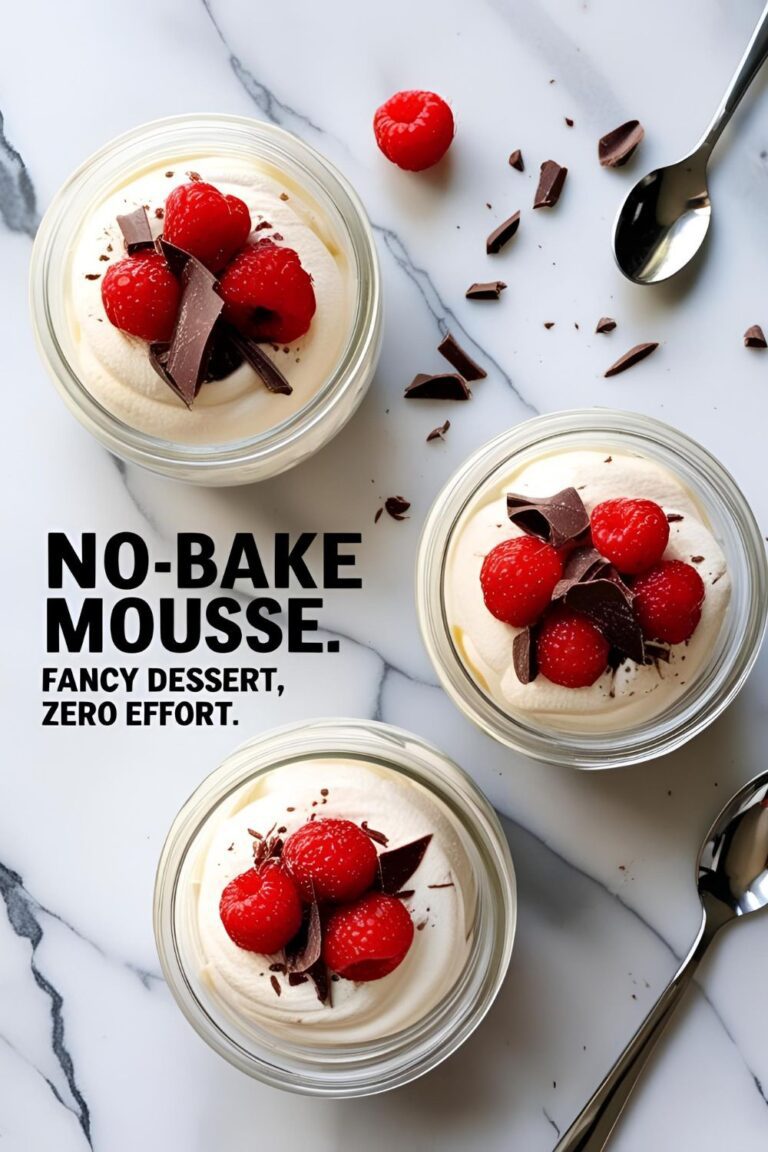
Also, it’s a great make-ahead dessert. So you can whip this up at 10 p.m., sleep like a baby, and wake up to a fridge full of dessert like the domestic deity you are.
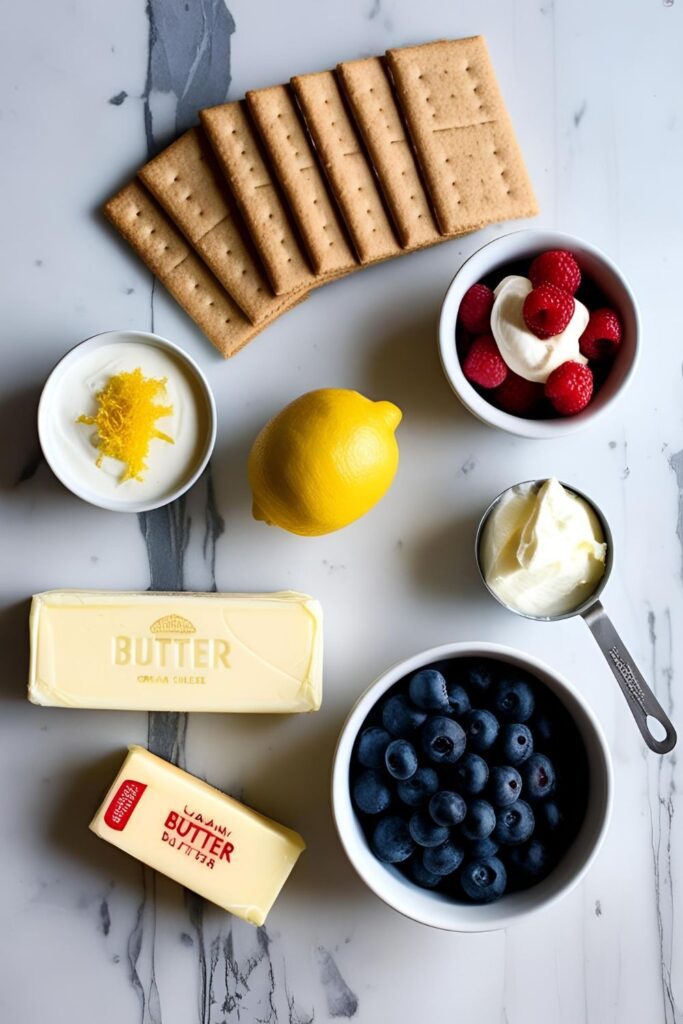
Ingredients (Aka: What You Need to Live Your Best Tart Life)
Crust:
- 1 1/2 cups graham cracker crumbs (or digestive biscuits)
- 1/4 cup granulated sugar
- 1/2 cup unsalted butter, melted
Filling:
- 8 oz cream cheese (room temp for easy mixing)
- 1/2 cup powdered sugar
- 1/2 cup heavy cream
- 1 tsp vanilla extract
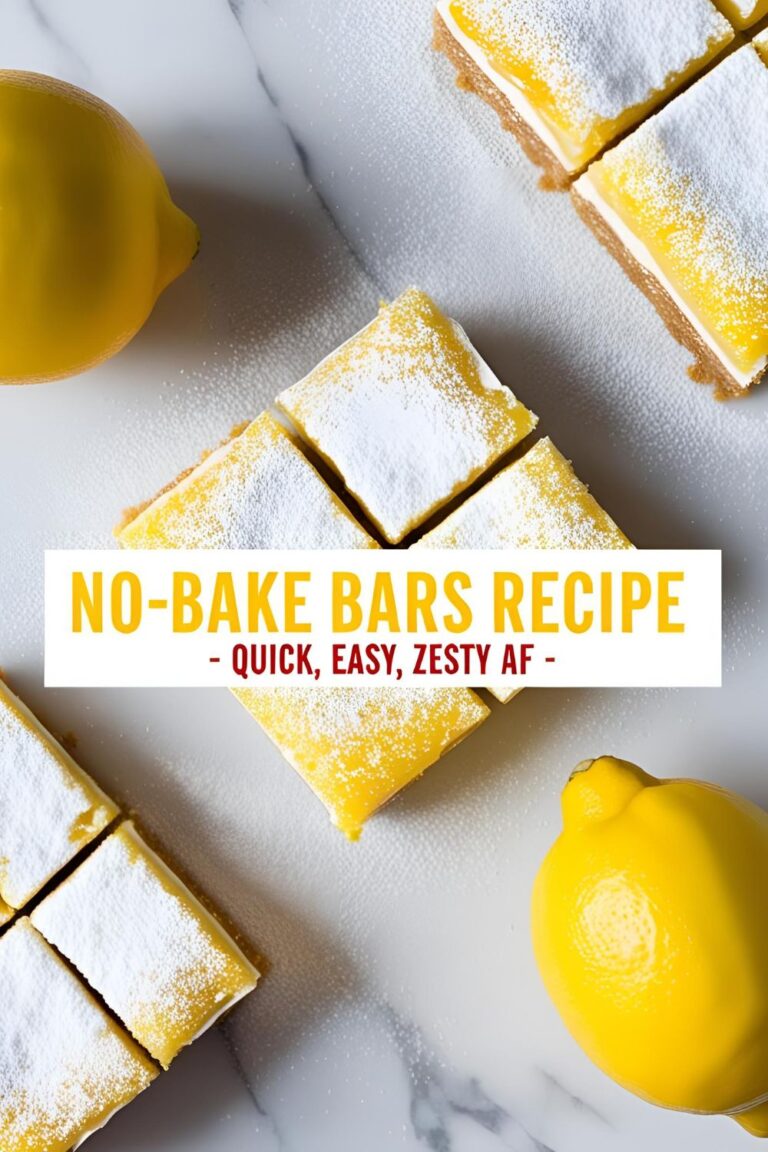
- Zest of 1 lemon (optional, but makes you feel fancy)
Toppings (aka go wild):
- Fresh berries
- Shaved chocolate
- Mint leaves
- Lemon zest

Substitutions:
- Swap graham crackers for Oreos for a chocolate crust.
- Dairy-free? Use plant-based cream cheese and coconut cream.
- No heavy cream? Use whipped topping (yes, it works).
Tools & Kitchen Gadgets Used
Put these babies on your Amazon list:
- Mixing bowls (yes, you need more than one)
- Food processor or blender (for lazy crust-making)
- Hand mixer or stand mixer (your biceps will thank you)
- Rubber spatula (scrape like you mean it)
- 9-inch tart pan with removable bottom (game-changer)
- Measuring cups and spoons (eyeballing is not a personality trait)
- Microplane or zester (for that bougie lemon flair)
Step-by-Step Instructions (Or: How to Look Like You Know What You’re Doing)
Step 1: Make That Crust
- Toss the graham cracker crumbs and sugar into a bowl.
- Pour in melted butter and stir until it’s giving “wet sand at the beach” vibes.
- Press the mixture into your tart pan like you’re mad at it.
- Pop it in the fridge to chill for 30 minutes. (Or freezer for 15 if you’re impatient.)
Step 2: Mix That Filling
- In a bowl, beat cream cheese until smooth and dreamy.
- Add powdered sugar, vanilla, and lemon zest. Mix until combined.
- In a separate bowl (ugh, I know), whip heavy cream to soft peaks.
- Fold the whipped cream into the cream cheese mix. Be gentle. It’s not your ex.
Step 3: Assemble Like a Dessert Architect
- Pour the filling into your chilled crust.
- Smooth it out like a pro with your spatula.
- Add toppings. Make it artsy. Channel your inner pastry chef.
- Chill for at least 4 hours or overnight if you’re not a monster.
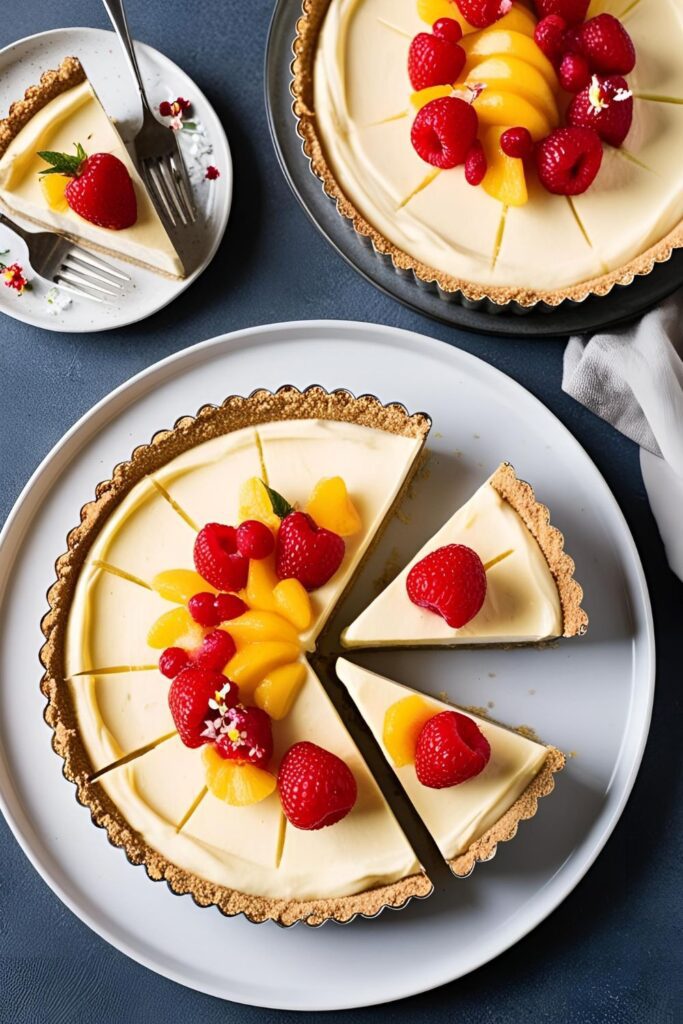
Step 4: Slice & Flex
- Pop it out of the tart pan.
- Slice. Serve. Pretend you didn’t just throw it together during commercial breaks.
Calories & Nutritional Info (Because We’re Responsible Adults)
- Calories per serving (1/8 tart): ~320 kcal
- Fat: 22g
- Carbs: 26g
- Sugar: 16g
- Protein: 4g
FYI: These are rough estimates, not legal advice.
Common Mistakes to Avoid (AKA Tart Crimes)
- Skipping the chilling time. I know, you want it now. But unless you enjoy soupy sadness, wait.
- Over-whipping the cream. We want soft peaks, not butter.
- Forgetting to zest before slicing the lemon. Rookie move. Zest first, always.
- Using warm cream cheese. You’ll get lumpy filling and regrets.
- Pressing crust too thin. Nobody wants a soggy bottom.
Variations & Customizations
- Chocolate Lover’s Dream: Use Oreo crust + cocoa powder in filling + dark chocolate shavings.
- Tropical Vibes: Coconut crust + lime zest + mango slices on top.
- Keto Queen Version: Almond flour crust + stevia + keto cream cheese.
FAQ Section (Because Google Said You’d Ask)
Q1: Can I make this no-bake tart ahead of time?
Absolutely. In fact, it tastes better the next day. Like revenge.
Q2: How long does no-bake tart last in the fridge?
Up to 5 days. But let’s be honest—you’ll eat it sooner.
Q3: Can I freeze this no-bake tart?
Yep! Freeze it in an airtight container for up to a month.
Q4: Can I use store-bought crust?
Sure, but where’s the fun in that?
Q5: Why is my filling runny?
You probably didn’t chill it long enough or overmixed the cream.
Q6: Can I make it dairy-free?
Absolutely. Use dairy-free cream cheese and coconut cream.
Q7: What can I top it with besides berries?
Try nuts, jam swirls, edible flowers, or even a drizzle of caramel.
Final Thoughts (Or: You’re Officially a Tart Boss Now)
Look at you, making no-bake tart like it’s your side hustle. Who even needs the oven when you’ve got this recipe in your back pocket? Now go flex your fridge-chillin’ masterpiece on Instagram, serve it to your friends, or eat it straight from the pan like the majestic beast you are.
Seriously, once you go no-bake, you might just never go back.