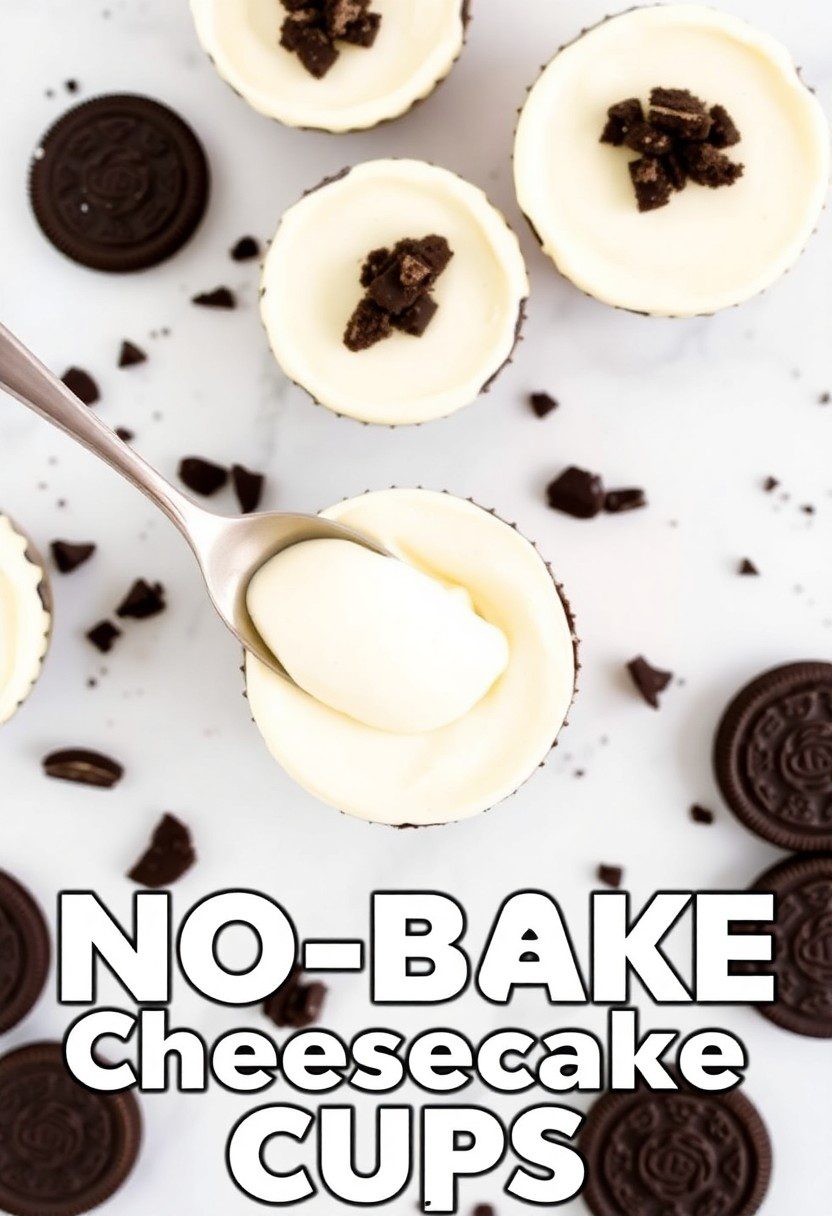
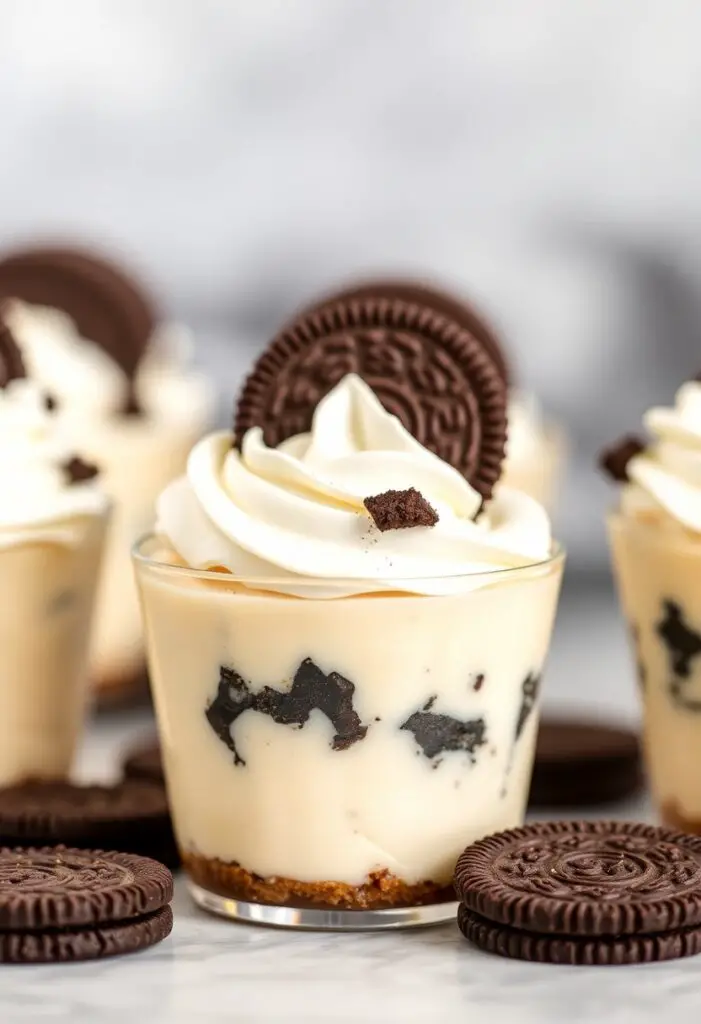
No-Bake Oreo Cheesecake Cups: The Lazy Dessert That’ll Make You Look Like a Pro
Ever had that “I want dessert but also don’t want to move” moment? Yeah, same. That’s where these No-Bake Oreo Cheesecake Cups swoop in like the dessert superheroes they are. No oven, no stress, and definitely no judgment if you eat the whole batch yourself.
Why These No-Bake Oreo Cheesecake Cups Are Your New BFF
Let’s be real: baking is great, but sometimes you just want to mix, chill, and devour. These cups are:
- Ridiculously easy: Five ingredients, zero baking.
- Crowd-pleasers: Who doesn’t love Oreos and cheesecake?
- Customizable: Add your flair with toppings or mix-ins.
- Perfect for any occasion: From solo indulgence to impressing guests.
🛒 Ingredients (No Fancy Stuff Here)
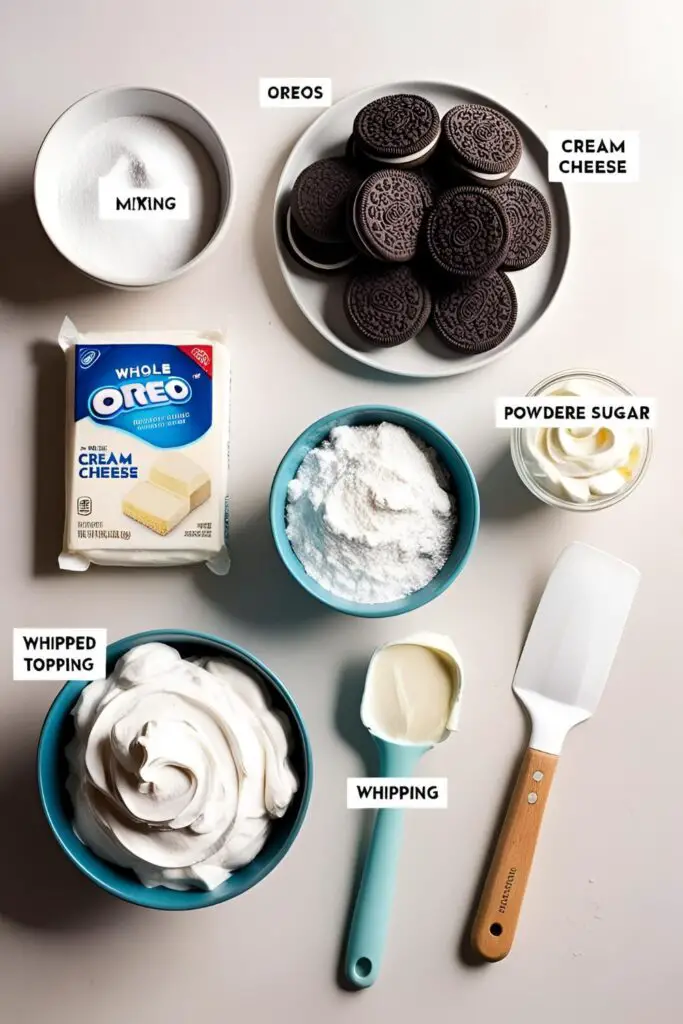
- 1 package (14.3 oz) Oreo cookies, divided
- 8 oz cream cheese, softened
- 1/2 cup powdered sugar
- 1 1/2 cups whipped topping (like Cool Whip)
- Extra whipped cream for topping (optional but recommended)
Substitutions:
- Use vanilla Oreos for a twist.
- Swap whipped topping with homemade whipped cream if you’re feeling fancy.
🧰 Tools & Kitchen Gadgets Used
- Mixing bowls
- Electric hand mixer
- Measuring cups and spoons
- Spatula
- Ziplock bag (for crushing Oreos)
- Rolling pin (or any heavy object)
- Muffin tin or dessert cups
- Cupcake liners (if using muffin tin)
👩🍳 Step-by-Step Instructions
- Crush the Oreos: Place about 20 cookies in a ziplock bag and crush them using a rolling pin. Set aside.
- Make the crust: Press a tablespoon of crushed Oreos into the bottom of each cup or liner.
- Prepare the filling:
- In a bowl, beat the softened cream cheese until smooth.
- Add powdered sugar and mix until combined.
- Fold in the whipped topping gently.
- Stir in some of the remaining crushed Oreos.
- Assemble the cups: Spoon the cheesecake mixture over the crust in each cup, filling about 3/4 full.
- Chill: Refrigerate for at least 2 hours, or until set.
- Top and serve: Add a dollop of whipped cream and a mini Oreo on top before serving.
🔥 Calories & Nutritional Info (Per Serving)
- Calories: Approximately 310
- Fat: 22g
- Carbohydrates: 26g
- Sugar: 18g
- Protein: 3g
- Sodium: 170mg
Note: These values are estimates and can vary based on specific ingredients used.
🚫 Common Mistakes to Avoid
- Using cold cream cheese: It won’t blend smoothly. Let it soften first.
- Overmixing: Can make the filling runny. Mix just until combined.
- Not chilling long enough: Patience is key. Let them set properly.
- Skipping the crust: It adds texture and holds everything together.
🎨 Variations & Customizations
- Keto-Friendly: Use sugar-free cookies and sweeteners.
- Berry Delight: Add a layer of fresh berries on top.
- Nutty Crunch: Mix in chopped nuts for added texture.
❓ FAQ Section
Q: Can I make these ahead of time?
A: Absolutely! They can be made a day in advance and stored in the fridge.
Q: How long do they last?
A: Up to 3 days in the refrigerator.Reddit
Q: Can I freeze them?
A: Yes, but the texture may change slightly.
Q: What if I don’t have whipped topping?
A: You can use homemade whipped cream instead.
Q: Can I use a different type of cookie?
A: Sure! Graham crackers or any crunchy cookie works.
Q: How many servings does this recipe make?
A: Approximately 12 cups.
Q: Can I add flavors to the filling?
A: Yes! Vanilla extract or a splash of lemon juice can add a nice twist.
🎉 Final Thoughts
There you have it—No-Bake Oreo Cheesecake Cups that are as easy as they are delicious. Whether you’re impressing guests or just treating yourself, these cups are a surefire hit. Share your creations and let us know how you customized yours!