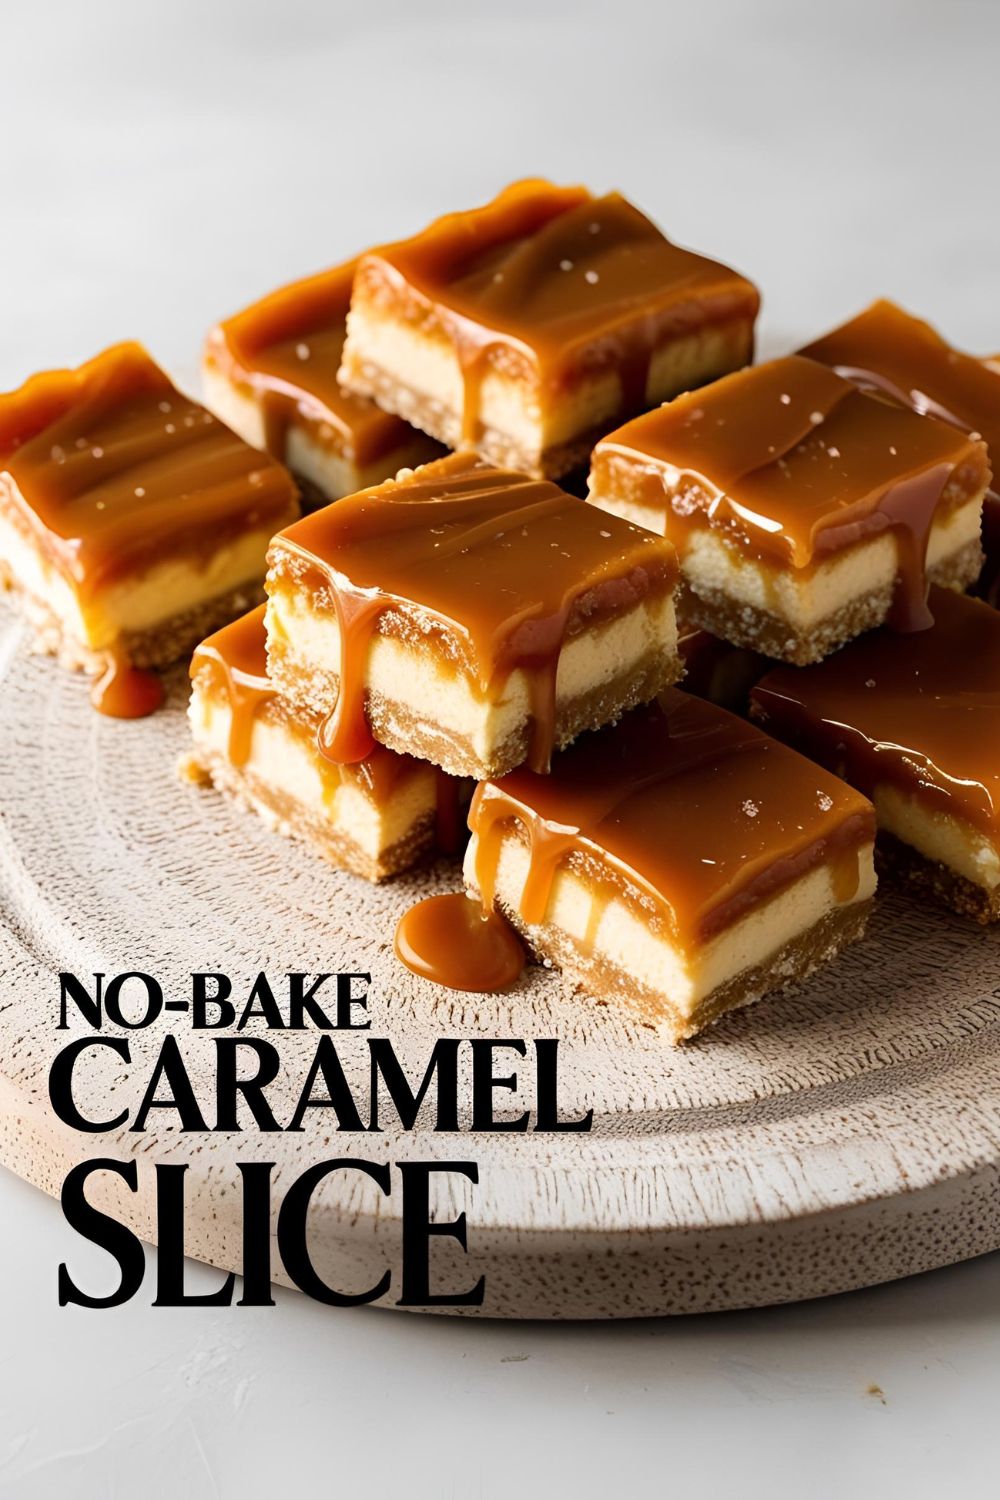
No-Bake Caramel Slices: Your New Favourite Lazy Dessert
Ever had one of those days where your sweet tooth is screaming louder than your will to preheat the oven? Yeah, same. Enter the no-bake caramel slice—the dessert equivalent of a mic drop. It’s rich, gooey, chocolatey, and doesn’t require you to break a sweat (or your oven). Who knew being lazy could taste this good?
Why This Recipe Is Awesome
Let’s be real—baking can be a hassle. But this no-bake caramel slice? It’s the culinary equivalent of a cheat code. Here’s why you’ll love it:
- No oven needed: Perfect for those sweltering days when turning on the oven feels like a crime.
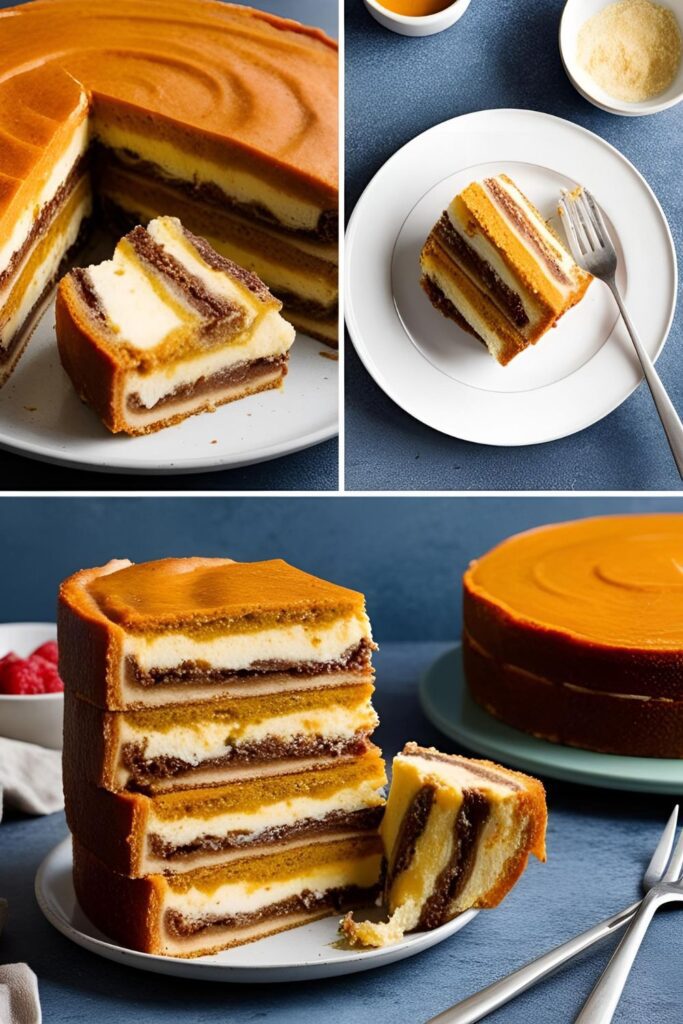
- Three layers of bliss: Crunchy biscuit base, luscious caramel centre, and a silky chocolate top. Need we say more?
- Crowd-pleaser: Bring this to a gathering, and watch it disappear faster than you can say “no-bake caramel slice.”
Ingredients
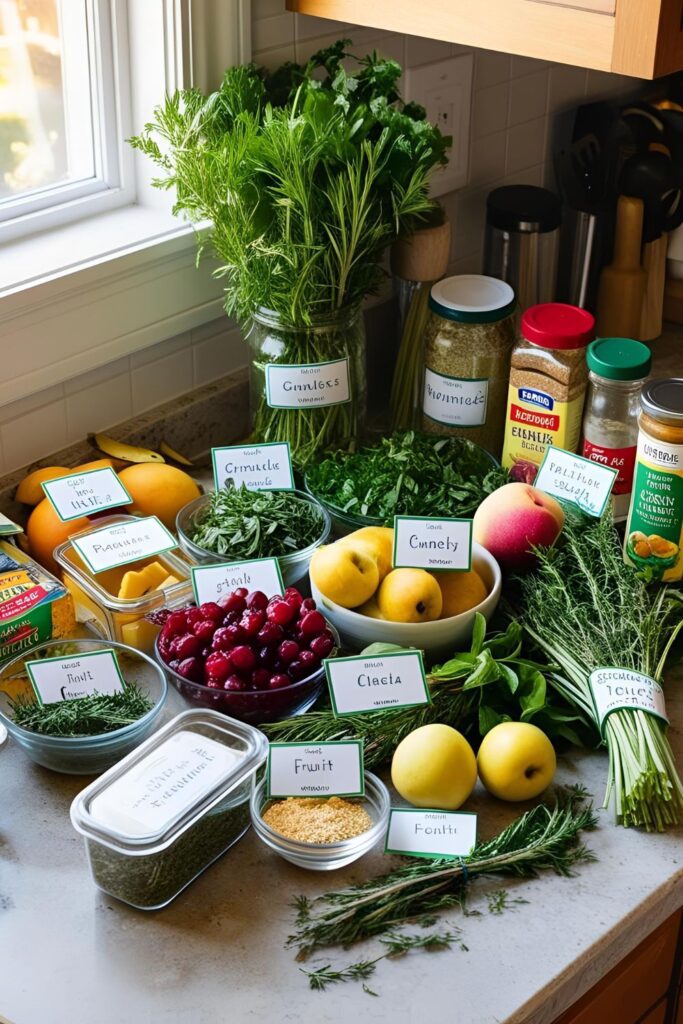
For the Base:
- 250g plain sweet biscuits (like Digestives or Graham crackers)
- 125g unsalted butter, melted
For the Caramel Layer:
- 395g can sweetened condensed milk
- 125g unsalted butter
- 1/3 cup brown sugar
- 2 tablespoons golden syrup (or maple syrup if you’re feeling fancy)
For the Chocolate Topping:
- 200g dark or milk chocolate, chopped
- 1 tablespoon vegetable oil (for that glossy finish)
Optional Add-ons:
- A pinch of sea salt for a salted caramel twist
- Crushed nuts for added crunch
Tools & Kitchen Gadgets Used
To make your life easier (and your kitchen cleaner), here’s what you’ll need:
- Food processor: For blitzing those biscuits into fine crumbs.
- Mixing bowls: At least two—one for the base and one for the caramel.
- Saucepan: For melting the caramel ingredients.
- Spatula: To spread each layer evenly.
- 20cm square baking tin: The perfect size for slicing into squares.
- Baking paper: To prevent sticking and for easy removal.
- Sharp knife: For clean, Instagram-worthy slices.
Step-by-Step Instructions
1. Prepare the Base
- Line your baking tin with baking paper, leaving some overhang for easy lifting.
- Blitz the biscuits in a food processor until they resemble fine crumbs.
- Mix the crumbs with the melted butter until well combined.
- Press the mixture firmly into the base of the tin. Pop it in the fridge to set while you make the caramel.
2. Make the Caramel Layer
- In a saucepan over medium heat, combine the condensed milk, butter, brown sugar, and golden syrup.
- Stir continuously until the mixture thickens and turns a golden caramel colour (about 10 minutes).
- Pour the caramel over the chilled base, smoothing it out with a spatula.
- Return the tin to the fridge to set the caramel layer.
3. Add the Chocolate Topping
- Melt the chocolate and vegetable oil together until smooth.
- Pour the chocolate over the set caramel layer, spreading it evenly.
- Chill the slice in the fridge until the chocolate is firm.
4. Slice and Serve
- Once fully set, lift the slice out of the tin using the baking paper overhang.
- Use a sharp knife to cut into squares. Pro tip: warm the knife for cleaner cuts.
Calories & Nutritional Info (Per Serving)
- Calories: Approximately 320
- Fat: 18g
- Carbohydrates: 38g
- Sugar: 28g
- Protein: 3g
Note: These values are estimates and can vary based on specific ingredients used.
Common Mistakes to Avoid
- Rushing the caramel: Patience is key. Stirring constantly prevents burning and ensures a smooth texture.
- Not chilling between layers: Each layer needs time to set properly. Don’t skip the fridge time.
- Using low-quality chocolate: It’s the top layer—make it count.
- Cutting before fully set: You’ll end up with a gooey mess. Chill, then slice.
Variations & Customizations
- Salted Caramel Slice: Add a pinch of sea salt to the caramel layer and sprinkle some on top.
- Nutty Delight: Mix chopped nuts into the base or sprinkle on top for added crunch.
- White Chocolate Twist: Swap dark chocolate for white chocolate for a sweeter version.
FAQ Section
Q: Can I use a different type of biscuit for the base?
A: Absolutely! Graham crackers, Digestives, or even Oreos work well.
Q: How long does it take to set in the fridge?
A: Each layer needs about an hour to set. So, around 3 hours total.

Q: Can I freeze the caramel slice?
A: Yes, it freezes well. Just thaw in the fridge before serving.
Q: Is there a vegan version?
A: Yes! Use plant-based butter, coconut condensed milk, and vegan chocolate.
Q: Can I make it gluten-free?
A: Definitely. Use gluten-free biscuits for the base.
Q: How do I prevent the chocolate layer from cracking?
A: Add a tablespoon of oil to the melted chocolate and slice with a warm knife.
Q: What’s the best way to store leftovers?
A: Keep them in an airtight container in the fridge for up to a week.
Final Thoughts
There you have it—a no-bake caramel slice that’s as easy as it is delicious. It’s the perfect treat for when you want to impress without the stress. Go ahead, indulge a little. You’ve earned it.