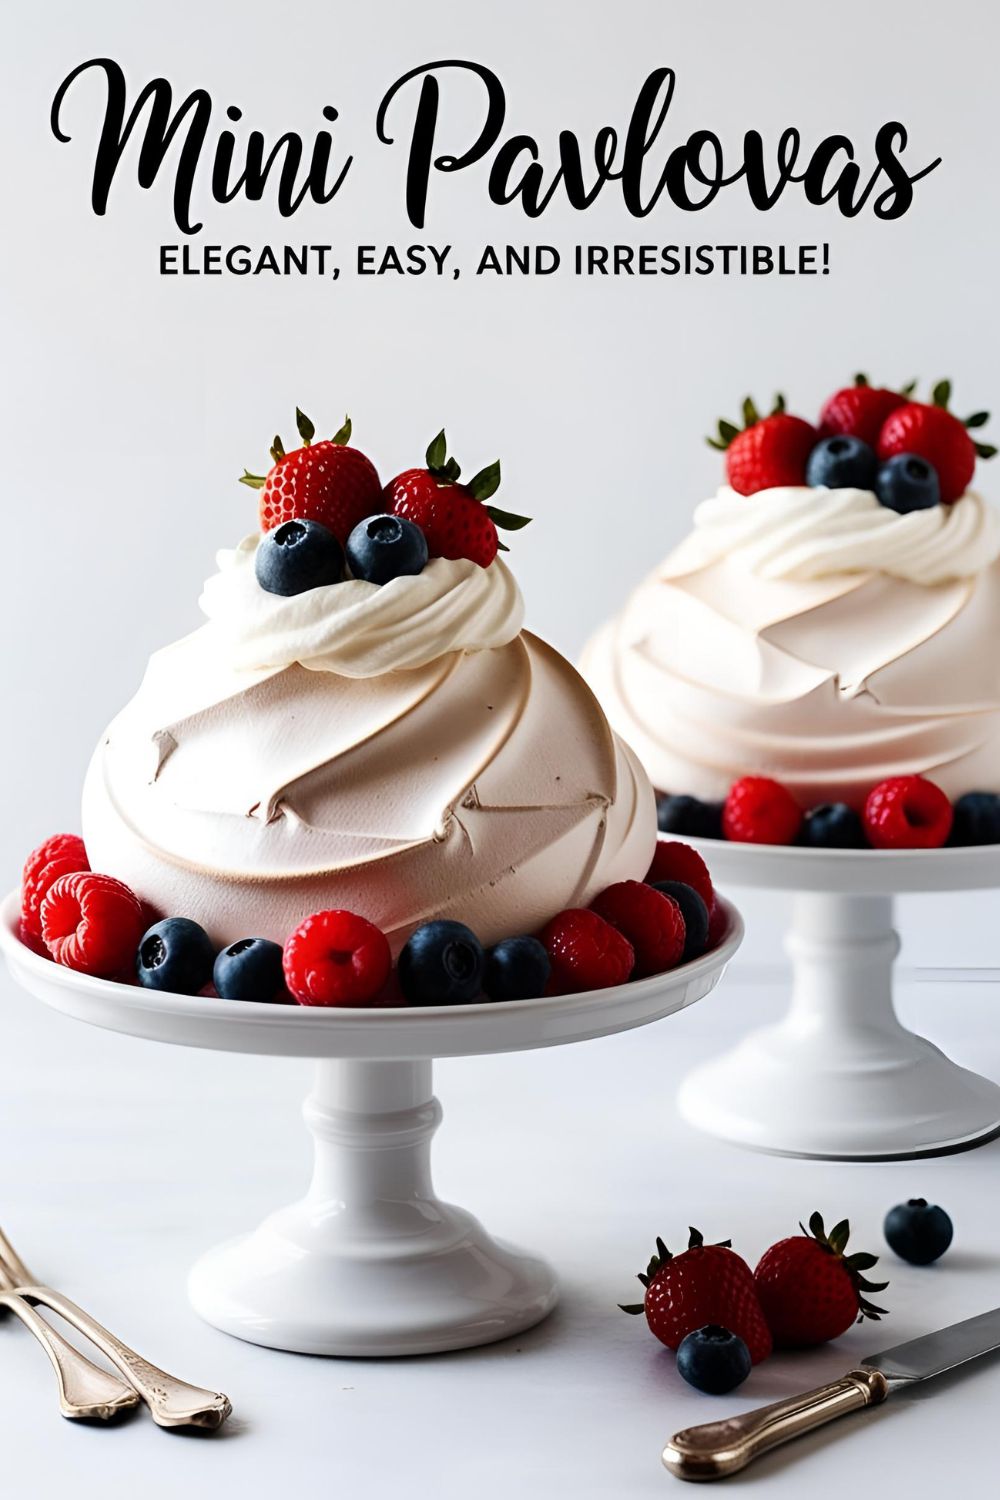
Mini Pavlovas: The Dessert That’s Fancy Without the Fuss
A Quick, Catchy Intro with a Viral Hook
Ever tried to impress your guests with a dessert that looks like it took hours but actually didn’t? Enter mini pavlovas—the sweet treat that screams sophistication but whispers, “I made this in my pajamas.” These little meringue nests are crisp on the outside, marshmallowy on the inside, and topped with whatever your heart desires. Plus, they’re the perfect excuse to use that fancy serving platter collecting dust.
Why This Recipe Is Awesome
- Showstopper Looks: They look like something from a patisserie window.
- Customizable: Top with fruits, creams, or even chocolate—your choice!
- Make-Ahead Friendly: Bake the meringues in advance and assemble when ready.
- Diet-Friendly: Naturally gluten-free and can be made dairy-free.
Ingredients
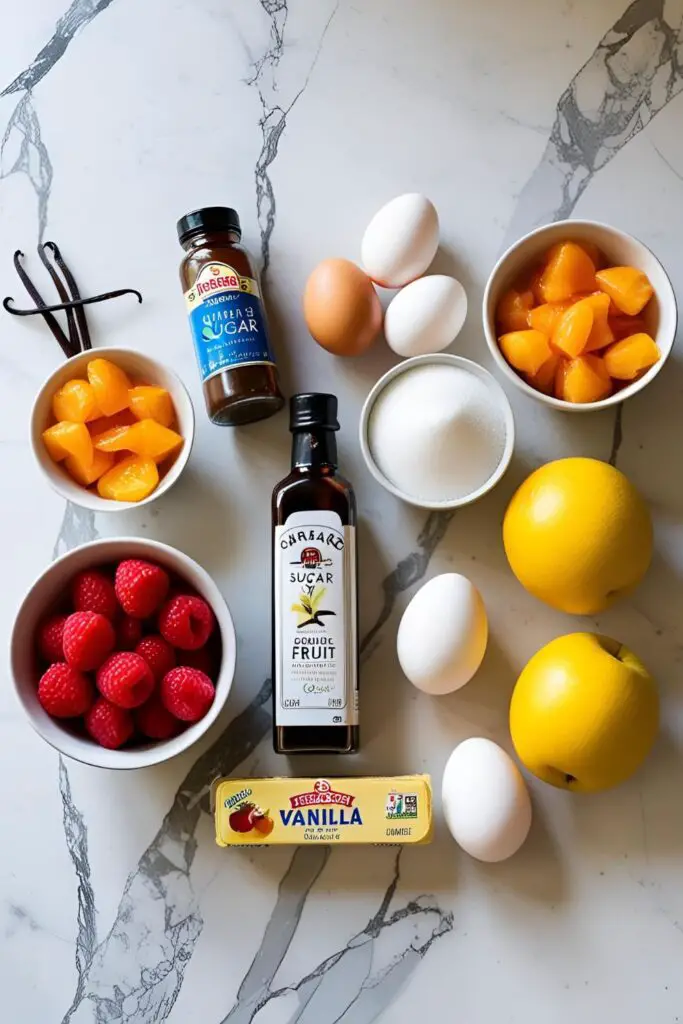
- 4 large egg whites (room temperature)
- 1 cup (200g) superfine sugar
- 1 tsp white vinegar
- 1 tsp vanilla extract
- 2 tsp cornstarch
- 1 cup heavy whipping cream
- Fresh fruits (berries, kiwi, passionfruit, etc.)
Substitutions:
- Superfine sugar: Blend granulated sugar until fine.
- White vinegar: Use lemon juice or apple cider vinegar.
- Heavy cream: Coconut cream for a dairy-free option.
Tools & Kitchen Gadgets Used
- Electric mixer: Stand or hand-held.
- Mixing bowls
- Measuring cups and spoons
- Baking sheet
- Parchment paper
- Spatula
- Piping bag (optional)
Step-by-Step Instructions
- Preheat oven to 250°F (120°C). Line a baking sheet with parchment paper.
- Beat egg whites: In a clean bowl, whip egg whites until soft peaks form.
- Add sugar gradually: Add sugar one tablespoon at a time, beating until stiff peaks form.
- Add vinegar, vanilla, and cornstarch: Gently fold in to stabilize the meringue.
- Shape meringues: Spoon or pipe 8 small nests onto the baking sheet.
- Bake: Place in the oven and immediately reduce temperature to 225°F (110°C). Bake for 1 hour.
- Cool: Turn off the oven and let meringues cool inside for at least an hour.
- Whip cream: Beat heavy cream until soft peaks form.
- Assemble: Top each meringue with whipped cream and fresh fruits.
- Serve: Enjoy immediately or store components separately until ready to serve.
Calories & Nutritional Info (Per Serving)

- Calories: ~150
- Fat: 5g
- Carbohydrates: 24g
- Protein: 2g
- Gluten-Free: Yes
- Dairy-Free Option: Use coconut cream
Common Mistakes to Avoid
- Overbeating egg whites: Stop at stiff peaks; overbeating can cause collapse.
- Adding sugar too quickly: Gradual addition ensures smooth meringue.
- Opening the oven door: Sudden temperature changes can cause cracks.
- Baking on humid days: Moisture can prevent crisping.
- Assembling too early: Add toppings just before serving to avoid sogginess.
Variations & Customizations
- Chocolate Swirl: Fold in melted chocolate before baking.
- Lemon Curd: Top with a dollop of tangy lemon curd.
- Nutty Delight: Sprinkle chopped nuts over the whipped cream.
FAQ Section
Q1: Can I make mini pavlovas ahead of time?
A: Yes! Store meringues in an airtight container for up to 2 days. Assemble just before serving.
Q2: Why did my pavlovas crack?
A: Cracks can result from sudden temperature changes or overbaking.
Q3: Can I freeze mini pavlovas?
A: Freeze meringue bases only. Thaw at room temperature before assembling.
Q4: How do I know when the meringue is ready?
A: It should be glossy and form stiff peaks.
Q5: Can I use a sugar substitute?
A: Sugar is crucial for structure; substitutes may not yield the same results.
Q6: What’s the difference between meringue and pavlova?
A: Pavlova has a crisp exterior and soft center; meringue is crisp throughout.
Q7: Can I double the recipe?
A: Yes, but bake in batches to ensure even cooking.
Final Thoughts
Mini pavlovas are the perfect blend of elegance and simplicity. They’re customizable, impressive, and, let’s be honest, downright delicious. Once you make these, store-bought desserts will seem like a distant memory. Share your creations and let the compliments roll in!