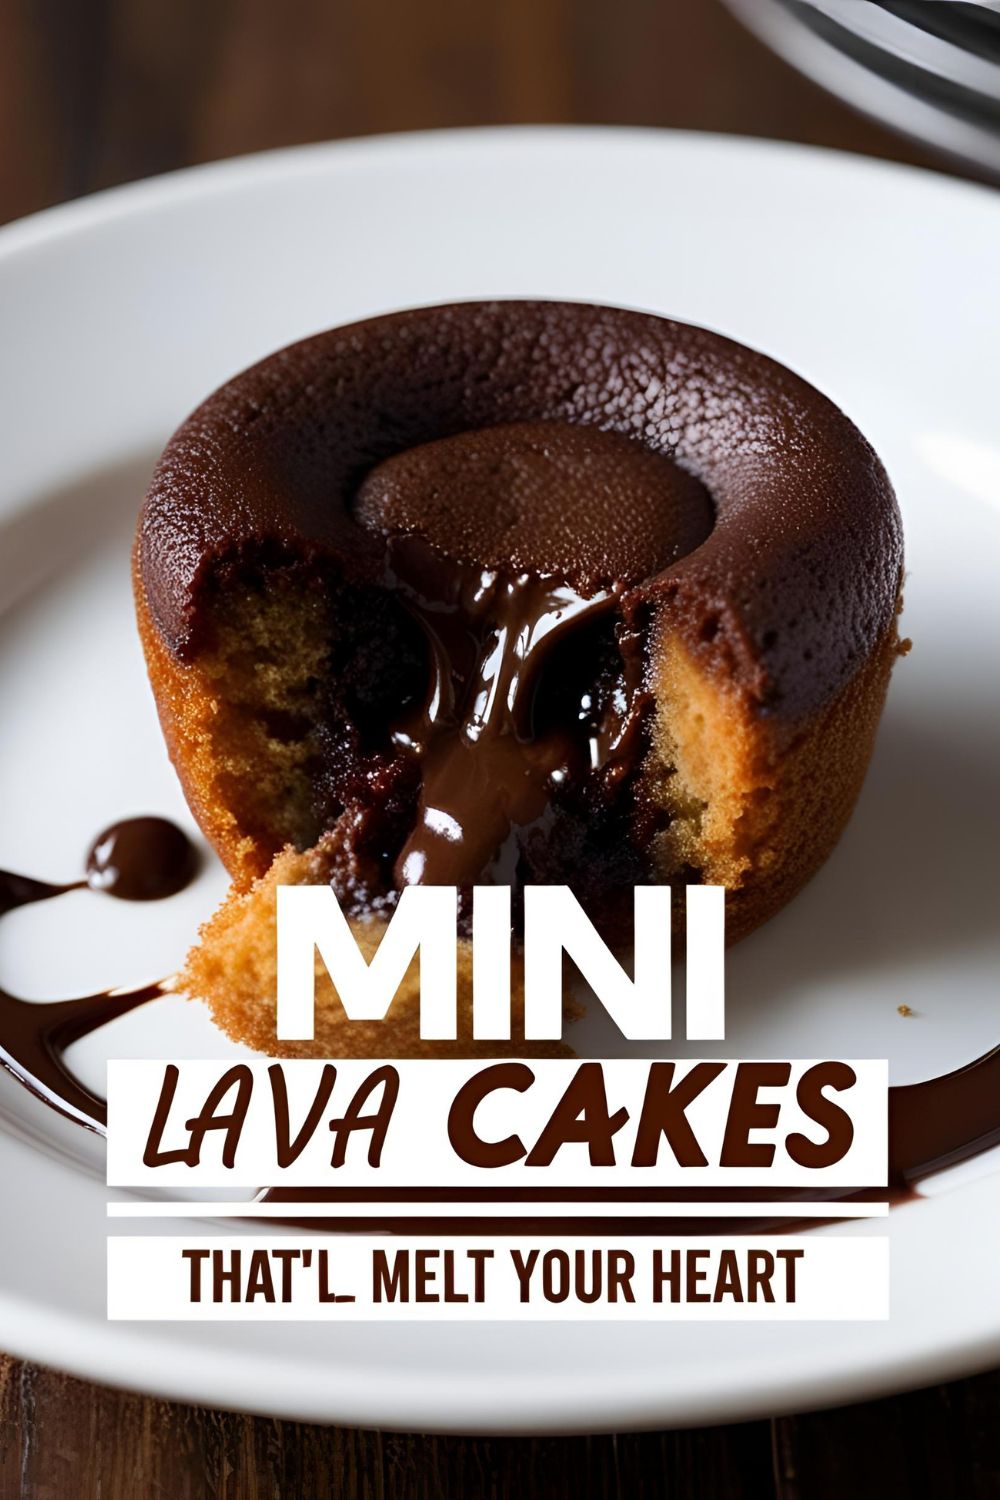
Mini Lava Cakes That’ll Melt Your Heart (and Your Diet—Oops)
Introduction: The Dessert That Thinks It’s a Volcano
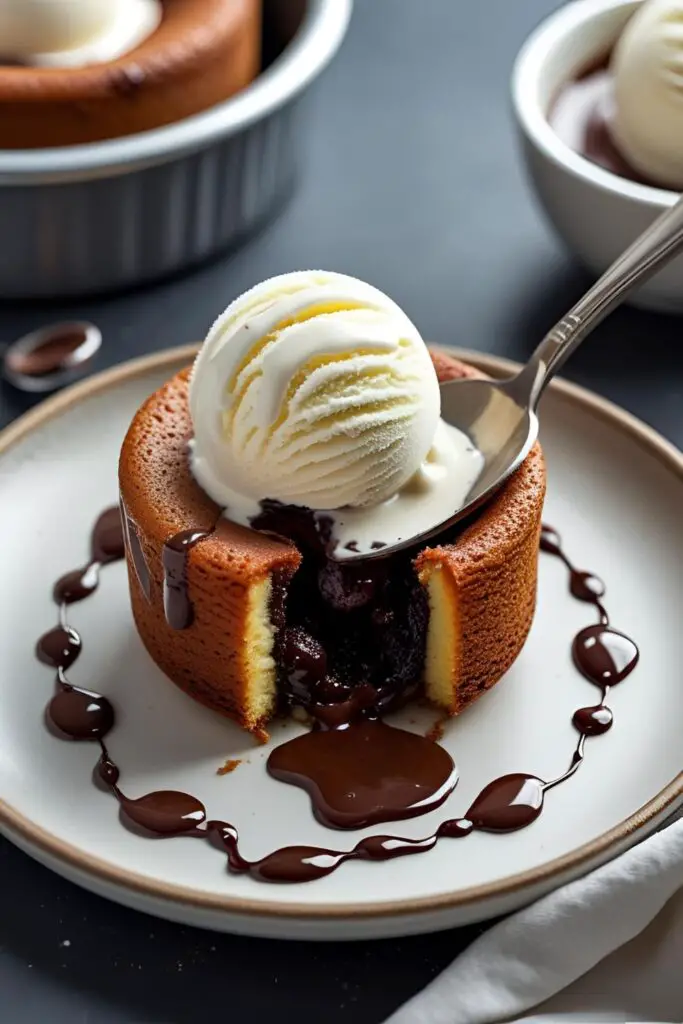
Ever had a dessert that makes you question your life choices—in the best way possible? Enter mini lava cakes. These little chocolate bombs are like the bad boys of the dessert world: dark, mysterious, and oozing with danger (well, molten chocolate, but close enough).
Imagine this: you’re at a fancy restaurant, and the waiter brings out a perfectly portioned cake. You dig in, and—bam!—a river of warm, gooey chocolate flows out. Now, what if I told you that you could recreate this magic at home, without a culinary degree or selling your soul to the dessert gods?
Why These Mini Lava Cakes Are the Bomb (Literally)
- Impress Without the Stress: They look like you spent hours in the kitchen, but they’re surprisingly simple to make.
- Portion Control? Kinda: They’re mini, so you can indulge without (too much) guilt.
- Versatility: Dress them up with berries, ice cream, or a dusting of powdered sugar.
- Crowd-Pleaser: Perfect for date nights, dinner parties, or when you just need a chocolate fix.
Ingredients: The Usual Suspects
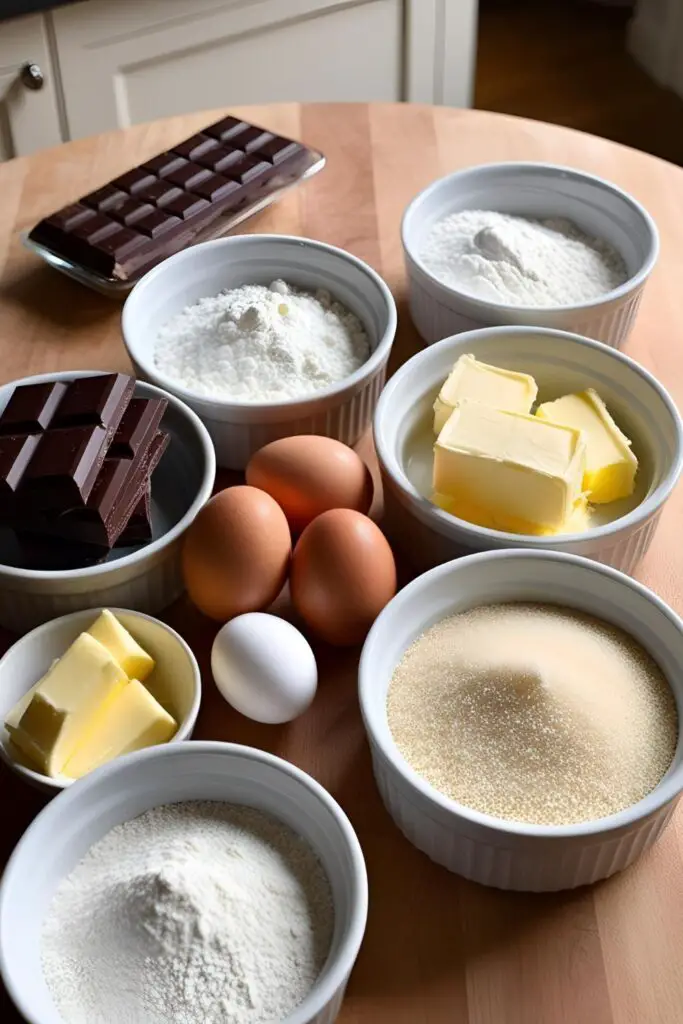
- 4 oz (115g) semisweet or bittersweet chocolate, chopped
- ½ cup (1 stick) unsalted butter
- 2 large eggs
- 2 large egg yolks
- ¼ cup granulated sugar
- 2 tbsp all-purpose flour
- Pinch of salt
- Optional: Vanilla extract, espresso powder, or a splash of liqueur for added flavor
Substitutions:
- Chocolate: Use high-quality chocolate bars over chips for better meltability.
- Butter: Salted butter works; just skip the added salt.
- Flour: Gluten-free flour blends can be used for a GF version.
Tools & Kitchen Gadgets Used
- Mixing bowls: For combining ingredients.
- Whisk: To mix eggs and sugar.
- Double boiler or microwave-safe bowl: For melting chocolate and butter.
- Ramekins or muffin tin: To bake the cakes.
- Baking sheet: Place ramekins on for easy handling.
- Measuring cups and spoons: Accuracy matters.
- Rubber spatula: For folding ingredients together.
Step-by-Step Instructions: Let’s Get Baking!
- Preheat your oven to 425°F (220°C). Grease your ramekins or muffin tin generously with butter and dust with cocoa powder to prevent sticking.
- Melt the chocolate and butter together in a double boiler or microwave, stirring until smooth. Let it cool slightly.
- Whisk the eggs, egg yolks, and sugar together until thick and pale.
- Combine the melted chocolate mixture with the egg mixture. Stir in the flour and salt until just combined.
- Divide the batter evenly among the prepared ramekins.
- Bake for 12-14 minutes. The edges should be firm, but the center will be soft.
- Cool for 1 minute. Run a knife around the edges to loosen, then invert onto plates.
- Serve immediately, preferably with ice cream or whipped cream.
Calories & Nutritional Info (Per Serving)
- Calories: Approximately 350-400
- Fat: 25g
- Carbohydrates: 30g
- Protein: 5g
- Sugar: 20g
- Fiber: 2g
Note: Values may vary based on specific ingredients used.
Common Mistakes to Avoid
- Overbaking: You want a gooey center, not a dry cake.
- Undermixing: Ensure your batter is smooth for even baking.
- Skipping the Grease: Properly greased ramekins prevent sticking disasters.
- Using Chocolate Chips: They contain stabilizers that can affect the texture.
Variations & Customizations
- Peanut Butter Lava Cakes: Add a spoonful of peanut butter to the center before baking.
- Spicy Lava Cakes: Mix in a pinch of cayenne pepper for a kick.
- White Chocolate Lava Cakes: Substitute white chocolate for a sweeter twist.
FAQ Section
Q1: Can I make mini lava cakes ahead of time?
Yes, prepare the batter and fill the ramekins. Refrigerate, then bake when ready.
Q2: Can I freeze mini lava cakes?
Absolutely. Freeze unbaked cakes, then bake from frozen, adding a few extra minutes.
Q3: How do I know when they’re done?
The edges should be firm, and the center slightly jiggly.
Q4: Can I use cupcake liners instead of ramekins?
It’s not recommended as the batter is too delicate.
Q5: What’s the best chocolate to use?
High-quality semisweet or bittersweet chocolate bars are ideal.
Q6: Can I make them gluten-free?
Yes, use a 1:1 gluten-free flour substitute.
Q7: Why did my lava cakes collapse?
Overmixing or overbaking can cause them to collapse.
Final Thoughts
There you have it—a dessert that’s as dramatic as your favorite soap opera and twice as satisfying. These mini lava cakes are the perfect way to end any meal, impress guests, or just treat yourself because, let’s face it, you deserve it.