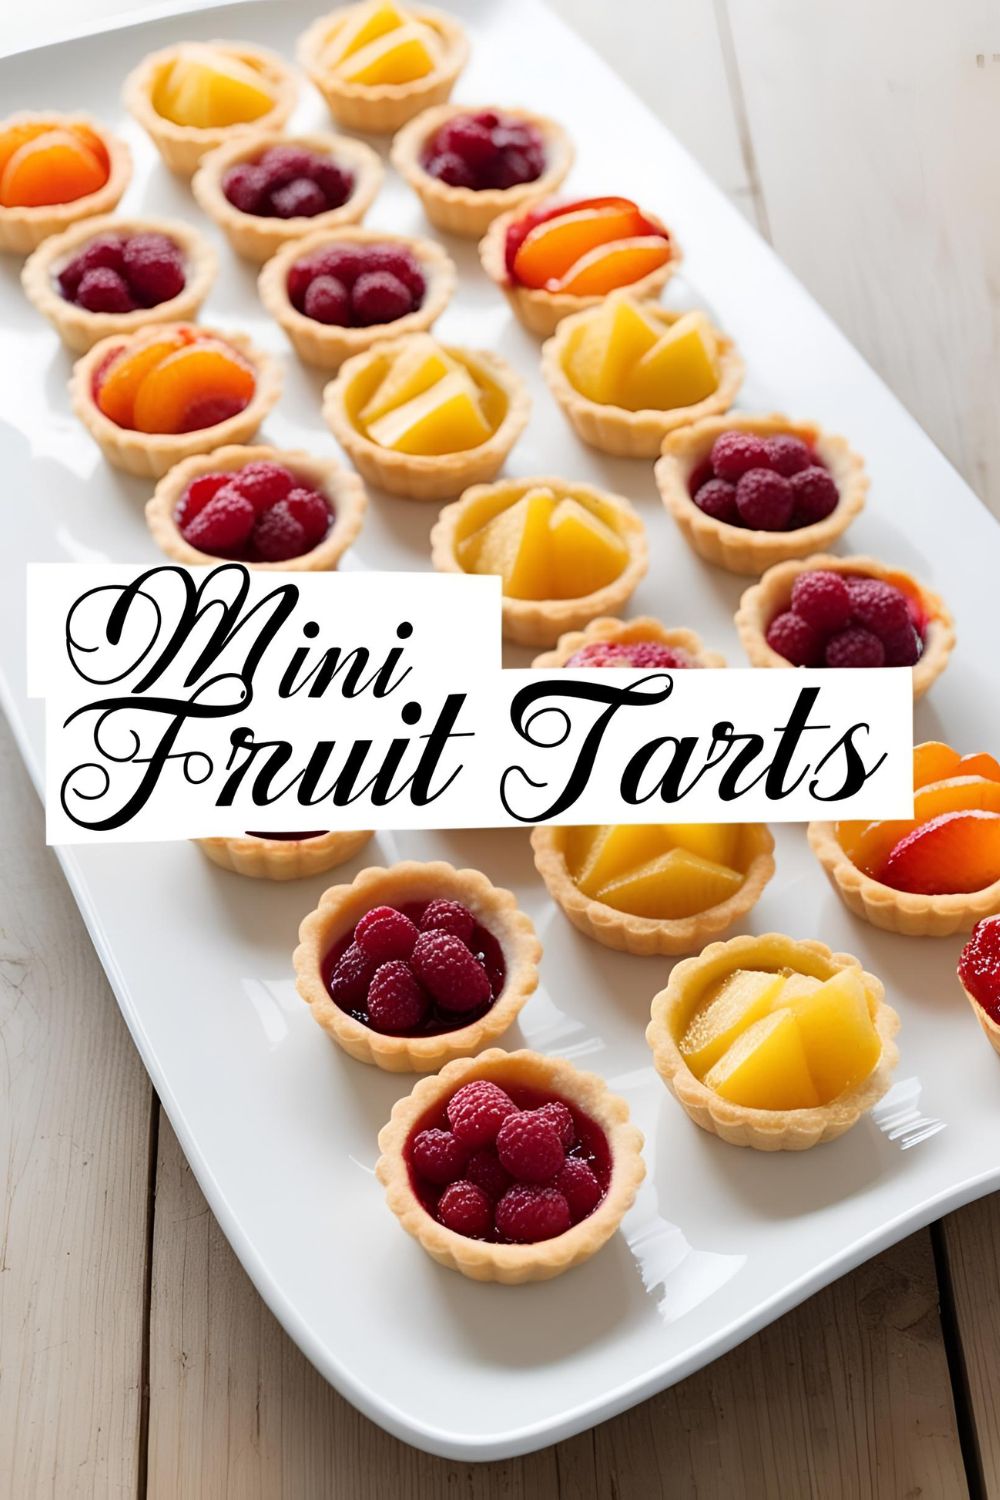
Mini Fruit Tarts That Look Fancy But Are Totally Doable
Ever tried to impress your guests with a dessert that screams “I spent hours baking this”—but secretly took you less than an hour? Welcome to the magical world of mini fruit tarts. These bite-sized beauties are the edible equivalent of a designer handbag: chic, colorful, and surprisingly easy to put together.
Why These Mini Fruit Tarts Are Your New Party Trick
Let’s be real: you want something that looks like it came from a Parisian patisserie but doesn’t require a culinary degree. These mini fruit tarts are:
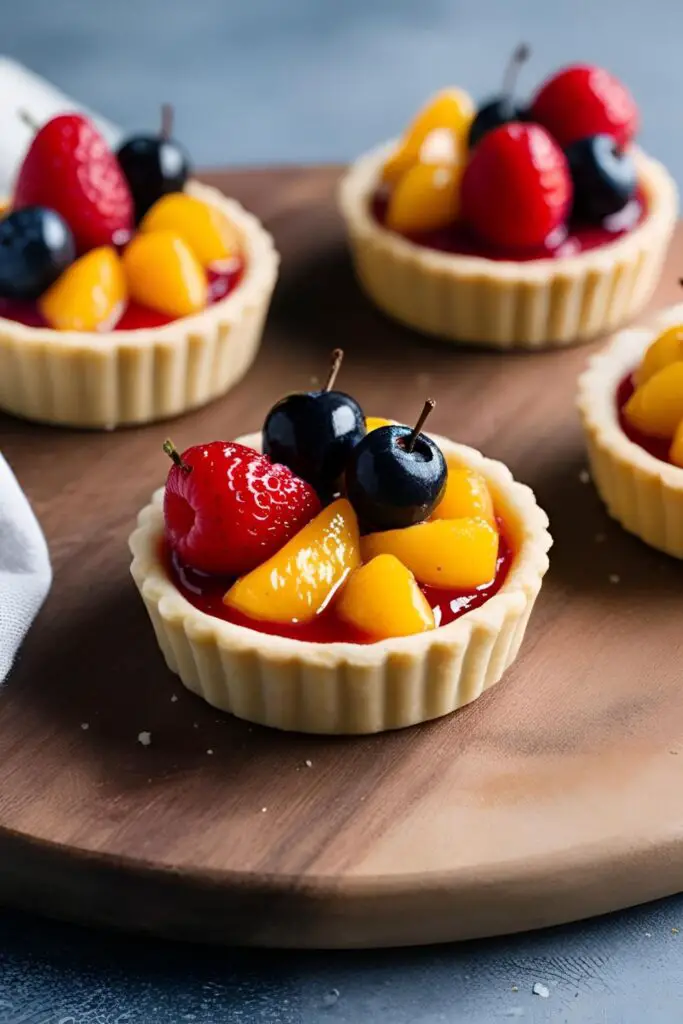
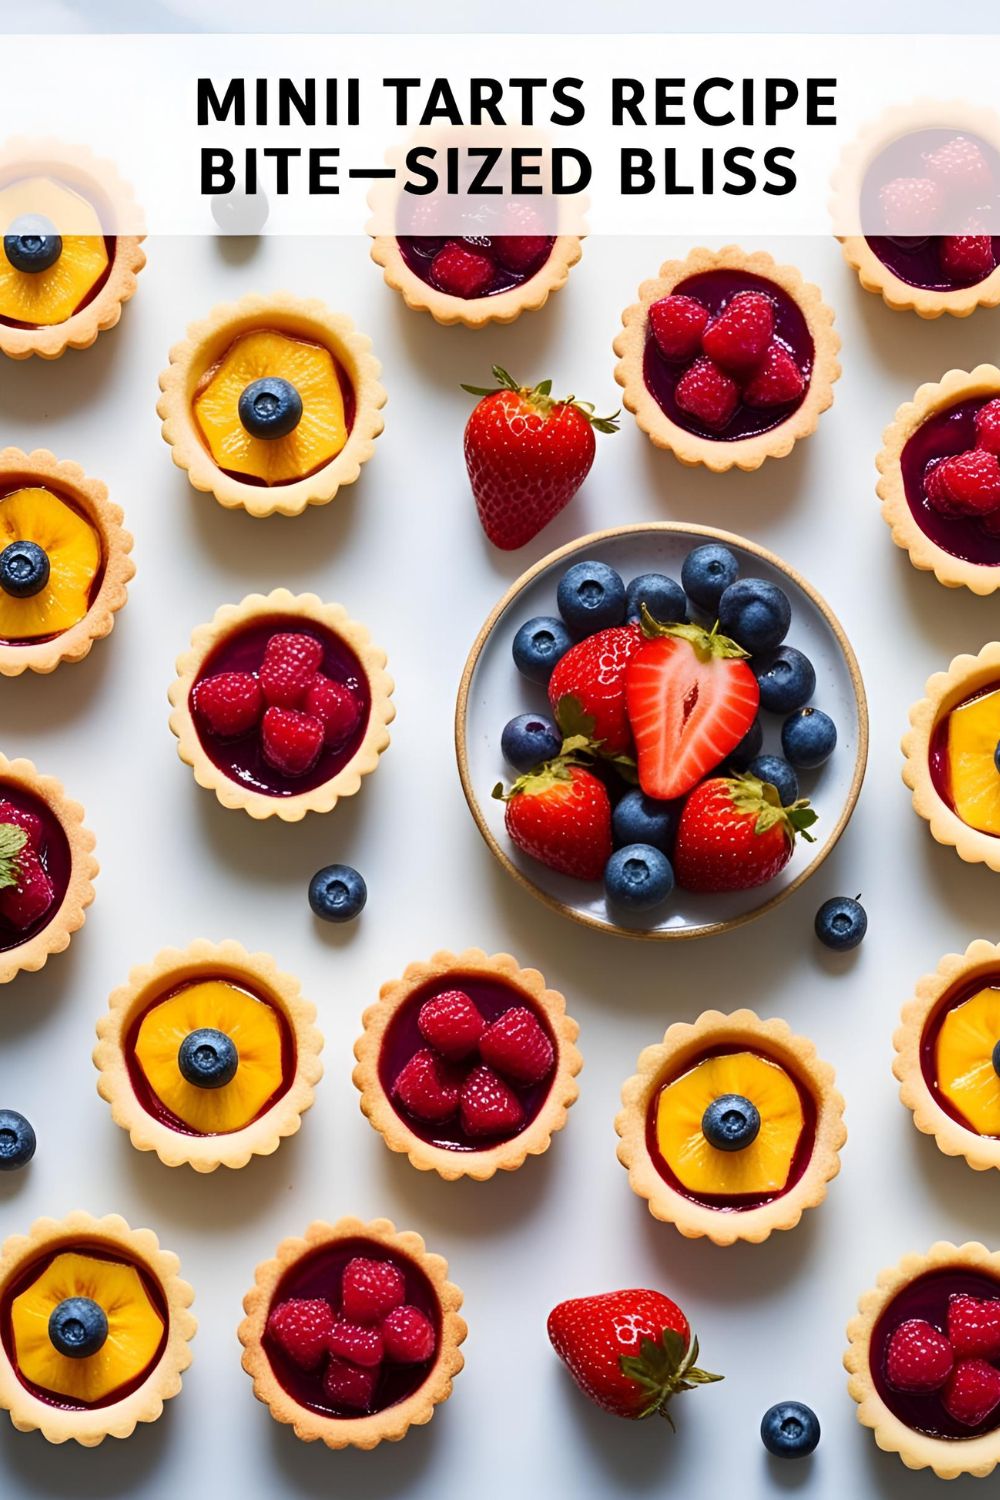
- Visually stunning: Think vibrant berries atop creamy filling nestled in golden crusts.
- Customizable: Use whatever fruits are in season or whatever’s languishing in your fridge.
- Deceptively simple: Shortcuts like pre-made tart shells or phyllo cups can save time without sacrificing style.
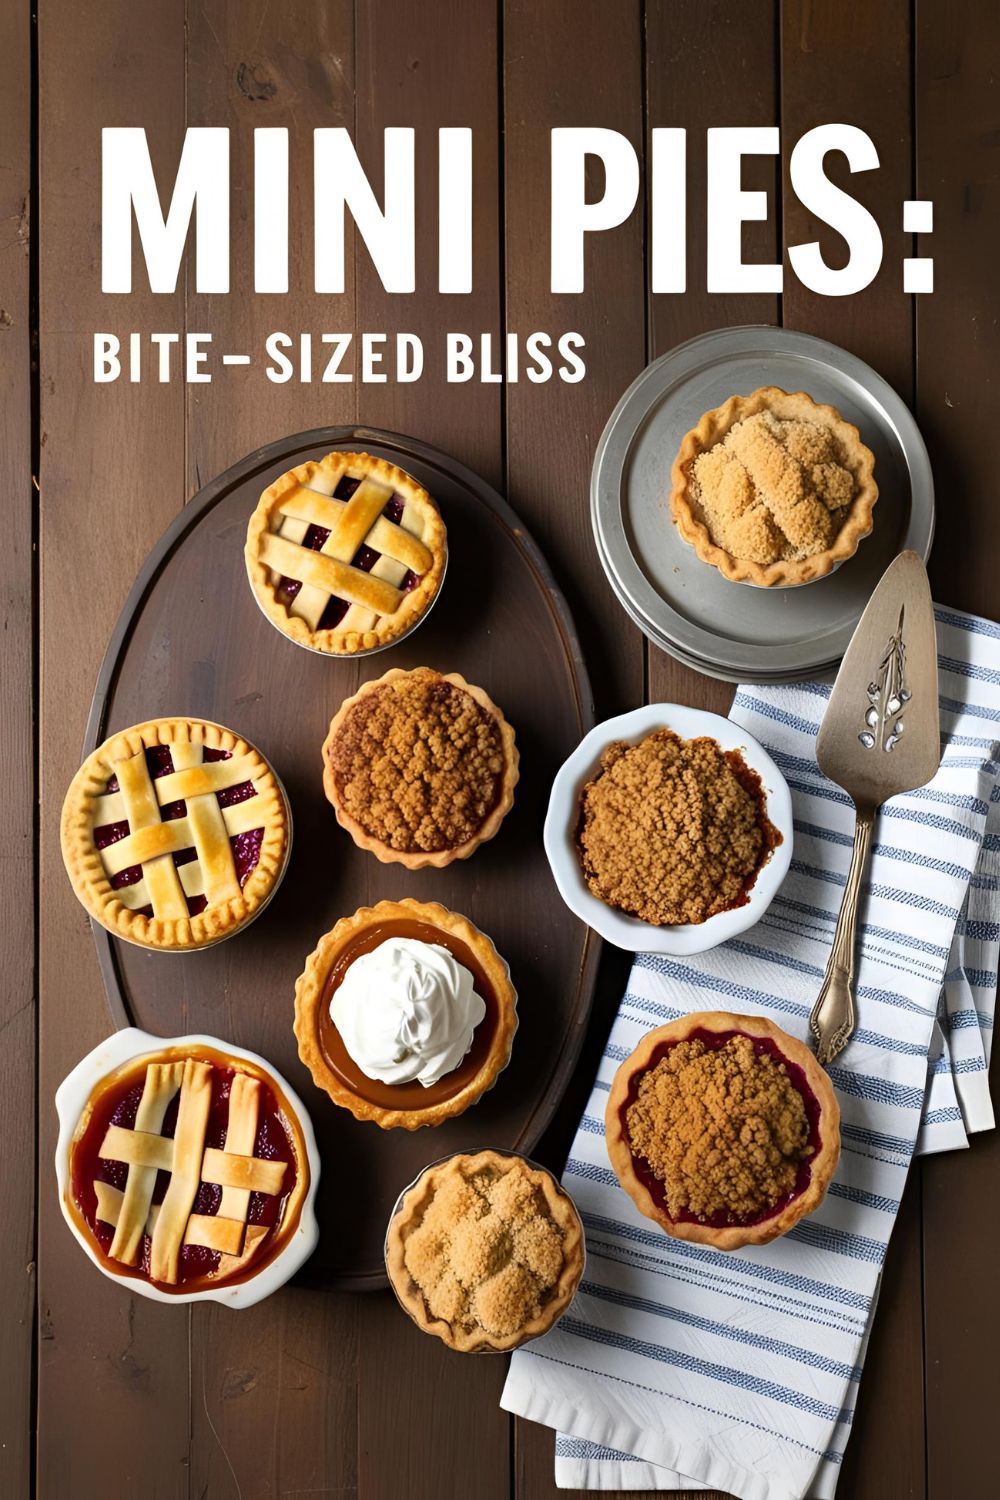
- Crowd-pleasers: Perfect for brunches, baby showers, or any event where you want to show off a little.
Ingredients
Here’s what you’ll need to create these delightful treats:
For the Tart Shells:
- 1 1/4 cups all-purpose flour
- 1/2 cup unsalted butter, cold and cubed
- 1/4 cup granulated sugar
- 1/4 teaspoon salt
- 1 large egg yolk
- 2 tablespoons ice water
Shortcut: No shame in using pre-made tart shells or phyllo cups if you’re short on time.
For the Pastry Cream Filling:
- 2 cups whole milk
- 1/2 cup granulated sugar
- 1/4 cup cornstarch
- 4 large egg yolks
- 2 teaspoons vanilla extract
- 2 tablespoons unsalted butter
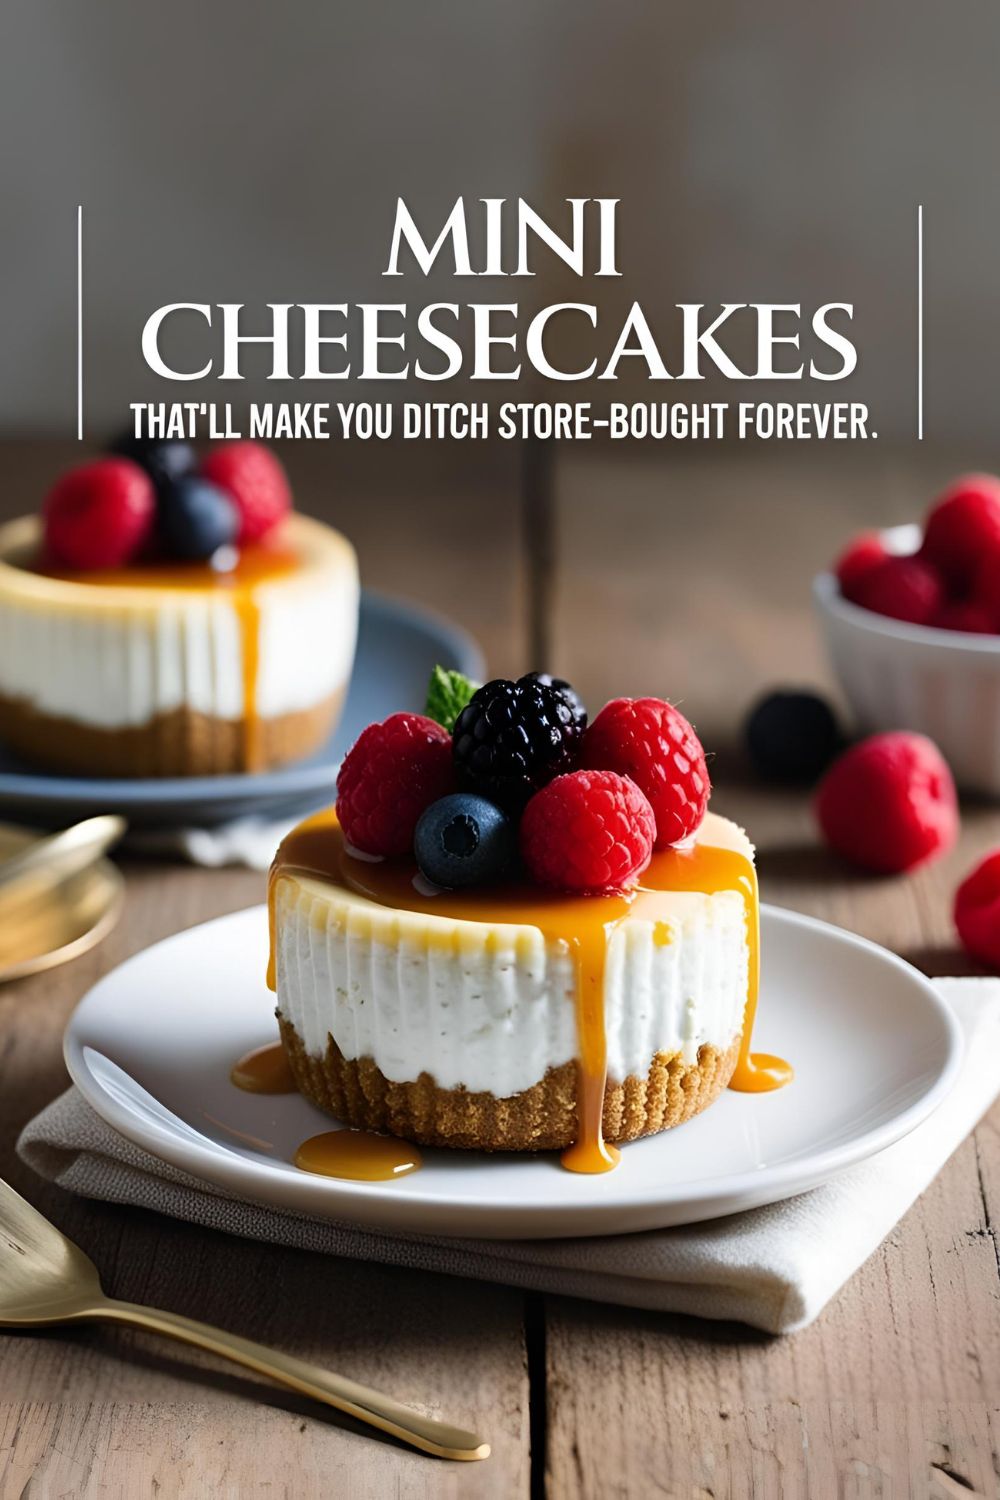
Alternative: A mix of cream cheese and whipped cream can also serve as a quick filling.
Toppings:
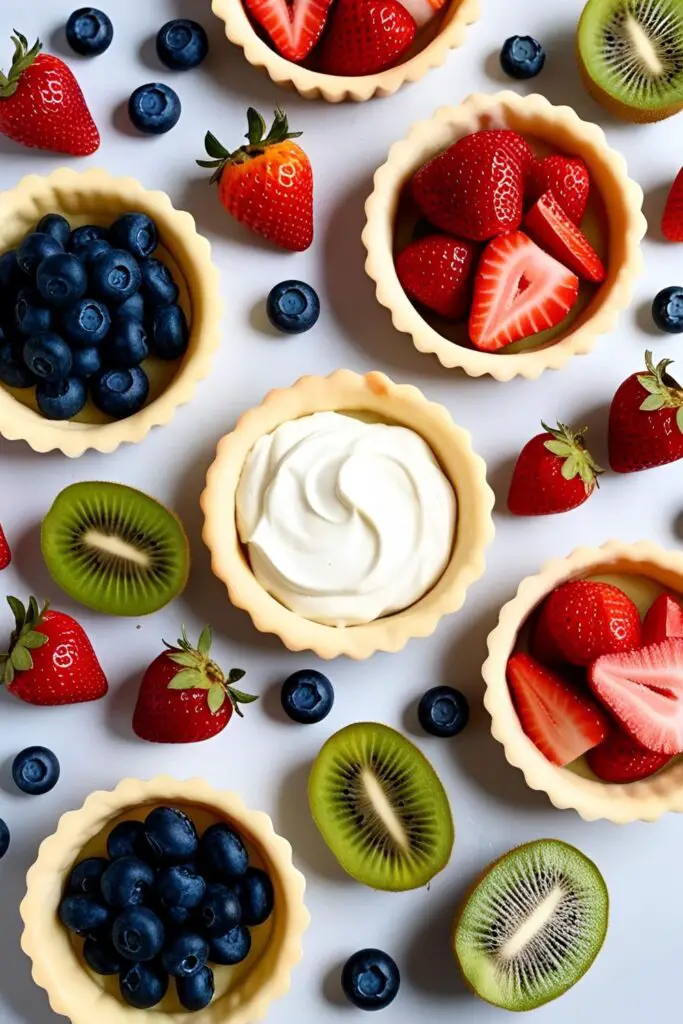
- Fresh fruits: Strawberries, blueberries, kiwi, raspberries, mango—go wild!
- Optional glaze: Warmed apricot jam or a simple sugar glaze to give that glossy finish.
Tools & Kitchen Gadgets Used
To make your mini fruit tarts, gather these tools:
- Mini tart pans or muffin tin
- Mixing bowls
- Whisk
- Saucepan
- Rolling pin
- Pastry brush
- Cooling rack
- Piping bag (optional, for filling)
Note: These tools are readily available on Amazon; feel free to check them out for convenience.
Step-by-Step Instructions
1. Prepare the Tart Shells
- In a mixing bowl, combine flour, sugar, and salt.
- Cut in cold butter until the mixture resembles coarse crumbs.
- Add egg yolk and ice water; mix until the dough comes together.
- Roll out the dough and cut into circles to fit your mini tart pans.
- Press dough into pans and prick the bottoms with a fork.
- Chill in the fridge for 15 minutes.
- Preheat oven to 350°F (175°C).
- Bake shells for 15-20 minutes until golden brown.
- Let them cool completely.
2. Make the Pastry Cream
- In a saucepan, heat milk until just boiling.
- In a bowl, whisk together sugar, cornstarch, and egg yolks.
- Slowly pour hot milk into the egg mixture, whisking constantly.
- Return the mixture to the saucepan; cook over medium heat, stirring until thickened.
- Remove from heat; stir in vanilla extract and butter.
- Transfer to a bowl; cover with plastic wrap touching the surface to prevent a skin from forming.
- Chill in the fridge until set.
3. Assemble the Tarts
- Spoon or pipe pastry cream into cooled tart shells.
- Arrange fresh fruits on top in a decorative pattern.
- Brush with glaze if desired.
- Chill until ready to serve.
Calories & Nutritional Info
Per mini tart (approximate):
- Calories: 160
- Carbohydrates: 23g
- Fat: 6g
- Protein: 2g
- Sugar: 12g
Note: Nutritional values may vary based on specific ingredients used.
Common Mistakes to Avoid
- Overfilling the shells: Leads to messy tarts. Keep it neat.
- Soggy crusts: Ensure shells are fully cooled before adding filling.
- Skipping the glaze: It adds shine and helps preserve the fruit.
- Using wet fruits: Pat fruits dry to prevent watering down the cream.
- Not chilling the pastry cream: Warm cream can make the crust soggy.
Variations & Customizations
- Keto-Friendly: Use almond flour crust and a sugar-free filling.
- Chocolate Lovers: Add a layer of melted chocolate between the crust and cream.
- Tropical Twist: Use mango, pineapple, and coconut flakes for a summery vibe.
FAQ Section
Q1: Can I make mini fruit tarts ahead of time?
A1: Yes, you can prepare the tart shells and pastry cream a day in advance. Assemble with fruit just before serving to keep them fresh.
Q2: How do I store leftover mini fruit tarts?
A2: Store them in an airtight container in the refrigerator for up to 2 days.
Q3: Can I freeze mini fruit tarts?
A3: It’s best to freeze the tart shells and pastry cream separately. Assemble with fresh fruit after thawing.
Q4: What fruits work best for mini fruit tarts?
A4: Berries, kiwi, mango, and citrus segments are popular choices. Avoid overly juicy fruits that can make the tart soggy.
Q5: Can I use store-bought pastry cream?
A5: Absolutely. Store-bought pastry cream or even vanilla pudding can be used in a pinch.
Q6: How do I prevent the crust from shrinking?
A6: Chill the dough before baking and avoid overworking it to prevent shrinkage.
Q7: Do I need to blind bake the tart shells?
A7: Yes, blind baking ensures the crust is fully cooked and doesn’t become soggy when filled.
Final Thoughts
There you have it—a dessert that’s as delightful to look at as it is to eat. These mini fruit tarts are the perfect combination of elegance and simplicity. Whether you’re hosting a party or just treating yourself, they’re sure to impress. So go ahead, channel your inner pastry chef and give these a try. You might just find yourself skipping the bakery aisle altogether.