How to choose the best wick type for optimal scent throw in aromatherapy candles.
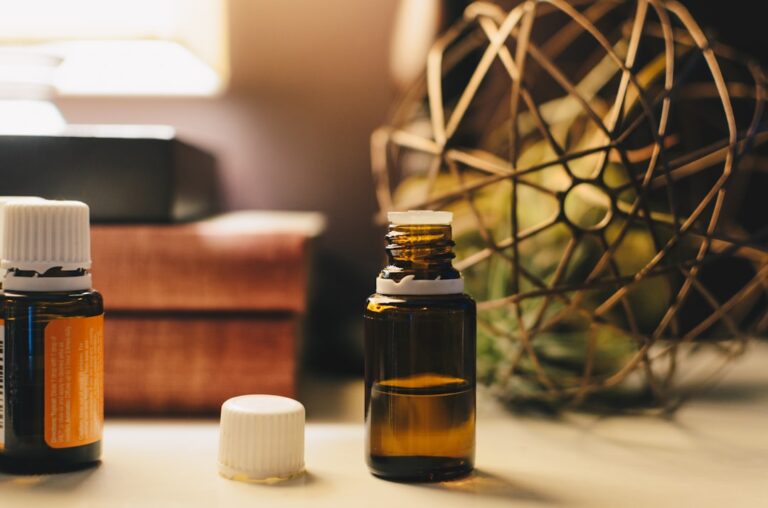
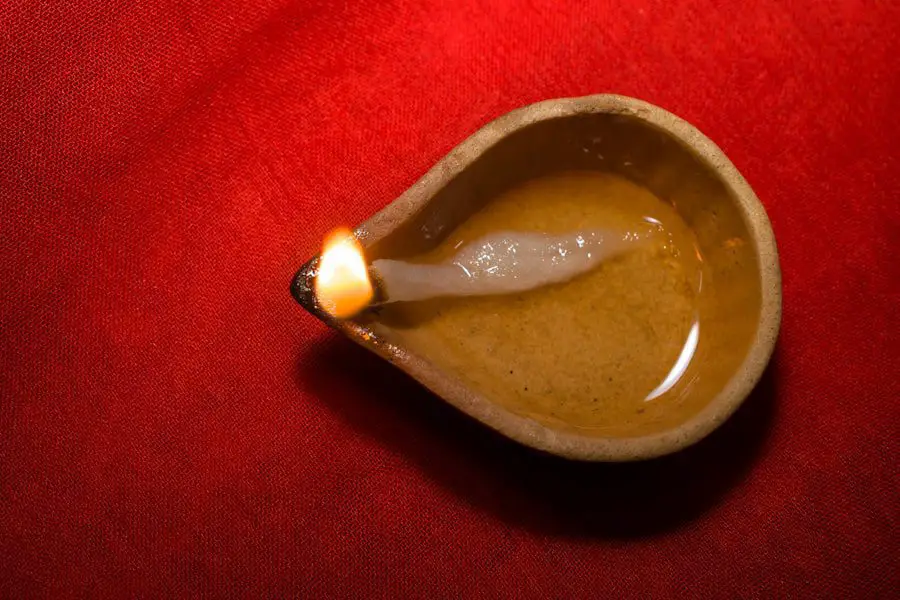
The wick is a crucial component of any candle, particularly in the realm of aromatherapy. It serves as the conduit through which the wax is drawn up to the flame, allowing for combustion and the release of fragrance. The type of wick used can significantly influence not only the burn quality of the candle but also the intensity and distribution of the scent.
A well-chosen wick can enhance the overall experience of an aromatherapy candle, ensuring that the intended aromas are effectively released into the environment. Conversely, an inappropriate wick can lead to poor scent throw, uneven burning, and even safety hazards. In aromatherapy, where the goal is often to create a specific atmosphere or evoke certain emotions through scent, the importance of wick type cannot be overstated.
Different wick materials and sizes can affect how well the candle burns and how efficiently it disperses fragrance. For instance, a wick that is too small may not produce enough heat to melt the wax adequately, resulting in a weak scent throw. On the other hand, a wick that is too large can create a flame that is too intense, leading to excessive soot production and a burnt aroma that can overshadow the intended fragrance.
Therefore, understanding the nuances of wick types is essential for anyone looking to craft effective aromatherapy candles.
Key Takeaways
- The wick type plays a crucial role in the effectiveness of aromatherapy candles.
- Factors such as wick material and size should be considered for optimal scent throw.
- Different wick materials, such as cotton, wood, and hemp, can impact the scent throw of candles.
- Choosing the right wick size for your candle container is essential for optimal performance.
- Testing and experimenting with different wick types is important for finding the best scent throw.
Factors to consider when choosing the right wick for optimal scent throw
When selecting a wick for aromatherapy candles, several factors must be taken into account to ensure optimal scent throw. One of the primary considerations is the type of wax being used. Different waxes have varying melting points and viscosities, which can influence how well a wick performs.
For example, soy wax has a lower melting point compared to paraffin wax, which may require a different wick size or material to achieve an ideal burn. Additionally, the fragrance load—the amount of fragrance oil mixed with the wax—can also impact wick selection. A higher fragrance load may necessitate a larger or more robust wick to ensure that the candle burns evenly and releases its scent effectively.

Another critical factor is the diameter of the candle container. The size and shape of the container will dictate how much heat is generated by the flame and how quickly the wax pool forms. A wider container may require a thicker wick to maintain an adequate flame size and ensure that the wax melts evenly across its surface.
Conversely, a narrow container might benefit from a smaller wick that can produce a more controlled flame. Furthermore, environmental factors such as air circulation in the room can also affect scent throw; for instance, a drafty area may require a different wick strategy than a more enclosed space.
Different wick materials and their impact on scent throw
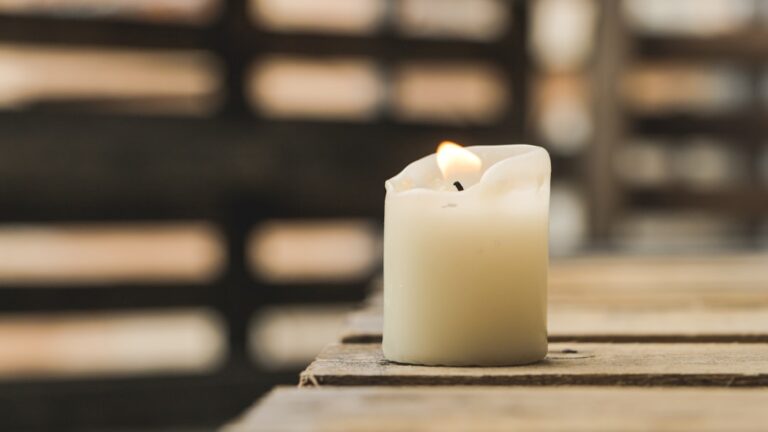
Wick materials play a significant role in determining how well an aromatherapy candle performs in terms of scent throw. The most common materials used for wicks include cotton, wood, and paper, each offering distinct characteristics that can influence both burn quality and fragrance release. Cotton wicks are widely favored for their ability to produce a steady flame and consistent burn.

They are often braided or twisted to enhance their structural integrity and improve their ability to draw wax up to the flame. This makes cotton wicks particularly effective for achieving a balanced scent throw in various types of wax. Wooden wicks have gained popularity in recent years due to their unique aesthetic appeal and distinctive crackling sound when burned.
They tend to produce a wider flame, which can create a larger melt pool and potentially enhance scent throw. However, wooden wicks require careful consideration regarding their thickness and length; if they are too thick, they may burn too hot and lead to excessive soot production. Conversely, if they are too thin, they may struggle to maintain a consistent flame.
Paper wicks are less common but can be used in specific applications where a quick burn is desired. Their performance in terms of scent throw can vary widely based on their construction and treatment.
Choosing the right wick size for your candle container
Selecting the appropriate wick size for your candle container is essential for achieving optimal scent throw and burn quality. The size of the wick should correspond not only to the diameter of the container but also to its height and shape. A general rule of thumb is that wider containers typically require larger wicks to ensure that enough heat is generated to melt the wax evenly across the surface.

For instance, if you are working with a container that has a diameter of three inches or more, you may need to consider using a thicker or multi-ply wick to achieve an adequate melt pool. In addition to diameter, the height of the container also plays a role in wick selection. Taller containers may require longer wicks to ensure that they can reach the necessary height for effective combustion while maintaining an appropriate flame size.
It’s important to note that using an oversized wick in a smaller container can lead to issues such as excessive soot production or uneven burning, which can detract from the overall aromatherapy experience. Therefore, it’s advisable to consult wick sizing charts provided by manufacturers or conduct preliminary tests to determine which size will yield the best results for your specific candle design.
Testing and experimenting with different wick types for optimal scent throw
The process of testing and experimenting with different wick types is vital for achieving optimal scent throw in aromatherapy candles. Candle makers often engage in what is known as “wick testing,” where they create multiple test candles using various combinations of wick types, sizes, and materials. This experimentation allows them to observe how each combination affects burn time, flame height, and scent release.
By documenting these results meticulously, candle makers can identify which configurations yield the best performance for their specific formulations. For example, if you are using a high-fragrance soy wax blend, you might start by testing cotton wicks of varying thicknesses alongside wooden wicks of different widths. Observing how each type interacts with your chosen wax will provide valuable insights into which combination produces an optimal melt pool and scent throw.
Additionally, it’s essential to consider factors such as burn time and soot production during these tests; an ideal wick should not only enhance scent throw but also contribute to a clean-burning experience.
Tips for troubleshooting scent throw issues related to wick type
When faced with scent throw issues in aromatherapy candles, troubleshooting can often lead back to the choice of wick type. If you find that your candles are not releasing fragrance as intended, there are several strategies you can employ to identify and rectify potential problems. One common issue is using a wick that is too small for the container size or wax type; this can result in an insufficient melt pool that fails to release fragrance effectively.
In such cases, switching to a larger or more robust wick may be necessary. Another potential issue could stem from using a wick material that does not complement your chosen wax or fragrance load. For instance, if you are using a high-fragrance paraffin blend but have opted for a wooden wick that burns too quickly, you may find that your candle produces little scent throw before burning out prematurely.
In this scenario, experimenting with cotton wicks or adjusting the thickness of your wooden wicks could yield better results. Additionally, ensuring that your wicks are trimmed to an appropriate length before lighting can help maintain optimal flame size and improve overall scent release.
The importance of proper wick maintenance for optimal scent throw
Proper wick maintenance is essential for ensuring that your aromatherapy candles perform at their best throughout their lifespan. One key aspect of maintenance involves regularly trimming wicks before each use; this practice helps prevent excessive soot buildup and ensures that the flame remains at an optimal height for effective combustion. A well-trimmed wick will produce a cleaner burn and enhance scent throw by allowing more fragrance oils to evaporate into the air.
Another important maintenance consideration is monitoring how well your candles burn over time. If you notice any changes in performance—such as reduced scent throw or uneven burning—it may be necessary to reassess your wick choice or make adjustments based on environmental factors like room temperature or airflow. Keeping track of these variables will help you maintain consistent quality across your aromatherapy candles while maximizing their aromatic potential.
Finding the perfect wick type for your aromatherapy candles
Finding the perfect wick type for your aromatherapy candles involves careful consideration of various factors including wax type, container size, and desired scent throw. By understanding how different materials and sizes impact performance, candle makers can create products that not only burn beautifully but also fill spaces with delightful fragrances effectively. Through testing and experimentation, one can discover combinations that yield optimal results while troubleshooting any issues that arise along the way.
Ultimately, investing time in selecting and maintaining the right wick will pay off in creating high-quality aromatherapy candles that enhance any environment with their soothing scents. Whether you are crafting candles for personal use or commercial sale, mastering the intricacies of wick selection will elevate your candle-making skills and enrich the sensory experiences you provide through your creations.
When it comes to creating the perfect aromatherapy candle, choosing the right wick type is crucial for achieving optimal scent throw. In a related article on Crafters Buzz, you can learn about the benefits and history of natural beeswax candles here. Beeswax candles are known for their clean burn and long-lasting scent, making them a popular choice for aromatherapy candles. By understanding the different wick types and their impact on scent throw, you can create candles that not only look beautiful but also fill your space with the perfect aroma.
FAQs

What is the importance of choosing the right wick type for aromatherapy candles?
Choosing the right wick type is crucial for achieving optimal scent throw in aromatherapy candles. The wick plays a significant role in how the candle burns, which in turn affects the release of fragrance into the air.
What are the different wick types available for aromatherapy candles?
There are several wick types available for aromatherapy candles, including cotton wicks, wood wicks, and paper wicks. Each type has its own unique characteristics that can impact the way the candle burns and the scent throw.
How does the wick type affect the scent throw of aromatherapy candles?
The wick type can affect the scent throw of aromatherapy candles by influencing the size of the flame, the rate of wax consumption, and the distribution of fragrance. A properly chosen wick type can help maximize the release of scent into the surrounding space.
What factors should be considered when choosing the best wick type for aromatherapy candles?
When choosing the best wick type for aromatherapy candles, factors such as the diameter of the candle, the type of wax used, and the desired burn time should be taken into consideration. Additionally, the fragrance load and the specific requirements of the aromatherapy blend should also be considered.
How can I determine the best wick type for my aromatherapy candles?
To determine the best wick type for your aromatherapy candles, it is recommended to conduct test burns with different wick types to observe their performance. Pay attention to factors such as the size and stability of the flame, the evenness of the burn, and the strength of the scent throw.