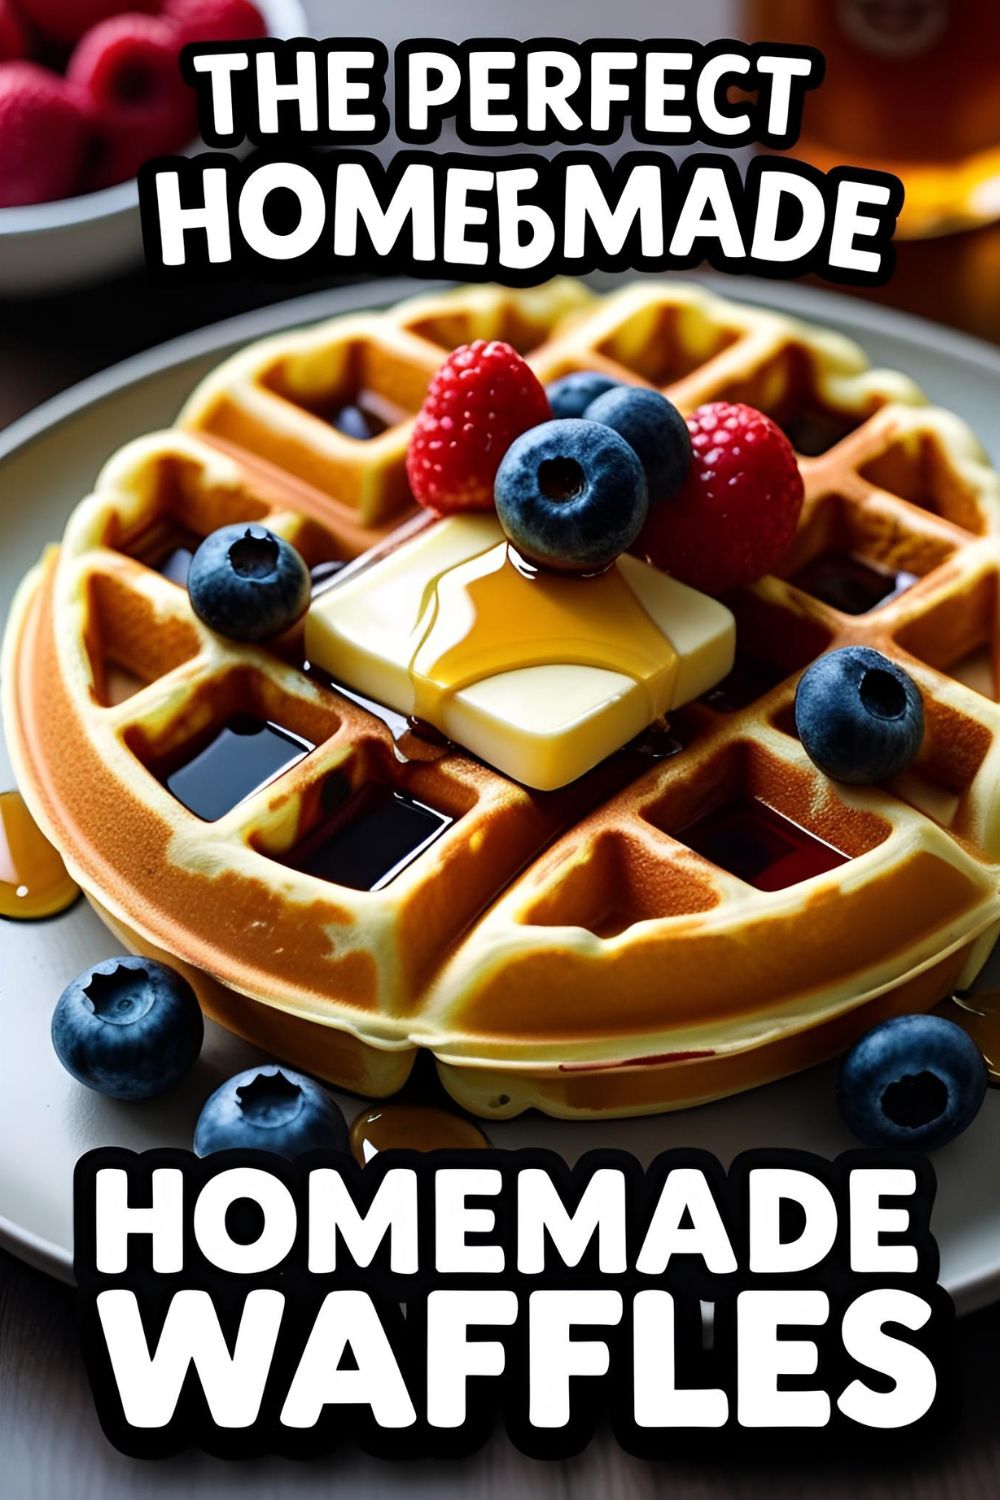
How to Make Waffles From Scratch (The Ultimate Crispy & Fluffy Recipe!)
How to Make Waffles From Scratch (The Ultimate Crispy & Fluffy Recipe!)
Let’s talk about weekend breakfast. It’s a sacred ritual, a slow-moving rebellion against the tyranny of the weekday alarm clock. And nothing, I repeat, nothing, says “I am the undisputed champion of the weekend” quite like a stack of golden, crispy, impossibly fluffy homemade waffles, with deep pockets just begging to be filled with melted butter and maple syrup.
If your current waffle experience involves a toaster and a sad, cardboard box from the freezer aisle, then this guide on how to make waffles is about to fundamentally change your life. You might think it’s a whole production, too much effort before you’ve had your first cup of coffee. I’m here to tell you that’s a vicious lie.
So, are you ready to transform your kitchen into the best brunch spot in town? Let’s build a better breakfast, one glorious, golden-brown waffle at a time.
Why This Recipe is Awesome
If you need convincing to ditch the freezer-aisle sadness, here’s why this recipe reigns supreme and will make you a breakfast legend.
- It’s a Textural Masterpiece: This isn’t just a waffle; it’s an architectural marvel. We’re talking deep, cavernous pockets designed for optimal syrup-holding capacity. A shatteringly crisp, golden exterior that gives way to an inside so light, airy, and fluffy it’s like biting into a delicious cloud.
- Your House Will Smell Like Happiness: Forget scented candles. The aroma of fresh, buttery waffles cooking in a hot iron is the official scent of a perfect morning. It’s a scientifically proven mood booster. (The science was conducted by me, in my kitchen, this morning, and I stand by the results.)
- It’s Deceptively Easy: The secret to the legendary fluffiness in this recipe involves one extra bowl and separating a couple of eggs. That’s it. You can handle one extra bowl for waffle nirvana, can’t you? Of course you can. Your taste buds will thank you for it.
Ingredients
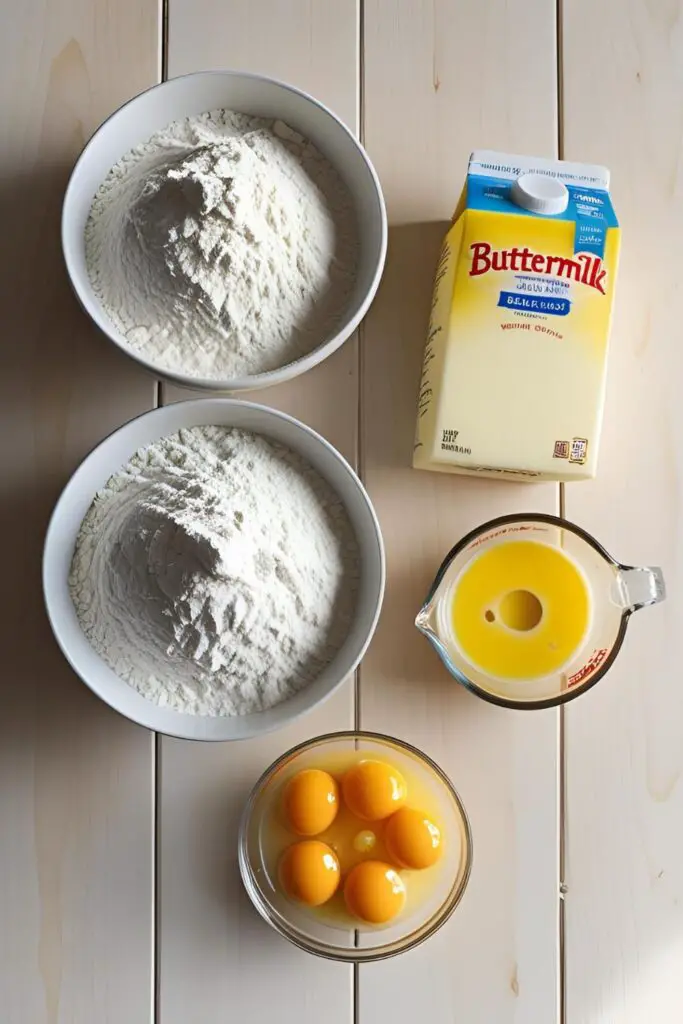
These are the building blocks of your waffle empire. Simple pantry staples, united for a glorious, buttery purpose.
- 2 cups all-purpose flour
- 2 tablespoons granulated sugar
- 2 teaspoons baking powder
- 1 teaspoon baking soda
- ½ teaspoon salt
- 2 cups buttermilk, at room temperature
- 2 large eggs, separated (yolks and whites in different bowls)
- ½ cup (1 stick) unsalted butter, melted and slightly cooled
- 1 teaspoon pure vanilla extract
Tools & kitchen gadgets used
Your waffle iron is the king here, but it needs a court of loyal subjects to make the magic happen.
- A Waffle Maker / Waffle Iron: This is, for obvious reasons, essential. Any style, from a classic American iron to a deep-pocketed Belgian one, will work beautifully with this recipe.
- At Least Two Mixing Bowls (one large, one medium for the yolks)
- A third, spotlessly clean bowl for whipping egg whites
- A Whisk
- A Hand Mixer or Stand Mixer with the whisk attachment (for whipping the egg whites to perfection)
- A Ladle or Large Measuring Cup (for pouring the batter without making a mess)
- A Silicone Spatula
- A Wire Cooling Rack (the secret to keeping your waffles crispy!)
Step-by-step instructions
Follow these steps, and you’re on the fast track to waffle glory. Remember, a few lumps in the batter are a good thing!

Step 1: Get the Iron Hot Before you do anything else, plug in your waffle maker and preheat it according to the manufacturer’s instructions. A hot iron is a happy iron, and a happy iron is what creates that gloriously crispy exterior.
Step 2: The Dry Team In a large bowl, whisk together the flour, sugar, baking powder, baking soda, and salt. Whisking ensures all the leavening agents are evenly distributed, so you don’t get one weirdly flat, salty waffle in the batch.
Step 3: The Wet Team (Almost) In a separate medium bowl, whisk together the egg YOLKS, buttermilk, melted butter, and vanilla extract until they’re just combined.
Step 4: The Secret to Fluffiness Now for the magic. In another clean, dry bowl (with no trace of grease!), place your egg WHITES. Using a hand mixer or stand mixer, beat the egg whites on high speed until they form stiff, glossy peaks. This means when you lift the beaters out, the peak of egg white that forms stands up straight and proud and doesn’t flop over. You just made clouds.
Step 5: Combine, But Gently! Pour the wet yolk mixture into the large bowl with the dry ingredients. Mix with your whisk until it’s just combined. Seriously, lumps are your friends here. A lumpy batter is an under-mixed batter, and an under-mixed batter is a tender waffle. Now, take about half of your whipped egg whites and gently fold them into the batter with a spatula to lighten it up. Then, add the rest of the egg whites and gently fold until you see no more big streaks of white. Do not stir or you will undo all your hard, cloud-making work!
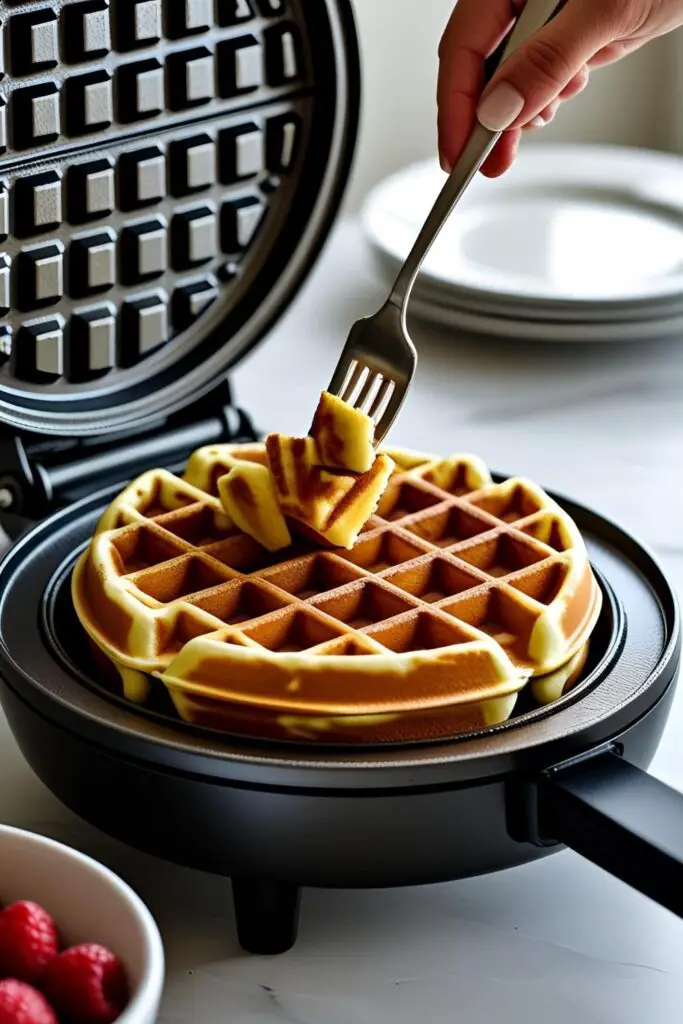
Step 6: Cook the Waffles Lightly grease your hot waffle iron with non-stick spray or a little melted butter if required by your machine. Ladle the batter into the center of the iron (the amount will depend on your machine, usually ½ to ¾ cup). Close the lid and cook until the waffle is golden brown and crisp, and the steam stops billowing out from the sides.
Step 7: The Crispy Waffle Protocol This is crucial! As each waffle finishes cooking, do not stack them on a plate! Stacking traps steam and will turn your crispy masterpieces into a sad, soft, floppy pile of disappointment. Place the finished waffles in a single layer on a wire rack to allow air to circulate. To keep them warm while you cook the rest, you can place the wire rack on a baking sheet inside a preheated 200°F (95°C) oven.
Calories & Nutritional Info
It’s breakfast. It’s the weekend. Let’s not get too hung up on this, okay?
- Serving Size: 1 waffle (this recipe makes about 6-8, depending on your waffle iron)
- Estimated Calories: Around 250-300 kcal per plain waffle. This does not include the swimming pool of butter and syrup you’re about to add, and that’s your business.
- Excellent source of: Weekend joy and the energy to maybe, possibly, think about doing some chores later.
Common Mistakes to Avoid

Avoid these waffle-related war crimes for a perfect breakfast every single time.
- Overmixing the Batter: I know it’s tempting to whisk until it’s perfectly smooth, but don’t! Overmixing the flour develops gluten, which leads to tough, chewy waffles instead of light, tender, and fluffy ones. Lumps are good. Repeat after me: lumps are good.
- Deflating Your Precious Egg Whites: You just spent a few minutes whipping all that beautiful air into those egg whites. Don’t murder all those air bubbles by stirring them in aggressively. You must gently FOLD them in until just combined. Protect the fluff!
- Using a Cold Waffle Iron: Pouring your beautiful, airy batter onto a lukewarm iron is a recipe for a pale, steamed, soggy waffle-like object of sadness. Always wait for your waffle maker’s ‘ready’ light to come on. It knows what it’s talking about.
- The Dreaded Waffle Stack: I’ve said it before, and I’ll say it again because it’s that important. Stacking hot waffles on top of each other is the #1 way to kill the crispiness. The steam gets trapped between them and turns them soft. Give them space to breathe on a wire rack.
Variations & Customizations
Once you’ve mastered the classic, you can get creative and start your own waffle empire.
- Chocolate Chip Waffles: Gently fold 1 cup of mini chocolate chips into the finished batter right before cooking. Because adding chocolate to breakfast is always the right decision.
- Cinnamon Spice Waffles: Add 1 teaspoon of ground cinnamon and ¼ teaspoon of nutmeg to the dry ingredients. This is especially amazing in the fall and makes your house smell like a cozy dream.
- Savory Cheddar & Chive Waffles: This is a life-changing move. Omit the sugar and vanilla from the recipe. To the finished batter, fold in 1 cup of shredded sharp cheddar cheese, 2 tablespoons of finely chopped fresh chives, and ½ teaspoon of black pepper. Serve with fried chicken or a fried egg on top.
FAQ Section
All your burning waffle-related questions, answered.
1. How do you make waffles crispy? The secret is a combination of a very hot waffle iron, the right batter (this recipe, with its separated eggs, is designed for crispiness), and not stacking them after they’re cooked. Placing them on a wire rack is key.
2. What’s the difference between Belgian waffles and regular waffles? Belgian waffles are typically thicker, with much deeper pockets for holding more syrup (a worthy goal). The irons are different, and the batters sometimes use yeast for an even lighter texture. This recipe works beautifully in both Belgian and classic style irons.
3. Can I make this waffle batter ahead of time? It’s really best when made fresh. The whipped egg whites are the key to the fluffy texture, and they will deflate over time if the batter sits in the fridge, resulting in denser waffles.
4. Can I make waffles without a waffle maker? No. If you pour this batter into a pan, you’ll have made a pancake. A delicious pancake, but a pancake nonetheless. The waffle iron is what creates the unique crispy-on-the-outside, fluffy-on-the-inside texture.
5. Why are my waffles always soggy? This could be due to a few things: your waffle iron isn’t hot enough, your batter is too thin, or you’re stacking the hot waffles on a plate. This recipe and the wire rack cooling method should solve that!

6. How do you freeze and reheat homemade waffles? Let the waffles cool completely on a wire rack. Then, place them in a single layer on a baking sheet and freeze until solid. Transfer the frozen waffles to a freezer-safe bag. To reheat, just pop them directly from the freezer into your toaster or toaster oven until hot and crispy!
7. I don’t have buttermilk. What can I use? Easy peasy. For every 1 cup of buttermilk, you can substitute 1 cup of regular milk mixed with 1 tablespoon of white vinegar or lemon juice. Let it sit for 5-10 minutes. It will look a bit curdled—that means it’s working!
Final Thoughts
There you have it. You are now the undisputed ruler of your weekend breakfast domain. You possess the knowledge to create waffles that are infinitely superior to their sad, frozen counterparts. You can now wield the power of the crispy, fluffy, golden-brown waffle whenever you please.
So go forth, fill those glorious pockets with melted butter and warm maple syrup, and never look at the freezer aisle with anything but pity again. You’re better than that now. You’re a waffle person.