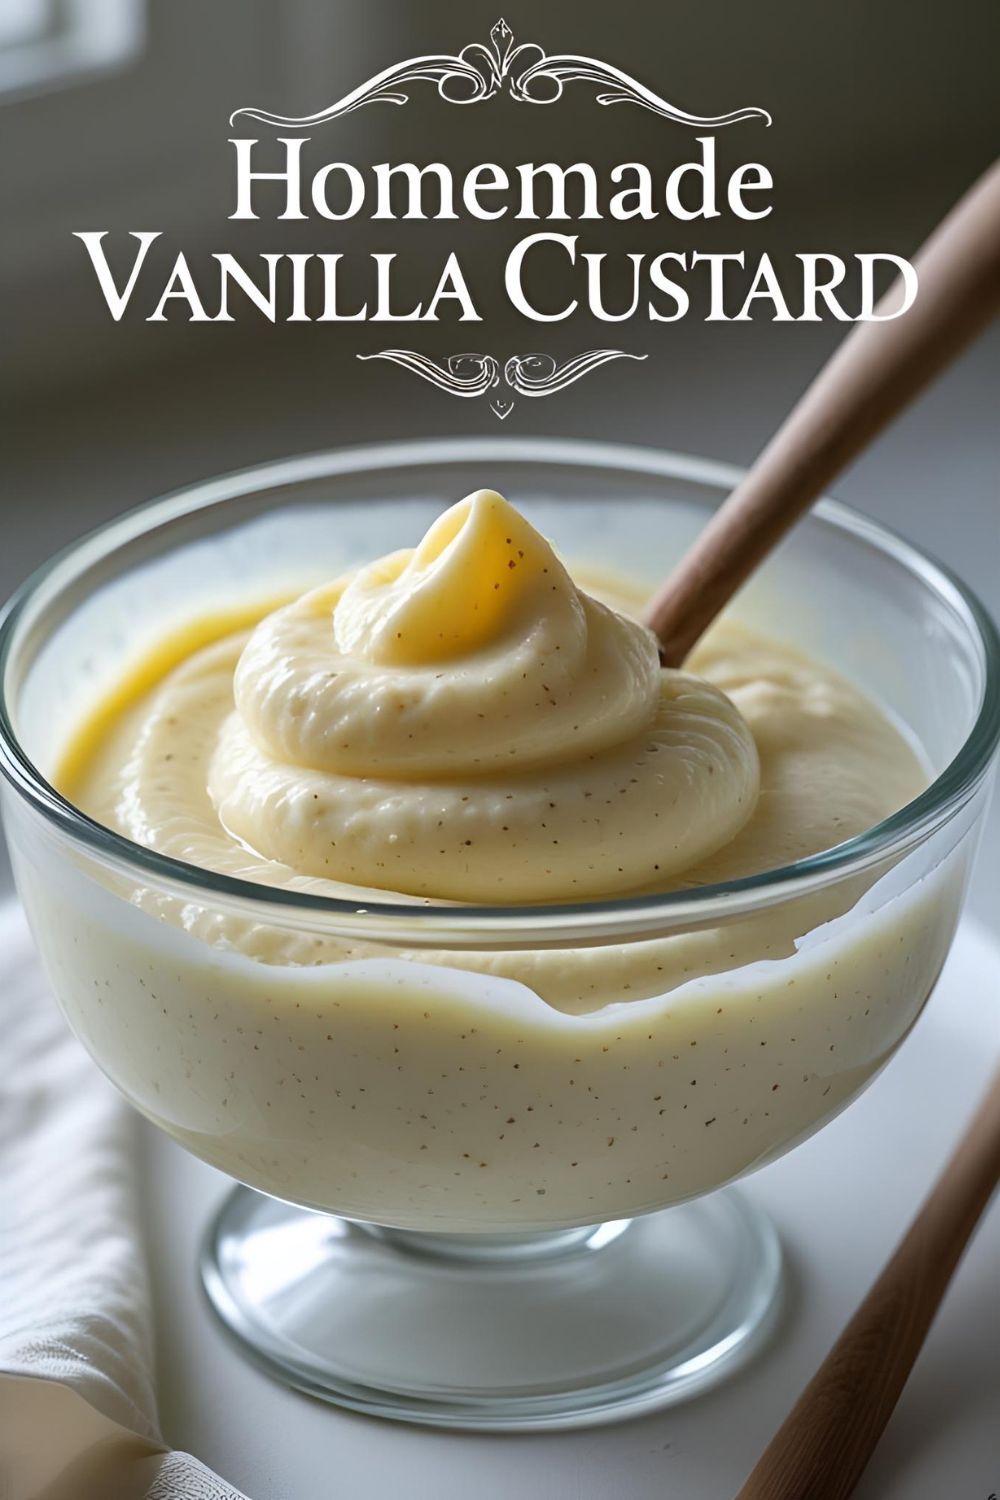
How to Make Vanilla Custard From Scratch (It’s Way Easier Than You Think!)
How to Make Vanilla Custard From Scratch (It’s Way Easier Than You Think!)
Let’s be honest, the word “custard” sounds a bit posh, doesn’t it? It conjures images of fancy restaurants, British baking shows, and stern-faced pastry chefs in tall hats. You probably think it’s a complicated, finicky thing best left to the professionals. But what if I told you that learning how to make vanilla custard is one of the easiest, most rewarding kitchen skills you can possibly master? And that the stuff from a powder mix is a sad, chalky imposter?
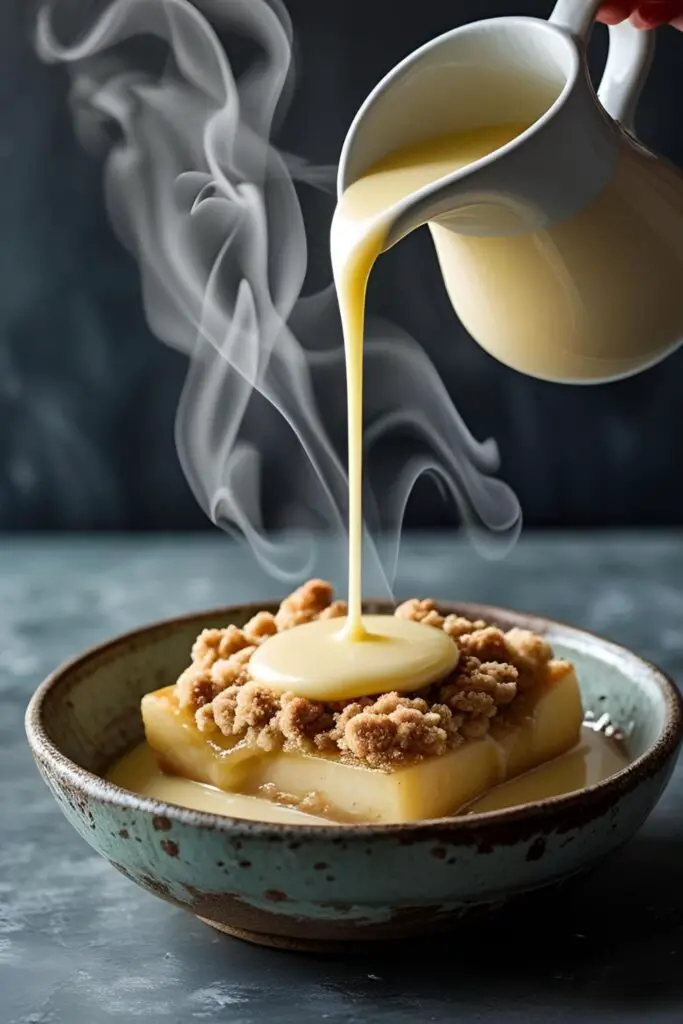
That’s right. We’re talking about real, luscious, silky-smooth custard. The kind of liquid gold that can be drizzled over a warm apple pie, used to fill cream puffs, or, let’s be real, eaten straight from the bowl with a spoon while you stand in front of the open fridge at midnight.
So, are you ready to conquer your culinary fears, ditch the powder forever, and unlock a new level of dessert mastery? Of course you are. Let’s make something that will make you feel incredibly fancy with minimal effort.
Why This Recipe is Awesome
If you’re still clutching your tin of instant mix, allow me to persuade you to join the light side. This homemade custard is a total game-changer.
- The Flavor is Beyond Compare: This is the real deal, folks. It’s rich with the flavor of actual egg yolks and fragrant with pure, unadulterated vanilla. There’s no weird chemical aftertaste or chalky texture here—just pure, creamy, vanilla-scented bliss.
- It’s Insanely Versatile: Is it a dessert? Is it a sauce? Is it a filling? Yes! This one recipe is your ticket to better trifles, cream puffs, fruit tarts, bread puddings, or just a simple, elegant bowl of comfort. It’s the Swiss Army knife of classic desserts.
- You’ll Feel Like a Pastry Chef: The one “scary” step in making custard is called tempering, and I’m going to show you how ridiculously easy it is. Once you master it, you’ll feel like a legitimate kitchen rock star. Your culinary confidence will skyrocket.
Ingredients
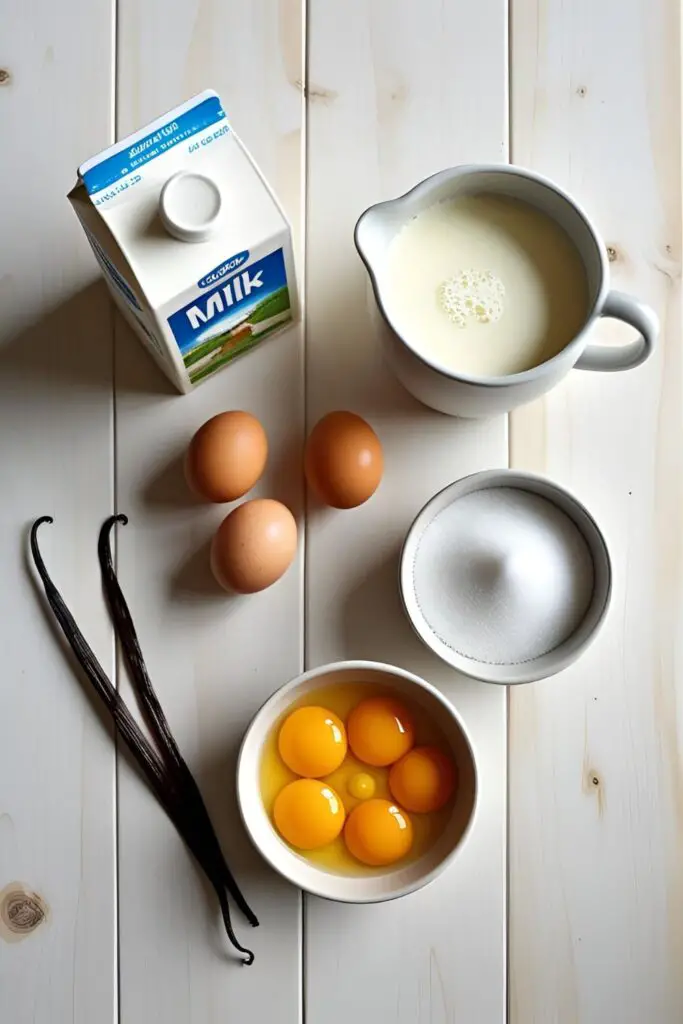
This classic dessert is born from a few simple, high-quality ingredients. No weird stuff here, just pure deliciousness.
- 2 cups whole milk
- 1 cup heavy cream
- ½ cup granulated sugar, divided
- 6 large egg yolks
- 1 whole vanilla bean, split lengthwise, OR 2 teaspoons of high-quality vanilla bean paste
- Pinch of salt
- Optional Safety Net: 2 tablespoons cornstarch (This will make it a thicker pastry cream, but it’s great insurance against scrambling if you’re nervous!)
Tools & kitchen gadgets used
You don’t need a professional pastry kitchen, but a few key tools will make your life much, much easier and ensure a perfect result.
- A Heavy-Bottomed Medium Saucepan (to prevent the bottom from scorching and making sad, burnt bits)
- A Whisk
- Two Medium Mixing Bowls
- A Fine-Mesh Sieve or Strainer (This is absolutely non-negotiable for a silky-smooth finish)
- A Silicone Spatula (for scraping every last precious drop)
- Measuring Cups and Spoons
Step-by-step instructions
Follow these steps, and you’ll have perfect, lump-free custard. I believe in you. You’ve got this.
Step 1: Infuse the Dairy Pour the milk and heavy cream into your medium saucepan. If you’re using a whole vanilla bean, use the back of a knife to scrape all the glorious seeds into the milk, and then toss the empty pod in there, too. If you’re using vanilla paste, just stir it in. Add the pinch of salt. Warm the mixture over medium-low heat until it’s hot and steaming, with little bubbles forming around the edges. Do not let it boil, unless you enjoy the scent of burnt milk and the fun task of scrubbing your pan for the next hour.

Step 2: Prep the Yolks While the milk is warming, place your egg yolks and the divided ½ cup of sugar in a separate mixing bowl. If you’re using the cornstarch “safety net,” add it now. Whisk vigorously for a minute or two until the mixture is pale yellow, thick, and the sugar has mostly dissolved. It should form “ribbons” when you lift the whisk.
Step 3: The Tempering Tango (The “Scary” Part That Isn’t) Deep breath. This is the part everyone frets about, but it’s simple. Your milk mixture should be hot now. While whisking the egg yolks constantly with one hand, use your other hand to very slowly pour about half of the hot milk into the egg mixture in a thin, steady stream. This slow introduction gently raises the temperature of the eggs without scrambling them. You’re just helping them get acclimated to the heat. See? Not so scary.
Step 4: Return to the Pan and Cook Now, pour the now-warmed egg and milk mixture back into the saucepan with the rest of the milk. Switch from a whisk to your silicone spatula. Cook the custard over medium-low heat, stirring constantly and scraping the bottom and corners of the pan. This is not the time to check your phone or wander off to pet the dog. Your undivided attention is required for the next 5-7 minutes.
Step 5: The “Spoon Test” The custard is done when it has thickened enough to coat the back of your spoon. To test this, dip your spoon in the custard and run your finger through it. If it leaves a clean, clear path that doesn’t immediately flood back in on itself, it’s ready. If the line disappears, it needs a little more time.
Step 6: Strain for Perfection Immediately remove the custard from the heat. Place your fine-mesh sieve over a clean bowl and pour the hot custard through it. This crucial step catches the vanilla pod (if you used one) and any tiny, rogue bits of cooked egg that might have formed, guaranteeing a perfectly silky, smooth, luxurious texture. Do not skip this step.
Step 7: Chill Out To prevent a “skin” from forming on top (the enemy of good custard), press a piece of plastic wrap directly onto the surface of the custard. Let it cool a bit at room temperature, then transfer it to the refrigerator to chill completely, for at least 4 hours or overnight.
Calories & Nutritional Info
It’s rich, it’s creamy, it’s dessert. Let’s manage our expectations accordingly.
- Serving Size: ½ cup
- Estimated Calories: Around 250-300 kcal.
- Rich In: Fat from the cream and yolks, and pure, unadulterated happiness.
- Good to Know: It’s a fantastic source of comfort after a long, stressful day.
Common Mistakes to Avoid
Avoid these dessert disasters and you’ll be golden. Your custard will thank you.
- Making Sweet Scrambled Eggs: This is the #1 fear and it happens for two reasons: you dumped the hot milk into the eggs too quickly during the tempering stage, or you cooked the custard over heat that was too high. Temper slowly and keep the heat low and gentle. And for the love of all that is delicious, keep stirring!
- Skipping the Strainer: You might think your custard looks smooth. You might be tempted to skip this step. Don’t do it. Straining is the non-negotiable secret to a professional-quality, guaranteed lump-free, silky custard. Don’t be a hero; use the sieve.
- Walking Away From the Stove: Custard can go from perfectly thickened to a curdled, lumpy mess in the time it takes to reply to a text message. For those 5-7 minutes of cooking, you are married to that saucepan and that spatula. Stir constantly and scrape the bottom.
- Using a Flimsy, Thin Pan: A thin-bottomed saucepan will have “hot spots” that can scorch the custard and cause it to curdle before the rest of it is cooked. A heavy-bottomed pan distributes the heat more evenly, giving you much more control and a better chance of success.
Variations & Customizations

Once you’ve mastered the classic vanilla, you can use this recipe as a base for a whole world of flavors.
- Decadent Chocolate Custard: After you strain the hot custard, add 4 ounces of finely chopped high-quality dark or semi-sweet chocolate. Let it sit for a minute to melt, then whisk until completely smooth and emulsified.
- Zesty Lemon or Orange Custard: Add a few wide strips of lemon or orange zest (use a vegetable peeler to avoid the bitter white pith) to the milk and cream during the initial infusion step. Strain them out with the vanilla pod at the end.
- Cozy Chai-Spiced Custard: Toss a chai tea bag or a small cinnamon stick, a few cardamom pods, and a slice of fresh ginger into the milk while it warms up. The warm, aromatic spices are incredible on a cold day, especially when poured over a bread pudding.
FAQ Section
All your burning custard questions, answered.
1. What is the difference between custard and pudding? Traditionally, custard is thickened primarily with egg yolks, which gives it that rich, creamy, unmistakable texture. Pudding is typically thickened with a starch, like cornstarch, and often doesn’t contain eggs (or contains very few).
2. Why is my custard runny? You probably didn’t cook it long enough. It needs to reach that “coat the back of the spoon” stage to be properly thickened. It’s also important to know that it will thicken up considerably as it chills in the refrigerator.
3. How can you tell for sure when custard is cooked? The spoon test is the most reliable visual cue. Dip a wooden or metal spoon in, pull it out, and run your finger across the back. If the line holds its shape without the custard running back over it, it’s done.
4. Can you fix lumpy, curdled custard? Sometimes! If it’s only slightly curdled, you can sometimes save it by immediately pouring it into a blender and blending on high for 30-60 seconds to smooth it out. But prevention (low heat, constant stirring, and straining) is always the best cure.
5. How long does homemade custard last in the fridge? Stored properly with plastic wrap pressed onto its surface in an airtight container, it will last for up to 4-5 days in the refrigerator.
6. Can I make custard with just milk and no cream? Yes, you can use all milk for a lighter, less rich custard (often called a “crème anglaise” or a pouring custard). It will be just as delicious, just not quite as decadent.

7. What do I do with all the leftover egg whites? Don’t you dare throw them out! You can use them to make beautiful, crisp meringues, fancy macarons, a light-as-air angel food cake, or a healthy egg-white omelet the next morning.
Final Thoughts
You’ve done it. You’ve faced the mighty custard and emerged victorious. You are now in possession of a bowl of silky, luxurious liquid gold that you made with your own two hands. You have officially unlocked a new level of baking prowess.
Now you can confidently fill donuts, top crumbles, layer trifles, and eat it straight from the bowl with a spoon like the sophisticated dessert connoisseur you’ve just become. The tyranny of the sad, yellow powder is over. Welcome to a better, more delicious world.