How to Make Soft Pretzels at Home (Better Than the Mall!)
How to Make Soft Pretzels at Home (Better Than the Mall!)
You know that smell. That warm, buttery, intoxicatingly yeasty aroma that hits you like a ton of bricks at a shopping mall, an airport, or a street fair. It’s the siren song of the soft pretzel, a scent that bypasses your brain and speaks directly to your soul, promising salty, chewy, carby bliss. For years, you’ve been a willing victim, forking over your hard-earned cash for one of those glorious, twisted creations.
But what if I told you that you could make your entire house smell like that? What if you could produce a pretzel so warm, so chewy, so perfectly golden-brown and salty that it would make those food court versions weep with envy? Today, my friends, you’re going to learn how to make pretzels—real, authentic, unbelievably delicious soft pretzels—from scratch. Prepare to become a legend.
Why This Recipe Is a Weekend Masterpiece
So, why should you dive into the world of yeast, dough-twisting, and boiling things in baking soda? Oh, the rewards are plentiful.
First, the texture and flavor are simply unbeatable. A perfect homemade soft pretzel is a masterclass in contrasts: a deep mahogany, chewy, slightly crisp crust gives way to a soft, dense, pillowy interior. It’s a satisfying chew that store-bought or frozen versions can only dream of. The flavor is rich and complex, thanks to a little bit of kitchen science we’ll get into later.
Second, it’s an incredibly fun and satisfying project. There is something deeply therapeutic about working with yeast dough—watching it rise, punching it down, and rolling it into long, smooth ropes. And the shaping? It’s like playing with delicious, edible clay. It’s the perfect, hands-on activity for a lazy weekend afternoon.
Finally, the “wow” factor is off the charts. Showing up to a party or game day with a platter of still-warm, buttery, homemade soft pretzels and a side of cheese sauce? You will be the undisputed hero of the day. People will be in awe of your baking prowess. Let them. You’re a pretzel-making champion now.
The A-List Ingredients
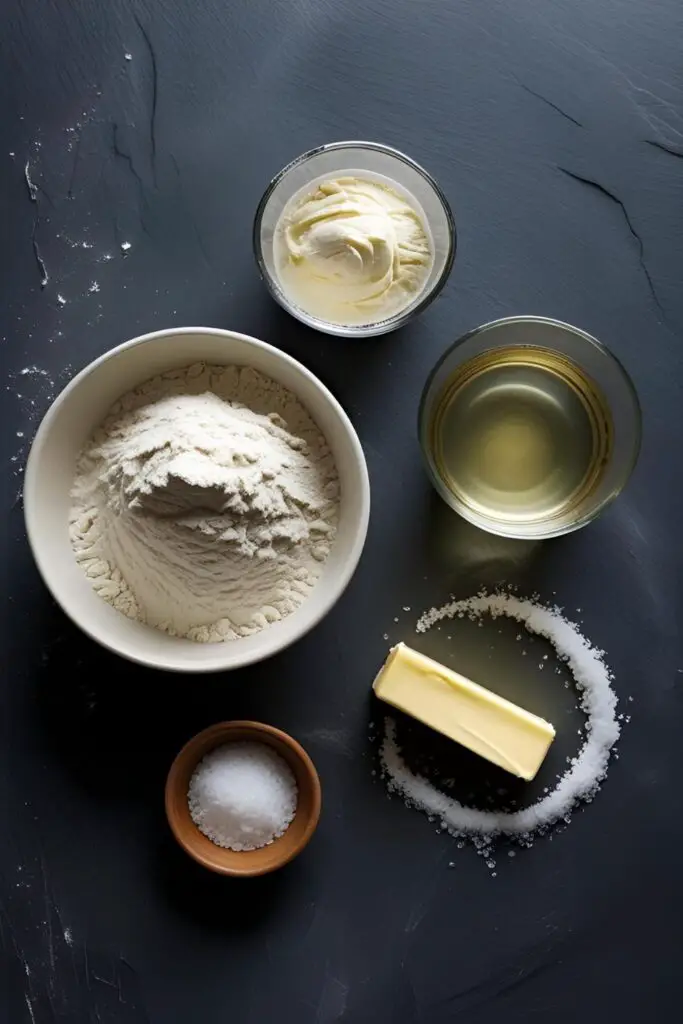
This iconic snack is born from a handful of simple, humble ingredients.
For the Pretzel Dough:
- Warm Water: 1 ½ cups. It should feel like a nice warm bath on your wrist, about 110°F (43°C).
- Active Dry Yeast: 1 packet (2 ¼ teaspoons).
- Granulated Sugar: 1 tablespoon. This is food for your yeast!
- Salt: 2 teaspoons of fine sea salt.
- Unsalted Butter: 4 tablespoons (¼ cup), melted.
- All-Purpose or Bread Flour: About 4 ½ cups, plus more for dusting. Bread flour will give you an even chewier pretzel, but all-purpose works beautifully.
For the Baking Soda Bath (The Magic Step):
- Water: 10 cups.
- Baking Soda: ⅔ cup.
For the Finishing Touches:
- Egg Wash: 1 large egg yolk beaten with 1 tablespoon of water. This gives the pretzels a beautiful, glossy shine.
- Coarse Pretzel Salt: For that classic, crunchy, salty finish.
The Pretzel-Maker’s Toolkit

You don’t need a commercial pretzel oven, but a few key pieces of equipment will make this process a whole lot smoother.
- A Stand Mixer with a Dough Hook: This is highly recommended for kneading the dough. You can absolutely do it by hand, but the mixer makes it a breeze.
- Large Mixing Bowls: One for making the dough, and one for letting it rise.
- A Large, Wide Pot or Dutch Oven: You need a wide pot for the baking soda bath so your pretzels can float freely.
- A Slotted Spoon or a Spider Strainer: This is the best tool for safely lifting the pretzels in and out of the hot water bath.
- Baking Sheets lined with Parchment Paper: Essential for baking and preventing sticking.
- A Bench Scraper: Great for dividing the dough cleanly.
- A Pastry Brush: For applying the egg wash.
Step-by-Step: Your Guide to the Perfect Twist
This is a journey of several steps, but each one is simple. Embrace the process!
Phase 1: Making and Rising the Dough
- Wake Up the Yeast: In the bowl of your stand mixer (or a large mixing bowl), combine the warm water, sugar, and yeast. Give it a gentle stir and let it sit for 5-10 minutes. It should become foamy and bubbly. If it doesn’t, your yeast is dead. RIP. Start over.
- Make the Dough: Once your yeast is alive and kicking, add the salt and the melted butter. Attach the dough hook and, with the mixer on low, gradually add the flour, one cup at a time, until a shaggy dough forms.
- Knead It: Increase the speed to medium and let the mixer knead the dough for 5-7 minutes, until it’s smooth, elastic, and pulls away from the sides of the bowl. (If kneading by hand, do so on a lightly floured surface for 8-10 minutes).
- The First Rise: Form the dough into a ball and place it in a lightly oiled bowl, turning it to coat. Cover the bowl with plastic wrap or a damp cloth and let it rise in a warm place for 1 to 1 ½ hours, or until it has doubled in size.
Phase 2: Shaping and the Magic Bath
- Prep: Preheat your oven to a hot 450°F (232°C). Line two baking sheets with parchment paper.
- Divide and Conquer: Gently punch down the risen dough and turn it out onto a clean work surface. Divide it into 8 equal pieces.
- The Shape-Shifting: Take one piece of dough and roll it into a long, even rope, about 20-24 inches long. Now for the classic twist:
- Make a U-shape with the rope.
- Cross the ends over each other twice.
- Lift the ends and fold them down, pressing them onto the bottom of the “U” at about the 4 o’clock and 8 o’clock positions.
- Don’t stress if it’s not perfect! A wonky homemade pretzel is still a delicious homemade pretzel.
- THE MOST IMPORTANT STEP: The Baking Soda Bath. In your wide pot, bring the 10 cups of water and ⅔ cup of baking soda to a gentle boil. Carefully, using your slotted spoon, lower one pretzel at a time into the simmering bath for just 20-30 seconds.
- Lift and Drain: Lift the pretzel out of the water, let the excess drip off, and place it on your prepared baking sheet. Repeat with the remaining pretzels.
Phase 3: The Final Bake
- The Glossy Finish: Brush the tops of your boiled pretzels with the egg wash.
- The Salt Sprinkle: While the egg wash is still wet, sprinkle generously with coarse pretzel salt.
- Bake: Bake in your preheated oven for 12-15 minutes, until they are a beautiful, deep golden-brown color.
- The Butter Brush (Optional but Recommended): For that authentic, mall-pretzel vibe, brush the hot pretzels with a little melted butter as soon as they come out of the oven. Serve warm!
Calories & Nutritional Info (A Salty Breakdown)
This is for one glorious, homemade soft pretzel, before you drown it in cheese sauce.
- Estimated Calories: Around 250-300 kcal per pretzel.
- A Carb-Lover’s Dream: This is a classic bread product, rich in satisfying carbohydrates.
- Salt-sational: Be mindful of the sodium from that glorious crunchy salt, especially if you’re watching your intake.
Common Pretzel Pitfalls to Avoid
Don’t let these simple mistakes stand between you and chewy perfection.
- Murdering Your Yeast. Yeast is a delicate, living organism. If your water is too hot (hotter than a comfortable bath), you will kill it, and your pretzels will be sad, dense, unleavened rocks. If the water is too cold, the yeast won’t wake up. Use warm, not hot, water.
- Skipping the Baking Soda Bath. I’m going to say this in all caps: THIS IS NOT AN OPTIONAL STEP. IT IS THE ENTIRE POINT. Without the quick dip in the alkaline baking soda solution, you are not making pretzels. You are making weirdly shaped breadsticks. The bath is what gives pretzels their signature deep brown color, their unique chewy crust, and their unmistakable tangy, “pretzely” flavor.
- Leaving the Pretzels in the Bath for a Leisurely Soak. This is a quick dip, not a long, relaxing spa day for your dough. 15-30 seconds is all you need. If you leave them in for too long, they can develop a slightly bitter or metallic aftertaste.
- Using Regular Table Salt. For that classic pretzel look and crunch, you absolutely need coarse pretzel salt. Regular table salt will just dissolve into the dough and make the pretzels intensely salty without providing any of that signature texture.
Variations & Customizations (The Pretzel-verse Is Infinite)
The classic salted pretzel is a thing of beauty, but it’s also a blank canvas.
- Sweet Cinnamon Sugar Pretzels: Skip the salt before baking. As soon as the pretzels come out of the oven, brush them generously with melted butter and then immediately dredge them in a mixture of cinnamon and sugar. Serve with a cream cheese dip.
- Spicy Jalapeño Cheddar Pretzels: After the dough has risen, gently knead in 1 cup of shredded sharp cheddar cheese and ¼ cup of finely chopped pickled jalapeños. Shape and cook as directed.
- Everything Bagel Pretzel Bites: Instead of shaping into the classic twist, simply cut the ropes of dough into 1-inch, bite-sized pieces. Boil and bake as directed, but instead of salt, sprinkle them generously with everything bagel seasoning before baking.
Your Burning Pretzel Questions, Answered

Let’s clear up some of the most common questions about this twisted treat.
Do I really need a stand mixer to make the dough?
No, you don’t! You can absolutely make the dough by hand. It just requires about 8-10 minutes of good old-fashioned kneading on a lightly floured surface. It’s a great arm workout!
Why do you boil pretzels in baking soda water? What does it do?
This is the science part! The hot, alkaline (baking soda) water gelatinizes the outside of the pretzel. This process locks in the shape and, most importantly, speeds up the Maillard reaction in the oven. That’s the chemical reaction that creates the deep brown color, the glossy sheen, and that iconic, tangy pretzel flavor.
Can I make the dough ahead of time?
Yes. You can make the dough and let it do its first rise in the refrigerator overnight (for up to 24 hours). Just let it sit on the counter for about 30 minutes before shaping.
How do I store homemade soft pretzels?
Homemade soft pretzels are at their absolute best the day they are made. If you have leftovers, store them in a loosely sealed paper bag at room temperature for up to 2 days. You can refresh them in a 350°F oven for a few minutes.
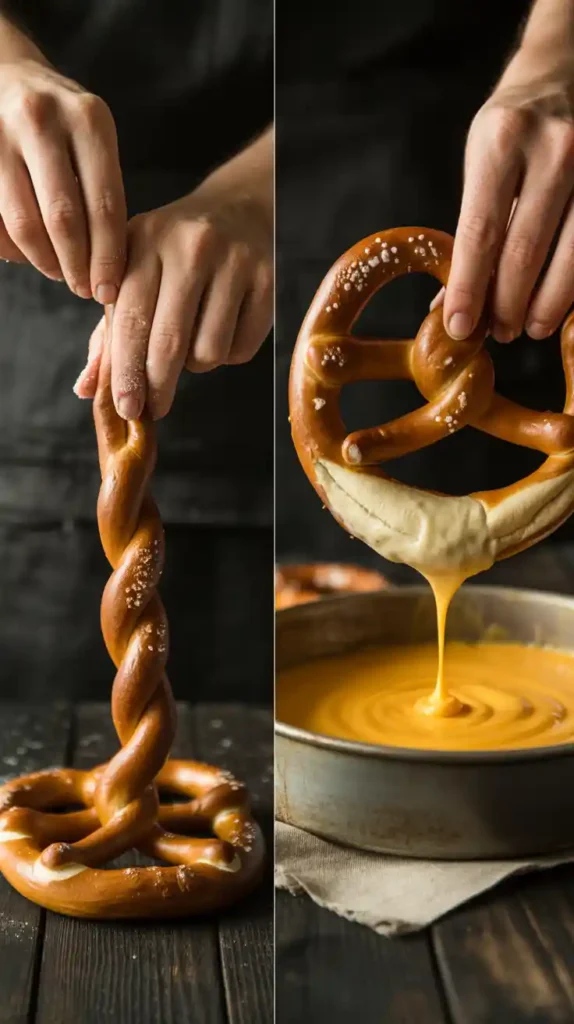
What’s the best dipping sauce for soft pretzels?
The classic choices are a gooey, warm cheese sauce or a spicy brown mustard. But honey mustard, cream cheese dip, or even a good chocolate sauce (for unsalted pretzels) are all fantastic.
My pretzels came out flat, not puffy. What happened?
This usually means your yeast didn’t activate properly (it was old, or the water was the wrong temperature), or you didn’t let the dough rise long enough. Make sure your dough truly doubles in size during that first rise.
Can I use bread flour instead of all-purpose flour?
Yes, and it’s a great choice! Bread flour has a higher protein content, which will result in an even chewier, more satisfying pretzel.
Final Thoughts

You’ve done it. You have tamed the yeast, mastered the ancient art of the twist, and harnessed the power of alkaline solutions for delicious purposes. You are now a pretzel-making champion, a true artisan of salty, chewy delights. The mall food court has no power over you anymore.
So go on. Grab that still-warm, buttery, perfectly salted creation. Dunk it with wild abandon into a vat of warm cheese sauce. You didn’t just make a snack; you made a masterpiece. You’ve earned it.