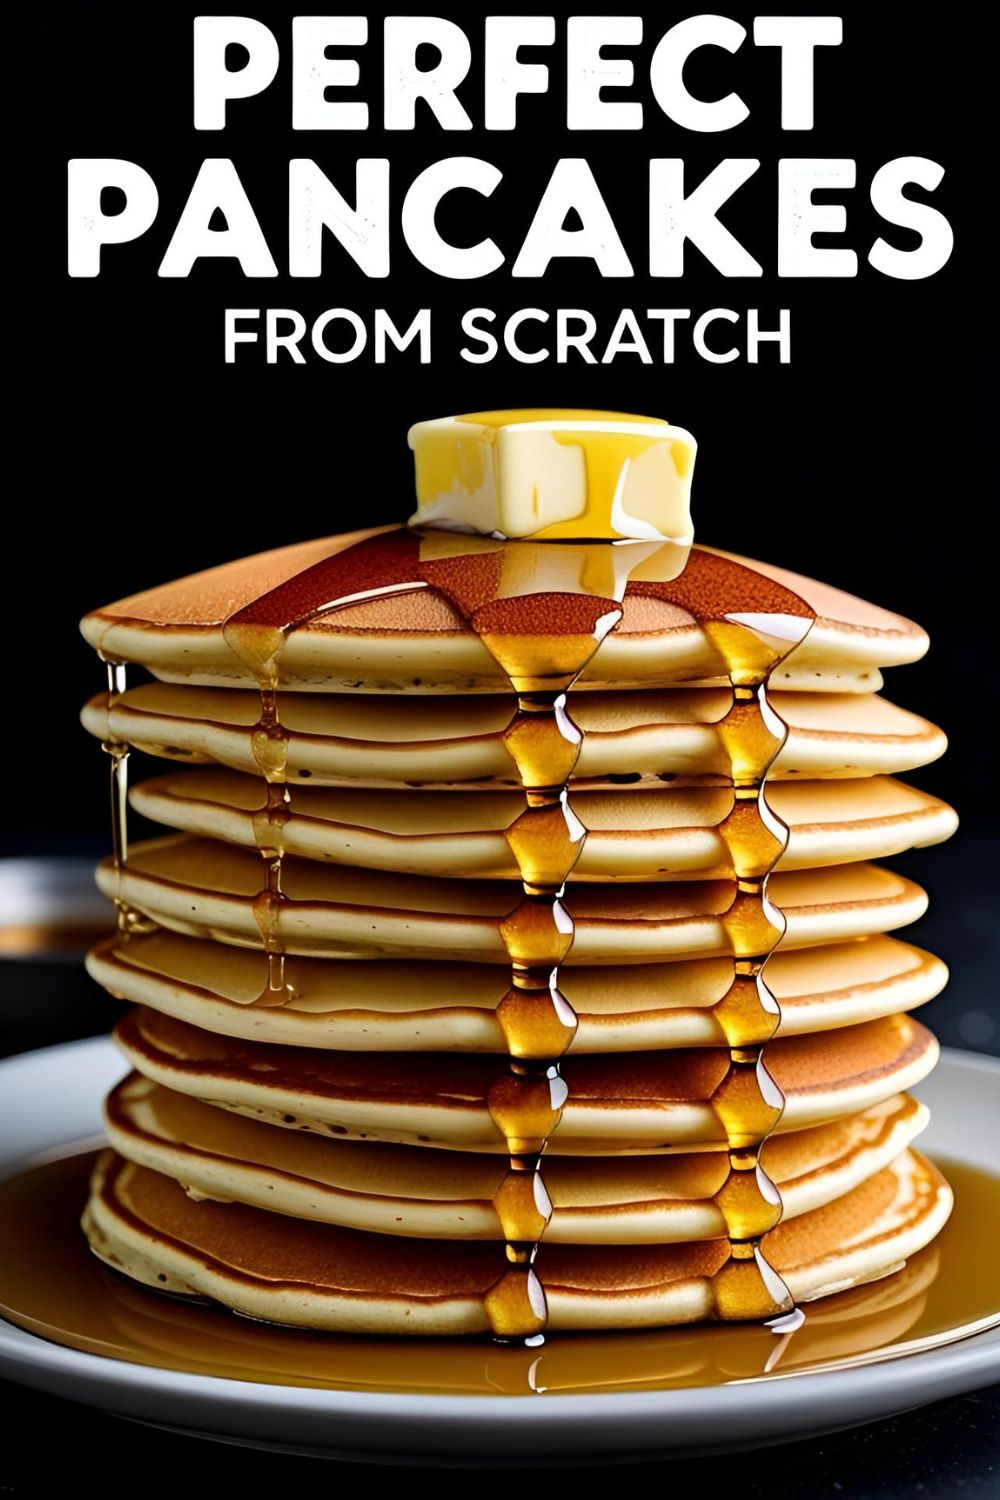
How to Make Perfect Pancakes from Scratch (Easy & Fluffy Recipe)
How to Make Perfect Pancakes (And Finally Ditch the Box Mix for Good)
Let’s be honest. We’ve all been victims of sad pancakes. You know the ones—those flat, chewy discs that are more frisbee than food. You follow a recipe, you get your hopes up, and you end up with a breakfast that disappoints. Well, today that ends. I’m here to show you how to make perfect pancakes from scratch. I’m talking golden, fluffy, diner-style stacks of absolute joy that will make you look like a breakfast legend.
Forget the box mix. Seriously, push it to the back of the pantry and let it gather dust. You’re better than that. With a few simple ingredients and a couple of key tricks, you’re about to unlock the secret to pancake perfection. Ready?
Why This Recipe Is the G.O.A.T.
So, what makes this recipe the one you’ll save, screenshot, and scribble on a napkin?
First, it’s foolproof. I’ve stripped away all the unnecessary steps and focused on the core science of what makes a pancake great. This is the gold standard, the foundational recipe that every home cook needs in their arsenal.
Second, the texture is unreal. We’re not making crepes here. These pancakes have a light, airy, and fluffy crumb that soaks up maple syrup without turning into a soggy mess. The edges get just the slightest bit crisp while the center stays tender. Is your mouth watering yet?
And finally, they are the definition of comfort food. Nothing says “I love you” or “it’s the weekend” quite like a warm stack of homemade pancakes. They’re simple, classic, and always a massive hit.
The A-List Ingredients
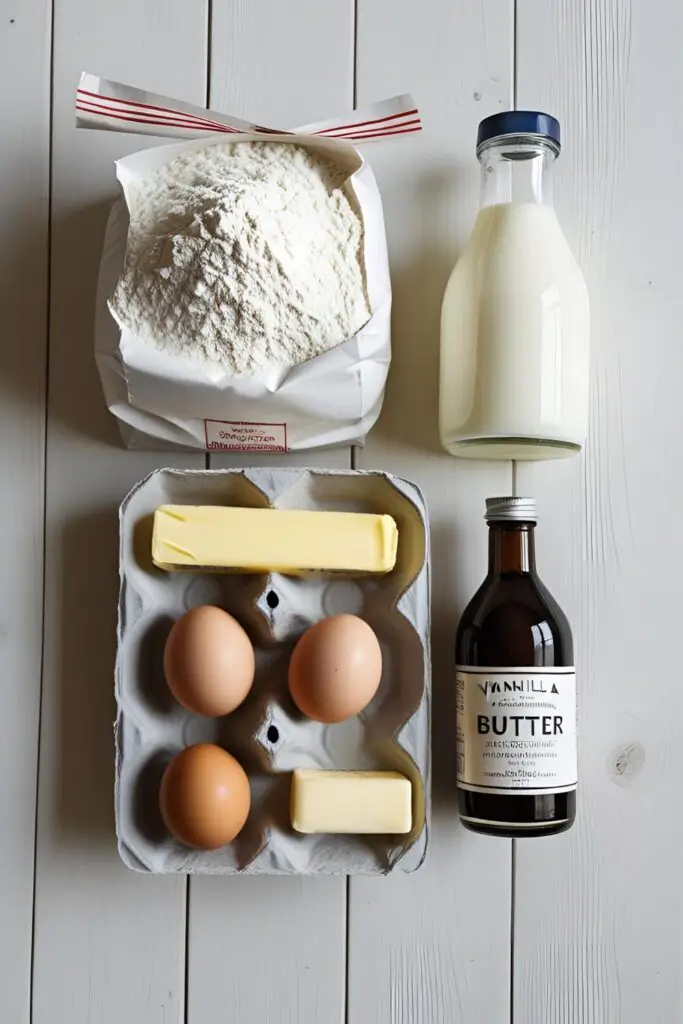
Here’s your shopping list for breakfast glory. You probably have most of this already.
- 1 ½ cups (180g) all-purpose flour
- 2 tablespoons granulated sugar
- 2 teaspoons baking powder – Check the expiration date! Old baking powder = flat pancakes.
- ½ teaspoon salt
- 1 large egg
- 1 ¼ cups (300ml) milk – Whole milk is great for richness, but any milk will do.
- 2 tablespoons unsalted butter, melted – Plus more for the pan.
- 1 teaspoon vanilla extract – Don’t skip this! It adds that warm, bakery-like flavor.
The Essential Tools & Gadgets

You don’t need a professional kitchen, but having the right gear makes a world of difference. Here’s your toolkit for a flawless flip.
- Large Mixing Bowl: For your dry ingredients. Give them room to get acquainted.
- Medium Mixing Bowl or Large Liquid Measuring Cup: To whisk up the wet team.
- Whisk: For a smooth (but not too smooth) batter.
- Measuring Cups and Spoons: Baking is chemistry. Don’t eyeball it.
- Non-Stick Skillet or Electric Griddle: A high-quality non-stick surface is your ticket to a golden-brown finish and zero sticking. An electric griddle is amazing for consistent heat and cooking a big batch at once.
- Thin Spatula: A flexible, thin flipper is crucial for getting under the pancake without squishing it.
- Ladle or ¼ Cup Measure: For pouring uniform pancakes so everyone gets a fair stack.
Step-by-Step to Pancake Paradise
Alright, let’s get down to business. Follow these steps religiously, and you’ll be rewarded.
- Marry the Dry Ingredients: In your large bowl, whisk together the flour, sugar, baking powder, and salt. Mix them well to ensure everything is evenly distributed. This step is the foundation of a perfect pancake.
- Whisk the Wet Ingredients: In the medium bowl, crack in the egg and give it a light whisk. Then, pour in the milk, melted butter, and vanilla extract. Whisk it all together until it’s uniform.
- The Gentle Union: Pour the wet mixture into the dry ingredients. Now, listen closely, this is the most critical part: GENTLY fold the ingredients together until they are just combined. Seriously, stop when you no longer see big streaks of dry flour. A few lumps are your best friend! Overmixing is the #1 enemy of fluffy pancakes.
- Give It a Rest: Let the batter sit for 5-10 minutes. Don’t touch it. This allows the gluten to relax and the baking powder to start creating bubbles, which translates to a super tender and fluffy texture.
- Heat the Pan: Set your skillet or griddle over medium heat. Not medium-high. Not low. Medium. Let it get properly hot. A drop of water should sizzle, not instantly evaporate or just sit there. Add a small pat of butter and swirl it to coat the pan.
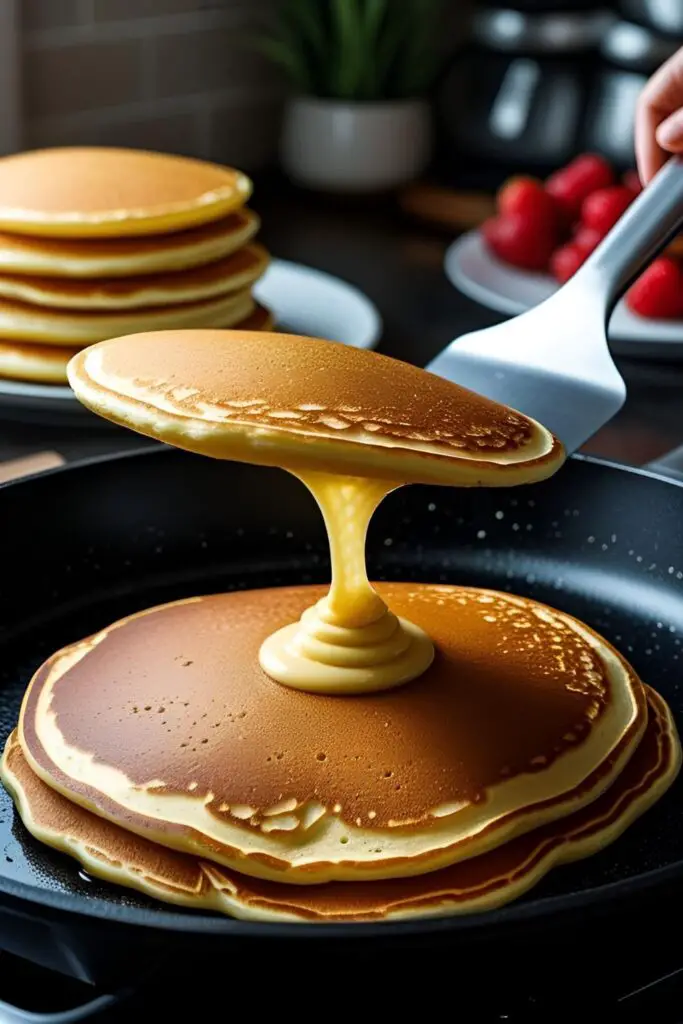
- Pour and Wait: Use your ladle or ¼ cup measure to pour batter onto the hot pan. Now, play the waiting game. Don’t wander off. You’ll see bubbles form around the edges first, then move toward the center.
- The Perfect Flip: Once the edges look dry and bubbles are popping across the surface of the pancake, it’s go-time. This usually takes about 2-3 minutes. Slide your spatula under and give it one confident flip. The cooked side should be an even, glorious golden-brown.
- The Final Stretch: Cook the other side for another 1-2 minutes. Don’t press down on the pancake with your spatula! That just squeezes out all the air you worked so hard to create.
- Serve and Gloat: Transfer the perfect pancake to a plate and serve immediately with butter and syrup. Repeat with the remaining batter, adding a little more butter to the pan between batches.
Calories & Nutritional Info
Curious about the numbers? Here’s a general idea per pancake (this recipe yields about 8-10 pancakes). As always, this is an estimate.
- Calories: Approximately 150-180 kcal
- Protein: ~5g
- Carbohydrates: ~22g
- Fat: ~5g
- Note: These are a fantastic source of energy to start your day. The egg and milk provide a nice little protein boost compared to just-add-water mixes.
Common Pancake Crimes to Avoid
Don’t let these rookie mistakes stand between you and breakfast greatness.
- The Aggressive Over-Mixer: You think a silky smooth batter is a good thing. It’s not. It means you’ve developed too much gluten, and your pancakes will be tough. Lumps are good! Repeat after me: Lumps are good.
- The Pan-Presser: That satisfying sizzle you hear when you press down on the pancake with your spatula? That’s the sound of fluffiness dying. Never, ever press down on your pancakes.
- The Temperature Guesser: A pan that’s too hot gives you burnt-on-the-outside, raw-on-the-inside disasters. Too cold, and you get pale, greasy pancakes. Medium heat is the only way.
- The Rest-Skipper: You’re hungry, I get it. But skipping the 5-10 minute rest period is a mistake. It’s a small step that makes a huge difference in the final texture. Be patient.
Fun Variations & Customizations
Once you’ve mastered the classic, why not get a little creative?
- Classic Buttermilk Pancakes: This is an easy and amazing upgrade. Simply replace the regular milk with 1 ¼ cups of buttermilk. The acid in the buttermilk reacts with the baking powder to create an even more tender and tangy pancake.
- Lemon Ricotta Dream Pancakes: Feeling fancy? Add the zest of one lemon to the dry ingredients and gently fold in ½ cup of whole milk ricotta cheese at the very end. It creates an incredibly moist, rich, and bright-flavored pancake. Perfect for brunch.
- High-Protein Powerhouse Pancakes: For a post-workout breakfast, swap ¼ cup of the flour for a scoop of your favorite vanilla or unflavored protein powder. You can also replace half the milk with Greek yogurt for an extra protein and tang boost.
Frequently Asked Questions (Your Pancake Problems, Solved)
Let’s tackle some of the most common pancake questions from across the internet.
H3: Why are my pancakes tough and chewy instead of fluffy? Nine times out of ten, the culprit is overmixing the batter. The more you mix, the more gluten develops, leading to a tough, rubbery texture. Mix only until the flour is just moistened.
H3: How do I get my pancakes extra fluffy? The secrets are: fresh baking powder, not overmixing, and letting the batter rest. Those three things work together to create the perfect lift and a light, airy texture.

H3: Can I use a milk substitute like almond or oat milk? For sure! Plant-based milks work very well in this recipe. The pancakes might be slightly less rich than when made with whole dairy milk, but they will still be delicious.
H4: How thick should pancake batter be? It should be thick enough to be pourable, but not runny. It should drop from a spoon in a thick ribbon. If it’s too thick, add a splash more milk. If it’s too thin, add a tablespoon more flour.
H5: How do I keep the first pancakes warm while I cook the rest? The pro move is to preheat your oven to a low temperature (around 200°F or 90°C). As you finish each pancake, place it on a baking sheet in a single layer in the warm oven.
H6: Can I use gluten-free flour for this recipe? Yes! A good quality all-purpose gluten-free flour blend that contains xanthan gum should work as a 1:1 substitute. The texture will be slightly different, but still tasty.
H7: Why is the first pancake always the ugly one? Ah, the sacrificial pancake! It’s usually because your pan is still stabilizing its temperature. The first one helps you gauge the heat and grease level. Don’t worry, it’s a universal experience. TBH, it still tastes good. 🙂
Final Thoughts
Congratulations! You are now equipped with the knowledge to make perfect pancakes every single time. You can officially retire the box mix and step into your role as the undisputed breakfast champion of your household.
Go on, get in that kitchen and make a stack you can be proud of. And when you do, snap a picture and tag me—I want to see your golden, fluffy masterpieces!