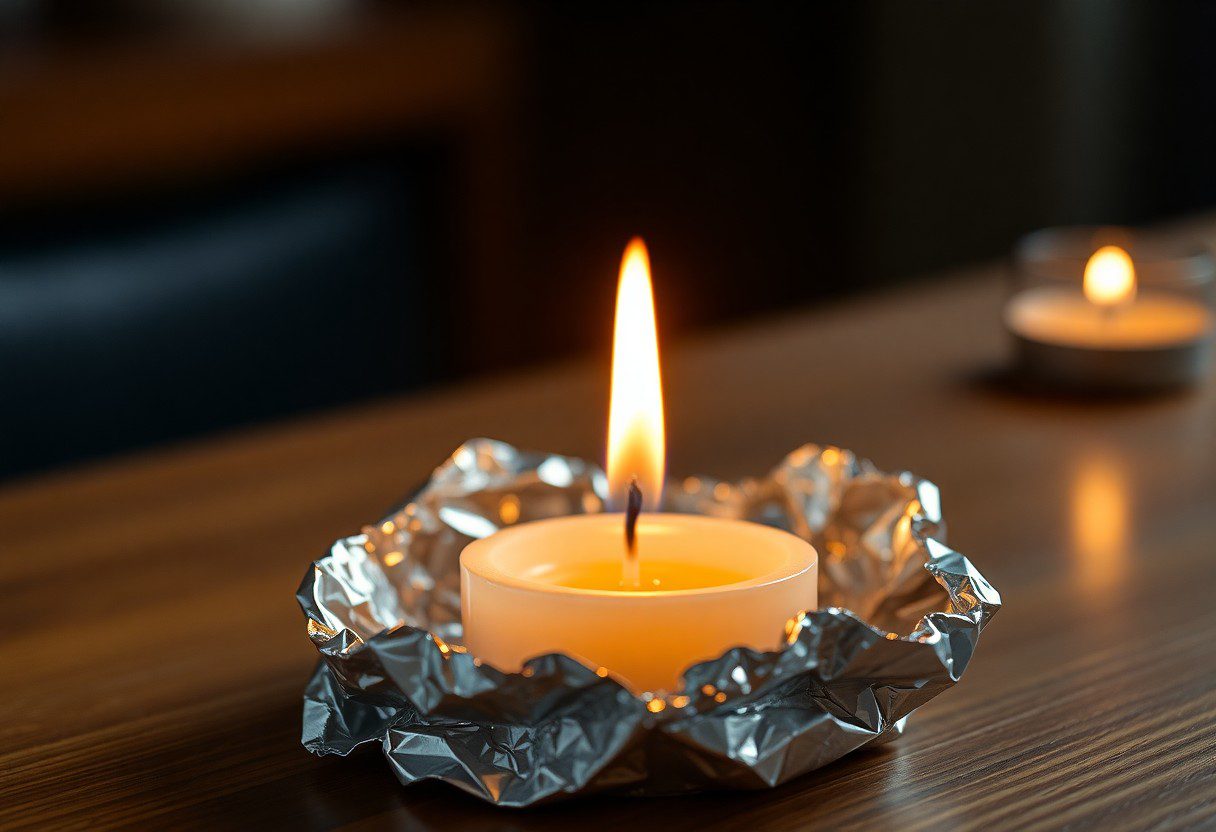
how to make oyster shell candle holder
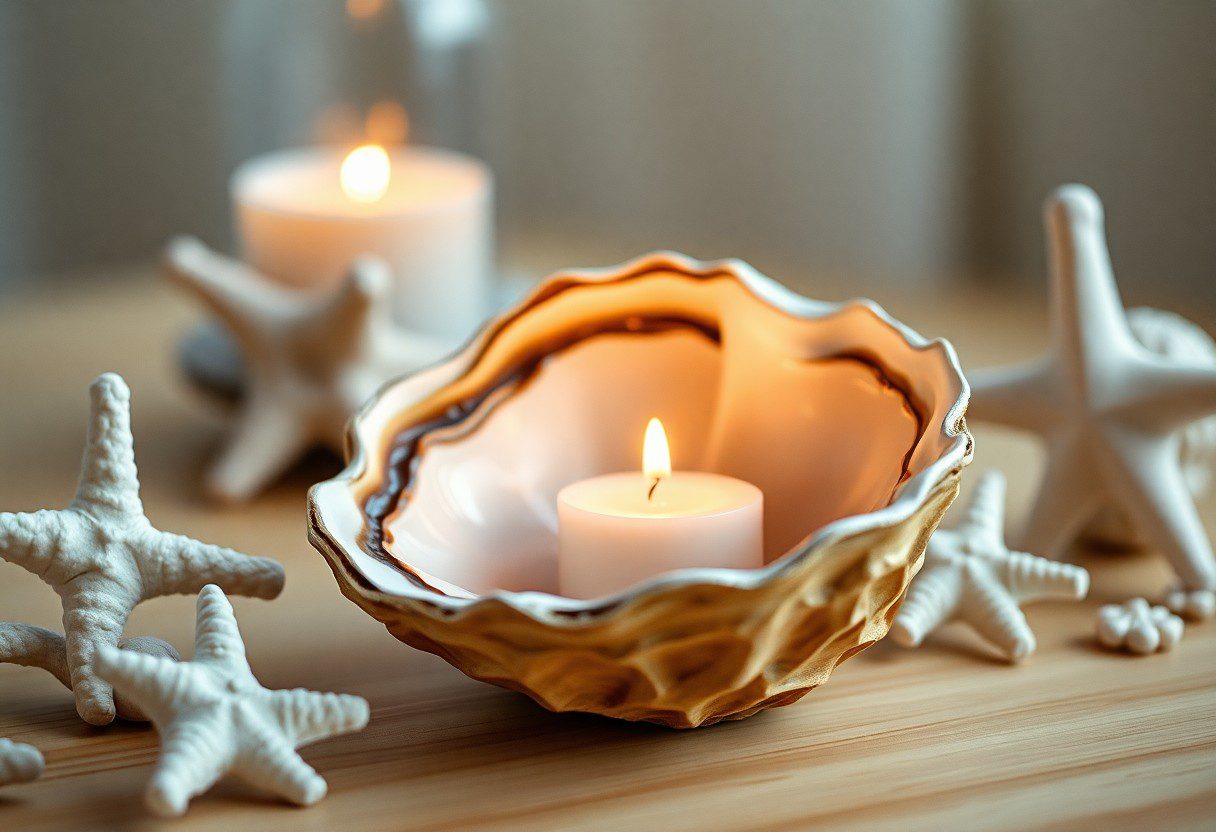
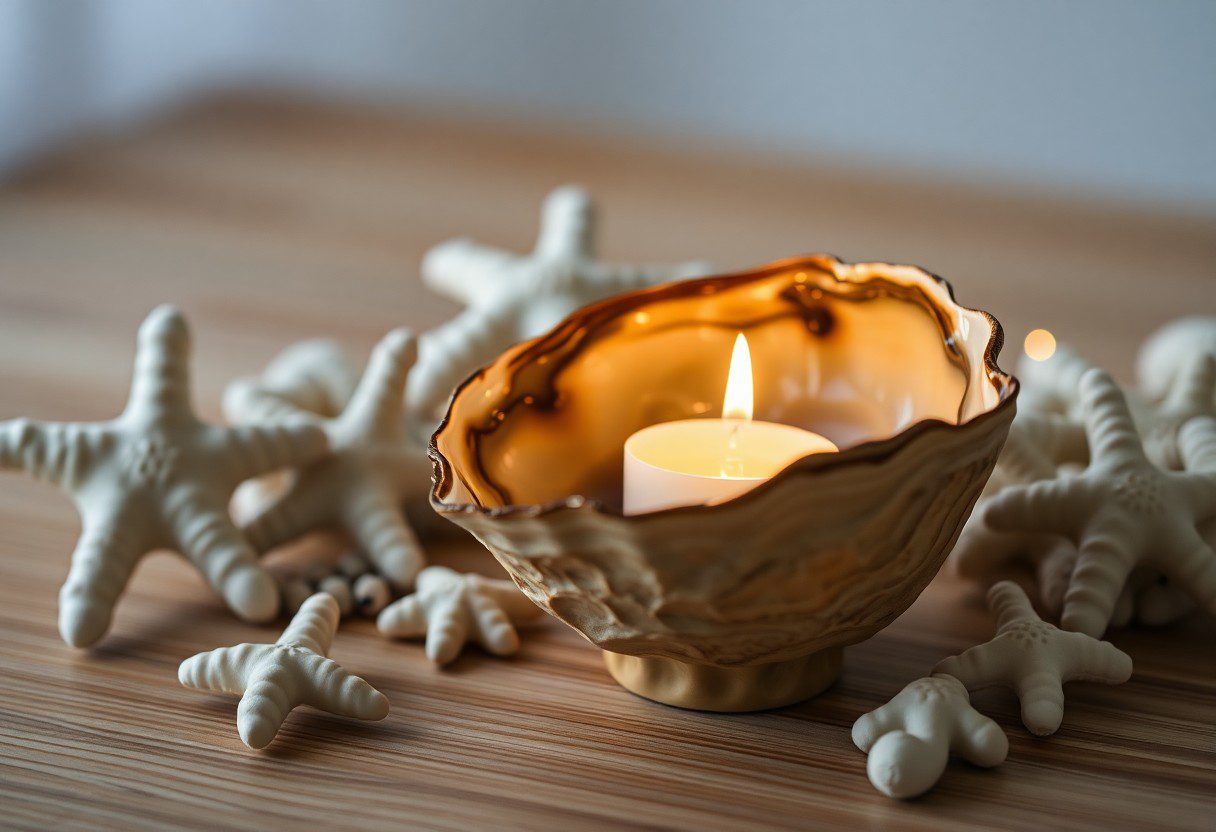
Just think about transforming those ordinary oyster shells you often discard into stunning candle holders that will enhance your home décor. This fun and eco-friendly project allows you to repurpose waste while adding a unique touch to your space. In this guide, you’ll learn step-by-step how to create beautiful candle holders that safely house your favorite tealights or votives. Make sure to handle your materials with care, and prepare to impress your friends and family with your new decorative pieces!
Materials Needed
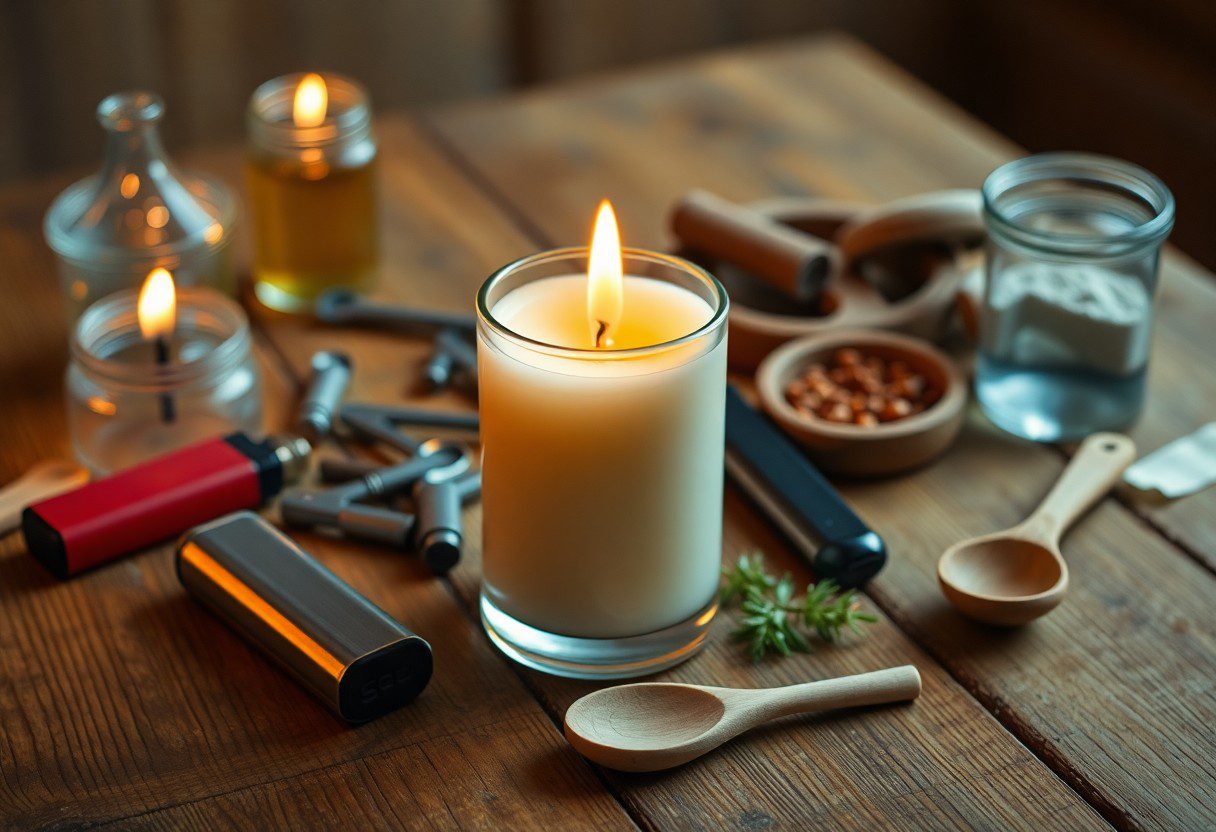
While crafting your stunning oyster shell candle holders, you’ll need a few vital materials to get started. Gather your oyster shells, clean and ready for use, along with candles, wicks, and a heat source for melting the wax. You may also want tools like a hot glue gun, scissors, and a small pot for double boiling the wax. With these items on hand, you’ll be well-equipped to create beautiful and unique candle holders.
Types of Oyster Shells
Shells come in various types, each offering its own aesthetic appeal. Choose from:
| Eastern oyster shells | Commonly found along the Atlantic coast. |
| Pacific oyster shells | Widely cultivated, with a slightly deeper bowl. |
| Olympia oyster shells | Smaller and more delicate, great for elegant designs. |
| Blue point oyster shells | Known for their distinct shape and color. |
| Size variations | Select shells based on your preferred candle size. |
This variety allows you to customize your candle holder according to your style.
Candles and Wicks
Needed to complete your oyster shell candle holder, candles and wicks are vital components. Choose wax that fits inside the shells without overflowing and select wicks appropriate for the candle size you’re using. You can opt for soy wax, beeswax, or even paraffin, keeping in mind that some options burn cleaner than others.
Wicks are equally important for ensuring your candle burns evenly and safely. When deciding on wicks, consider the wick size to fit your candle diameter, and avoid wicks that are too large, as they can lead to too much soot or an unsafe burning experience. For best results, utilize the recommended wick type for your chosen wax, enhancing your candle’s overall performance. Choosing wisely will greatly enhance your overall candle-making experience.
Preparing the Oyster Shells
Now that you have gathered your oyster shells, it’s crucial to prepare them properly for your candle holder project. This preparation will ensure that your candle holders are not only beautiful but also safe and functional. Start by cleaning the shells thoroughly to remove any residue, then follow up with drying and sizing to achieve the perfect fit for your candles.
Cleaning the Shells
Oyster shells often come with salt, sand, and organic material. To clean them effectively, rinse each shell under running water and use a soft brush to scrub away any debris. This step will help prevent any unpleasant odors and ensure your candle holders shine beautifully.
Drying and Sizing
To ensure your oyster shells are ready for the next phase of crafting, it’s important to dry them completely. You can either air dry the shells or place them in a low-temperature oven for quick drying. Once dried, take time to size them; choose shells that match the height and width of the candles you plan to use. This will ensure stability and a beautiful aesthetic in your finished product.
Plus, drying the shells thoroughly is important to avoid any moisture when you add wax later. If residual water is left inside, it can lead to steam creating unwanted cracks when you pour hot wax. When sizing, don’t just consider the candle base; think about how the shell will support it. A good fit will provide stability and enhance the overall look of your artisan candle holder. Keep in mind that a well-prepared shell will not only highlight your creativity but also ensure a safe burning experience.
Candle Making Process
If you’re eager to create a stunning oyster shell candle holder, mastering the candle making process is crucial. Start by gathering all the necessary materials and follow a reliable guide such as this DIY Seashell Candleholder tutorial to ensure success.
Melting the Wax
Even though it may seem straightforward, melting the wax requires your undivided attention. You will need to use a double boiler to achieve the right consistency and temperature, ensuring the wax is completely liquid before moving to the next step.
Pouring the Wax
Clearly, pouring the wax into the oyster shells is a delicate operation that requires patience. You want to do this slowly and steadily, allowing the wax to fill each shell without overflowing.
This step is where your attention to detail becomes paramount. As you pour the hot wax, take care to avoid any splashes that could cause burns. Make sure your shells are properly prepped and stable to avoid any mishaps. The poured wax should fill to the desired height, but it’s advisable to leave a bit of space at the top to allow for expansion. Once the wax hardens, you’ll have a charming and unique candle holder to display.
Tips for Decorating Your Candle Holder
Keep your oyster shell candle holder looking beautiful by personalizing it. Consider these decorative tips:
- Integrate natural elements like driftwood or sand.
- Use bright paints to create a unique style.
- Add embellishments such as beads or shells for extra charm.
You can find more details on How to Make an Oyster Shell Candle Holder. Perceiving your candle holder as a canvas will unleash your creativity.
Painting and Finishing Touches
There’s a world of color waiting for your oyster shell candle holder! Use non-toxic acrylic paint to enhance your shells, giving them a vibrant new look. A glossy, protective sealant can also add shine while ensuring durability for your decorative piece.
Adding Natural Elements
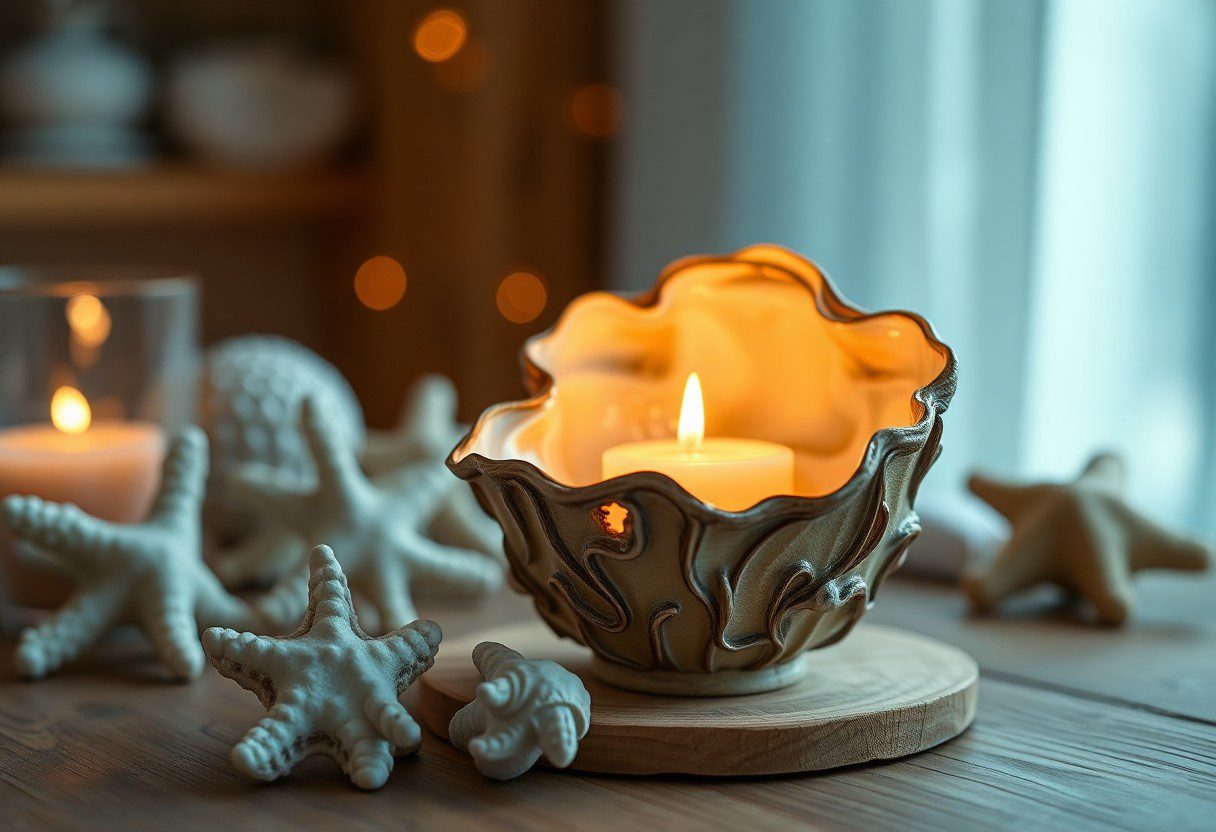
To make your candle holder more organic, consider including elements found in nature. You can enhance your design by incorporating items like small pebbles, dried flowers, or even small ferns. These additions not only elevate the visual appeal but also create a sense of tranquility.
For instance, using driftwood as a base can provide a rustic charm, while incorporating sandy textures around the holder can evoke a coastal atmosphere. Additionally, including tealight candles nestled between natural items minimizes the risk of accidents and ensures that your candle holder remains a safe, inviting centerpiece in your home.
Factors to Consider
Once again, creating an oyster shell candle holder requires careful thought and preparation. Consider the following aspects:
- Size: Ensure the oyster shells are large enough to hold your candles.
- Material: Use natural, unpolished shells for a rustic look.
- Placement: Choose safe locations for your candle holders.
- Weight: Heavier shells provide stability.
Knowing these factors will help you craft beautiful and functional candle holders that enhance your decor.
Safety Precautions
Little attention to detail can protect you and your home. Always ensure your oyster shell candle holders are placed on a non-flammable surface, away from flammable materials. Keep an eye on burning candles, and avoid using them in drafts to prevent flames from flickering uncontrollably. It’s also vital to use battery-operated or LED candles if safety is a top priority.
Durability and Use
Clearly, oyster shell candle holders can be both beautiful and practical, but their longevity depends on how you care for them. While they are relatively durable, exposure to moisture or extreme temperatures can cause the shells to weaken over time. Make sure you’re using them indoors or in sheltered areas to maintain their structural integrity. Additionally, avoid placing heavy items on top of them, as this can lead to cracks or breaks.
This decorative choice adds charm to your space, but it comes with its own set of challenges. Regularly check your oyster shell candle holders for any signs of wear, especially if you use traditional candles. A cracked or chipped holder can be a fire hazard, so promptly replace any compromised shells. Additionally, keep them dry to prevent eroding, which can affect their appearance and durability. With proper care, your oyster shell candle holders can serve as stunning centerpieces for years to come.
Troubleshooting Common Issues
Your oyster shell candle holder project might encounter some challenges, but don’t worry! By understanding common issues and how to resolve them, you can ensure your candle holders turn out beautifully and functionally. Pay close attention to details, and you’ll be able to create stunning pieces with ease.
Wax Overflow
Issues can arise when the wax spills over the edges of the shell during pouring. To prevent this, keep the pour spout close to the shell’s interior while pouring, and use a smaller amount of wax initially, allowing it to set before adding more.
Shell Integrity
Even the most beautiful oyster shells can be vulnerable. If you’re not careful, your shells may crack or break under the heat of the candle flame. To prevent this, always ensure your shell is thoroughly cleaned and dried before use. Extreme temperature fluctuations can compromise the shell’s strength, so use candles that produce a milder flame and keep an eye on your candles while they burn.
Shell integrity is vital for a successful candle holder. A sturdy shell will safely contain the wax and ensure a longer lifespan for your project. To enhance shell strength, consider pre-heating the shells slightly before use; this will help them withstand heat better. If a shell appears fragile or has any visible cracks, it’s wise to avoid using it, as it could pose a safety hazard while the candle burns. Always prioritize safety in your creative endeavors!
Final Words
Presently, crafting your oyster shell candle holder can be both a fun and rewarding project. You can personalize your design by choosing the right colors and fragrances to match your decor. By following the steps—cleaning, preparing, pouring, and decorating—you can transform simple shells into stunning centerpieces. This creative endeavor not only enhances your living space but also allows you to showcase your craftsmanship and creativity. Enjoy the process, and let your imagination guide you as you create your own beautiful candle holders!
FAQ
Q: What materials do I need to make an oyster shell candle holder?
A: To create an oyster shell candle holder, you will need the following materials: cleaned and dried oyster shells, a suitable wax (such as paraffin or beeswax), a wick (that fits your shell size), a small container for melting the wax, a double boiler or a microwave-safe bowl, and optional decorative items like paint or glitter to embellish your candle holder.
Q: How do I clean the oyster shells before using them?
A: To clean oyster shells, first rinse them under warm water to remove any residual seafood. Next, soak the shells in a mixture of water and vinegar (1:1 ratio) for about 30 minutes to help loosen any stubborn debris and eliminate odors. After soaking, use a brush to scrub the inside and outside of the shells thoroughly, then rinse again and allow them to air dry completely.
Q: What is the best way to melt the wax for the candle holder?
A: The best method to melt wax is to use a double boiler, as this provides gentle and even heat. Fill the bottom pot with water and bring it to a simmer, then place your wax in the upper pot. If you don’t have a double boiler, you can use a microwave-safe bowl in short intervals (around 30 seconds), stirring in between, until the wax is completely melted. Ensure that you are not overheating the wax, as this can cause it to smoke or become discolored.
Q: How do I secure the wick in the oyster shell?
A: To secure the wick in the oyster shell, you can use melted wax to hold it in place. First, dip the end of the wick in the melted wax, then quickly place it at the center of the shell base. Hold it in place for a few moments until the wax sets. Alternatively, you can use a small amount of adhesive putty or hot glue to anchor the wick to the bottom of the shell.
Q: Can I customize the oyster shell candle holders for special occasions?
A: Yes, you can customize oyster shell candle holders by painting them with acrylic paint or adding embellishments like glitter, seashells, or beads to match your decor or the theme of your event. You can also pour colored wax or use scented wax to enhance the overall appearance and fragrance of the candle holders, making them perfect for parties, weddings, or home decor.

