How to make your own candle accessories like holders, snuffers, and more.
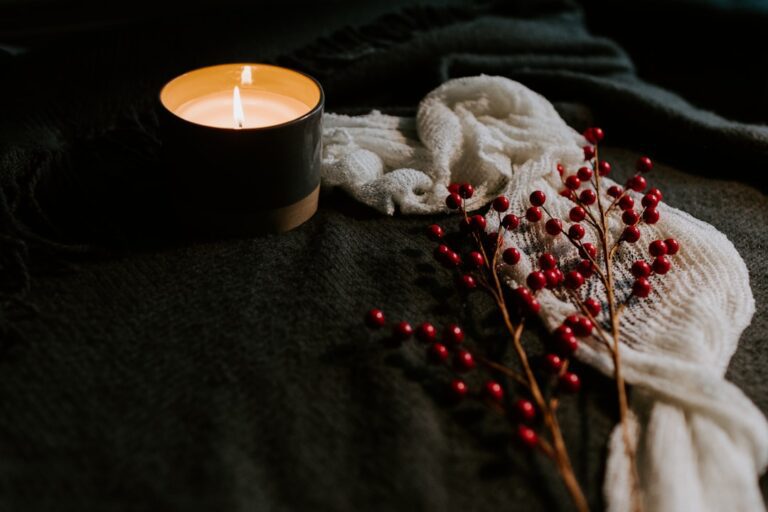
Candle accessories play a pivotal role in enhancing the overall experience of using candles, transforming a simple flame into a centerpiece of ambiance and style. These accessories not only serve functional purposes but also add an aesthetic touch to any space. From candle holders that elevate the candle’s presence to wick trimmers that ensure a clean burn, the right accessories can significantly enhance both the safety and enjoyment of candle usage.
As the popularity of candles continues to rise, so does the interest in creating personalized and unique accessories that reflect individual tastes and home decor. The world of candle accessories is vast and varied, encompassing a range of items designed to complement candles in both form and function. Whether you are a seasoned candle enthusiast or a novice looking to explore this delightful hobby, understanding the different types of accessories available can inspire creativity and innovation.
This article will delve into the materials and tools needed for crafting your own candle accessories, provide step-by-step guides for making specific items, and offer tips for decorating and ensuring safety while using these delightful additions to your home.

Materials and Tools Needed for Making Candle Accessories
Creating your own candle accessories can be a rewarding endeavor, allowing for customization that store-bought items may not offer. To embark on this creative journey, it is essential to gather the right materials and tools. The most common materials used in crafting candle accessories include wood, glass, metal, and ceramic.
Each material brings its own unique aesthetic and functional qualities. For instance, wooden candle holders can provide a rustic charm, while glass options can create an elegant, modern look. In addition to materials, having the right tools is crucial for successful crafting.
Basic tools such as scissors, a hot glue gun, and a craft knife are often necessary for assembling various accessories. If you are working with wood or metal, you may also need saws or drills to shape your materials appropriately. For those interested in more intricate designs, tools like a rotary tool or engraving pen can add detailed embellishments.
Furthermore, safety equipment such as goggles and gloves should be on hand to protect against any potential hazards during the crafting process.

DIY Candle Holder Ideas


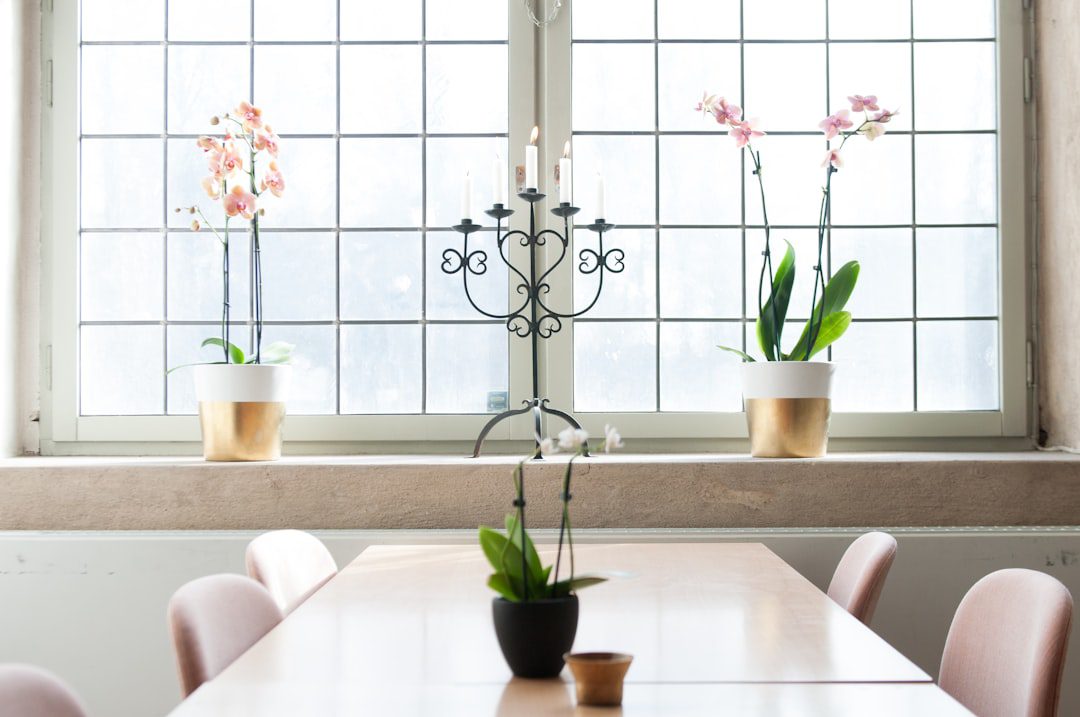
Candle holders are perhaps the most popular type of candle accessory, serving both decorative and practical purposes. One simple yet effective DIY idea is to create a rustic wooden candle holder. By cutting a piece of reclaimed wood into desired lengths and drilling holes to fit tea lights or pillar candles, you can achieve a charming centerpiece that adds warmth to any room.
Sanding the wood for a smooth finish and applying a natural stain or paint can further enhance its appearance. Another creative approach is to use glass jars to make unique candle holders. By repurposing old mason jars or any glass container, you can create an eye-catching display.
To achieve this look, simply fill the bottom of the jar with decorative stones or sand, place a candle on top, and embellish the jar with twine or lace for added flair. This method not only recycles materials but also allows for endless customization based on your decor style.
Steps to Make a Candle Snuffer
A candle snuffer is an essential accessory that helps extinguish candles safely without producing smoke or splattering wax. Making your own snuffer can be both fun and functional. To begin, gather materials such as a small metal cup (which can be made from aluminum or copper), a handle (which could be crafted from wood or metal), and a base for stability.
Start by cutting the handle to your desired length; it should be long enough to keep your hand safely away from the flame. Next, attach the metal cup to one end of the handle using strong adhesive or by soldering if you have the skills. Ensure that the cup is deep enough to effectively cover the candle flame when in use.
Once assembled, you can paint or decorate the handle to match your home decor. This simple yet effective tool not only enhances safety but also adds a personal touch to your candle care routine.
Creative Ways to Decorate Candle Accessories
Decorating candle accessories allows for personal expression and creativity. One popular method is to use paint or stain to customize wooden holders. You can opt for bold colors that make a statement or soft pastels for a more subtle look.
Stenciling designs or patterns onto the wood can add an artistic flair, while distressing techniques can create a vintage feel. For glass accessories, consider using etching cream to create frosted designs on the surface. This technique allows for intricate patterns that catch the light beautifully when candles are lit inside.
Additionally, wrapping twine or ribbon around candle holders can add texture and warmth; embellishments like dried flowers or beads can further enhance their visual appeal. The possibilities are endless when it comes to decorating candle accessories, making it an enjoyable aspect of the crafting process.
Safety Tips for Using Candle Accessories
Ensuring Candle Safety with Accessories
When using candles, it’s essential to prioritize safety to avoid accidents and ensure a pleasant experience. One fundamental tip is to ensure that all candle holders are stable and made from heat-resistant materials. This prevents accidents caused by tipping over or melting during use.
Preventing Accidents with Proper Placement
In addition to using safe candle holders, it’s crucial to keep flammable materials away from lit candles. This includes decorative items placed too close to the flame, which can easily catch fire and cause damage. By keeping a safe distance between candles and flammable materials, you can minimize the risk of accidents.
Handling Accessories with Care
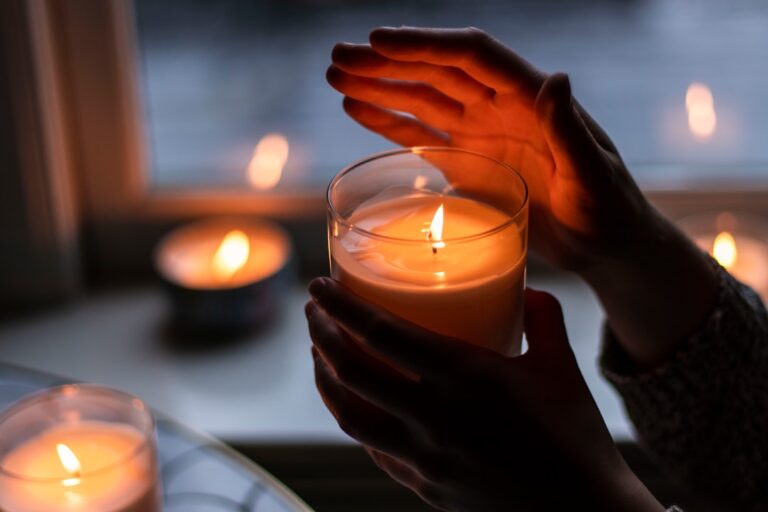
When using accessories like snuffers or wick trimmers, always handle them with care. Ensure that snuffers are used properly by covering the flame completely before lifting them away. This minimizes smoke production and prevents wax splatter. Regular handling and maintenance of these accessories can go a long way in ensuring a safe and enjoyable candle-burning experience.
Maintaining a Safe and Clean Burn
Regularly trimming wicks before lighting candles is another important safety measure. This helps maintain an even burn and reduces soot buildup on both the candle and surrounding surfaces. By taking this simple step, you can enjoy a cleaner and safer candle-burning experience.
How to Make a Candle Wick Trimmer

A well-trimmed wick is essential for achieving an optimal burn and prolonging the life of your candles. Making your own wick trimmer is a straightforward process that requires minimal materials. Start with a pair of scissors or wire cutters; if you prefer something more specialized, you can use metal shears for precision cutting.
To create a simple wick trimmer, cut two pieces of sturdy wire—one longer than the other—to form handles that will allow you to grip them comfortably while trimming wicks. Bend one end of each wire into a small loop; these loops will serve as the cutting edges that pinch off excess wick when pressed together. Once assembled, you can paint or decorate the handles to match your other candle accessories, ensuring that functionality meets style in your crafting endeavors.
Conclusion and Final Tips for Making Candle Accessories
Creating your own candle accessories not only enhances your enjoyment of candles but also allows for personal expression through design and decoration. As you embark on this creative journey, remember that experimentation is key; don’t hesitate to try new materials or techniques that inspire you. Whether you’re crafting elegant candle holders or practical tools like snuffers and wick trimmers, each piece you create adds character to your home.
In addition to crafting beautiful accessories, always prioritize safety when using candles in conjunction with these items. Regular maintenance of your candles and their accessories will ensure longevity and optimal performance. By following these guidelines and embracing your creativity, you can cultivate an inviting atmosphere in your home while enjoying the art of candle making and accessory creation.
If you’re interested in making your own candles, you may also enjoy learning how to make DIY crayon candles as a fun project for kids. Check out this article on Crafters Buzz for step-by-step instructions. And once you’ve made your candles, be sure to read up on how to properly care for them to ensure they burn safely and evenly. You can find helpful tips in this article on Crafters Buzz. Additionally, if you’re interested in the symbolism of candles in literature and art, be sure to explore this article on