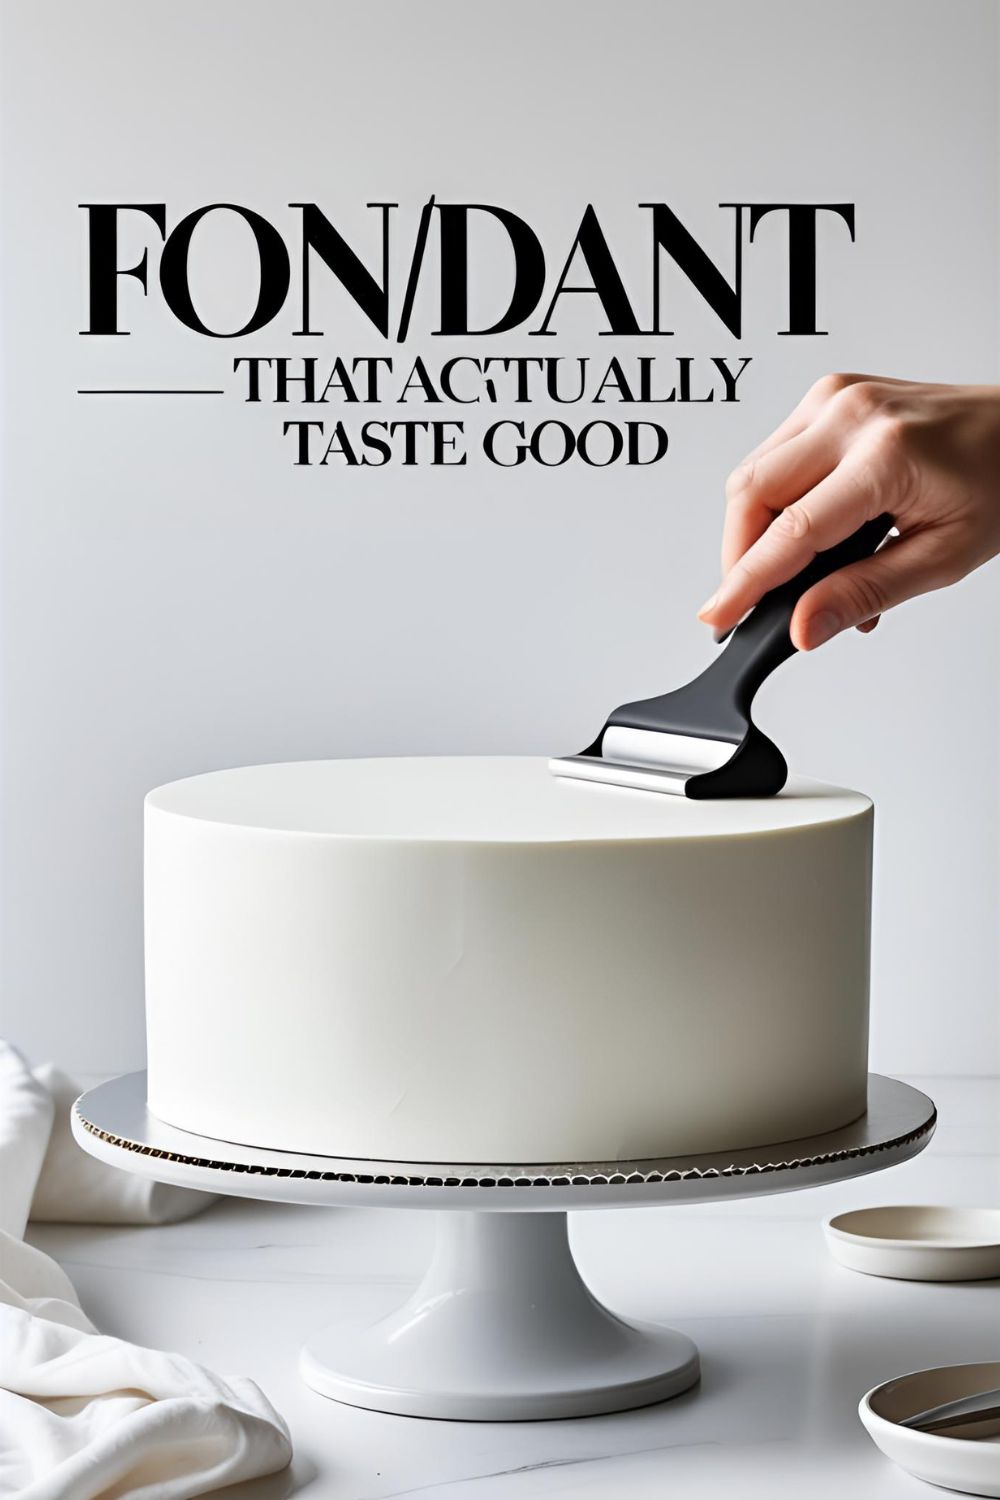
How to Make Fondant for Beginners: An Easy, Great-Tasting Recipe
How to Make Fondant That Doesn’t Taste Like Sadness
Let’s be real for a second. Fondant has a terrible reputation. You’ve heard the horror stories—or worse, you’ve tasted them. That thick, chewy, flavorless blanket that gets peeled off a slice of beautiful cake and left on the plate like a rejected garnish. Well, I’m here to tell you that it doesn’t have to be that way. We’re about to make a fondant that’s not only easy and beginner-friendly but actually tastes delicious. This is your ultimate guide on how to make fondant for beginners, using a secret weapon you probably already have in your pantry. Prepare to create those flawlessly smooth, professional-looking cakes you’ve only dreamed of, without sacrificing the flavor.
Why This Fondant Recipe Is a Total Game-Changer
So why on earth would you make your own fondant when you can buy a tub of the pre-made stuff? Three words: marshmallow-freaking-fondant. That’s right. This isn’t the traditional, bland, sugar paste. This is made from melted marshmallows, so it tastes like a soft, sweet, vanilla-flavored cloud. It’s a fondant people will actually enjoy eating.
On top of the superior taste, it’s incredibly easy to make. There are no candy thermometers, no weird ingredients like glucose or glycerin, and no complicated steps. It’s also significantly cheaper than buying tubs of the pre-made stuff. You get to control the flavor, the color, and the texture, all while creating a cake that looks like it came straight from a high-end bakery. IMO, this is the only fondant recipe a home baker ever needs.
The Ridiculously Simple Ingredients List
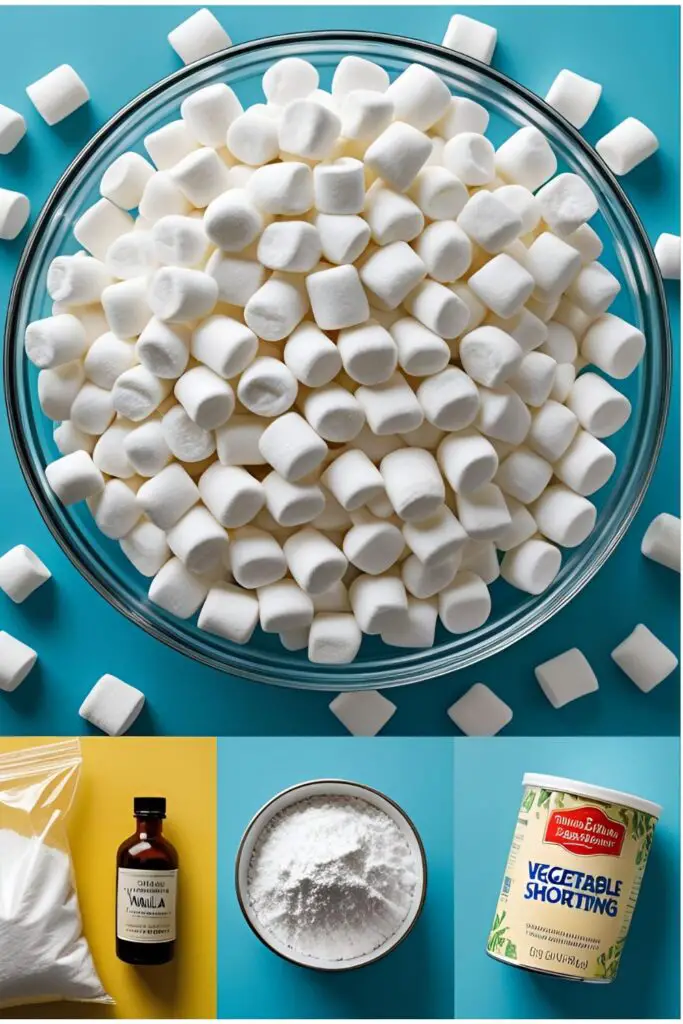
You’re going to be shocked at how few ingredients it takes to create this magical, edible play-doh.
- Mini Marshmallows (16 oz / 450g bag): The heart and soul of our recipe. Fresh marshmallows work best as they melt more smoothly.
- Powdered Sugar (approx. 2 lbs / 8 cups): Also known as confectioners’ sugar or icing sugar. You’ll need a lot of it, and it must be sifted to avoid lumps.
- Water (2-3 tablespoons): Just a little bit to help the marshmallows melt.
- Vanilla Extract (1 teaspoon): For that classic, sweet flavor.
- Vegetable Shortening: This isn’t really an ingredient in the fondant, but it’s ESSENTIAL for greasing your hands, bowl, and work surface to prevent a sticky catastrophe.
Your Fondant-Making Arsenal (Tools & Gadgets)
Having the right tools will be the difference between a fun decorating project and a sticky, sugar-fueled rage quit.
- A Large Microwave-Safe Bowl: Bigger is better, as the marshmallows will puff up to epic proportions when melting.
- A Stand Mixer with a Dough Hook: This is your secret weapon. It will do 90% of the kneading for you and save your arm muscles. You can do it by hand, but I wouldn’t wish that on my worst enemy.
- Silicone Spatula: For scraping every last bit of melted marshmallow goodness out of the bowl.
- A Large, Smooth Work Surface: A clean countertop or a large silicone baking mat is perfect for the final kneading.
- Plastic Wrap: Crucial for storing the fondant and preventing it from drying out.
- Gel Food Coloring: If you want to color your fondant, gel paste food coloring is the only way to go. Liquid food coloring will make your fondant a sticky, weeping mess.
Step-by-Step to Smooth, Delicious Fondant
Deep breaths. It’s going to get a little sticky, but it’s going to be so worth it.
Step 1: The Great Marshmallow Meltdown
Place your entire bag of mini marshmallows in your large, microwave-safe bowl. Add the water and vanilla extract. Microwave on high for 30-second intervals, stirring with a greased spatula after each one, until the marshmallows are completely melted and smooth. Watch them carefully! They will puff up like a giant marshmallow monster and can easily overflow if your bowl isn’t big enough.
Step 2: Prepare for Stickiness
While the marshmallows are melting, prepare your stand mixer. Thoroughly grease the inside of the mixer bowl and the dough hook with a generous amount of vegetable shortening. Trust me, you can’t overdo it here. This is your armor against the sticky battle to come.
Step 3: The Sugar Dump

Pour the hot, melted marshmallow mixture into your greased mixer bowl. Add about 6 cups of your sifted powdered sugar to the bowl on top of the marshmallow goo.
Step 4: Let the Machine Do the Work
Attach the bowl and the dough hook to your mixer. Turn it on to the lowest speed and let it go. The mixer will slowly incorporate the sugar into the marshmallow, forming a sticky, shaggy dough. Let it knead for 3-5 minutes.
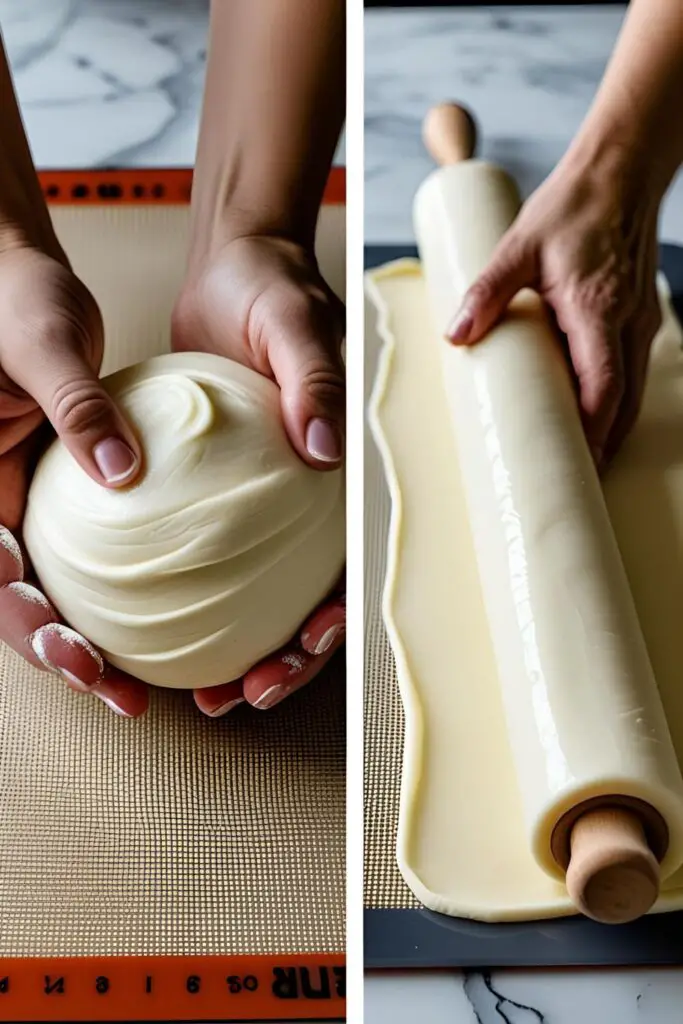
Step 5: The Final Knead
Generously grease your hands and your work surface with more shortening. Scrape the fondant dough out of the mixer bowl and onto your prepared surface. It will still be a bit sticky. Start kneading it like bread dough, adding more powdered sugar a little at a time from your remaining 2 cups, until the fondant is smooth, no longer sticky, and elastic.
Step 6: Color (Optional) and Rest
If you want to color your fondant, now is the time. Put on some food-safe gloves (to avoid staining your hands), dip a toothpick into your gel food coloring, and smear it onto the fondant. Knead until the color is uniform. Now, coat the entire ball of fondant with a thin layer of shortening, wrap it very tightly in two layers of plastic wrap, and let it rest at room temperature for at least 4-6 hours, or preferably overnight. This resting period is crucial for the texture to settle.
Calories & Nutritional Info (It’s Sugar, Folks)
Let’s not kid ourselves. We just made a giant ball of marshmallows and powdered sugar.
- Serving Size: A 2 oz (about 56g) serving.
- Calories: Approximately 200-220 kcal.
- Sugar: A whopping 50g. Yes, that’s almost pure sugar.
- Nutritional Value: None. Zero. Zilch. But the value it adds to your cake’s appearance and your personal sense of accomplishment is off the charts.
Common Mistakes to Avoid (Fondant Fails & Fixes)
Save yourself from a sticky disaster by avoiding these common pitfalls.
- Not Using Enough Shortening: This is the #1 mistake. Your hands, bowl, hook, and work surface should be well-greased. If it’s sticking, add more shortening, not more sugar (at first).
- Using Liquid Food Coloring: This will ruin the texture of your fondant, making it wet and impossibly sticky. Always use concentrated gel paste food coloring.
- Letting It Dry Out: Air is the mortal enemy of fondant. It will form a crust in minutes. When you’re not actively working with it, it needs to be covered or wrapped tightly in plastic wrap.
- Not Sifting Your Powdered Sugar: If you don’t sift, you’ll end up with little hard lumps of sugar in your fondant, which will ruin that perfectly smooth finish you’re trying to achieve.
Variations & Customizations (Pimp Your Fondant)
Once you’ve mastered the basic recipe, you can start playing around.
- Rich Chocolate Fondant: For a delicious chocolate version, sift in ½ cup of good quality, unsweetened cocoa powder along with your powdered sugar. It creates a rich, dark fondant that tastes like a Tootsie Roll.
- Flavor Twists: The vanilla is just a starting point! Swap it out for other oil-free extracts like almond, peppermint, lemon, or even orange for a fun flavor twist.
- Super-Strength Sculpting Fondant: For figures and decorations that need to hold their shape, you can knead in about 1-2 teaspoons of Tylose Powder (CMC) per pound of fondant. This will make it dry harder and act more like gumpaste.
FAQ: Your Fondant Fears, Answered
Let’s tackle some of the most common questions about this edible art supply.
1. Why is my fondant tearing when I try to roll it out?

It’s likely too dry or you’re rolling it too thin. Try kneading in a small amount of vegetable shortening to make it more pliable. Don’t roll it any thinner than ⅛ of an inch.
2. How do I store my homemade fondant?
Wrap the well-greased ball tightly in a double layer of plastic wrap, then place it in an airtight zip-top bag. Store it at room temperature for up to a month.
3. Can I refrigerate or freeze fondant?
No! The condensation that forms when it comes back to room temperature will turn your beautiful fondant into a sticky, gooey, weeping mess. Just store it at room temperature.
4. How do I get the fondant to stick to my cake?
You need a “glue.” A thin, smooth layer of buttercream, ganache, or even apricot jam works perfectly.
5. Help! My fondant is too dry/sticky! How do I fix it?
If it’s too dry and crumbly, knead in a little vegetable shortening, a teaspoon at a time. If it’s too sticky, knead in more sifted powdered sugar, a tablespoon at a time.
6. Does this marshmallow fondant dry hard?
It will form a soft crust on the outside, but it will remain soft and chewy underneath, which is what makes it so pleasant to eat. For decorations that need to dry rock-hard, you’ll want to add Tylose Powder or use gumpaste.
7. How much fondant does this recipe make?
This recipe makes approximately 2.5 pounds of fondant, which is enough to cover a standard 8-inch or 9-inch round, two-layer cake with some left over for basic decorations.
Final Thoughts
You did it. You faced the final boss of cake decorating and emerged victorious. You are now the proud owner of a ball of delicious, pliable, homemade fondant, and you never have to eat that chalky store-bought stuff again.

Go on, create something spectacular! Cover a cake, make some cut-outs, sculpt a little figure. You’ve unlocked a new level of baking, and your cakes will never be the same. Just be prepared for everyone to be amazed… and to actually eat the fondant off their slice of cake for once.