How to Make Eggless Pancakes: The Easiest, Fluffiest Recipe Ever
The Unbelievably Fluffy Eggless Pancakes You NEED to Make (Seriously)
Ever had that soul-crushing moment? You leap out of bed, craving a glorious stack of fluffy pancakes, only to swing open the fridge and find… an empty egg carton. The horror! Before you resign yourself to a sad bowl of cereal, I’m here to tell you there’s a better way. I’m going to show you how to make eggless pancakes so fluffy, so delicious, you’ll wonder why you ever bothered with eggs in the first place.
Seriously. This recipe is your new weekend morning superhero. It’s the culinary equivalent of finding a twenty-dollar bill in your pocket. Ready to change your breakfast game forever? Let’s do this.
Why This Recipe Is Basically Magic
So, why are these eggless pancakes the best thing since sliced bread (which, coincidentally, they are amazing with)?
First, they are ridiculously easy. We’re talking mix, pour, flip, and devour. No separating yolks, no whipping whites, no complicated nonsense. You’re less than 15 minutes away from pancake nirvana.
Second, the flavor and texture are on point. These aren’t sad, flat, crepe-like imposters. They are bona fide, thick, fluffy stacks of joy. The secret lies in getting the leavening just right, creating a cloud-like texture that soaks up syrup like a dream.
Finally, they are the ultimate crowd-pleaser. Got a guest with an egg allergy? A friend who’s vegan? Or are you just out of eggs? Problem solved. You’ll look like a kitchen wizard, and no one will ever guess your secret.
The All-Star Ingredient Lineup
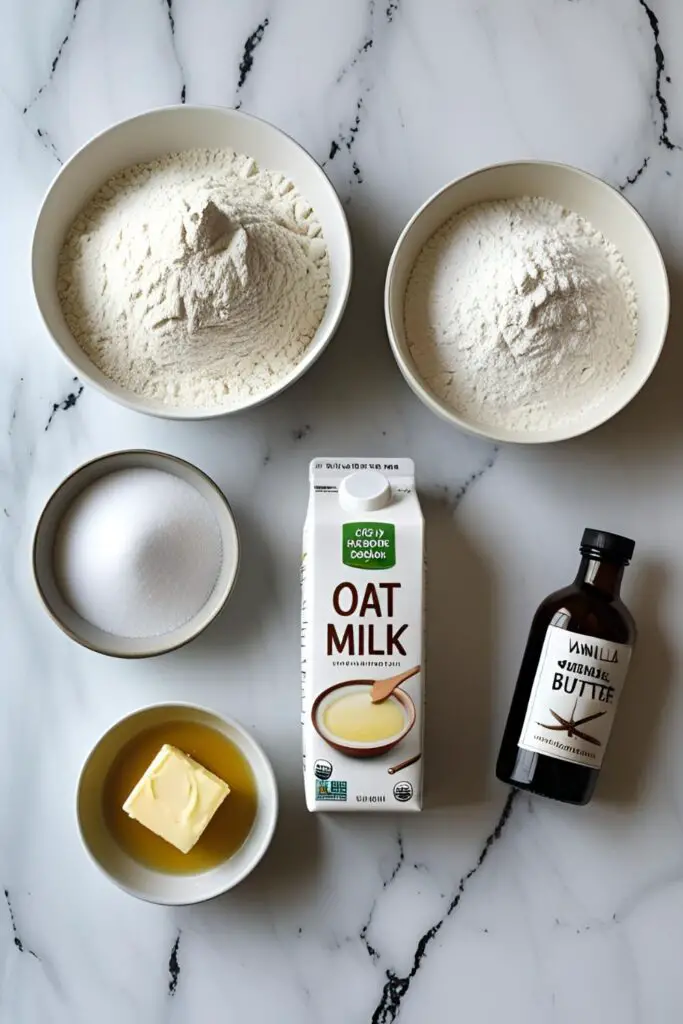
Here’s what you’ll need to assemble your masterpiece. No weird, hard-to-find ingredients, I promise.
- 1 ½ cups (180g) all-purpose flour
- 2 tablespoons granulated sugar (or a bit more if you have a sweet tooth)
- 2 teaspoons baking powder – This is non-negotiable! Make sure it’s fresh.
- ½ teaspoon salt
- 1 ¼ cups (300ml) milk – Dairy, almond, soy, or oat milk all work beautifully.
- 2 tablespoons melted unsalted butter (or vegetable oil/coconut oil for a vegan option)
- 1 teaspoon vanilla extract – For that classic, cozy pancake aroma.
Tools & Kitchen Gadgets You’ll Need

To make this magic happen, you’ll want to have these trusty sidekicks on hand. Think of it as your pancake-making utility belt.
- Large Mixing Bowl: For combining your dry ingredients without making a flour explosion.
- Medium Mixing Bowl or Liquid Measuring Cup: To get those wet ingredients ready for the party.
- Whisk: Essential for a lump-free (well, mostly lump-free) batter.
- Measuring Cups and Spoons: Because baking is a science, people! Precision matters.
- Non-Stick Skillet or Griddle: A good non-stick surface is your best friend for a perfect, golden-brown finish and an easy flip.
- Spatula (or Flipper): A thin, flexible spatula is key for getting under that pancake without turning it into scrambled breakfast.
- Ladle or ¼ Cup Measure: For pouring perfectly portioned pancakes every single time.
Step-by-Step to Pancake Perfection
Alright, apron on? Let’s get flipping. Follow these steps, and you can’t go wrong.
- Combine the Dry Stuff: In your large mixing bowl, whisk together the flour, sugar, baking powder, and salt. Get it all nice and combined. This ensures you don’t get a salty bite followed by a bland one. Inconsistent pancakes? Not in this kitchen.
- Mix the Wet Stuff: In your other bowl or measuring cup, whisk together the milk, melted butter, and vanilla extract. Simple.
- The Great Combination: Now, pour the wet ingredients into the dry ingredients. Here comes the most important rule of Pancake Club: DO NOT OVERMIX. Seriously. Mix just until the batter is combined. A few lumps are not only okay, they are your friends! Overmixing develops gluten and leads to tough, rubbery pancakes. We’re aiming for clouds, not hockey pucks.
- Let It Rest: Walk away. I mean it. Let the batter sit for about 5 minutes. This gives the baking powder time to work its magic and helps the gluten relax. Go check your phone, make some coffee, or have a staring contest with your cat. This step is crucial for maximum fluffiness.
- Heat Things Up: Place your non-stick skillet or griddle over medium heat. You’ll know it’s ready when a drop of water sizzles and evaporates quickly. Lightly grease the pan with a little butter or oil if needed.
- Pour and Cook: Using a ladle or a ¼ cup measure, pour the batter onto the hot pan to form your pancakes. Now, watch closely. You’ll see bubbles start to form on the surface. Once the edges look dry and bubbles are popping across the top, it’s time to flip! This usually takes about 2-3 minutes.
- The Flip: Slide your spatula underneath and give it one confident flip. Cook for another 1-2 minutes on the other side, or until golden brown.
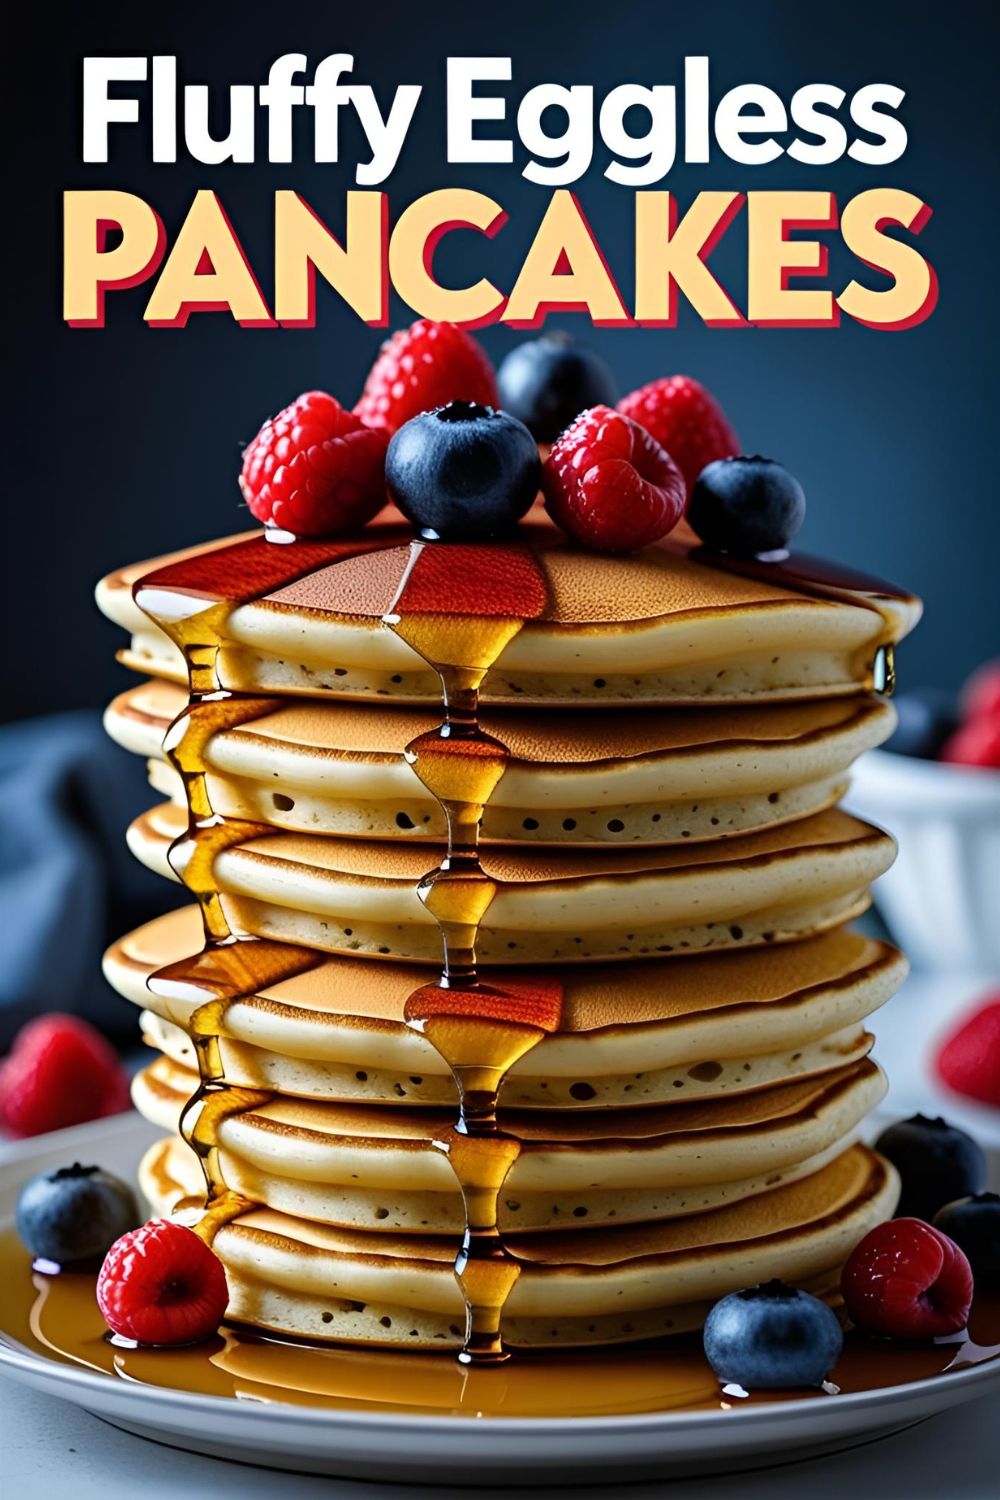
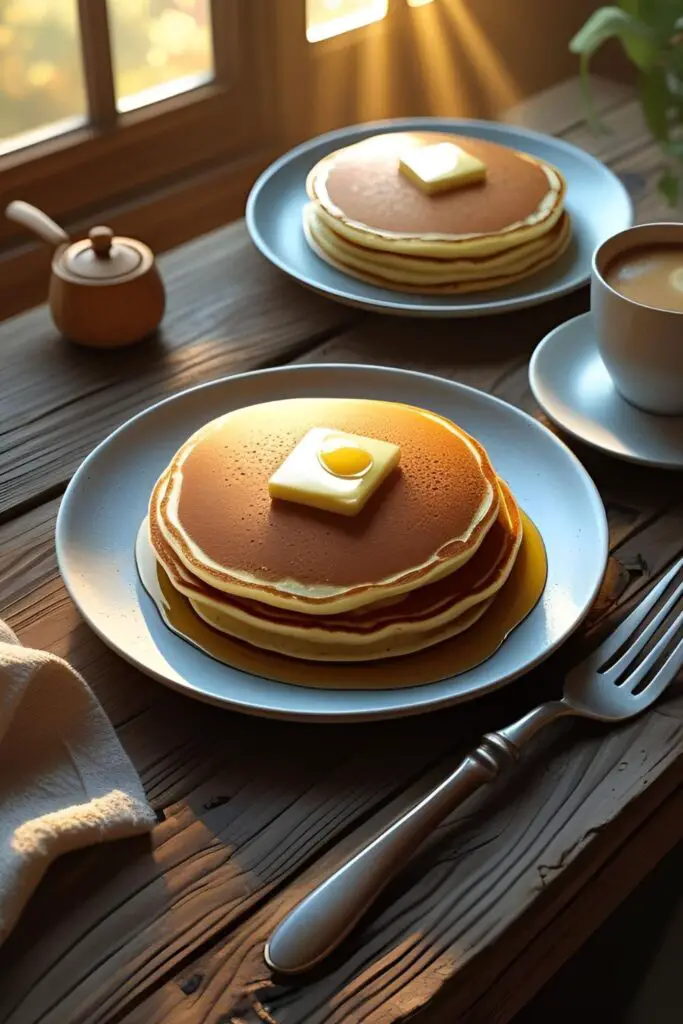
- Serve Immediately! Stack ’em high, drench them in maple syrup, and top with your favorite berries, butter, or a mountain of whipped cream. You’ve earned it.
Calories & Nutritional Info
For those who are curious, here’s a rough breakdown per pancake (this recipe makes about 8-10 medium pancakes). Remember, this is an estimate and will change based on your specific ingredients and toppings.
- Calories: Approximately 120-150 kcal per pancake
- Protein: ~3g
- Carbohydrates: ~20g
- Fat: ~4g
- Sugar: ~4g
- Note: This is a fantastic carb source to fuel your morning! Using whole wheat flour and plant-based milk can add a bit more fiber and nutrients.
Common Mistakes That Lead to Sad Pancakes
We’ve all been there. Let’s make sure it doesn’t happen to you. Avoid these common pitfalls.
- The Over-Mixer: You’re enthusiastic, I get it. But mixing pancake batter until it’s perfectly smooth is the #1 way to ruin them. Embrace the lumps! A lumpy batter is a happy batter.
- The Impatient Flipper: You flip the pancake too early, and it breaks apart into a goopy mess. Wait for those visual cues: bubbles popping and dry edges. Patience, young grasshopper.
- The Wrong Temperature: A pan that’s too hot will burn the outside before the inside is cooked. A pan that’s not hot enough will give you pale, greasy, and sad pancakes. Medium heat is your sweet spot.
- Using Expired Baking Powder: Your baking powder is the life of the party—it’s what makes the pancakes rise. If it’s old, it won’t work. FYI, you can test it by dropping a little in hot water. If it fizzes enthusiastically, you’re good to go. If not, toss it.
Fun Variations & Customizations
Feeling adventurous? Of course you are. Here are a few ways to jazz up your eggless pancakes.
- Death by Chocolate Pancakes: Add ½ cup of your favorite chocolate chips to the batter right after mixing. You can also add a tablespoon of cocoa powder to the dry ingredients for a double-chocolate punch.
- The Healthy-ish Whole Wheat & Berry: Swap half of the all-purpose flour for whole wheat flour. After pouring the batter onto the griddle, dot the top with fresh blueberries or raspberries before flipping. It’s basically a health food, right? 😉
- Cinnamon Roll Pancakes: Add 1 teaspoon of cinnamon to the dry ingredients. Then, mix 2 tablespoons of softened butter with 3 tablespoons of brown sugar and a ½ teaspoon of cinnamon. Drizzle this swirl mixture over the pancakes while they cook on the first side. Thank me later.
Frequently Asked Questions (That You Were Too Afraid to Ask)
Got questions? I’ve got answers. Here are some of the most common queries about the art of eggless pancakes.
H3: Can I make these pancakes vegan? Absolutely! This recipe is incredibly easy to make vegan. Just use your favorite plant-based milk (almond, soy, and oat milk are fantastic) and swap the melted butter for vegetable oil or melted coconut oil. That’s it!
H3: Why are my eggless pancakes flat? The most likely culprits are old baking powder or overmixing the batter. Make sure your baking powder is fresh and mix only until the ingredients are just combined. Also, don’t skip the 5-minute rest period!

H3: Can I prepare the batter ahead of time? TBH, I wouldn’t recommend it. The baking powder is activated as soon as it hits the liquid, and it will lose its leavening power if it sits for too long. For the fluffiest results, make the batter right before you plan to cook.
H3: What can I use instead of milk? You have options! Any plant-based milk will work. In a real pinch, you could even use water, but the pancakes will be less rich and tender.
H3: How do I know exactly when to flip a pancake? Look for the signs! The surface of the pancake will go from glossy to matte. You’ll see plenty of bubbles forming and popping, and the edges will start to look firm and dry. That’s your golden window.
H3: Can I freeze leftover pancakes? Yes! They freeze beautifully. Let them cool completely, then stack them with a small piece of parchment paper between each one. Place the stack in a freezer-safe bag or container. To reheat, just pop them in the toaster or microwave.
H3: Why do my pancakes always stick to the pan? This usually comes down to three things: your pan isn’t non-stick, it isn’t hot enough when you add the batter, or you didn’t use enough butter/oil. Make sure the pan is preheated to medium and is lightly greased.
Final Thoughts
So there you have it. The secret to perfect, fluffy, can’t-believe-they’re-eggless pancakes is officially yours. No more breakfast emergencies. No more settling for subpar stacks.
Go forth and conquer your morning! And when your friends and family beg you for the recipe, just smile mysteriously and send them a link to this page. You’re welcome.