How to Make Cream Cheese Frosting: A Foolproof Recipe
How to Make Cream Cheese Frosting That Doesn’t Suck (An Easy Guide)
Alright, let’s be honest. Have you ever baked a stunning, majestic carrot cake or a batch of beautiful red velvet cupcakes, only to slather it with a sad, runny, overly sweet frosting that weeps down the sides? It’s a tragedy of Shakespearean proportions. You did all that work, and the final flourish was a flop. Well, dry those tears, because today I’m going to show you how to make cream cheese frosting that is so good, you’ll have to physically restrain yourself from eating it all with a spoon before it ever sees a cake.
This isn’t just any recipe. This is the recipe. The one that’s perfectly balanced: tangy, sweet, rich, and ridiculously creamy. It’s the kind of frosting that makes people’s eyes widen as they take their first bite.
Why This Recipe Is Basically Perfect
So, what makes this cream cheese frosting the undisputed champion? Why should you bookmark this page immediately? I’m glad you asked.
First, the flavor is sublime. We are not making a simple sugar-and-butter concoction here. This frosting has character. The signature tang of the cream cheese cuts through the sweetness, creating a complex and utterly addictive flavor profile that complements everything from a simple vanilla cupcake to a decadent spice cake.
Second, it’s practically foolproof. With just four simple ingredients and a few key rules (which I will drill into your head, don’t worry), you can achieve frosting perfection. It’s a low-effort, high-reward situation, which is my favorite kind of baking.
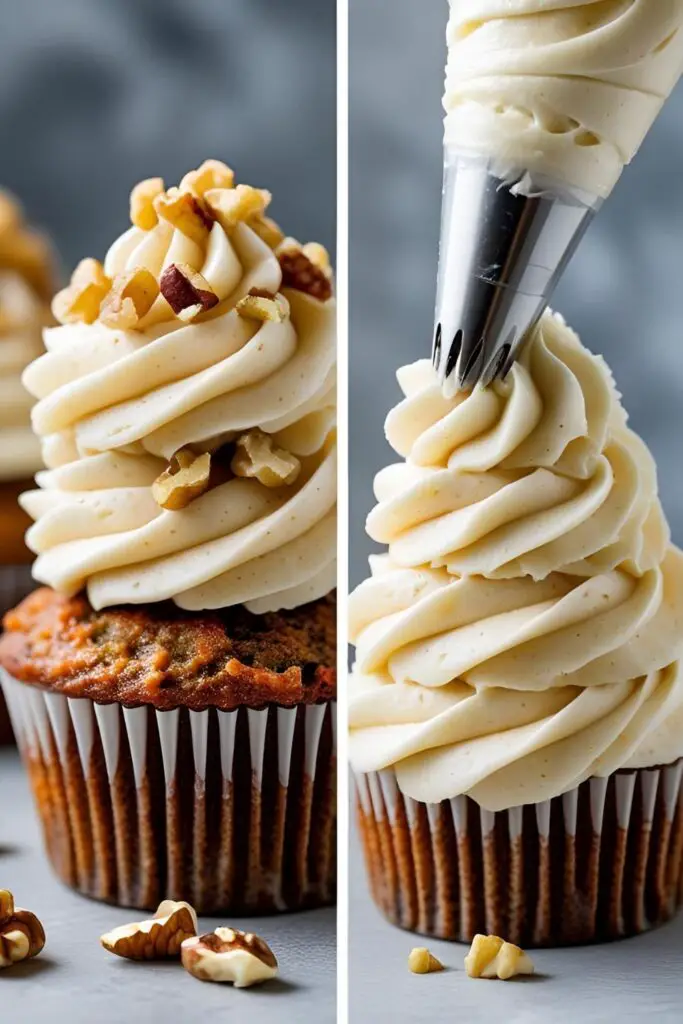
Finally, this frosting is stable enough to look good. It holds its shape beautifully, whether you’re elegantly swooping it on with a spatula or getting fancy and piping it into beautiful swirls. Your desserts won’t just taste professional; they’ll look it, too. Ready to upgrade your baking game forever?
The Holy Grail Ingredients List
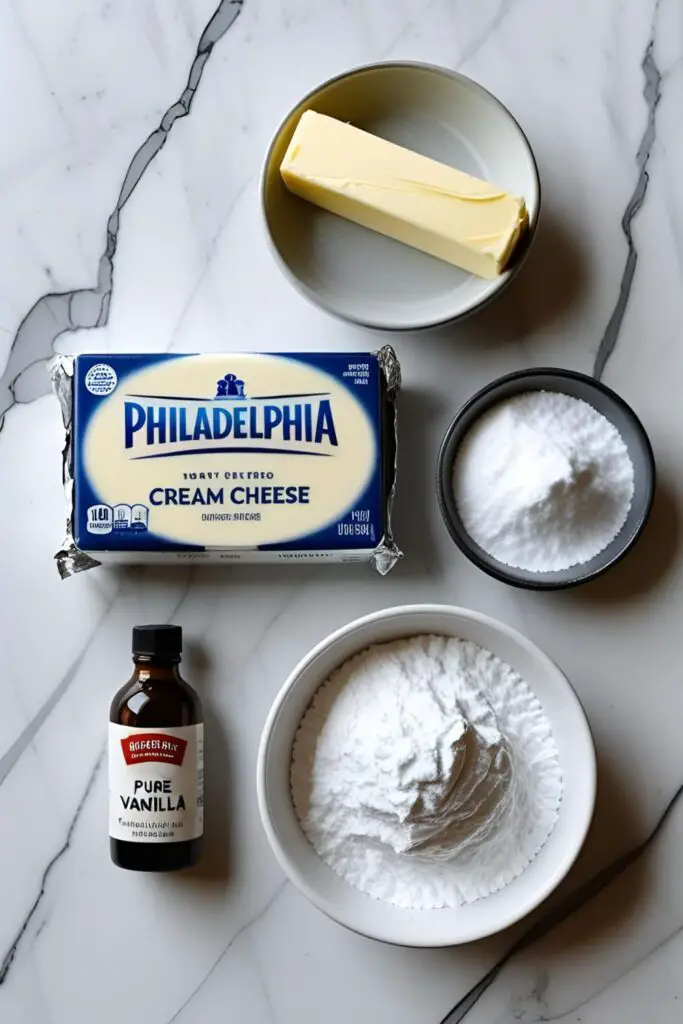
This recipe is simple, but the quality and temperature of your ingredients are everything. Do not skim this section.
- Full-Fat Block Cream Cheese: 1 package (8 ounces / 226g). This is the most important rule. Do NOT use the spreadable cream cheese in a tub. It has more water and will give you a soupy mess. It must be the brick-style cream cheese.
- Unsalted Butter: 1/2 cup (1 stick / 113g). Using unsalted butter lets you control the salt level.
- Powdered Sugar: 4 cups (about 480g), also known as confectioners’ sugar. Sift it if you can!
- Pure Vanilla Extract: 2 teaspoons. Use the good stuff, not the imitation kind. It makes a difference.
- Fine Sea Salt: 1/4 teaspoon. This tiny amount doesn’t make it salty; it enhances all the other flavors and balances the sweetness.
A Critical Note on Temperature: For the love of all things delicious, your cream cheese and butter must be at room temperature. Not melted, not cold from the fridge, but soft to the touch. This is the secret to a lump-free, perfectly smooth frosting. Just leave them on the counter for an hour or two before you start.
The Gadgets and Gear for Glory

You don’t need a professional pastry kitchen, but a few key tools will make your life infinitely easier and your frosting significantly better.
- A Stand Mixer or Hand Mixer: While you could technically do this by hand, your arm would probably fall off. An electric mixer, whether it’s a fancy KitchenAid Stand Mixer or a trusty Electric Hand Mixer, is essential for whipping everything into a light, fluffy dream.
- A Good Rubber Spatula: For scraping down the sides and bottom of the bowl. This is a non-negotiable step to ensure everything is evenly mixed.
- A Sifter or Fine-Mesh Sieve: To get rid of those annoying little lumps in the powdered sugar. Sifting your sugar guarantees an ultra-smooth final product.
- Measuring Cups and Spoons: Baking is a science! Precision matters.
Step-by-Step: Your Path to Frosting Fame
Follow these steps precisely. No skipping. I’m watching you.
Step 1: The Creaming Ceremony In the bowl of your stand mixer (or a large bowl if using a hand mixer), place your softened, room-temperature butter and cream cheese. Beat them together on medium speed for about 2-3 minutes, until the mixture is completely smooth, creamy, and has no lumps. Scrape down the sides and bottom of the bowl at least once.
Step 2: The Sugar Snowstorm Turn the mixer down to low speed. Nobody wants a powdered sugar explosion in their kitchen. Gradually add the sifted powdered sugar, one cup at a time, waiting until each addition is mostly incorporated before adding the next. This slow process prevents lumps and keeps the sugar from flying everywhere.
Step 3: Whip It Good Once all the sugar is added, scrape the bowl down again thoroughly. Now, increase the mixer speed to medium-high and whip the frosting for another 2-3 minutes. You’ll see it transform, becoming lighter in color, fluffier, and simply glorious.
Step 4: The Final Flavor Flourish Turn the mixer back down to low and add the vanilla extract and the pinch of salt. Mix for another 30 seconds until they are just combined. Do not over-mix at this stage! Over-whipping can cause the cream cheese to break down and become runny.
Step 5: Admire Your Work (and Chill) Your frosting is now ready! It should be thick, creamy, and spreadable. If it feels a little soft, you can chill it in the refrigerator for 20-30 minutes to help it firm up before frosting your cake or cupcakes.
The Calorie Situation & Nutritional Notes
Let’s be real, you’re not making cream cheese frosting for its health benefits. This is pure, unadulterated joy in a bowl. But if you must know:
- Estimated Calories: Approximately 150-180 kcal per 2-tablespoon serving.
- It’s a Treat: This frosting is high in sugar and fat. Enjoy it in moderation as the delicious treat it is.
- The Tang is Real: Cream cheese provides a bit more complexity than a standard buttercream, with trace amounts of protein and calcium. (We’re reaching here, but it’s something!)
- Quality Over Quantity: Because it’s so rich and flavorful, a little goes a long way.
Common Frosting Fails (and How to Avoid Them)

I’ve made all these mistakes so you don’t have to. You’re welcome.
- The Runny Frosting Disaster. This is the #1 problem. It’s almost always caused by using spreadable tub-style cream cheese or over-mixing the frosting after all the ingredients are combined. Stick to full-fat block cheese and stop mixing once it’s fluffy.
- The Lumpy Bumpy Mess. Ugh. Lumps are the worst. This happens when your butter and cream cheese are too cold, or you didn’t sift your powdered sugar. Room temperature ingredients are your best friends.
- It Tastes Like… Sugar. If your frosting is cloyingly sweet with no tang, you either got your ratios wrong or used a low-quality vanilla. The beauty of this frosting is the balance. Don’t skip the salt, and use that full-fat cream cheese for its signature flavor.
Fun Variations to Show Off Your Skills
Mastered the classic? Time to get creative. This recipe is a fantastic base for experimentation.
- Lemon Zest Cream Cheese Frosting: This is my absolute favorite. Add the zest of one large lemon along with the vanilla extract. The bright, citrusy oil from the zest cuts the richness and adds an incredible freshness. It’s phenomenal on lemon cake, blueberry muffins, or carrot cake.
- Chocolate Cream Cheese Frosting: For a truly decadent experience, sift in 1/2 cup of unsweetened cocoa powder along with the powdered sugar. It creates a rich, tangy, chocolatey frosting that’s to die for on chocolate cake or yellow cake. TBH, it’s amazing on anything.
- Spiced Cream Cheese Frosting: Perfect for autumn baking! Add 1 teaspoon of ground cinnamon and 1/4 teaspoon of ground nutmeg to the frosting when you add the sugar. This version is a match made in heaven for spice cakes, pumpkin bars, and apple cake.
Your Most Pressing Frosting Questions
I’ve scoured the internet for your burning questions. Here are the answers you seek.
Why is my cream cheese frosting runny?
This is the big one. It’s almost always because you used low-fat or tub-style cream cheese, which has a higher water content. It can also happen if your butter was too soft/melty or if you over-beat the frosting after adding the cream cheese. Stick to full-fat block cheese and room-temperature (not warm) ingredients.
Can you make cream cheese frosting ahead of time?
Yes! You can make it up to 3 days in advance. Store it in an airtight container in the refrigerator. Before using, let it sit on the counter for 30-60 minutes to soften, then give it a quick whip with your mixer to restore its fluffy texture.
How do you thicken cream cheese frosting?
If you’ve ended up with a slightly soft frosting, the easiest fix is to chill it in the fridge for 30 minutes. If it’s truly runny, your best bet is to add more sifted powdered sugar, about 1/4 cup at a time, until it reaches the desired consistency. Be aware this will make it sweeter.
Do I have to use butter in cream cheese frosting?
The butter adds stability, richness, and a traditional frosting flavor. You can make a version without it, but it will be much softer and tangier—more like a cheese spread. For a classic, pipeable frosting, the butter is essential.
Does cake with cream cheese frosting need to be refrigerated?
Yes. Because it contains cream cheese, it is a perishable dairy product. Any dessert with this frosting should be stored in an airtight container in the refrigerator and is best eaten within 3-4 days.
Can I use a hand mixer instead of a stand mixer?

Absolutely! A hand mixer works perfectly well. It just requires a bit more active participation from you. Just use a large, deep bowl to avoid splatters.
Can I pipe this cream cheese frosting?
Yes, this recipe is designed to be a stable cream cheese frosting that’s great for piping. If you plan to make intricate designs, I recommend chilling the finished frosting for 30 minutes before putting it in a piping bag to ensure it’s nice and firm.
Final Thoughts
You are now a certified cream cheese frosting wizard. You hold the power to transform any humble cake into a show-stopping dessert. You’ll never look at that sad, soupy tub of store-bought frosting the same way again.
So go on, bake something wonderful just so you have an excuse to make this. Or don’t. Just make the frosting and eat it with pretzels. I won’t judge. 😉