How to Make Cookies From Scratch (The Only Recipe You’ll Ever Need!)
How to Make Cookies From Scratch (The Only Recipe You’ll Ever Need!)
Let’s be real for a moment. There are very few problems in life that can’t be made at least a little bit better by a warm, gooey, homemade cookie still fragrant from the oven. It’s a universal truth. But maybe you’re one of those people who nervously says, “Oh, I can’t bake.” Maybe your last attempt resulted in sad, flat discs of despair or burnt little rocks of disappointment.
I am here today to tell you that learning how to make cookies is not some dark, mystical art. It’s a science, and it’s a fun one. Today, class is in session. We are going back to basics and mastering the undisputed champion, the king of all cookies, the one and only classic chocolate chip cookie. This is the recipe that will make you a legend among your friends, family, and coworkers.
So, grab an apron (or don’t, I’m not your supervisor) and get ready to create something truly magical. Your days of buying slice-and-bake dough are officially over.
Why This Recipe is Awesome
In a world filled with a million cookie recipes, why is this the one you need to master? I’m so glad you asked.
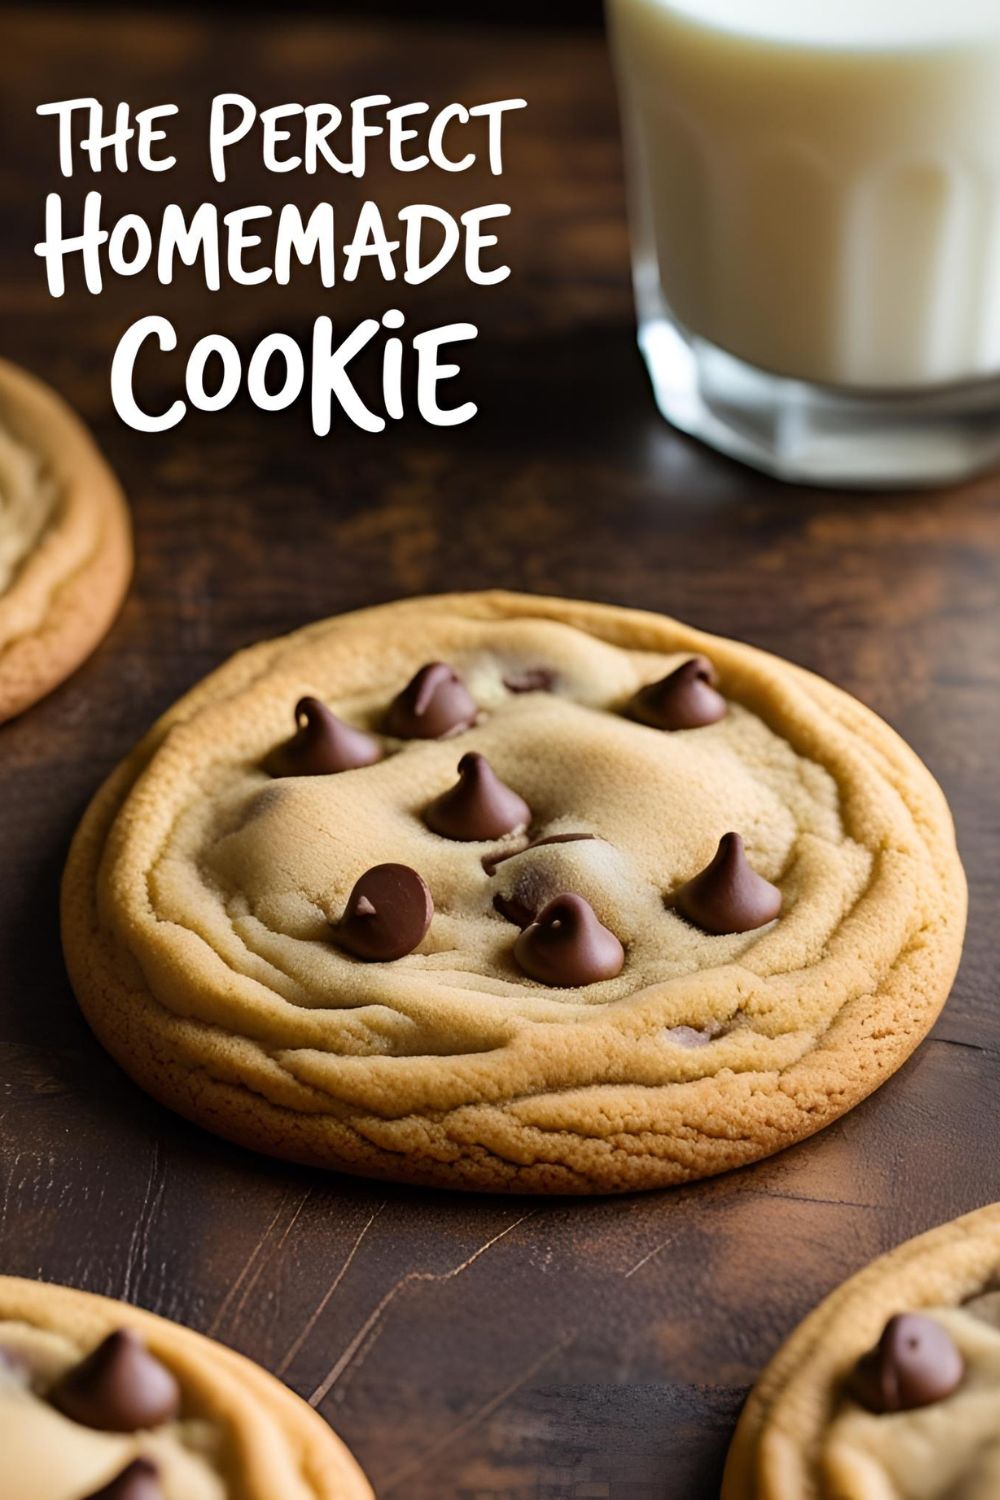
- It’s the G.O.A.T.: This isn’t some trendy, complicated cookie. This is the classic chocolate chip cookie—perfectly chewy on the inside, slightly crisp on the edges, and loaded with glorious pools of melty chocolate. It’s the standard by which all other cookies are judged.
- It’s Practically Foolproof: I’m breaking down the science of cookie-making so simply that even a true beginner can’t mess this up. We’ll talk about why you do each step, so you’re not just following instructions; you’re actually learning the craft of baking.
- It’s Basically a Superpower: The ability to produce a batch of these cookies on demand is a legitimate superpower. Show up anywhere with these, and you’re instantly the most popular person in the room. I have personally tested this theory, and I can confirm its scientific validity.
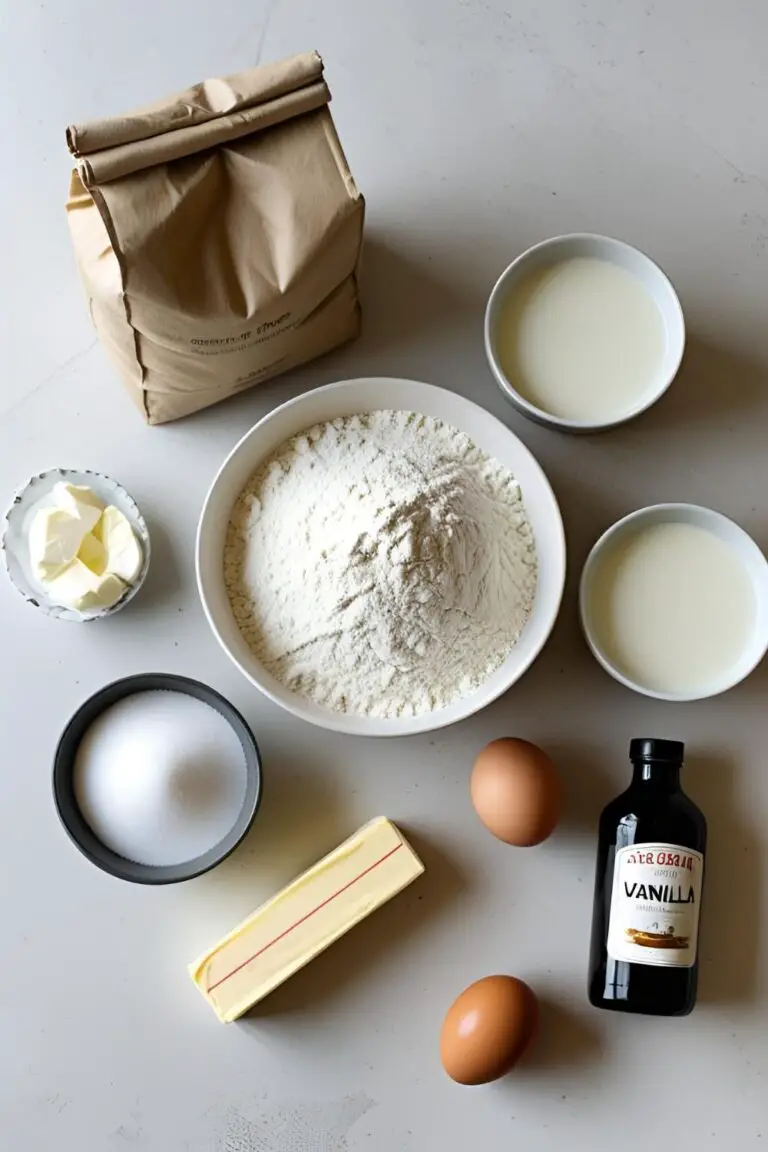
Ingredients
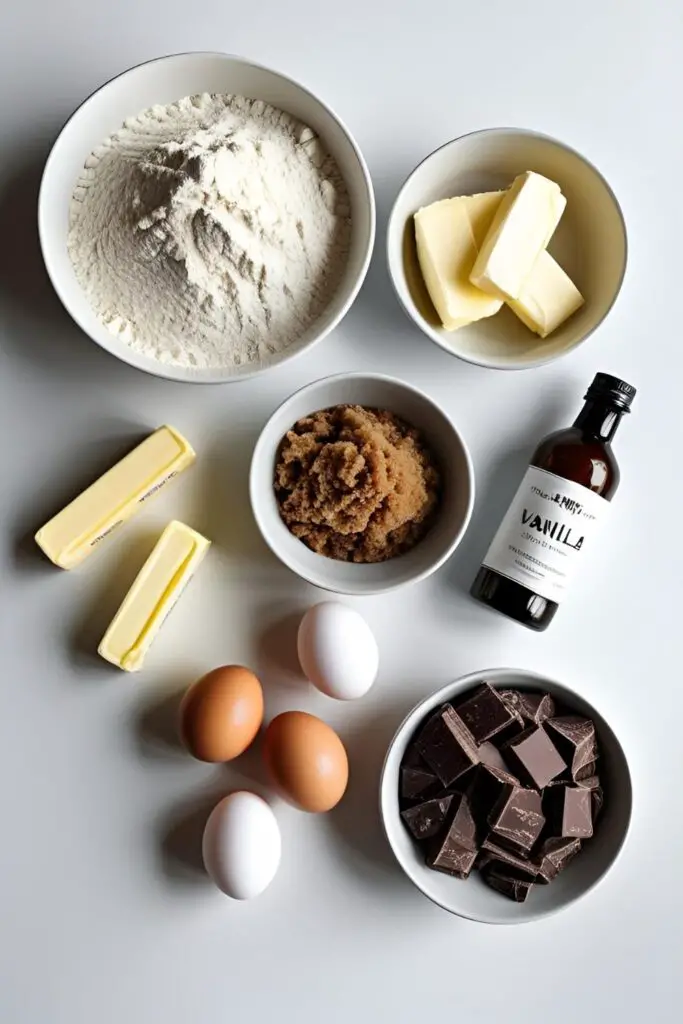
The magic is in the details. Using the right stuff is half the battle, and these are the classic players.
- 1 cup (2 sticks) unsalted butter, softened to room temperature (This is critical!)
- ¾ cup packed light brown sugar
- ½ cup granulated sugar
- 2 large eggs, at room temperature
- 2 teaspoons pure vanilla extract (Use the good stuff, not the imitation kind)
- 2 ¼ cups all-purpose flour
- 1 teaspoon baking soda
- 1 teaspoon salt
- 1 ½ cups semi-sweet chocolate chips or chunks (IMO, chunks are superior for creating those incredible melty pools)
Tools & kitchen gadgets used
Having the right gear will make you feel like a pro and ensure better, more consistent results.
- Baking Sheets (light-colored, heavy-duty ones are best as they bake more evenly)
- Parchment Paper or Silicone Baking Mats (for no-stick success and easy cleanup)
- Stand Mixer with the paddle attachment, or a reliable Hand Mixer
- Large and Medium Mixing Bowls
- A Cookie Scoop (This is the secret weapon for perfectly uniform, round cookies that bake evenly!)
- Wire Cooling Rack
- Silicone Spatula
Step-by-step instructions
Alright, let’s make the magic happen. Read this all the way through before you start. You’ve got this in the bag.
Step 1: The Prep Work Preheat your oven to 375°F (190°C). Line two large baking sheets with parchment paper. This is your ‘mise en place’ moment. Go ahead, feel French and sophisticated for a second while you get your ingredients in order.

Step 2: The Creaming Ceremony (The Most Important Step!) In the bowl of your stand mixer or a large bowl, place your softened butter, brown sugar, and granulated sugar. Beat them together on medium-high speed for a solid 3 to 4 minutes. Set a timer. I’m serious. The mixture should transform from gritty and yellow to very pale, light, and fluffy. You are literally whipping air into the butter and sugar, which gives the cookies their structure and lift. Don’t skimp on this step!
Step 3: Add the Binders Add your eggs, one at a time, beating well for about 30 seconds after each addition. Scrape down the sides of the bowl to make sure everything is incorporated, then beat in the vanilla extract.
Step 4: The Dry Team In a separate, medium-sized bowl, whisk together the flour, baking soda, and salt. Don’t just dump them all in the main bowl separately. Whisking them together first ensures that the baking soda and salt are evenly distributed, so you don’t get one super-salty, bitter cookie in the batch.
Step 5: Combine, But Gently! With the mixer on its lowest possible speed, gradually add the dry ingredients to the wet ingredients. Mix just until the last streaks of flour disappear. I cannot say this enough: do not overmix! Overmixing at this stage develops the gluten in the flour and leads to tough, cakey cookies. We want chewy, not tough.
Step 6: Fold in the Good Stuff Remove the bowl from the mixer. Pour in your chocolate chips or chunks. Use a spatula to fold them into the dough until they are evenly distributed. Now is an excellent time to sneak a taste of the dough. It’s a baker’s right.
Step 7: The Secret Step – CHILL THE DOUGH. I know. This is pure torture. You want cookies now. But you must chill the dough for at least 30 minutes (or up to 3 days). This solidifies the butter, which prevents the cookies from spreading into sad, flat puddles in the oven. It also allows the flavors to meld and deepen, resulting in a more delicious cookie. Trust the process.
Step 8: Scoop and Bake Use a cookie scoop (about 1.5 tablespoons in size) to portion the chilled dough onto your prepared baking sheets, placing them about 2 inches apart. Bake for 9 to 11 minutes, or until the edges are a lovely golden brown and the centers still look slightly soft and underdone.
Step 9: The Cooling Protocol Remove the baking sheets from the oven. Let the cookies cool on the hot pan for 5 full minutes. This allows the soft centers to finish cooking gently and set up, which is crucial for that chewy texture. After 5 minutes, transfer the cookies to a wire rack to cool completely.
Calories & Nutritional Info

Let’s just agree that cookie calories are happy calories and therefore don’t count towards our daily total. But if you must know…
- Serving Size: 1 cookie (assuming this recipe makes about 3 dozen)
- Estimated Calories: Around 150-180 kcal.
- Contains: Deliciousness, comfort, and the power to make friends and influence people.
- Dietary Notes: Best enjoyed with a tall glass of cold milk and a moment of peace.
Common Mistakes to Avoid
This is your roadmap to cookie perfection. Avoid these common pitfalls, and you’ll be a cookie champion.
- Using Melted or Cold Butter: I’m going to sound like a broken record, but your butter must be softened to room temperature. Melted butter will cause your cookies to spread into thin, greasy crisps. Butter that’s too cold won’t cream properly with the sugar, resulting in dense cookies.
- Overmixing After Adding Flour: Be gentle! As soon as the flour is incorporated, stop mixing. Overmixing is the #1 cause of tough, dense cookies. We want tenderness!
- Skipping the Dough-Chilling Step: I know it’s tempting to skip, but this is the secret to thick, chewy cookies with incredible flavor. Chilling your dough is non-negotiable if you want to avoid flat, sad cookies that run into each other on the pan.
- Baking on a Hot Pan: Never, ever put scoops of cookie dough on a baking sheet that just came out of the oven. The dough will start to melt immediately and spread too quickly. Always use a cool baking sheet for each batch of cookies.
Variations & Customizations
Once you’ve mastered the classic, you can start your career as a cookie artist and innovator.
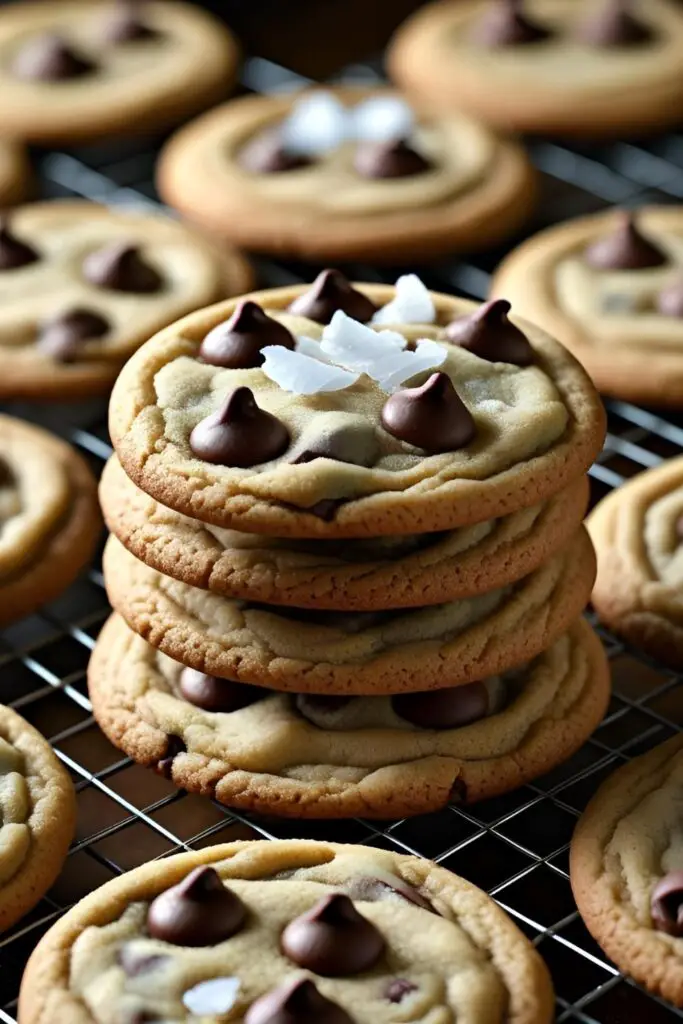
- The Salty-Sweet Masterpiece: After scooping the dough onto the pan, sprinkle a few flakes of flaky sea salt (like Maldon) on top of each cookie before baking. The salt enhances the chocolate and cuts the sweetness in the most incredible way. It’s a game-changer.
- The Nutty Professor: Reduce the chocolate chips to 1 cup and add 1 cup of toasted, chopped pecans or walnuts to the dough when you add the chocolate. The toasty, buttery flavor of the nuts is a perfect match.
- Double Chocolate Decadence: For the true chocoholics, reduce the all-purpose flour to 2 cups and add ½ cup of unsweetened cocoa powder to the dry ingredients. You’ll get a rich, brownie-like cookie that is out of this world.
FAQ Section
Your most pressing cookie queries, answered.
1. Why are my cookies always flat? This is the most common cookie problem! It’s usually due to butter that was too soft or melted, not chilling the dough long enough, or baking on a hot pan. This recipe, with its crucial chilling step, is designed to prevent this very issue.
2. How do I get my cookies to be soft and chewy? Using more brown sugar than white sugar (like in this recipe) adds moisture and chewiness. Also, be careful not to overbake them. Pull them out of the oven when the centers still look a little soft. They’ll finish cooking and setting up on the hot pan.
3. Can I make the cookie dough ahead of time? Yes! This dough is perfect for making ahead. You can store it in an airtight container in the refrigerator for up to 3 days. You can also scoop the dough into balls and freeze them for up to 3 months for delicious cookies on demand!
4. What’s the best kind of chocolate to use for cookies? This is personal preference, but semi-sweet is the classic choice. Using high-quality chocolate chunks or chopping up a chocolate bar will give you those beautiful, melty “pools” of chocolate, while standard chips will hold their shape more.

5. Do I really need a stand mixer to make cookies? No, a good hand mixer will work just fine! It might take a minute or two longer to cream the butter and sugar properly. You can even make them by hand with a whisk and a spatula if you’re looking for a good arm workout, but an electric mixer makes it much, much easier.
6. My cookies didn’t spread at all. They look like little balls. What happened? This is usually a sign of too much flour in the dough (make sure you’re measuring it correctly by spooning it into the cup and leveling it off) or the dough being too cold straight from the fridge. If your dough is rock-hard, let it sit at room temperature for 10-15 minutes before scooping.
7. How do I store homemade cookies? Store them in an airtight container at room temperature. They’ll stay fresh and delicious for about 3-4 days. A pro tip: placing a slice of bread in the container with the cookies will help keep them soft.
Final Thoughts
Congratulations! You are now a cookie-baking wizard. You are no longer a person who “can’t bake.” You are a person who can summon joy, comfort, and friendship with just a little flour, butter, and sugar. This is a formidable and delicious power.
Now go, share your incredible, homemade cookies with the people you love. Or don’t. I won’t judge you for eating half the batch yourself while they’re still warm from the oven. You’ve earned it.