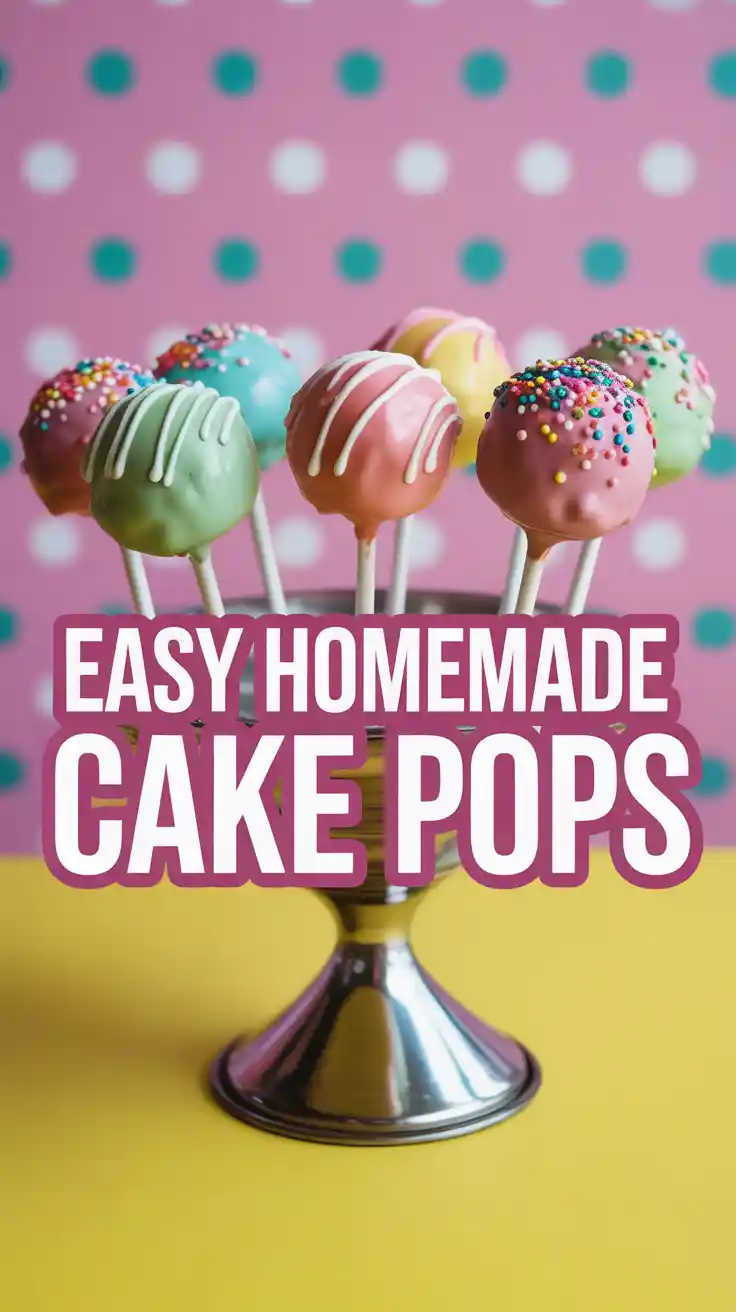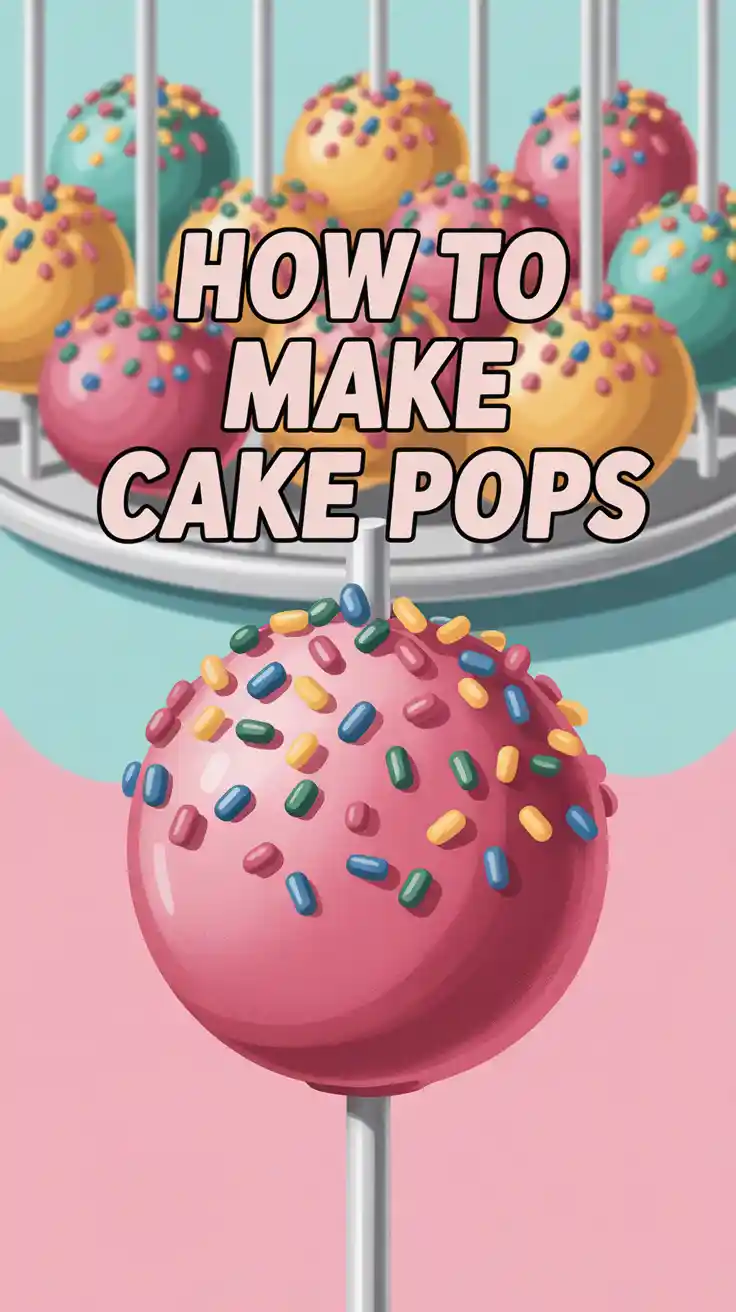
How to Make Cake Pops: An Easy Step-by-Step Guide for Beginners
How to Make Cake Pops Without Losing Your Mind (An Easy Guide)
You’ve seen them, haven’t you? Those perfect, glistening spheres of cake on a stick, staring at you from behind the glass at your local coffee shop, silently judging your life choices. You think, “I could make those!” So you try. And you end up with a sticky, lopsided mess that more closely resembles a failed science experiment than a cute dessert. Well, my friend, today we end the cycle of sadness. This is your ultimate guide on how to make cake pops that are not only delicious but also won’t make you want to throw a bowl of frosting at the wall.
Forget everything you think you know about these tiny tyrants of the dessert world. We’re breaking it down, step-by-step, into a process so simple, you’ll wonder why you ever paid $3 for one. This isn’t just a recipe; it’s therapy. You literally get to destroy a cake and then rebuild it into something even better. Ready to become a cake pop wizard? Let’s get our hands dirty.
Why This Recipe is Awesome
Seriously, why bother? Because making these little guys is a triple threat of awesomeness.
- It’s So Satisfying: There is a primal joy in crumbling a perfectly good cake into oblivion with your bare hands. It’s cheaper than therapy and you get dessert at the end. Win-win.
- The Ultimate Upcycle: Got leftover cake from a party? A baking experiment that didn’t quite turn out right? Don’t throw it away! Turn that “oops” into an “OMG, these are amazing!” moment.
- Total Customization: You control everything. The cake flavor, the frosting, the color of the coating, the sprinkles… you can tailor these for any birthday, holiday, or Tuesday afternoon existential crisis. They make you look like a pastry pro with minimal effort.
Ingredients

The beauty of cake pops is their simplicity. We aren’t reinventing the wheel; we’re just putting it on a stick and covering it in candy.
- A Baked Cake: One standard 9×13 inch cake, completely cooled. You can use your favorite from-scratch recipe, but honestly, a box cake mix works perfectly here and is my go-to for consistency.
- Frosting: About 1/2 to 3/4 cup of your favorite frosting. Canned cream cheese or buttercream frosting is your best friend here. Avoid light, whipped frostings as they don’t have enough heft to bind the cake.
- Candy Melts: A 12-ounce bag of candy melts in your desired color. These are made for this job—they melt smoothly and set up hard.
- Lollipop Sticks: You’ll need about 40-50 (6-inch) sticks.
- Vegetable Shortening or Coconut Oil (Optional but Recommended): 1-2 teaspoons, to thin the candy coating for a smoother dip.
- Sprinkles & Decorations: The sky’s the limit!
Tools & Kitchen Gadgets Used
Having the right arsenal makes the battle much easier. Here’s what you’ll need to conquer the cake pop.
- Large Mixing Bowl: The arena where your cake will meet its glorious, crumbly end.
- Food Processor: Optional, but it turns a whole cake into fine crumbs in about 30 seconds. A massive time-saver.
- Cookie Scoop: A 1.5-tablespoon scoop is your secret weapon for making perfectly uniform cake balls.
- Baking Sheet lined with Parchment Paper: To hold your cake balls without sticking while they chill.
- Microwave-Safe Bowl or Candy Melting Pot: A deep, relatively narrow bowl is best for getting a good, even dip.
- Cake Pop Stand or a Block of Styrofoam: Essential for letting the pops dry without smudging your beautiful work. In a pinch, you can use a sturdy cardboard box with holes poked in it.
- Rubber Spatula: For mixing and scraping. No cake left behind!
Step-by-Step Instructions
Deep breath. We can do this. Just follow the steps and trust the process.
- Operation: Destroy Cake: Once your cake is completely cool (I’m not kidding, warm cake will turn into a greasy paste), it’s time for destruction. Crumble the entire cake into a large bowl. You want fine, even crumbs with no large chunks. Use your hands for a therapeutic experience or a food processor if you’re short on time.
- Bind It All Together: Add about 1/2 cup of frosting to the cake crumbs. Using your hands or a spatula, mix it all together until it’s fully combined. The texture should be like play-doh—moist enough to hold a shape but not sticky or greasy. Add more frosting only 1 tablespoon at a time if needed. This is the #1 place people go wrong!
- Get Your Roll On: Use a cookie scoop to portion out the mixture. Roll each portion firmly between your palms to create smooth, tight little balls. Place them on your parchment-lined baking sheet.
- The First Chill: Pop the baking sheet of cake balls into the refrigerator for at least 1 hour, or the freezer for about 20 minutes. You want them to be firm, not frozen solid. Do not skip this step!
- Secure the Stick: Melt a small handful of your candy melts in the microwave. Dip about 1/2 inch of the tip of a lollipop stick into the melted candy, and then push it about halfway into a chilled cake ball. The melted candy acts as glue. Repeat for all the cake balls.
- The Final Chill: Place the assembled pops back into the freezer for another 15-20 minutes. This ensures the cake ball is firmly attached to the stick and cold enough to withstand the warm candy coating.
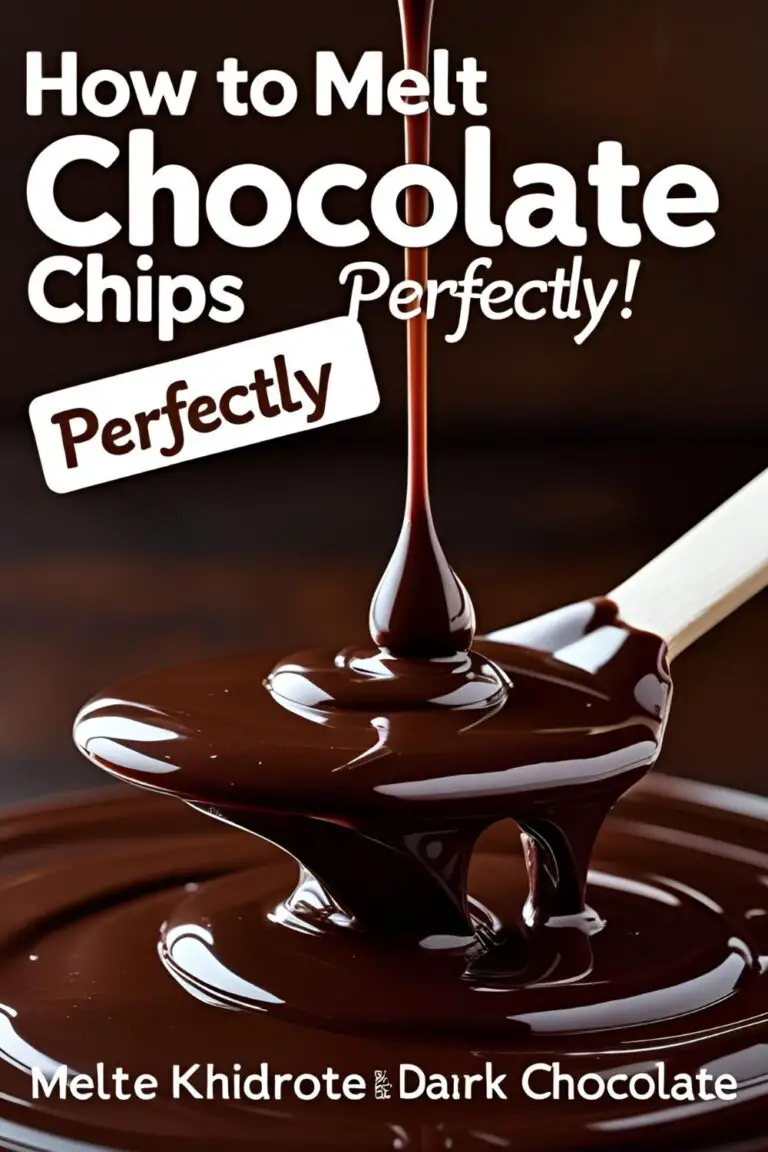
- Time for the Big Dip: Melt the rest of your candy melts in a deep, microwave-safe bowl. If the coating seems too thick, stir in 1 teaspoon of shortening or coconut oil until it’s smooth and fluid.
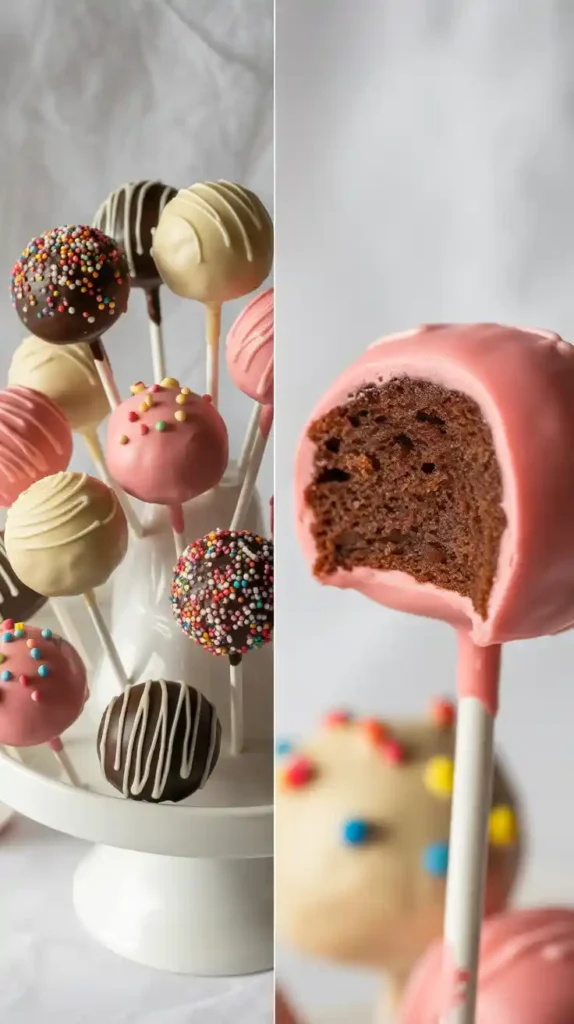
- Dip, Tap, and Decorate: Take one chilled pop and dip it straight down into the melted candy until the entire ball is submerged. Lift it straight out—don’t swirl it around! Gently tap the stick on the side of the bowl to let the excess candy drip off. Before it sets, add your sprinkles.
- Dry and Admire: Place the finished pop into your cake pop stand or styrofoam block to dry completely. Admire your handiwork. You did it, you glorious baker, you.
Calories & Nutritional Info
Let’s not kid ourselves; this is cake on a stick. It’s a delicious indulgence, not health food. But for planning purposes, here’s the deal per pop (assuming this recipe makes ~4 dozen).
- Calories: Approximately 150-190 kcal.
- Fat: Around 8-12g.
- Carbohydrates: Roughly 15-20g.
- Sugar: About 12-18g. She’s a sweet one.
- Protein: Around 1-2g.

Disclaimer: This is just an estimate. The final count depends entirely on your choice of cake, frosting, and decorations. FYI, they’re 100% worth it.
Common Mistakes to Avoid
Avoid these pitfalls, and you’ll be on the fast track to cake pop glory.
- Using Too Much Frosting: This is the cardinal sin. Your cake balls will be greasy, heavy, and too soft to stay on the stick. Start with less than you think you need! You can always add more, but you can’t take it away.
- Dipping Warm Cake Balls: If your cake balls aren’t thoroughly chilled, they will fall apart the second they hit the warm candy coating. It’s a sad, soupy mess. Be patient and let them chill.
- Using Thick, Gloppy Candy Coating: If your candy melts are too thick, you’ll get a lumpy, uneven coat. Thin it out with a little shortening or coconut oil until it flows smoothly off a spoon.
- The Dreaded “Cracking”: If your candy coating cracks after drying, it usually means your cake balls were too cold (like, frozen solid). The drastic temperature difference between the frozen ball and the warm candy causes the shell to crack as it sets. Firmly chilled is the goal, not rock solid.
Variations & Customizations
This is where the real fun begins. Use this base recipe as a launchpad for your creativity.
- Classic Red Velvet: Use a red velvet cake mix and cream cheese frosting for the filling. Dip in white candy melts for a classic, striking look. It’s sophisticated and delicious.
- Cookie Monster Mayhem: Use a chocolate chip cake (or a vanilla cake with crushed Oreos mixed in). Dip in blue candy melts, and before it sets, stick on some candy eyeballs and a mini chocolate chip cookie where the mouth would be. It’s a guaranteed hit with kids.
- Salted Caramel Pretzel: Use a chocolate cake and caramel frosting. After dipping in dark chocolate candy melts, sprinkle with crushed pretzels and a pinch of coarse sea salt. The sweet and salty combo is ridiculously addictive.
FAQ Section
Let’s tackle those burning questions before you have a meltdown mid-dip.
Why are my cake pops falling off the stick?
This is the worst, right? It’s usually one of three culprits: the cake ball is too heavy (too big or too much frosting), it wasn’t chilled enough, or you forgot to use the melted candy to “glue” the stick in place first.
How do you get a perfectly smooth coating on cake pops?
Two things: thin your candy melts with a bit of shortening and tap, tap, tap. After dipping, gently tap your wrist or the stick against the rim of the bowl. This encourages the excess coating to drip off evenly, leaving a smooth, flawless finish.
Can you make cake pops ahead of time?
Yes! They’re a great make-ahead party dessert. You can store finished cake pops in an airtight container in the refrigerator for up to a week. Let them sit at room temperature for about 20-30 minutes before serving.
What’s the best kind of frosting for cake pops?
A thick, store-bought frosting like buttercream or cream cheese is your best bet. Avoid light, airy, or whipped frostings, as they don’t have enough density to bind the cake crumbs properly.
Why did my candy coating crack?

This happens when the temperature difference between your cake ball and your melted candy is too extreme. If your cake balls are frozen solid, the warm candy coating will crack as it rapidly cools and contracts. Aim for chilled and firm, not frozen.
How do you fix oily or greasy cake pops?
TBH, this is a tough one to fix after the fact. It’s a sign that too much frosting was used. The best solution is prevention. Start with minimal frosting and only add more if the crumbs absolutely won’t stick together.
Do I have to use candy melts? Can I use regular chocolate?
Candy melts are designed for this and are the easiest option. You can use regular chocolate chips or high-quality chocolate, but you’ll need to add 1-2 teaspoons of coconut oil or shortening per cup of chocolate to help it melt smoothly and set properly. It can be a bit more temperamental.
Final Thoughts
You did it. You stared into the face of the mighty cake pop and emerged victorious. You are now a certified dessert badass. Go ahead and put that on your resume. You’ll never look at that coffee shop display case the same way again, because you know the secret: they’re not that hard after all. Now go forth, share your creations, and watch the rave reviews roll in.