How to Make Cake From Scratch: A Beginner’s Guide to the Perfect Cake!
How to Make Cake From Scratch: A Beginner’s Guide to the Perfect Cake!
Forget everything you think you know about baking. Forget the scary technical terms, the fear of sunken cakes, and the siren song of the box mix aisle. Today, you are going to learn how to make cake from scratch, and I promise it’s going to be way easier, more fun, and infinitely more rewarding than you think. This isn’t about creating some ten-tiered architectural marvel you saw on a baking show. This is about mastering the fundamentals.
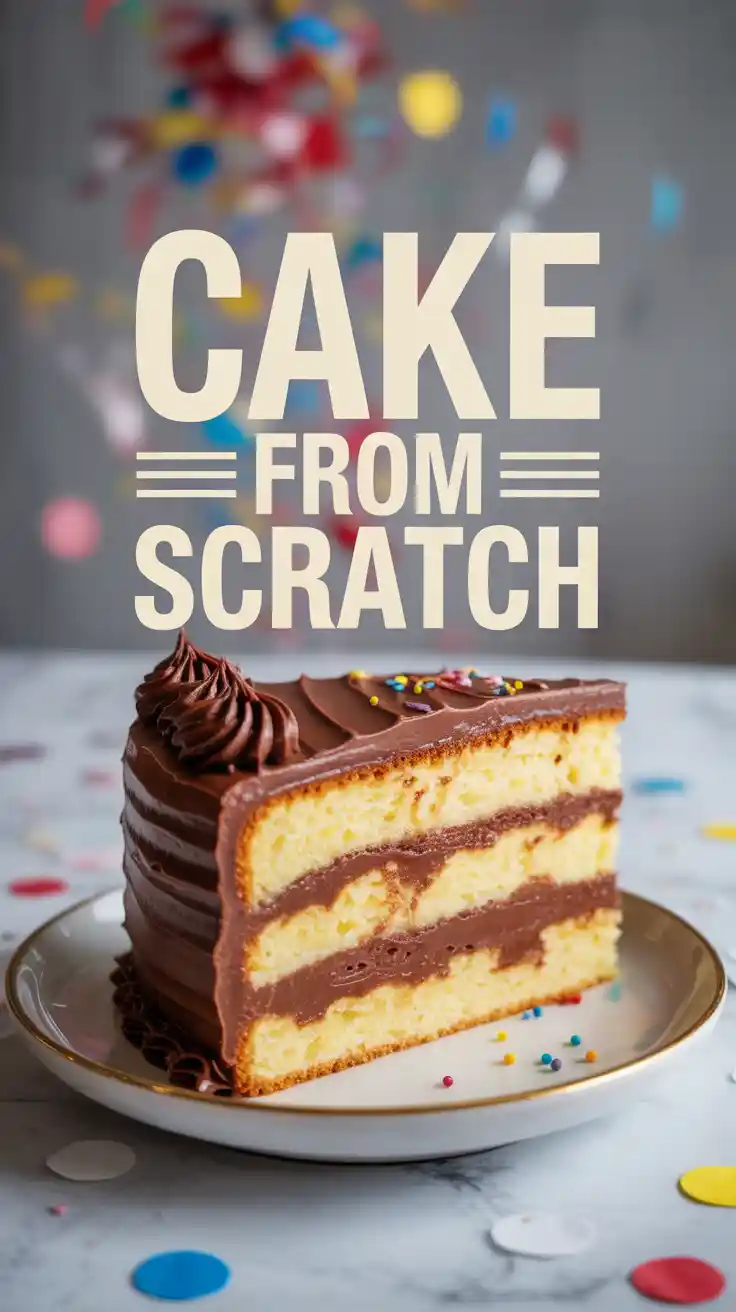
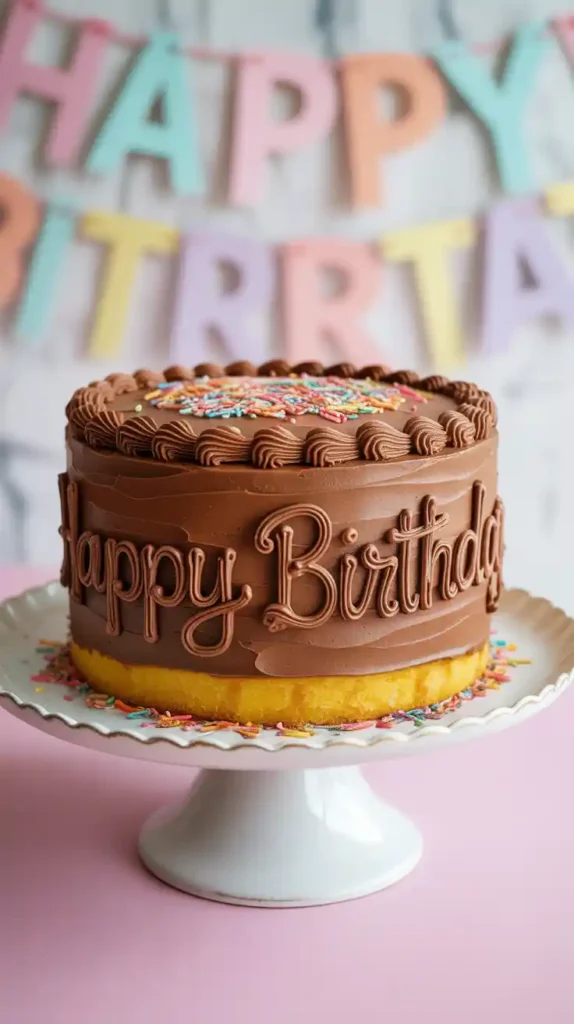
We’re going back to basics with the undisputed champion of celebrations, the king of comfort, the one and only classic yellow birthday cake with chocolate frosting. It’s the taste of pure joy and nostalgia. It’s the cake that will make you realize you had a baking superhero inside you all along, just waiting for the right recipe.
So, are you ready to ditch the mix forever and create a cake so tender, moist, and delicious that your friends will think you secretly went to pastry school? Let’s do this. Welcome to Baking 101.
Why This Recipe is Awesome
In a world filled with endless cake recipes, why should you start here? Because this one is special, my friend.
- It’s the Foundation of All Cake Knowledge: This isn’t some weird, complicated cake with hard-to-find ingredients. This is the cake. The classic yellow butter cake. Master this, and you’ll have the skills and the confidence to tackle almost any other cake recipe out there. It’s the Rosetta Stone of baking.
- It Tastes Like Pure Nostalgia: This is the flavor of every happy childhood birthday party. It’s buttery, rich with vanilla, impossibly moist, and has a tender, fluffy crumb that will make you wonder why you ever settled for that box of chemicals and regret.
- It’s a Foolproof Confidence Booster: I’ve designed this recipe to work. There are no tricky steps, no weird techniques. When you pull two perfect, golden, fragrant cake layers out of your oven, you’re going to feel like you can conquer the world. Or at the very least, you’ll feel like you deserve an extra-large slice.
Ingredients
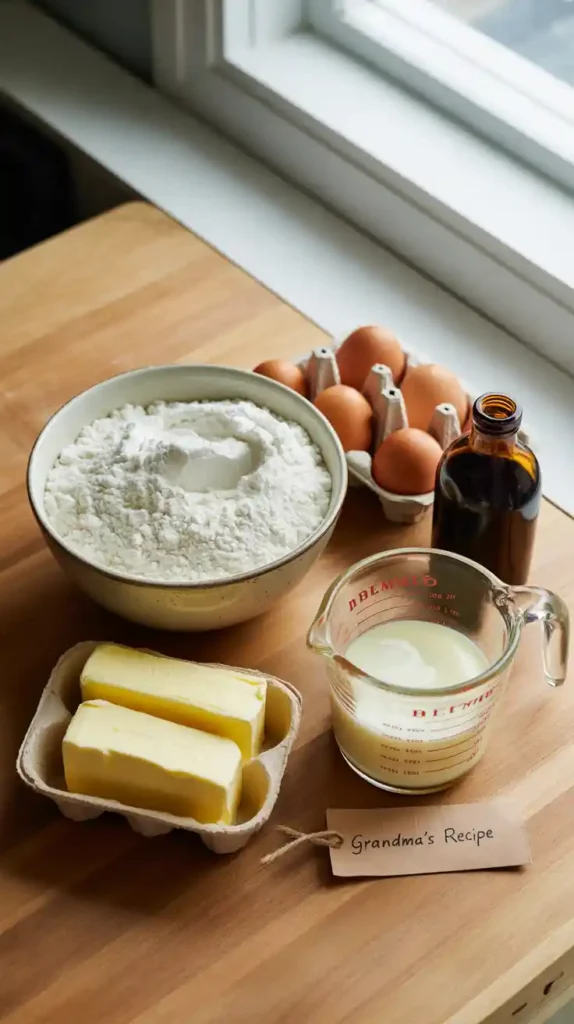
The players are simple, but their roles are mighty. We’re building flavor and texture from the ground up, one delicious ingredient at a time.
For the Classic Yellow Cake:
- 2 ½ cups all-purpose flour
- 1 ½ teaspoons baking powder
- ½ teaspoon baking soda
- 1 teaspoon salt
- 1 cup (2 sticks) unsalted butter, softened to room temperature
- 1 ¾ cups granulated sugar
- 2 large eggs + 2 large egg yolks, at room temperature (the extra yolks add incredible richness and moisture!)
- 2 teaspoons pure vanilla extract
- 1 cup buttermilk, at room temperature
For the Simple Chocolate Buttercream:
- 1 cup (2 sticks) unsalted butter, softened
- 3 ½ cups powdered sugar, sifted
- ½ cup unsweetened cocoa powder, sifted
- ½ cup heavy cream or milk
- 1 teaspoon vanilla extract
- Pinch of salt
Tools & kitchen gadgets used
You don’t need a professional bakery, but these tools will set you up for success and make the whole process a lot more fun.
- A Stand Mixer with the paddle attachment, or a powerful Hand Mixer
- Two 9-inch Round Cake Pans
- Parchment Paper
- Mixing Bowls (at least one large, one medium)
- A Whisk
- A Silicone Spatula
- A Wire Cooling Rack
- An Offset Spatula (for frosting like a pro)
Step-by-step instructions

Deep breaths. We’re going to walk through this together. It’s just a series of simple, easy steps!
Step 1: Prep School First things first. Preheat your oven to 350°F (175°C). Take your two round cake pans, grease them thoroughly with butter or baking spray, then dust them with flour (tapping out any excess). For ultimate non-stick insurance, place a circle of parchment paper on the bottom of each pan. This 5-minute step is the difference between a cake that pops out beautifully and a cake-related tragedy.
Step 2: The Dry Team In a medium bowl, whisk together your flour, baking powder, baking soda, and salt. This seems like a fussy little step, but it’s important! It ensures you don’t get a random, bitter bite of baking soda in your finished cake. Set it aside.
Step 3: Creaming 101 (The Most Important Step!) In the large bowl of your stand mixer (or using a hand mixer), place your softened butter and granulated sugar. Beat them together on medium-high speed for a full 4-5 minutes. I’m not kidding, set a timer. The mixture will transform from gritty and yellow to a pale, light, and airy texture. You are literally whipping tiny air pockets into the fat, which is what will make your cake wonderfully fluffy. Do not rush this!
Step 4: Add the Eggs and Vanilla With the mixer on medium speed, add the eggs and egg yolks, one at a time, beating for about 30 seconds after each addition until it’s fully incorporated. Scrape down the sides of the bowl with your spatula, then beat in the vanilla extract.
Step 5: The Alternate Reality Now for the part that sounds fancy but isn’t. You’re going to alternate adding the dry ingredients and the buttermilk. With the mixer on its lowest speed, add about one-third of the dry mixture. Once it’s almost combined, pour in about half of the buttermilk. Follow with another third of the dry mix, the rest of the buttermilk, and finish with the last of the dry mix. Mix only until the last streak of flour disappears.
Step 6: Bake It ‘Til You Make It Divide the glorious batter evenly between your two prepared pans and smooth the tops with a spatula. Bake for 30-35 minutes. The cake is done when the edges are pulling away from the sides of the pan and a wooden toothpick inserted into the center comes out clean.
Step 7: The Cool Down Let the cakes cool in their pans on a wire rack for about 15 minutes. Then, carefully run a knife around the edges and invert the cakes out onto the wire rack to cool completely. You must let them cool 100% before you even think about frosting them. I mean it.

Step 8: Frosting Fun While the cakes cool, beat the softened butter in your mixer until creamy. Sift in the powdered sugar and cocoa powder and mix on low until combined. Add the heavy cream and vanilla, then beat on medium-high for 3-5 minutes until it’s light, fluffy, and perfectly spreadable.
Step 9: Put It All Together Place one cooled cake layer on your serving plate. Top with a generous layer of chocolate frosting. Place the second layer on top. Apply a thin, messy “crumb coat” of frosting all over the cake to trap any loose crumbs, then chill it for 20-30 minutes. Finish with a final, beautiful coat of frosting, making pretty swirls with your offset spatula.
Calories & Nutritional Info
It’s a celebration cake. Let’s not ruin the magic with too much math, but if you’re curious…
- Serving Size: 1 slice (assuming the cake is cut into 16 generous slices)
- Estimated Calories: Around 450-550 kcal per frosted slice.
- This cake is a significant source of: Joy. And sugar. And happiness. Mostly happiness.
Common Mistakes to Avoid
This is your troubleshooting guide. Read it and avoid the tears of a failed cake.
- Using Cold Ingredients: I cannot say this enough. Your butter, eggs, and buttermilk MUST be at room temperature. Cold ingredients do not combine properly. Cold butter won’t cream into a fluffy texture, and cold liquids will cause the beautiful batter you just made to curdle and break.
- Under-Creaming the Butter and Sugar: If you only mix for 30 seconds, you’re missing out on the magic. You need to beat it until it’s visibly paler and much, much fluffier. This step is the entire foundation of a light and tender cake texture.
- Overmixing the Final Batter: The moment you add the flour, a gluten-developing countdown clock starts. If you beat the heck out of it, you’ll get a tough, dense, bready cake. Mix on low speed and stop as soon as the flour is incorporated.
- Being a Peeping Tom with the Oven: I know you want to peek. Don’t do it! Every time you open the oven door, a rush of heat escapes, and the oven temperature plummets. This can cause your beautifully rising cake to collapse in the middle, creating a sad crater of disappointment.
Variations & Customizations
Once you’ve mastered this basic cake, you own the universe. The possibilities are endless.
- Ultimate Funfetti Party Cake: This one is easy and always a hit. Gently fold 1 cup of rainbow jimmies (the little rod-shaped sprinkles) into the finished batter with a spatula before pouring it into the pans. It’s an instant party.
- Lemon Sunshine Cake: Add 2 tablespoons of fresh lemon zest to the sugar and rub it in with your fingers before creaming. For the frosting, skip the chocolate and make a simple vanilla buttercream, adding 1 tablespoon of lemon zest and 2 tablespoons of fresh lemon juice.
- Marble Cake Masterpiece: Make the batter as directed. Before pouring, divide it in half into two separate bowls. To one half, gently fold in a mixture of 2 tablespoons cocoa powder and 2 tablespoons of milk. Alternate spoonfuls of the vanilla and chocolate batter into the pans and swirl just once with a knife before baking.
FAQ Section
All the questions you were afraid to ask about making a cake from scratch, answered.
1. What is the secret to a really moist cake? Using ingredients with high fat and acid content is key. In this recipe, the buttermilk and the extra egg yolks are the secret weapons for an incredibly moist, tender crumb. And, of course, not overbaking it!
2. Why did my cake turn out dry and dense? The most common culprits are: measuring flour incorrectly (packing it into the measuring cup instead of spooning it in lightly), overmixing the batter after adding the flour, or overbaking the cake.

3. Can I use oil instead of butter in this recipe? You can, but it will change the flavor and texture. Butter provides a rich flavor, while oil provides a bit more moisture. This recipe is designed for the flavor of butter.
4. How do I know for sure when my cake is done baking? The toothpick test is the most reliable method. Insert a wooden toothpick or skewer into the very center of the cake. If it comes out clean or with a few moist crumbs attached, it’s done. If it has wet batter on it, it needs more time.
5. What can I use if I don’t have buttermilk? Easy fix! For every 1 cup of buttermilk, you can substitute 1 cup of regular milk mixed with 1 tablespoon of white vinegar or lemon juice. Let it sit for 5-10 minutes; it will curdle slightly and be ready to use.
6. Why is it so important to use room temperature ingredients? Room temperature ingredients form a smooth, stable emulsion that traps air. This trapped air expands in the oven, giving your cake its light, fluffy texture. Cold ingredients resist mixing and can result in a dense, heavy cake with a coarse crumb.
7. How do I prevent my cake from sticking to the pan? The triple-threat method: Grease the pan, flour the pan, and line the bottom with parchment paper. It might seem like overkill, but you’ll thank me when your cake slides out of the pan perfectly every single time.
Final Thoughts
See? You did it. You followed the steps, you trusted the science, and you made a real, from-scratch, ridiculously delicious cake. The power of the box mix has no hold on you anymore. You are a baker. You can make cake whenever you want. This is a dangerous and wonderful new reality.
Go forth and conquer the kitchen, one glorious, buttery, perfectly-frosted slice at a time.