How to create a unique candle gift basket with complementary items.
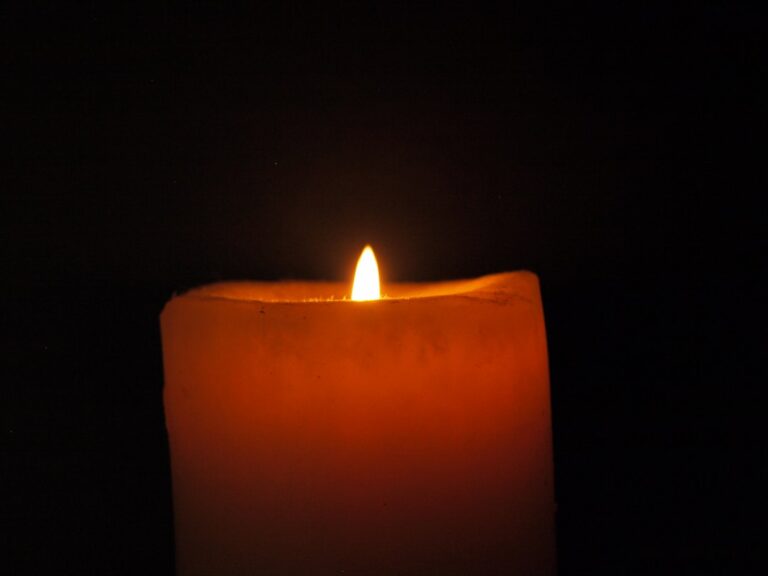
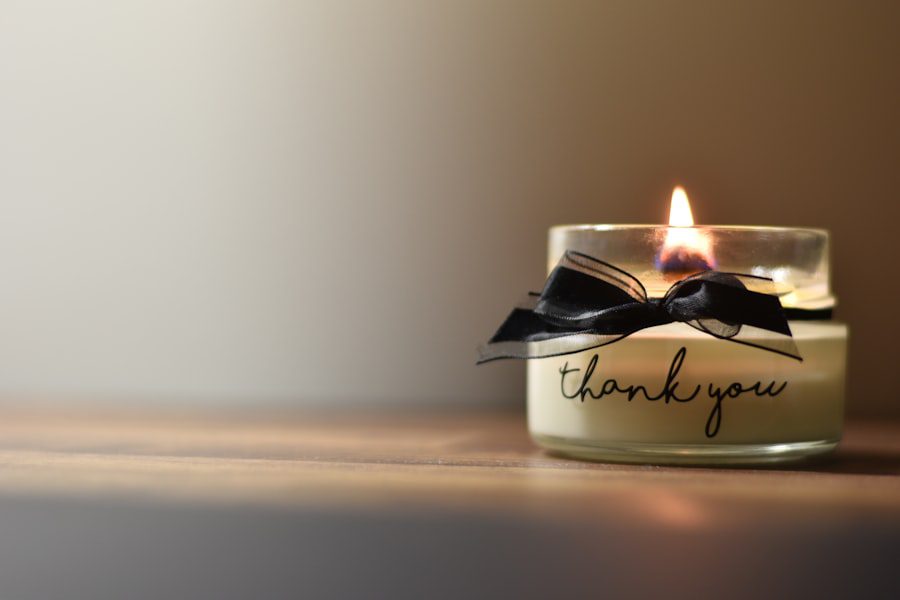
When it comes to creating a thoughtful gift basket, the candle you select serves as the centerpiece that sets the tone for the entire arrangement. The right candle can evoke emotions, create ambiance, and even reflect the personality of the recipient. To begin, consider the scent profile of the candle.
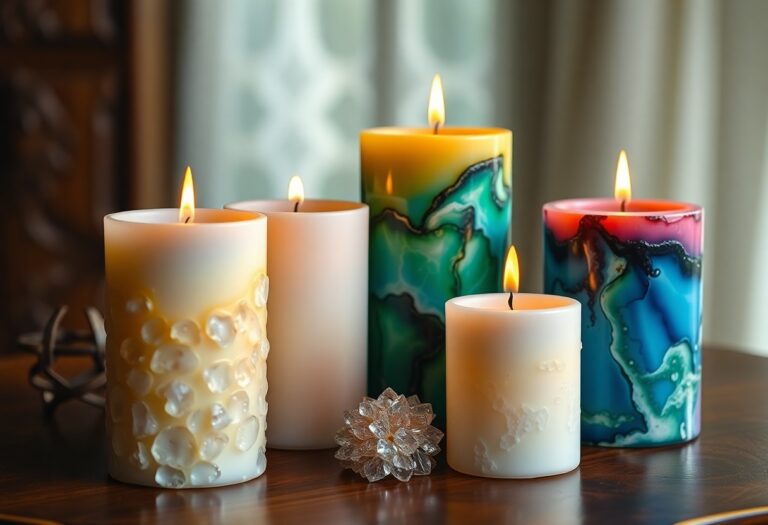
Scents like lavender and chamomile are often associated with relaxation and tranquility, making them ideal for someone who enjoys self-care or has a hectic lifestyle. On the other hand, invigorating scents such as citrus or peppermint can energize and uplift, perfect for someone who thrives on motivation and positivity. Beyond scent, the aesthetic of the candle is equally important.
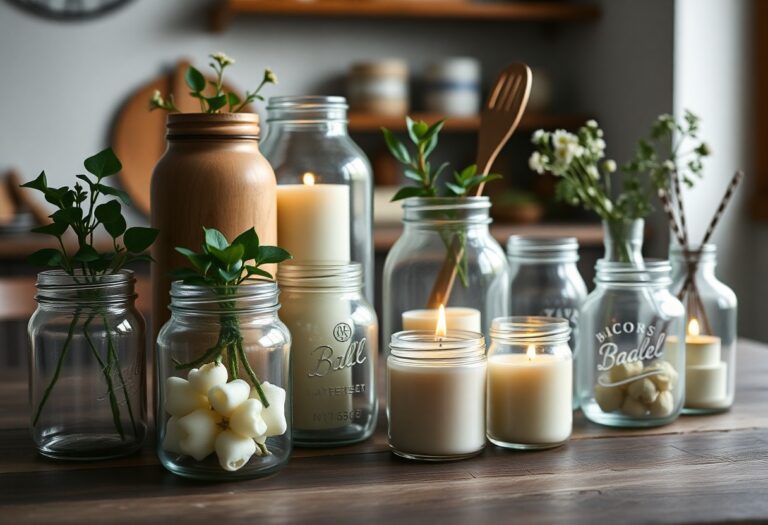
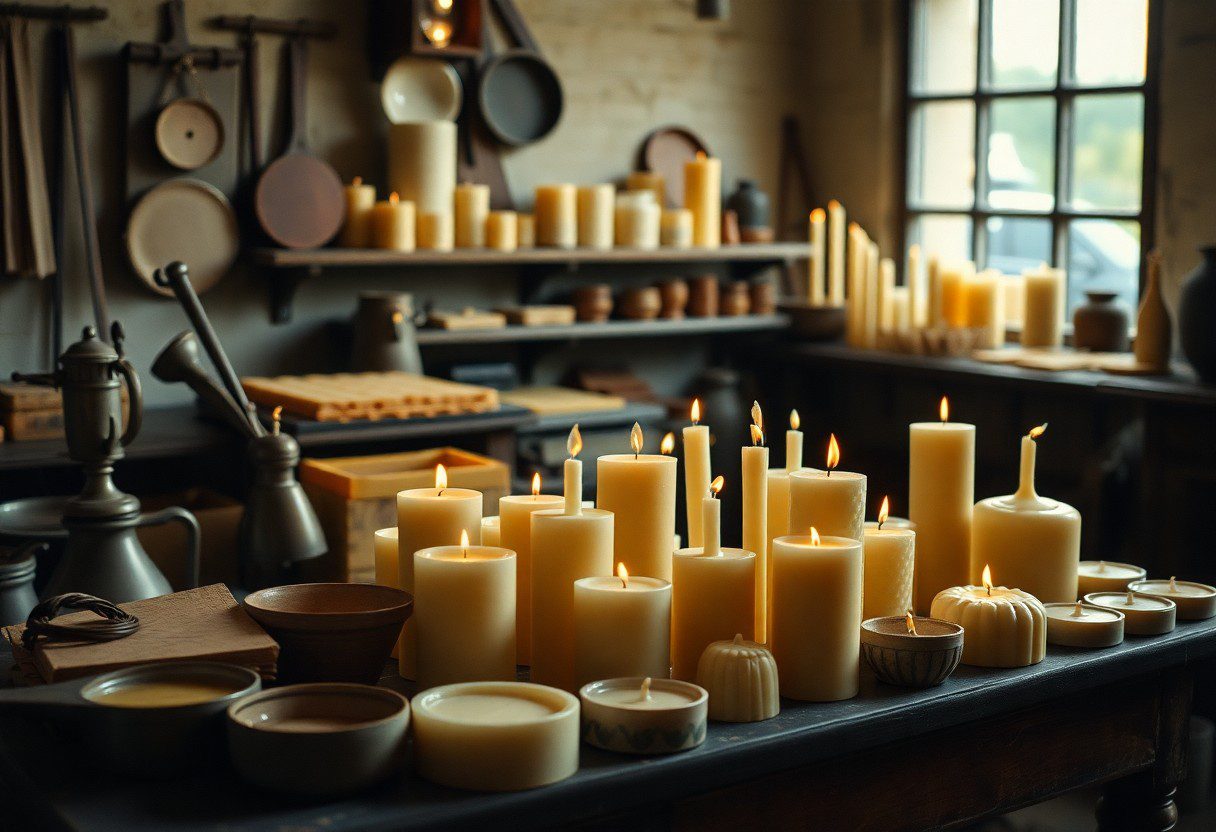
Candles come in various shapes, sizes, and designs, from minimalist glass jars to ornate decorative pieces. A beautifully crafted candle can serve as a decorative item in the recipient’s home long after it has been burned. Additionally, consider the burn time and quality of the candle.
Opting for natural waxes like soy or beeswax not only ensures a cleaner burn but also supports eco-friendly practices. By choosing a candle that aligns with both the recipient’s preferences and values, you lay a solid foundation for a gift basket that feels personalized and meaningful.
Selecting Complementary Items
Once you have chosen the perfect candle, the next step is to select complementary items that enhance the overall theme of your gift basket. Think about what items would pair well with the candle to create a cohesive experience. For instance, if you have chosen a calming lavender candle, consider adding items such as herbal teas, bath salts, or a soft throw blanket.
These additions can create a spa-like atmosphere that encourages relaxation and self-pampering. In contrast, if your candle has an invigorating scent like citrus, you might want to include items that promote energy and vitality. Freshly brewed coffee or gourmet chocolate can be delightful additions that complement the uplifting nature of the candle.
Additionally, incorporating practical items such as a stylish candle holder or matches can enhance the functionality of your gift basket while also adding an element of thoughtfulness. The key is to curate a selection of items that not only harmonize with the candle but also resonate with the recipient’s lifestyle and preferences.
Assembling the Gift Basket
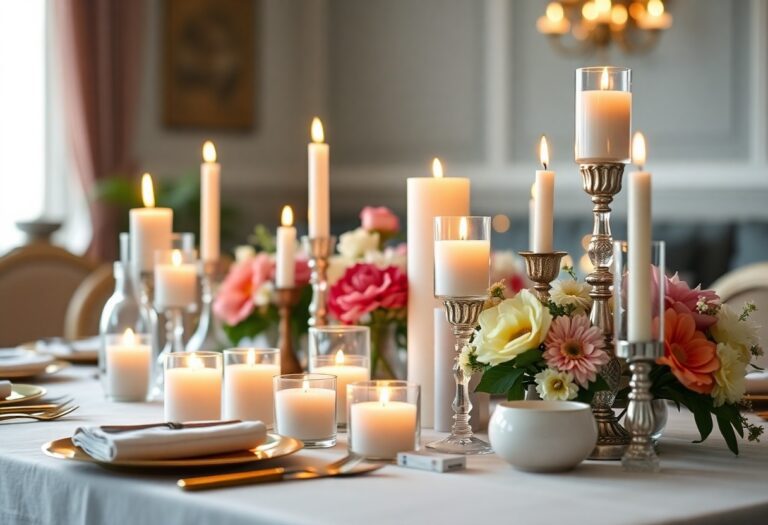
Assembling your gift basket is where creativity truly comes into play. Start by selecting a suitable container that reflects the theme of your gift. A rustic wicker basket might be perfect for a cozy, homey feel, while a sleek metal tray could lend a modern touch.
Once you have your base, arrange your items thoughtfully. Place the candle at the center as it is the focal point, then build around it with complementary items. Consider varying heights and textures to create visual interest; for example, stack some items on top of others or use small risers to elevate certain pieces.
When arranging your items, think about balance and accessibility. Ensure that all components are visible and easy to reach, allowing the recipient to appreciate each item without having to dig through the basket. You might also want to incorporate filler materials such as shredded paper or fabric to provide cushioning and support for your items while adding an extra layer of texture.
This not only protects your gifts but also enhances the overall presentation of the basket.
Adding Personal Touches
Personalization is what transforms a standard gift basket into a heartfelt gesture that resonates deeply with the recipient. One way to add personal touches is by including items that reflect shared memories or inside jokes. For example, if you and the recipient have enjoyed a particular type of tea together in the past, including that tea in your basket can evoke fond memories and strengthen your bond.
Another approach is to customize items within the basket. This could mean selecting a candle with a scent that holds special significance for both of you or including a photo frame with a cherished picture inside. You might also consider adding handmade items such as knitted coasters or baked goods that showcase your effort and thoughtfulness.
These personal touches not only make the gift more meaningful but also demonstrate your understanding of what makes the recipient unique.
Presentation and Packaging

The presentation of your gift basket plays a crucial role in how it is received. A well-packaged basket can elevate even the simplest of gifts into something extraordinary.
If you choose cellophane, gather it at the top and secure it with a ribbon or twine for a polished look. This not only protects your items but also adds an element of surprise when the recipient unwraps it.
A sprig of eucalyptus or a few delicate blooms can add freshness and vibrancy to your basket. Additionally, think about color coordination; using colors that complement each other can create a harmonious look that draws attention. The goal is to create an inviting presentation that excites the recipient and makes them eager to explore what’s inside.
Including a Handwritten Note
Adding a Personal Touch
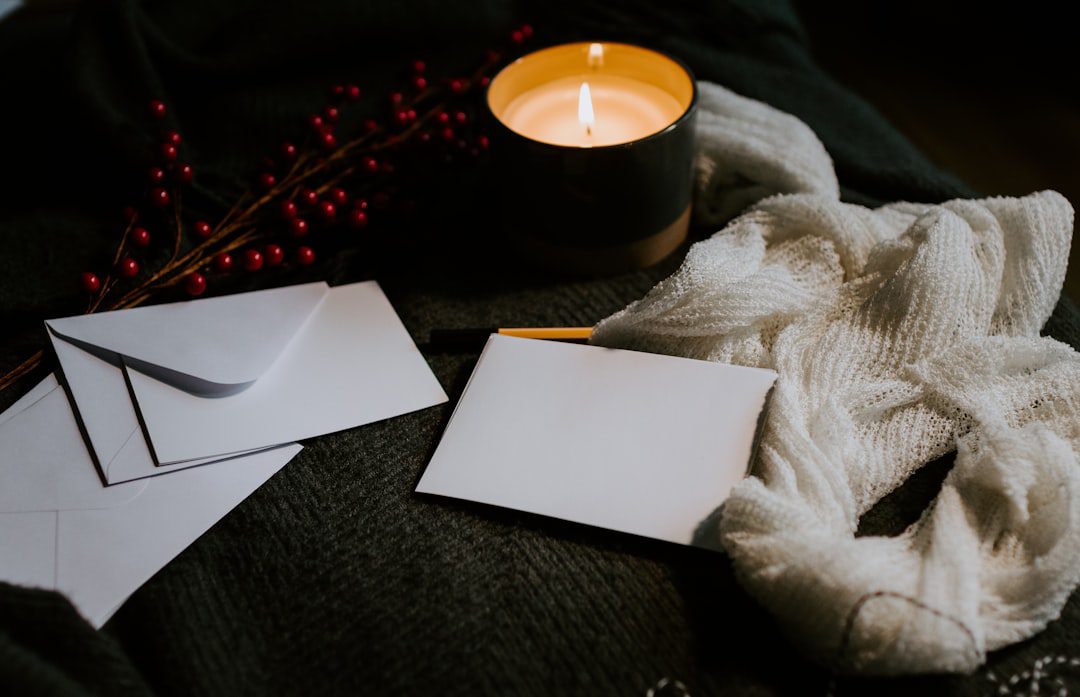
A handwritten note is an essential component of any gift basket, as it adds a personal touch that digital messages simply cannot replicate. Take time to craft a heartfelt message that expresses your sentiments toward the recipient. Whether it’s a simple “Thinking of you” or a more elaborate note detailing why you chose each item in the basket, your words will resonate deeply with them.
Conveying Gratitude and Encouragement
Incorporate elements of gratitude or encouragement in your note, especially if the gift is meant to uplift someone during challenging times. A few thoughtful lines can make all the difference in how your gift is perceived. Consider using decorative stationery or even crafting your own note card to further personalize this aspect of your gift basket.
The Impact of Handwritten Words
The act of writing by hand conveys effort and sincerity, making your message all the more impactful.
Tips for Customizing the Basket
Customizing a gift basket involves more than just selecting items; it requires an understanding of the recipient’s tastes and preferences. Start by considering their hobbies and interests—if they are an avid reader, including a bestselling novel alongside your candle could be an excellent choice. Alternatively, if they enjoy cooking, gourmet spices or unique kitchen gadgets could enhance their culinary adventures.
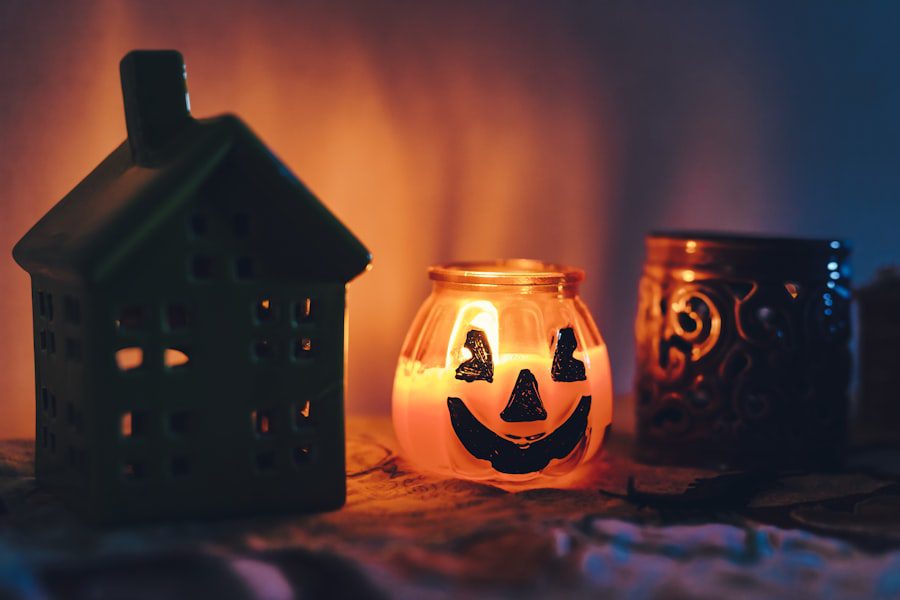
Another tip is to think about seasonal themes when customizing your basket. For instance, during winter holidays, you might include festive ornaments or hot cocoa mixes alongside a warm-scented candle like cinnamon or pine. In contrast, summer baskets could feature refreshing scents like coconut or ocean breeze paired with beach towels or sunscreen.
Tailoring your selections to fit seasonal moods not only makes your gift relevant but also shows that you put thought into every detail.
Where to Find Unique Items
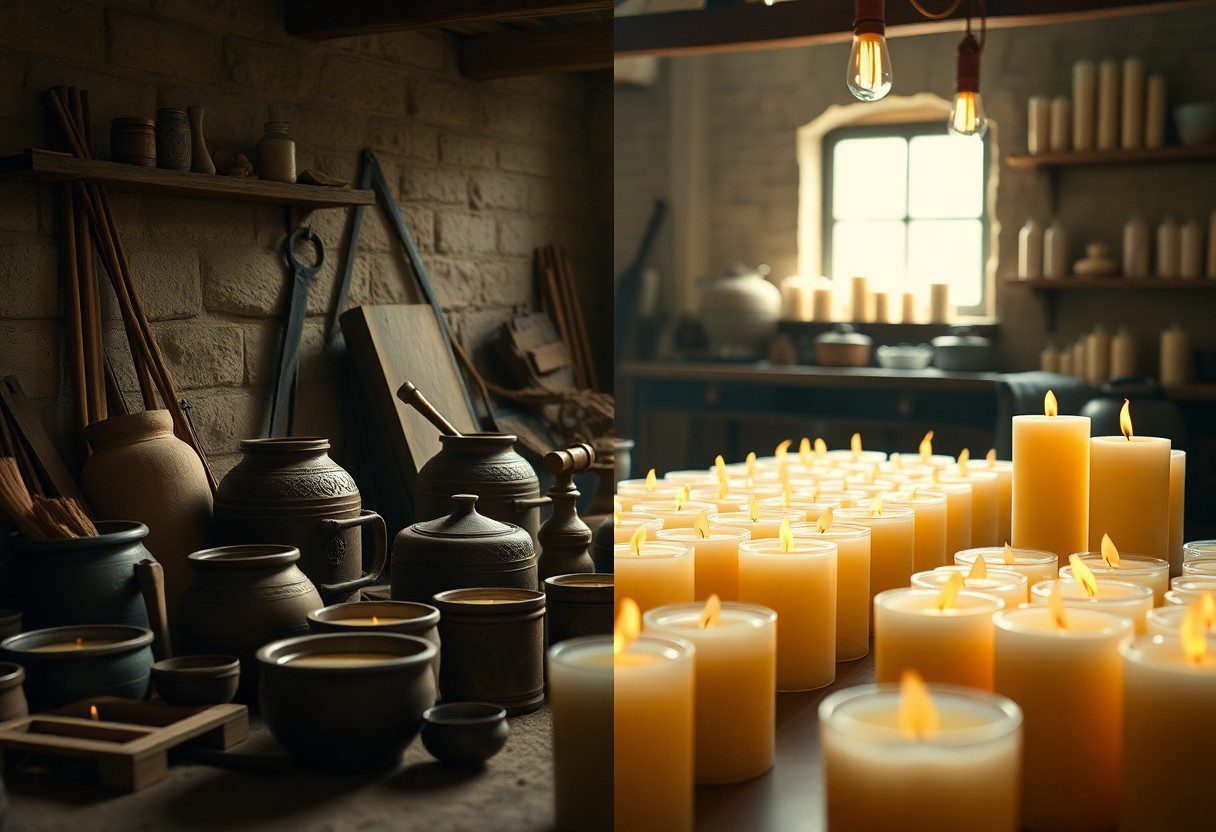
Finding unique items for your gift basket can be an enjoyable adventure if you know where to look. Local artisan markets are treasure troves for handcrafted goods that add character and charm to your arrangement. From artisanal candles to homemade jams, these markets often feature products that are not available in mainstream stores, allowing you to curate a truly one-of-a-kind gift.
Online platforms such as Etsy provide access to countless independent sellers who specialize in unique handmade items. Here, you can find everything from custom candles to personalized stationery that can elevate your gift basket’s appeal. Additionally, specialty shops—whether they focus on gourmet foods, home decor, or wellness products—can offer distinctive options that align perfectly with your chosen theme.
By exploring these avenues, you can ensure that each item in your gift basket stands out and reflects thoughtfulness in every detail.
If you’re looking to create a unique candle gift basket with complementary items, you may also be interested in learning about using dyes and pigments for candle coloring. This article on Crafters Buzz provides valuable tips and techniques for adding color to your candles. Additionally, if you’re considering offering your gift basket as a return or refund option, you may want to read up on the article about refund and returns policies on the same website. And if you’re thinking about using unscented candles in specific spaces or events, there’s another informative article on Crafters Buzz that can help guide your decision-making process.
FAQs
What is a candle gift basket?
A candle gift basket is a collection of candles and complementary items, such as matches, candle holders, and other decorative or functional items, presented in a basket or other container as a gift.
How can I create a unique candle gift basket?
To create a unique candle gift basket, start by selecting a variety of candles in different scents, sizes, and styles. Then, add complementary items such as matches, candle holders, decorative accents, and perhaps a small note or card to personalize the gift.
What are some complementary items to include in a candle gift basket?
Complementary items to include in a candle gift basket may include matches, candle holders, decorative accents such as ribbon or flowers, and perhaps a small note or card to personalize the gift.
Where can I find items to include in a candle gift basket?
Items for a candle gift basket can be found at specialty candle shops, home decor stores, and online retailers. You can also consider adding handmade or personalized items for a unique touch.
What are some occasions for giving a candle gift basket?
A candle gift basket can be given for a variety of occasions, including birthdays, holidays, housewarmings, and as a thank-you gift. It can also be a thoughtful gesture for someone in need of relaxation or self-care.