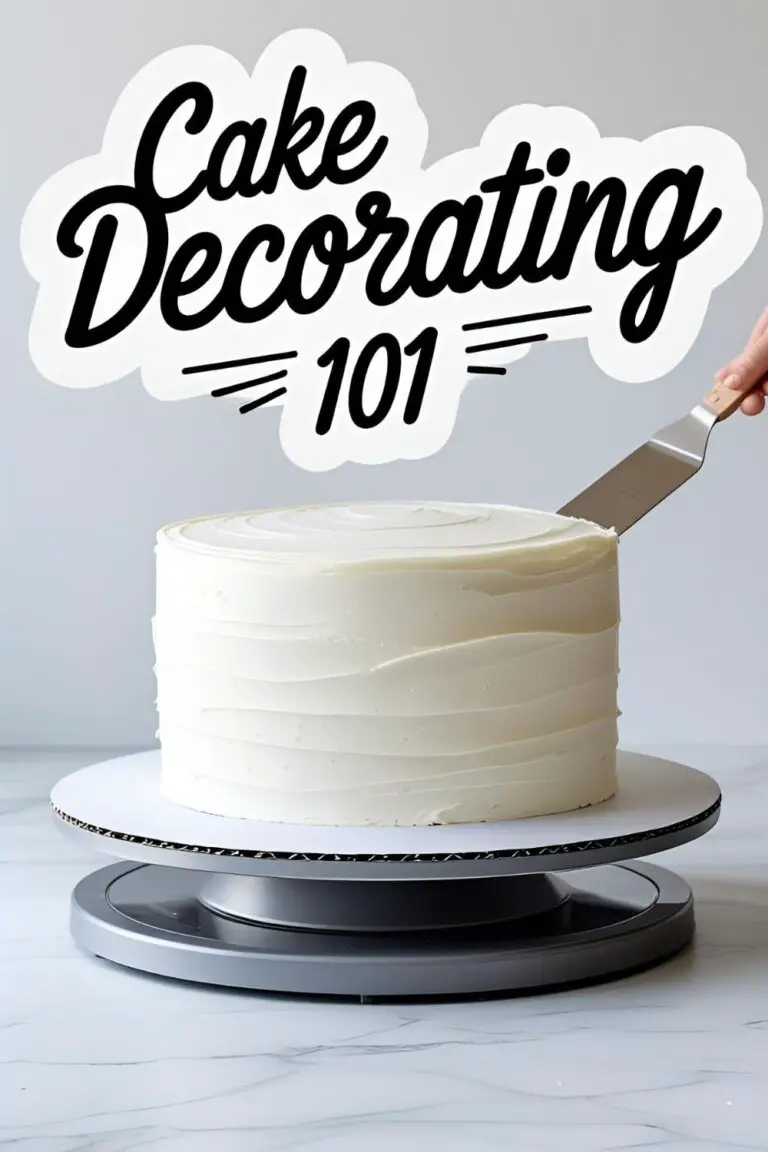
How to Ice a Cake for Beginners (A Foolproof Guide to a Smooth Finish!)
How to Ice a Cake for Beginners (A Foolproof Guide to a Smooth Finish!)
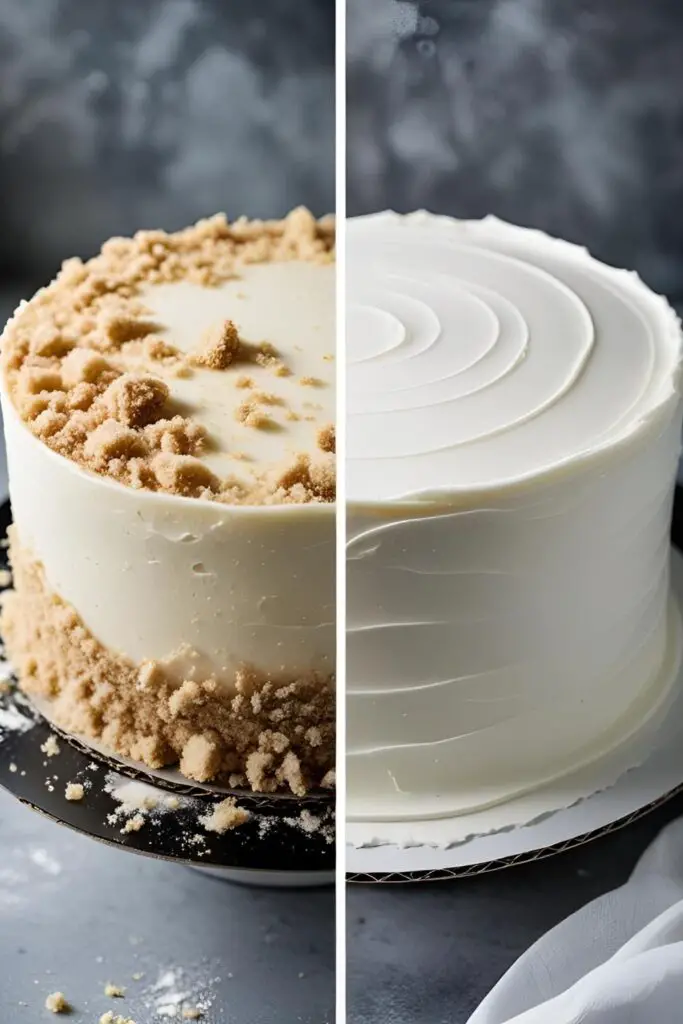
You baked a beautiful cake. It’s moist, it’s delicious, it smells like your kitchen should be featured in a magazine. And now comes the final, often terrifying, step: the icing. You grab your trusty butter knife, a tub of frosting, and with the best of intentions, you begin. Ten minutes later, your beautiful cake looks like it’s been spackled by a disgruntled toddler. It’s a lumpy, bumpy, crumb-riddled tragedy.
We’ve all been there. We’ve all created a cake that tasted like heaven but looked like a hot mess. But I’m here to tell you that a smooth, sleek, bakery-worthy finish is not a dark art reserved for professionals. It’s a technique, a surprisingly simple one at that, built on a single, game-changing secret. Today, we’re going to master how to ice a cake for beginners, and you’ll never look at a lumpy cake the same way again.
Why Learning This Skill Is a Total Power Move
This isn’t just a recipe; it’s a guide to unlocking your inner pastry chef. Mastering the basics of icing a cake will fundamentally change your baking game. Here’s why this is a skill you need.
First, it instantly elevates everything you bake. This technique is the difference between a cake that is clearly “homemade” and a cake that elicits a shocked, “Wow, you made that?!” It’s the final polish that turns your delicious cake into a stunning, impressive centerpiece.
Second, a smooth coat of icing is the perfect canvas for all other decorations. Want to add a beautiful chocolate drip? Fancy some intricate piping? Want to write “Happy Birthday, Brenda!” on top? You need a smooth, stable base to work on. This is the foundational skill that all other decorating is built upon.
Finally, it’s just incredibly satisfying. There is a unique and wonderful kind of joy that comes from gliding a bench scraper around a cake and revealing a perfectly smooth, flawless surface. It’s a therapeutic process that ends with you having a beautiful cake. It’s a win-win.
The “Ingredients” for a Flawless Finish
We’re not making a cake today; we’re finishing one. Here’s what you need to have ready before you even think about opening the frosting.
- A Fully Cooled & Leveled Cake: You’ll need two or three layers of your favorite cake recipe. The most important part is that they are completely, utterly, 100% cooled, or even slightly chilled. A warm cake will melt your icing into a puddle of despair. The layers should also be leveled (the domed tops sliced off) for a flat, stable structure.
- A Good Quality, Room-Temperature Frosting: You’ll need a generous amount (about 4-5 cups) of a sturdy, smooth frosting. A classic American buttercream is perfect for beginners. The ideal consistency is like a thick but smooth peanut butter—not too stiff that it tears the cake, and not so soft that it slumps off the sides.
The Decorator’s Essential Toolkit

Having the right tools is not about being fancy; it’s about making your life infinitely easier and ensuring a successful outcome. These are the essentials.
- A Cake Turntable: This is the #1 most important, non-negotiable, game-changing tool. It allows you to spin the cake while keeping your hands steady, which is the secret to a smooth finish.
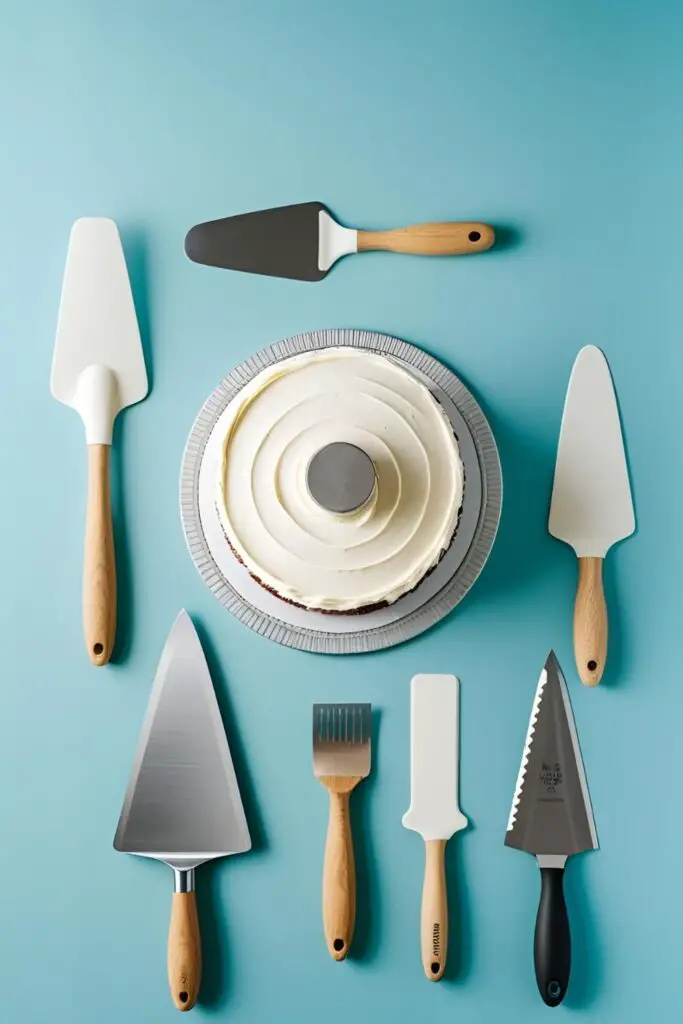
- An Offset Spatula (Large and Small): A spatula with a bent handle that acts as an extension of your hand. It’s perfect for applying icing to the top and sides of the cake without getting your knuckles in the way.
- A Bench Scraper (or Icing Smoother): This is your secret weapon for perfectly smooth sides. It’s a tall, flat piece of metal or plastic that works miracles.
- Cardboard Cake Circles: These thin cardboard rounds, the exact same size as your cake layers, provide a stable base for building, icing, and moving your cake.
- A Long Serrated Knife or a Cake Leveler: For that crucial first step of slicing off the domed tops of your cake layers.
Step-by-Step: The Icing Blueprint
This is the process the pros use, broken down into simple, manageable stages. Don’t be intimidated! We’re just slathering a cake in sugar, after all.
Phase 1: The Foundation & The Stack
- Level Your Cakes: Once your cakes are completely cool, use a long serrated knife to carefully slice off the domed tops, creating a perfectly flat surface. A flat foundation is key to a stable, non-lopsided cake. (The cake scraps, known as “baker’s treats,” are now your delicious reward for this hard work).
- Secure Your Base: Place a small dab of icing in the center of your cardboard cake circle and place your first cake layer on top. This “glues” the cake to the board. Now, place the whole assembly onto your cake turntable.
- Fill and Stack: Scoop about a cup of icing onto your first cake layer. Use your offset spatula to spread it into a smooth, even layer. Carefully place your second leveled cake layer on top, making sure it’s centered. Repeat if you have a third layer.
Phase 2: The Secret Weapon – The Crumb Coat
- What is a Crumb Coat? This is the most important secret in the cake decorator’s handbook. A crumb coat is a very thin, messy “primer” coat of icing that you apply all over the cake to trap any loose crumbs.
- Apply It: Scoop some icing onto the top of the cake. Use your offset spatula to spread it thinly over the top and then push it down the sides. It doesn’t have to be pretty! In fact, it’s supposed to look a bit messy. Scrape off any excess. The goal is a thin, almost see-through layer that locks in every last crumb.
- THE MANDATORY CHILL: Carefully place your crumb-coated cake into the refrigerator for at least 30-45 minutes, or until the icing is firm to the touch. This is not an optional step. This chilling process ensures that none of those pesky crumbs will get into your beautiful, pristine final coat of icing.
Phase 3: The Flawless Final Coat
- Apply a Generous Layer: Once your crumb coat is firm and chilled, it’s time for the main event. Apply a much thicker, more generous layer of icing all over the top and sides of the cake. Be liberal with it—it’s much easier to scrape excess icing off than it is to add more later to patch holes.
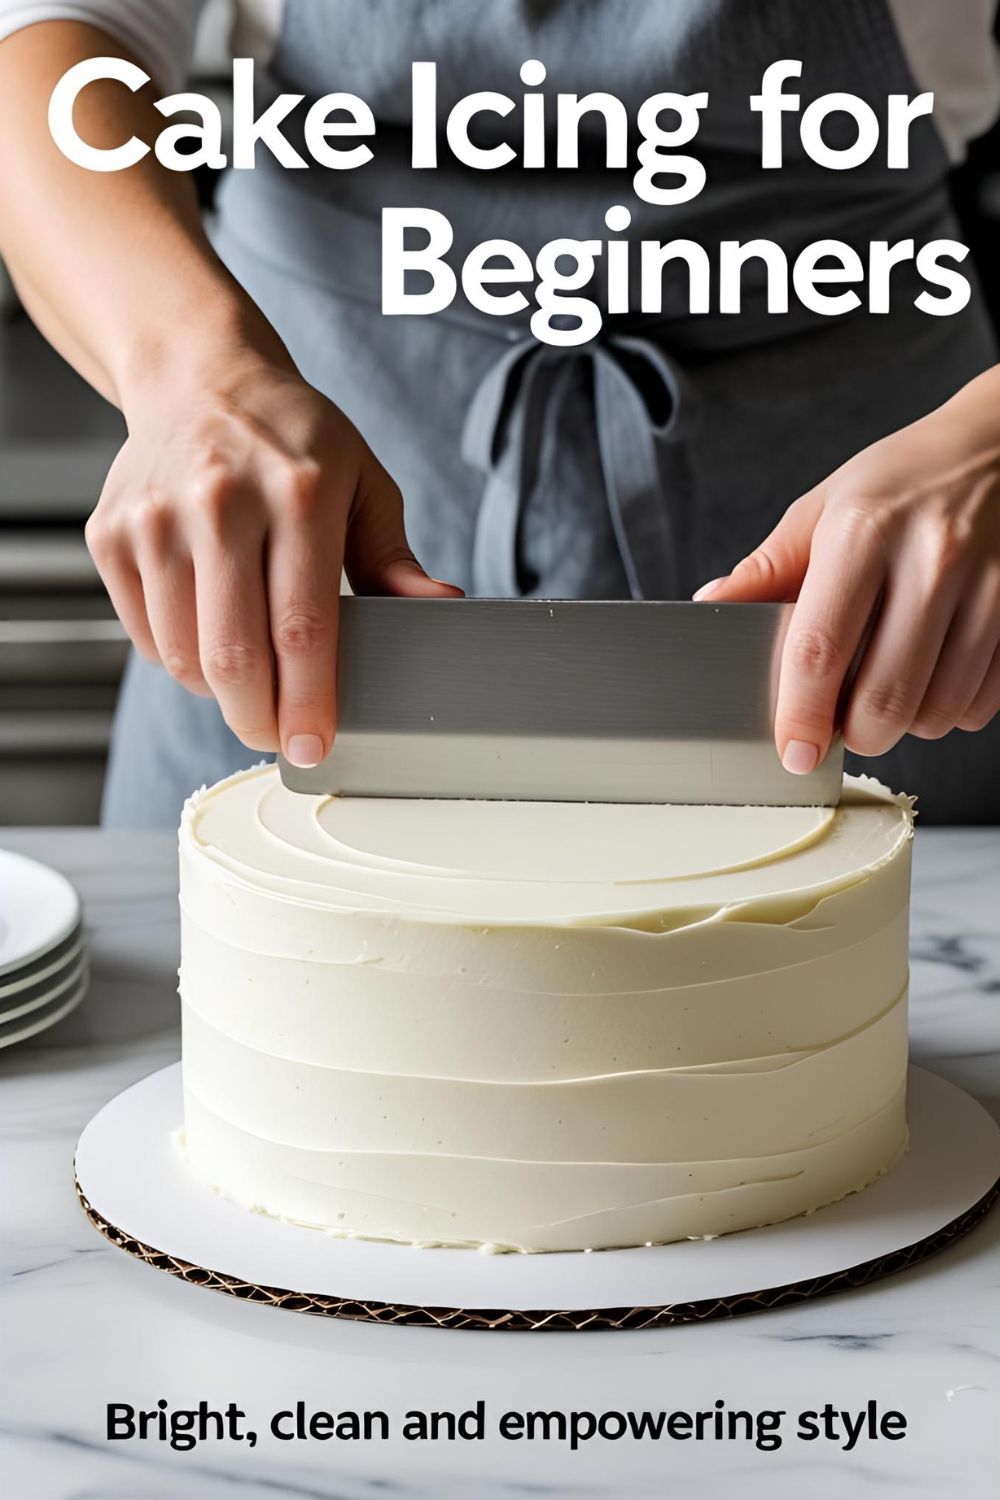
- Master the Sides: Take your bench scraper. Hold it straight up and down, with the bottom edge just touching the turntable. Gently press it against the side of the cake at about a 45-degree angle. Now, hold your scraper hand perfectly still and use your other hand to spin the turntable in one smooth, continuous motion. The scraper will smooth the icing and remove the excess. Scrape the excess from your scraper back into your bowl and repeat until your sides are beautifully smooth.
- Perfect the Top Edge: You will now have a “crown” or a lip of extra icing around the top edge of your cake. Take your small offset spatula, hold it parallel to the cake top, and gently swipe the excess icing from the outer edge towards the center of the cake in one clean, smooth motion. Wipe your spatula clean between each swipe for the sharpest edge.
And there you have it. A perfectly smooth, beautifully iced cake. You did it!
The Physics of Frosting (The “Nutrition”)
This isn’t about calories; it’s about the core principles that guarantee a successful icing job.
- Temperature is Everything: The golden rule is cold cake + cool room-temperature icing = success. A warm cake will melt your icing. A cold, stiff icing will tear your cake.
- The Power of a Stable Base: A leveled cake on a cardboard round is a stable foundation. Trying to ice a domed cake on a wobbly plate is an exercise in futility.
- The Magic of Centrifugal Force: The smooth, continuous motion of the turntable is what allows the bench scraper to create a uniform, flawless surface.
Common Icing Disasters to Avoid
Don’t let these simple mistakes ruin your hard work.
- Icing a Warm Cake. I will say this until I am blue in the face. It is the cardinal sin of cake decorating. If you try to put icing on a warm cake, it will melt into a greasy, heartbreaking puddle, your cake layers will slide around, and you will have a full-blown meltdown. Your cake must be completely, utterly, unquestionably cool.
- Skipping the Crumb Coat. Thinking you can just get a perfect, crumb-free finish in one go is the kind of reckless optimism that leads to certain failure. You will get crumbs in your final coat. It will look messy. It will taunt you. The crumb coat is not optional. It is the law.
- Using the Wrong Tools for the Job. Trying to frost a layer cake smoothly with a butter knife is like trying to paint a masterpiece with a garden rake. You will be frustrated, and the result will be lumpy. Invest in an offset spatula and a bench scraper. They are cheap, and they will change your cake-decorating life.
- Starting with a Lopsided Foundation. If your cake layers are domed and you just stack them up, you are trying to build a beautiful skyscraper on a lumpy hill. It will be tilted and unstable from the very beginning. Level your cake layers!
Variations & Customizations (Easy Finishes for Beginners)

A smooth finish is beautiful, but here are some other easy, stunning ways to finish your cake.
- The Rustic Swoop & Swirl: This is the easiest and most forgiving technique. Instead of using a bench scraper, simply use the back of a spoon or your small offset spatula to press into the final coat of icing and create beautiful, rustic swoops and swirls all over the cake. It’s effortlessly elegant.
- The Textured Comb: An icing comb is a simple tool with different patterns on the edges. After you’ve applied your final coat, just gently press the comb against the side of the cake and spin the turntable to create beautiful, clean lines and patterns.
- The Joyful Sprinkle Cake: The best way to hide any imperfections! Place your chilled, iced cake on a large baking sheet (to catch the mess). Take handfuls of your favorite sprinkles and gently press them onto the sides and top of the cake until it’s completely covered. It’s an instant party.
Your Burning Icing Questions, Answered
Let’s tackle some of the most common beginner questions.
What is a crumb coat and why is it so darn important?
A crumb coat (or crumb coating) is a thin layer of icing that you apply to the cake to trap all the loose crumbs. After you chill it, it creates a sealed, stable surface so that when you apply your final layer of icing, no crumbs can get into it, resulting in a perfectly clean finish.
How do I get my icing really perfectly smooth?
The magic combination is a cake turntable, a bench scraper, and a well-chilled, crumb-coated cake. For an extra-sharp, glass-like finish, you can heat your metal bench scraper under hot water, wipe it completely dry, and then do one final, gentle spin around the cake.
What’s the best kind of frosting to use for a smooth finish?
A classic American buttercream is a great starting point for beginners as it’s very stable. Swiss meringue and Italian meringue buttercreams also create incredibly silky-smooth finishes.
My cake is leaning! How do I fix it?
If it’s just a slight lean, you can often use your icing to create an illusion of evenness by adding a little extra on the lower side to build it up. However, a significant lean is usually a sign that your cake layers weren’t properly leveled to begin with.
How can I prevent air bubbles in my icing?
After you’ve made your buttercream, stir it by hand with a spatula for a few minutes, pushing it against the side of the bowl. This will smooth out the icing and knock out most of the large air bubbles.
Can I really do this without a turntable?
You can try, but it will be about a thousand times more difficult and frustrating. You would have to manually turn a plate or cake stand, which is jerky and uneven. A turntable is the single best investment you can make for improving your cake decorating.
How do I get that sharp, clean edge on top of my cake?

After you’ve smoothed the sides, you’ll have a “crown” of extra icing around the top. Take your clean, small offset spatula, hold it parallel to the cake top, and gently swipe that crown from the outer edge towards the center of the cake. Wipe the spatula clean after every single swipe.
Final Thoughts
Look at you. You are no longer just a baker who makes tasty things. You are a cake artist. A master of the smooth finish. A conqueror of crumbs. You have taken a naked, humble cake and transformed it into a stunning, bakery-worthy work of art.
So go forth. Be creative. Adorn your beautifully iced canvas with sprinkles, swirls, or drips. And never, ever again be intimidated by the thought of a lumpy, messy cake. You know the secrets now.