how to dip candles beeswax
Dipping your own candles in beeswax allows you to create beautiful, natural lighting for your home while enjoying the warm glow and delightful scent of beeswax. This simple yet rewarding process not only gives you a creative outlet but also produces candles that burn longer and cleaner than mass-produced alternatives. In this guide, you’ll learn the steps and tips to achieve perfectly dipped candles safely, ensuring you avoid common pitfalls like overheating the wax or burns. Get ready to immerse yourself in a fun and fulfilling crafting experience!
Understanding Beeswax
For candle dipping, it’s imperative to grasp the unique qualities of beeswax. This natural material is produced by honeybees and is celebrated for its distinctive properties, aroma, and versatility. Not only does beeswax provide a warm glow, but it also has a remarkable ability to purify the air. As you investigate into candle making, understanding the characteristics of beeswax will enhance your experience and the quality of your finished product.
Properties of Beeswax
Beeswax is a renewable resource known for its durability and high melting point, making it ideal for candle making. It has a natural honey scent, rich golden hue, and emits negative ions when burned, which can help purify the air. Additionally, beeswax candles burn longer and cleaner than their paraffin counterparts, producing minimal soot and toxins, which is a significant advantage for your indoor air quality.
Benefits of Using Beeswax for Candles
Benefits of using beeswax candles include numerous health and environmental advantages. These candles are non-toxic, renewable, and promote better air quality in your home.
A major advantage of using beeswax for your candles is its ability to create a healthier indoor environment. Beeswax candles produce negative ions that help eliminate dust, pollen, and other allergens from the air, benefiting those with allergies or respiratory issues. In addition, beeswax candles burn brighter and longer than other types, providing cost-effective lighting while adding a pleasant atmosphere to your space. The natural honey scent also enhances your home, creating a warm and inviting ambiance during any occasion.
Preparing to Dip Candles
Some people may find the idea of crafting their own candles appealing, especially when it comes to Hand-dipped Beeswax Candles. Before you begin, ensure that you have everything ready for a smooth dipping experience. Understanding the preparation process will enhance your candle-making and result in beautifully crafted beeswax candles.
Essential Tools and Materials
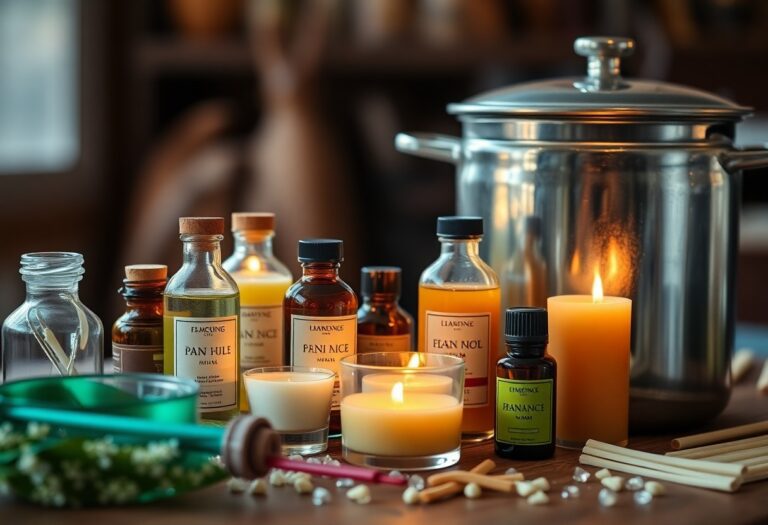
The key to successful candle dipping involves gathering the right tools and materials. You will need high-quality beeswax, a double boiler for melting, dipping wicks, scissors, a thermometer, and a heat-resistant surface to work on. Investing in these crucials will ensure that your candle-dipping adventure goes as planned.
Workspace Setup
To create the ideal workspace for dipping candles, choose a well-ventilated area that is free from distractions. This will help you focus on your craft while ensuring safety throughout the process. Lay down newspaper or a heat-resistant mat to protect your surfaces, and arrange your materials nearby for convenience.
Preparing your workspace is integral for a smooth and enjoyable candle-dipping experience. Set up a table that will allow ample room for your tools and materials while keeping them organized. Ensure that you have your melting pot safely positioned away from any flammable materials, prioritizing your safety. It’s also wise to keep some paper towels on hand for quick clean-ups, as molten wax can create a bit of a mess during the dipping process. Lastly, make sure to wear protective gloves, as beeswax can be hot and potentially harmful if it comes into contact with your skin.
How to Dip Candles
Clearly, dipping candles is a delightful way to create beautiful beeswax candles while enjoying the aromatherapy benefits of pure beeswax. This method allows you to layer wax on the wick, resulting in a unique, textured finish. With patience and practice, you can create lovely candles that add warmth and ambiance to any space.
Step-by-Step Dipping Process
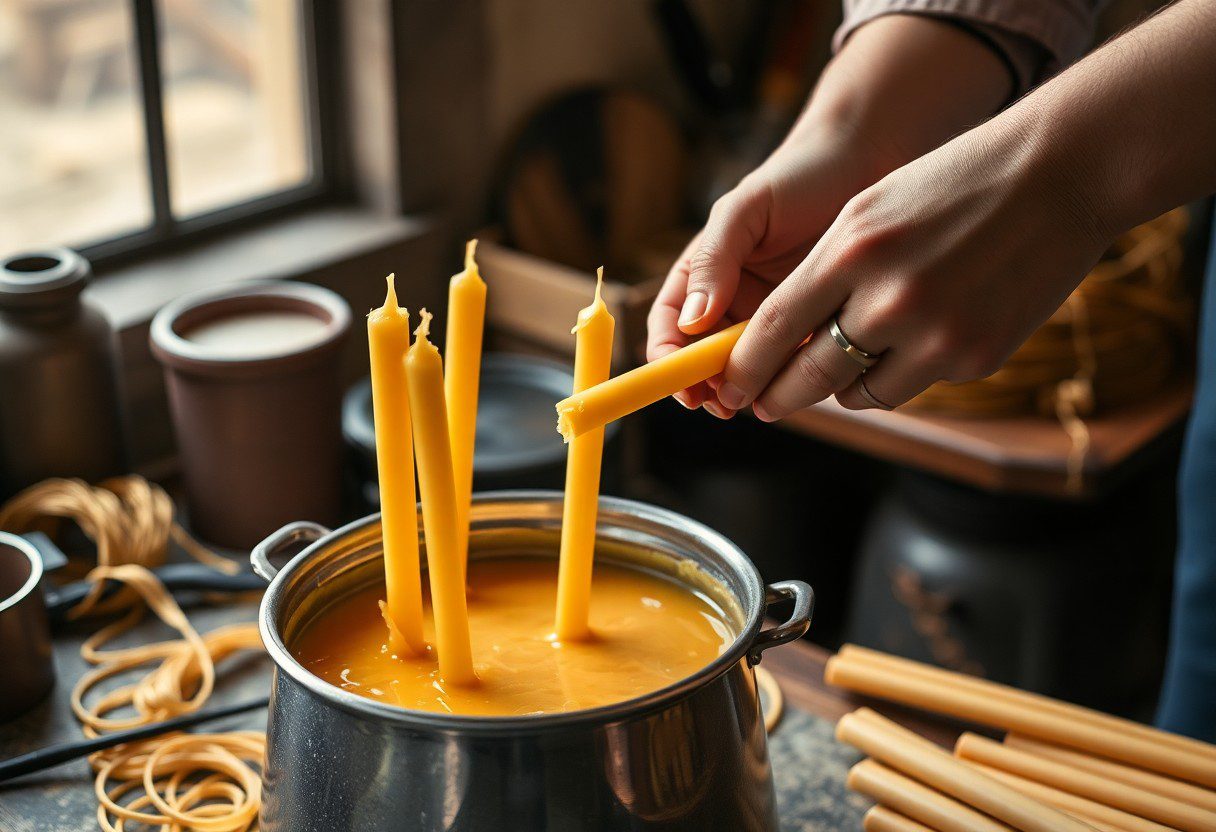
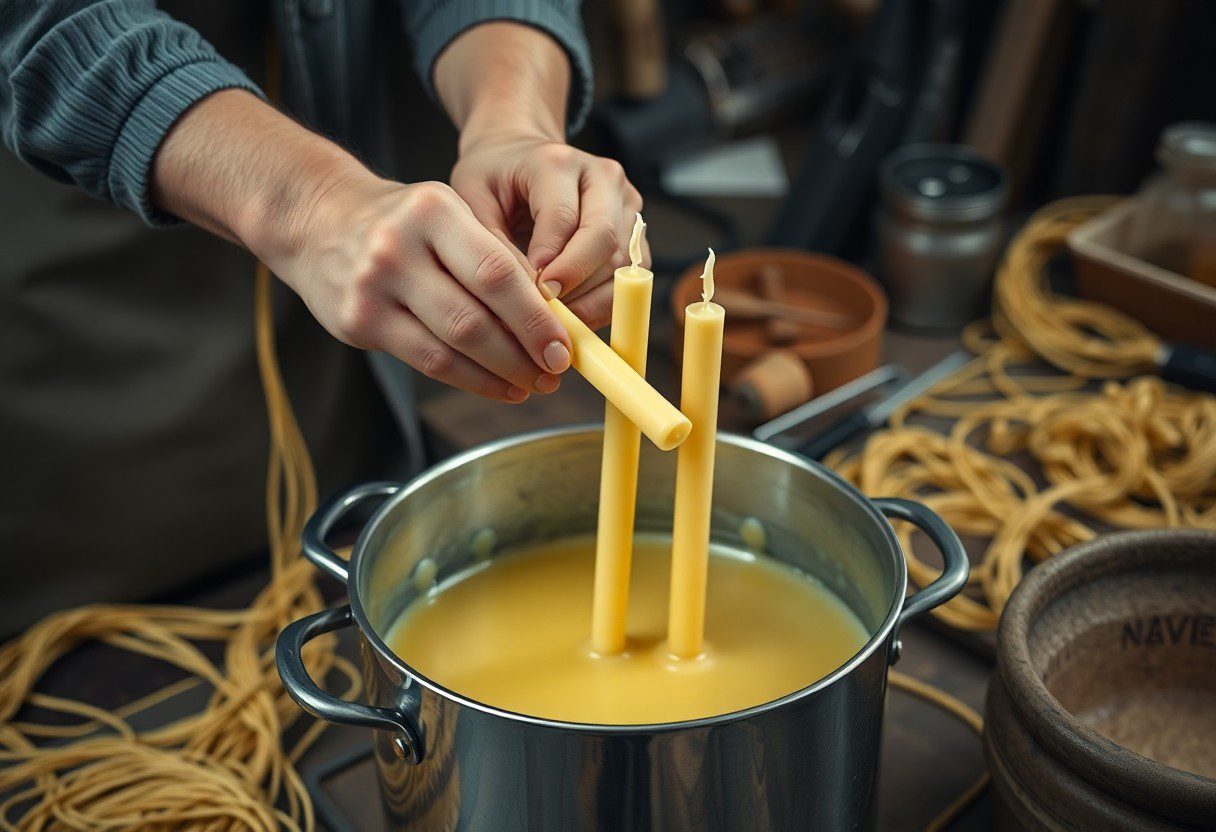
Any successful dipping process involves a series of simple steps. Below is a table outlining the crucial actions to take:
| Step | Description |
|---|---|
| 1 | Heat beeswax in a double boiler. |
| 2 | Insert the wick into the melted wax. |
| 3 | Remove and allow the wax to cool slightly. |
| 4 | Repeat dipping until the desired thickness is achieved. |
Creating the Perfect Wick
An crucial part of candle dipping is crafting the perfect wick. Using the right diameter and material can significantly enhance your candle’s burn quality and overall performance.
With natural fibers like cotton or hemp, you can make wicks that burn evenly and efficiently. It’s important to choose a wick that is suitable for the size of your candle. A thicker wick will produce a larger flame and is better for larger candles, while a thinner wick works well for smaller dips. Be sure to cut your wick to about 1 inch above the candle once you finish dipping. This ensures a steady burn, reducing the risk of smoke and prolonging the life of your beautiful handmade beeswax candles.
Tips for Successful Candle Dipping
Your candle dipping process can be greatly improved by following a few necessary tips:
- Ensure your beeswax is properly melted and maintained at the right temperature.
- Practice your dipping technique to achieve a smoother finish.
- Allow each layer to cool slightly before dipping again for better adhesion.
- Use a consistent rhythm while dipping to create uniform candles.
Thou shall create beautiful candles by applying these practical tips!
Temperature Control
Even minor fluctuations in temperature can affect the quality of your candle dipping. To aid in maintaining consistent results, consider the following:
| Temperature Range | Effects |
|---|---|
| 140°F – 160°F | Ideal for achieving smooth coating. |
| Below 140°F | Wax may be too thick, leading to uneven layers. |
| Above 160°F | Wax can become too hot, causing it to lose its structural integrity. |
Achieving Consistent Coating
Even with the right temperature, your technique is key to a uniform finish. To achieve a consistent coating, focus on your dipping technique and make sure to:
The key to a flawless, consistent coating lies in the synchronization of your dipping and cooling cycles. When you dip your candle into the melted beeswax, ensure you hold it steady and allow a brief pause for the wax to adhere properly before lifting it out. The layer should be even; if it appears uneven, consider adjusting the way you are dipping or the temperature of the wax. A steady hand and a measured approach will allow you to build up layers smoothly and create the beautiful, uniform candles you desire. Be patient—your effort will yield stunning results!
Factors Affecting Dipping Success
Keep in mind that several factors can greatly influence your dipping success. These include:
- wax temperature
- dipping speed
- candle shape
- environmental conditions
After understanding these variables, you can enhance your technique by exploring How to Make Hand Dipped Beeswax Candles for additional tips.
Wax Quality
If you want to achieve beautiful, consistent candles, the wax quality is important. High-quality beeswax will melt evenly and provide optimal adhesion during the dipping process, so ensure you source your wax from a reputable supplier.
Candle Shape and Size
Even the shape and size of your candles can impact your dipping results significantly. Different shapes require varying techniques and temperatures, which can affect the final look.
Shape plays a major role in dipping efficiency and final appearance. Tall, thin candles may take more dips to build up a layer, while wider candles can become too bulky if over-dipped. Choosing a size that suits your dipping style is vital for achieving smooth, consistent results. Additionally, delicate shapes are more likely to bend during the process, so always pay attention to your dipping speed and wax temperature to avoid frustrating issues.
Troubleshooting Common Issues
Not all candle dipping sessions go perfectly, and encountering issues is common. You might face problems like uneven coating or wax adhesion. Understanding these challenges can help you refine your technique and achieve smoother, more professional-looking beeswax candles.
Uneven Coating
One of the most frequent problems is an uneven coating, where some parts of your candle may appear thicker or glossier than others. This inconsistency often arises from improper dipping techniques or varying temperatures of the wax. To combat this, ensure you dip your candles steadily, maintaining a consistent speed and angle for even coverage.
Wax Adhesion Problems
Coating can become a headache if you face wax adhesion issues, where layers of wax don’t stick to each other properly. This might result in unsightly divots or peeling during handling.
For instance, if your layers are not adhering well, it could be because the earlier layers have cooled too much before you dipped again. Ensure that each layer is warm before applying the next, and try keeping your dipping sessions brief to maintain the wax’s temperature. A warm water bath can also help keep your beeswax pliable and conducive for proper adhesion.
Final Words
Following this guide, you can successfully dip candles using beeswax for a beautiful and natural result. Ensure you prepare your workspace and materials properly to enhance your candle-making experience. As you dip, focus on achieving an even layer and allow adequate cooling time between dips for optimal results. With practice, you’ll refine your technique and enjoy the art of creating your custom beeswax candles, making your home warm and inviting.
FAQ
Q: What materials do I need to start dipping candles with beeswax?
A: To dip candles with beeswax, you will need the following materials: beeswax (available in blocks or pellets), a double boiler or a melting pot to heat the wax, a thermometer to monitor the temperature (ideally around 160-170°F), cotton wick (suitable for the size of your candles), and a suitable mold or a base to hold your wick. You may also want some tools like tongs for dipping and a surface covered with parchment paper for the finished candles to cool on.
Q: How do I prepare the beeswax for dipping candles?
A: Start by chopping or breaking the beeswax into smaller pieces if it is in block form. This will help it melt more evenly. Place the beeswax in the double boiler or melting pot and heat it gently. Using the thermometer, monitor the temperature of the beeswax, ensuring it does not exceed 175°F to preserve its natural properties. Stir occasionally until all the wax is completely melted.
Q: What is the dipping process for beeswax candles?
A: Once the beeswax is melted and at the right temperature, dip the prepared wick into the wax, holding it for a few moments to allow a thin layer to form. Slowly pull the wick out and hang it vertically so the excess wax can drip off. Repeat the dipping process, allowing the candle to cool between dips for about 10-15 seconds to form layers. Continue dipping until you achieve your desired thickness.
Q: How long does it take for dipped beeswax candles to fully harden?
A: Dipped beeswax candles typically take a few minutes to cool and harden after the final dip. However, for optimal results, let them sit at room temperature for at least an hour to ensure they are fully set. If you find the candles remain soft or pliable, you can place them in a cooler environment for a short time to help them firm up properly.
Q: How should I store my finished dipped beeswax candles?
A: After the candles have fully hardened, store them in a cool, dry place away from direct sunlight. Beeswax is sensitive to heat, which can cause it to warp or soften. It is ideal to keep them in a candle box or wrapped in fabric to prevent dust accumulation. Avoid placing them in high-temperature environments such as near heaters or windows that receive direct sunlight.

