How to design candles with intricate, multicolored patterns.
When embarking on the journey of candle making, the selection of materials and tools is paramount to achieving high-quality results. The primary ingredient in candle making is wax, and there are several types to choose from, each with its unique properties. Paraffin wax is the most commonly used due to its affordability and ease of use, but it is derived from petroleum, which raises environmental concerns.
On the other hand, soy wax is a popular alternative that is biodegradable and burns cleaner, making it a favorite among eco-conscious crafters. Beeswax, known for its natural honey scent and long burn time, is another excellent option, though it tends to be more expensive. Each type of wax has its melting point and characteristics that affect the final product, so understanding these differences is crucial.
In addition to wax, the choice of wick is equally important. Wicks come in various sizes and materials, including cotton, wood, and even hemp. The size of the wick must correspond to the diameter of the candle to ensure an even burn.
A wick that is too small will result in a weak flame and tunneling, while one that is too large can create excessive soot and a flickering flame. Furthermore, the use of additives such as fragrance oils and colorants can enhance the sensory experience of the candle. It’s essential to select high-quality fragrance oils that are specifically designed for candle making to ensure they bind well with the wax and produce a pleasant scent throw when burned.
Key Takeaways
- Choose high-quality wax and fragrance oils for best results
- Invest in a good quality thermometer and scale for accurate measurements
- Sketch out your design plan before starting to ensure a cohesive look
- Experiment with layering different colored waxes for unique effects
- Use tools like carving knives and stencils for intricate patterns
- Add embellishments like dried flowers or glitter for a personalized touch
- Troubleshoot issues like frosting or sinkholes by adjusting pouring temperatures
- Allow candles to cure for at least 24 hours before trimming wicks and packaging
- Consider using decorative jars or boxes for a professional presentation
Creating a design plan
Before diving into the actual candle-making process, it’s beneficial to create a comprehensive design plan. This plan should encompass not only the aesthetic aspects of the candle but also practical considerations such as size, shape, and intended use. For instance, if you are crafting candles for a special occasion like a wedding or a holiday, you might want to consider specific themes or color palettes that resonate with the event.
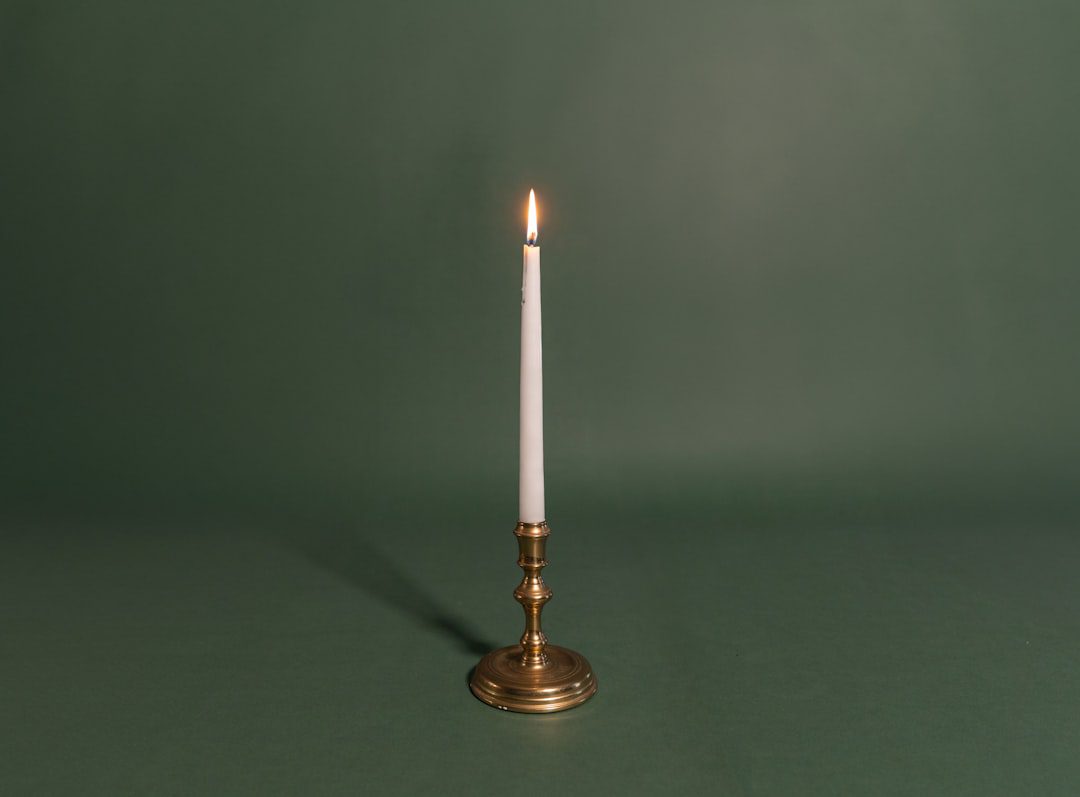
Sketching out your ideas can help visualize how different elements will come together, allowing for adjustments before any materials are wasted. Moreover, planning the size and shape of your candles can significantly impact their functionality and appeal. Pillar candles, votives, and tealights each serve different purposes and have distinct burning characteristics.
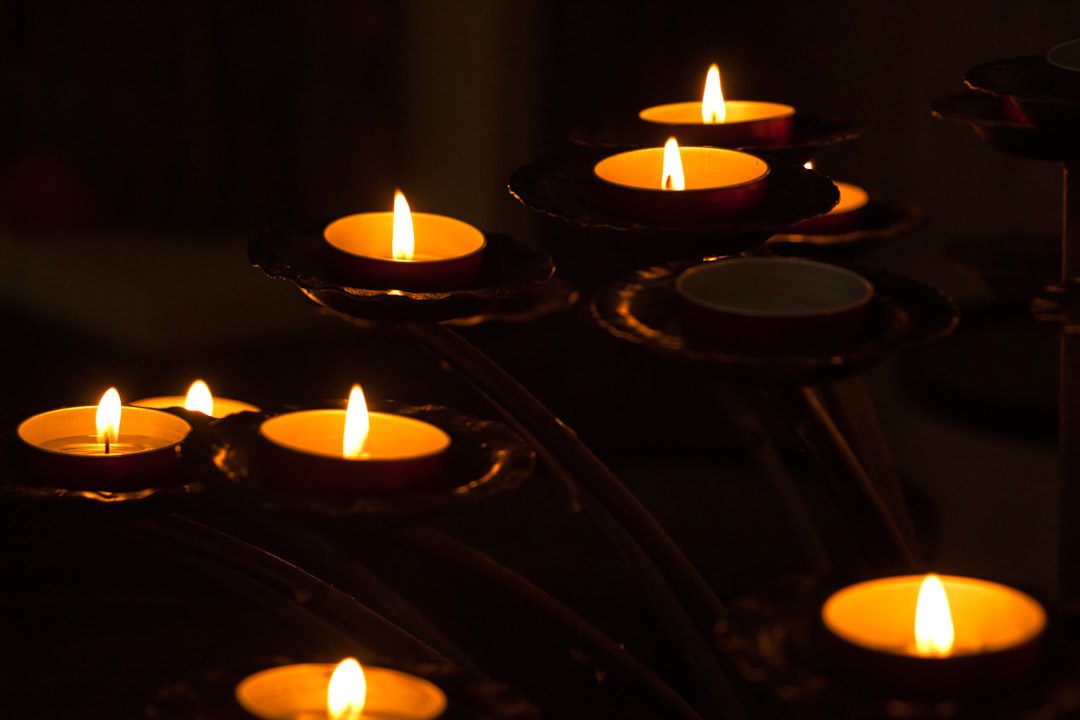
For example, pillar candles are often used for decorative purposes and can be made in various heights and diameters, while tealights are typically smaller and used for ambiance or in holders. Additionally, considering the type of container—such as glass jars or metal tins—can influence both the design and the burning experience. A well-thought-out design plan not only streamlines the production process but also enhances creativity by providing a clear direction.
Layering and blending colors
Color plays a vital role in candle making, as it can evoke emotions and set the mood for any space. Layering and blending colors can create visually stunning effects that elevate your candles from simple creations to works of art. One popular technique involves pouring different colored wax layers into a mold or container sequentially.
This method requires careful timing; each layer must be allowed to cool slightly before adding the next to prevent them from mixing unintentionally. The result is a beautifully striped or layered candle that showcases depth and dimension. Blending colors can also yield unique results.
By mixing different colored waxes before pouring them into molds or containers, you can create custom shades that reflect your personal style or match specific themes. For instance, combining blue and white wax can produce a soft sky blue hue reminiscent of a clear summer day. To achieve smooth transitions between colors, it’s essential to experiment with ratios and melting temperatures.
Using a double boiler can help maintain consistent heat while allowing for precise control over the melting process. This experimentation not only enhances your skills but also leads to innovative designs that stand out in a crowded market.
Using different techniques for intricate patterns
Creating intricate patterns in candles requires both skill and creativity. One effective technique is marbling, which involves swirling two or more colors of melted wax together before pouring them into molds. This method can produce stunning visual effects reminiscent of natural stone or abstract art.
To achieve a successful marbled effect, it’s crucial to work quickly; once the wax begins to cool too much, it becomes challenging to manipulate without losing the desired pattern. Another technique involves embedding objects within the candle itself. This could include dried flowers, herbs, or even decorative elements like beads or shells.
The key to successful embedding is ensuring that the objects are heat-resistant and won’t release any harmful substances when exposed to heat. Additionally, embedding requires careful layering; pour a small amount of wax first to create a base layer before placing your objects in position and then covering them with more wax. This technique not only adds visual interest but also personalizes each candle, making them unique gifts or decorative pieces.
Adding embellishments for extra flair
Embellishments can transform an ordinary candle into an extraordinary centerpiece or gift item. There are countless ways to enhance your candles with decorative elements that reflect your style or theme. One popular method is using decorative molds or silicone shapes that can imprint designs onto the surface of the candle as it sets.
These molds can range from simple geometric patterns to intricate floral designs, allowing for endless customization options. Another way to add flair is through the use of natural elements such as dried flowers or herbs. These can be sprinkled on top of the candle before it fully sets or embedded within layers of wax for a more integrated look.
Not only do these embellishments provide visual appeal, but they can also impart subtle fragrances when burned. For instance, lavender buds can add a calming scent while enhancing the aesthetic quality of the candle. Additionally, ribbons, twine, or decorative labels can be used to wrap around jars or containers, providing an extra touch of elegance that makes your candles perfect for gifting.
Troubleshooting common issues
Even experienced candle makers encounter challenges during the process, so understanding how to troubleshoot common issues is essential for producing high-quality candles consistently. One frequent problem is uneven burning or tunneling, where the wick burns down the center of the candle rather than evenly across its surface. This issue often arises from using an improperly sized wick or pouring wax at incorrect temperatures.
To remedy this, ensure you select wicks that are appropriate for your candle’s diameter and test different wick sizes if necessary. Another common issue is frosting on soy candles, which occurs when crystals form on the surface as they cool. While this does not affect the performance of the candle, it can detract from its appearance.
To minimize frosting, try using additives like vybar or adjusting your pouring temperature; pouring at a higher temperature can help reduce this effect by allowing for better integration of the wax molecules as they cool.
Curing and finishing the candles

Once your candles have been poured and set, curing them properly is crucial for achieving optimal scent throw and burn quality. Curing refers to allowing the candles to rest for a specific period after they have cooled completely—typically anywhere from 24 hours to several weeks—depending on the type of wax used and whether fragrance oils were added. During this time, the wax bonds with any fragrance oils more effectively, resulting in a stronger scent when burned.
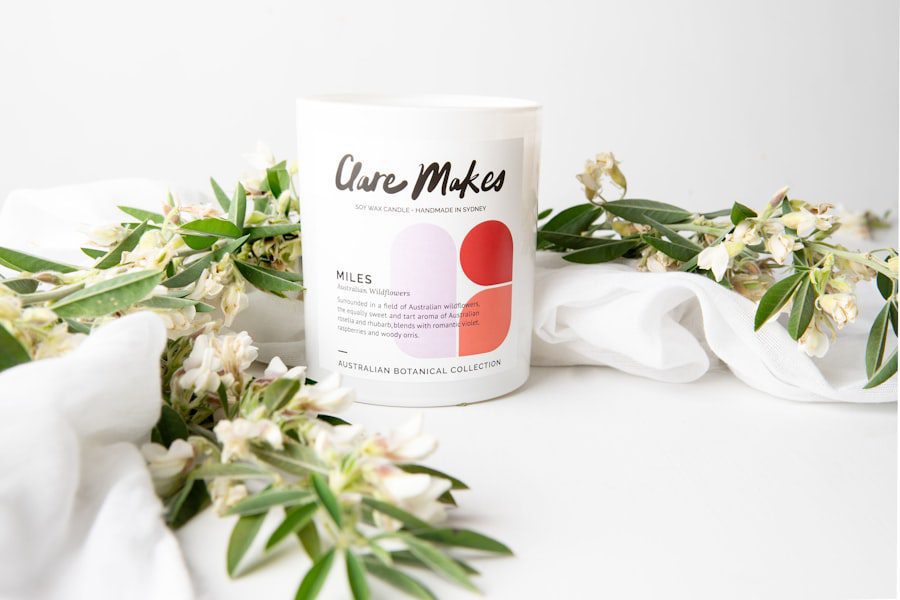
Finishing touches are also important in elevating your candles’ overall presentation. Trimming wicks to about 1/4 inch before lighting ensures a clean burn and minimizes soot production. Additionally, polishing the surface with a soft cloth can enhance its shine and remove any imperfections left from pouring.
If you’ve used containers like glass jars or tins, consider adding labels that include information about scent profiles or burning instructions; this not only provides valuable information but also adds a professional touch that appeals to customers.
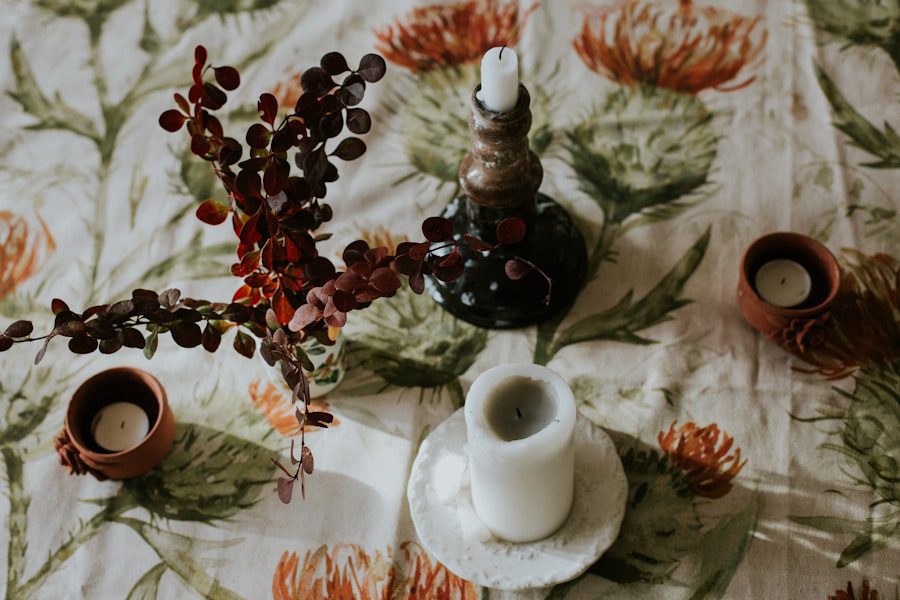
Displaying and packaging your finished products
The final step in your candle-making journey involves displaying and packaging your finished products in a way that highlights their beauty while ensuring they remain protected during transport or storage. Thoughtful packaging can significantly enhance customer appeal; consider using eco-friendly materials such as recycled cardboard boxes or biodegradable wraps that align with sustainable practices. When displaying candles at markets or in retail settings, consider using attractive stands or trays that allow customers to view multiple products at once while keeping them organized.
Lighting plays an essential role in showcasing your candles; soft lighting can create an inviting atmosphere that draws attention to their unique features. Additionally, incorporating signage that tells your brand story or highlights special features—such as handmade quality or eco-friendliness—can engage potential buyers and encourage them to make a purchase. By focusing on these aspects of display and packaging, you not only protect your creations but also create an experience that resonates with customers long after they leave with their new candles in hand.
If you’re interested in creating candles with intricate, multicolored patterns, you may also want to check out this article on how to fix candle tunneling without foil. This article provides helpful tips on preventing tunneling in candles, ensuring that they burn evenly and last longer. By mastering both the design and burning process, you can create beautiful candles that not only look great but also burn efficiently.
FAQs
What are some tips for designing candles with intricate, multicolored patterns?
Some tips for designing candles with intricate, multicolored patterns include using a variety of colored waxes, experimenting with different pouring techniques, and using tools such as toothpicks or skewers to create detailed designs.
What materials are needed to design candles with intricate, multicolored patterns?
Materials needed to design candles with intricate, multicolored patterns include various colored waxes, candle molds, wicks, fragrance oils (optional), a double boiler or melting pot, and tools for creating designs such as toothpicks or skewers.
What are some popular techniques for creating intricate, multicolored patterns on candles?
Popular techniques for creating intricate, multicolored patterns on candles include layering different colored waxes, using the dip and carve method, creating marbled effects, and using the hand-dipping technique.
Are there any safety precautions to keep in mind when designing candles with intricate, multicolored patterns?
Yes, some safety precautions to keep in mind when designing candles with intricate, multicolored patterns include working in a well-ventilated area, using a double boiler or melting pot to melt the wax, and being cautious when working with hot wax to avoid burns.
Can I use any type of wax to create intricate, multicolored patterns on candles?
Different types of wax can be used to create intricate, multicolored patterns on candles, including paraffin wax, soy wax, and beeswax. Each type of wax may have different melting points and characteristics, so it’s important to choose the right wax for your desired design.