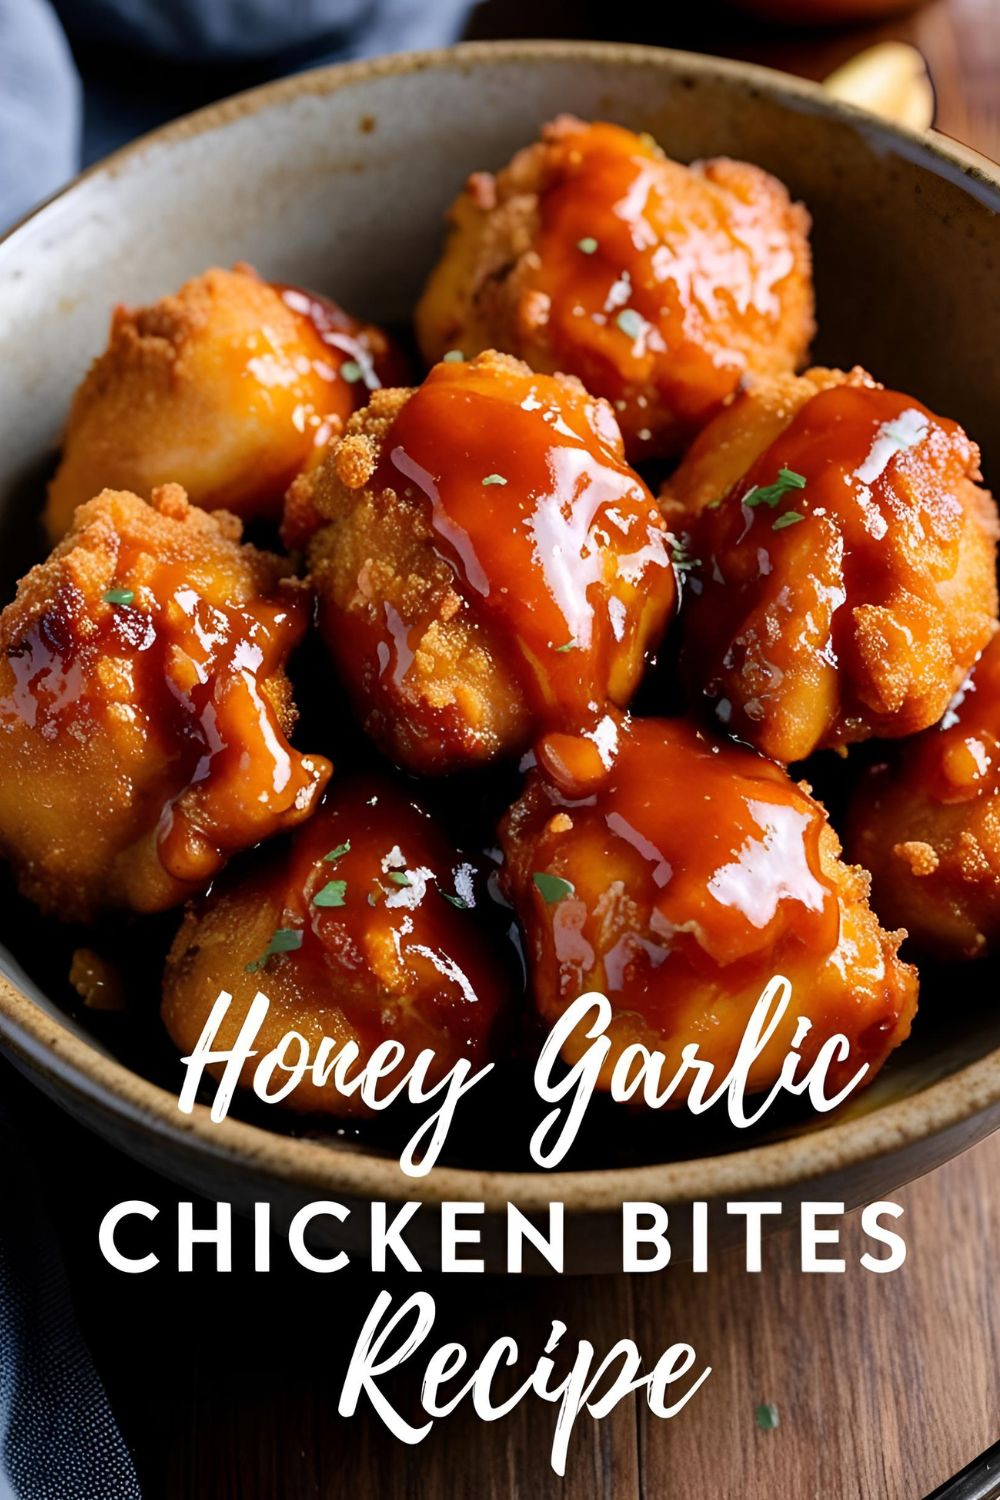
Honey Garlic Chicken Bites: The Sticky, Sweet, Savory Bite-Sized Bombshell You Didn’t Know You Needed
🐔 The Chicken That Broke the Internet (Almost)
Ever stared into your fridge at 6:47 PM, wondering if cereal counts as dinner? Yeah, same. But then, out of the culinary void, comes the hero we all deserve: Honey Garlic Chicken Bites. These little nuggets of joy are crispy, sticky, sweet, garlicky, and so addictive they should probably come with a warning label.
They’re the kind of dish that makes your taste buds do a happy dance and your guests think you’re a kitchen wizard. And the best part? They’re easier to make than convincing yourself to go to the gym.
💥 Why These Bites Are the MVP of Weeknight Dinners
Let’s break it down:
- Flavor Explosion: Sweet honey meets pungent garlic in a sauce that’s so good, you’ll want to drizzle it on everything.
- Quick & Easy: Ready in under 30 minutes. That’s less time than it takes to decide what to watch on Netflix.
- Crowd-Pleaser: Serve these at a party, and watch them disappear faster than your phone battery on 1%.
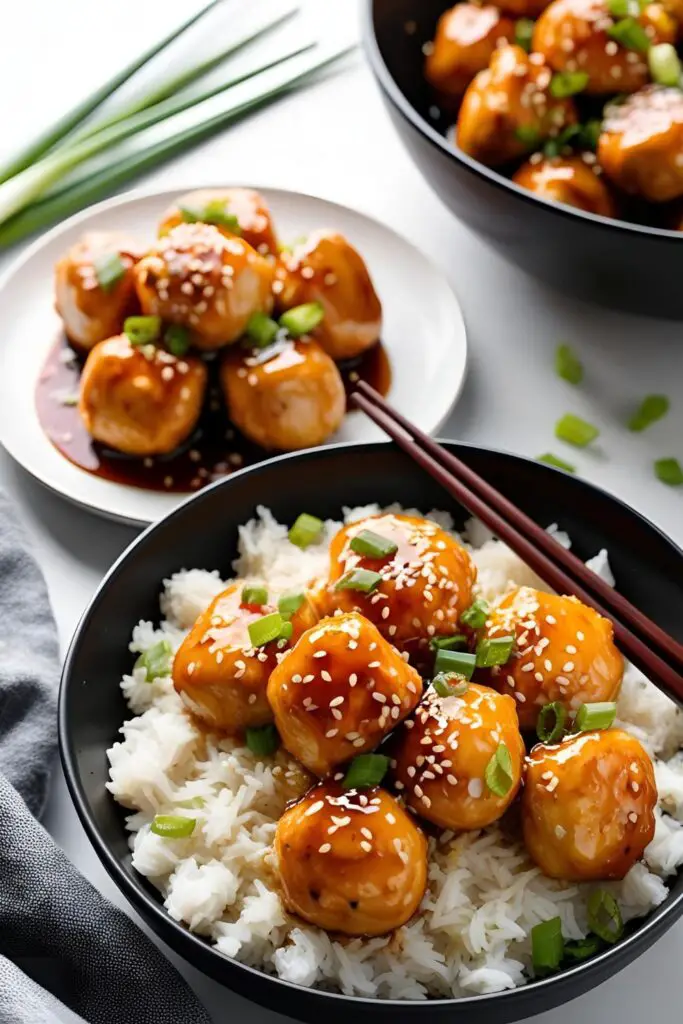
- Versatile: Pair with rice, noodles, or just eat them straight from the pan. No judgment here.
🧂 Ingredients: The Dream Team
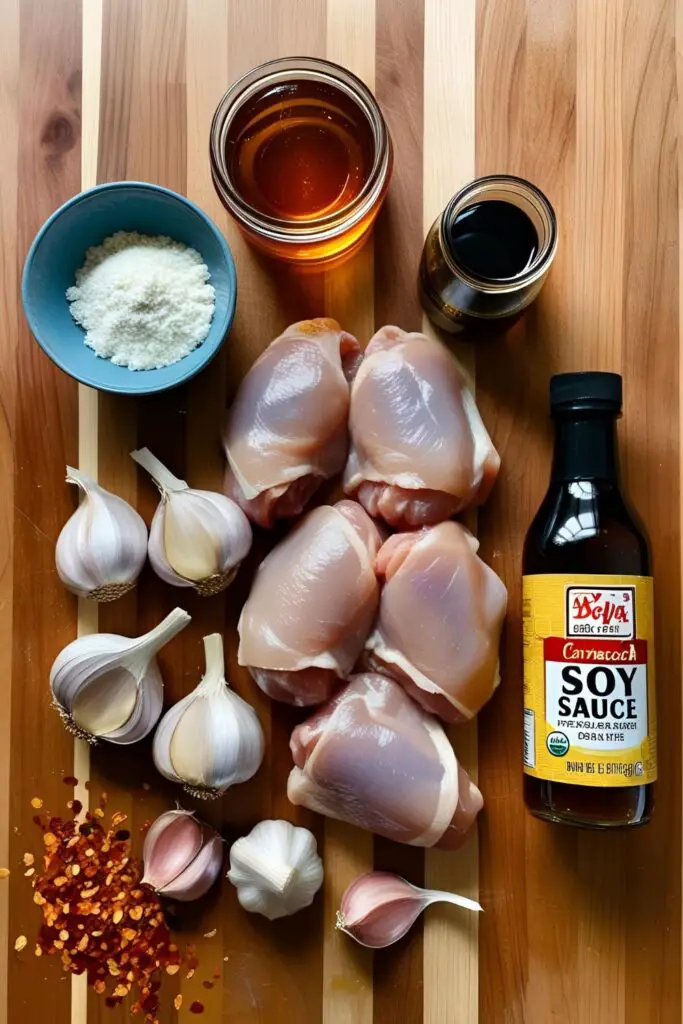
- 1.5 lbs boneless, skinless chicken breasts, cut into bite-sized pieces
- Salt & pepper, to taste
- 1/2 cup cornstarch (for that crispy coating)
- 2 tbsp vegetable oil (for frying)
For the sauce:
- 1/3 cup honey
- 1/4 cup soy sauce
- 4 cloves garlic, minced
- 1 tbsp rice vinegar
- 1/2 tsp red pepper flakes (optional, for a little kick)
- 1 tbsp cornstarch + 2 tbsp water (for thickening)
Substitutions:
- No rice vinegar? Use apple cider vinegar.
- Gluten-free? Opt for tamari instead of soy sauce.
- Watching sugar? Try a sugar-free honey alternative.
🛠️ Kitchen Gadgets & Tools
To make these bites, you’ll need:
- Cutting board & sharp knife: For slicing and dicing.
- Mixing bowls: To toss and mix like a pro.
- Measuring cups & spoons: Precision is key.
- Large skillet or wok: Non-stick preferred for easy cleanup.
- Tongs or spatula: For flipping those bites to golden perfection.
- Whisk: To mix that glorious sauce.
- Paper towels: For draining excess oil.
Pro Tip: Investing in a good non-stick skillet can make your cooking life infinitely easier.
👩🍳 Step-by-Step: From Zero to Hero
- Prep the Chicken: Season your chicken pieces with salt and pepper. Toss them in cornstarch until evenly coated. This is your ticket to crispy town.
- Heat Things Up: In a large skillet, heat the vegetable oil over medium-high heat. Once hot, add the chicken pieces in batches. Don’t overcrowd the pan; give them space to sizzle.
- Cook to Perfection: Fry the chicken until golden brown and cooked through, about 5-7 minutes. Transfer to a plate lined with paper towels to drain.
- Sauce It Up: In a bowl, whisk together honey, soy sauce, minced garlic, rice vinegar, and red pepper flakes.
- Simmer Down: In the same skillet (wipe it clean if necessary), pour in the sauce mixture. Bring to a simmer over medium heat.
- Thicken the Plot: Mix 1 tbsp cornstarch with 2 tbsp water to create a slurry. Stir this into the simmering sauce and cook until thickened, about 2 minutes.
- Combine Forces: Return the fried chicken to the skillet, tossing to coat each piece in that sticky, sweet, garlicky goodness.
- Garnish & Serve: Sprinkle with sesame seeds and chopped green onions if you’re feeling fancy. Serve hot over rice, noodles, or just eat them straight up.
🔥 Nutritional Info (Per Serving)
- Calories: ~320
- Protein: 25g
- Carbs: 35g
- Fat: 8g
Note: Nutritional values are approximate. Your mileage may vary, especially if you eat the whole batch. No judgment.
🚫 Common Mistakes to Avoid
- Overcrowding the Pan: Leads to steaming instead of frying. Give those bites room to breathe.
- Skipping the Cornstarch: That’s your crispy coating. Don’t skip it unless you like soggy chicken.
- Burning the Garlic: Burnt garlic = bitter sauce. Keep an eye on it.
- Not Thickening the Sauce: Without the slurry, your sauce won’t cling to the chicken. Don’t skip this step.
🔄 Variations & Customizations
- Spicy Kick: Add more red pepper flakes or a dash of sriracha to the sauce.
- Keto-Friendly: Use almond flour instead of cornstarch and a sugar-free honey substitute.
- Vegetarian Swap: Replace chicken with tofu or cauliflower florets. Same process, same deliciousness.
❓ FAQ Section
Q: Can I use chicken thighs instead of breasts?
A: Absolutely! Thighs are juicier and more forgiving. Just adjust cooking time as needed.
Q: Can I bake instead of fry?
A: Yes, bake at 400°F (200°C) for about 20-25 minutes. They won’t be as crispy, but still tasty.
Q: How do I store leftovers?
A: Store in an airtight container in the fridge for up to 3 days. Reheat in a skillet or microwave.
Q: Can I freeze them?
A: Yes, freeze after cooking. Reheat in the oven to maintain some crispiness.
Q: What can I serve with these?
A: Rice, noodles, steamed veggies, or even in a wrap. Versatility is their middle name.
Q: Can I make the sauce ahead of time?
A: Sure! Store it in the fridge for up to a week. Just reheat before tossing with chicken.
Q: Is this recipe gluten-free?
A: Use gluten-free soy sauce (like tamari) and ensure all other ingredients are gluten-free.
🎯 Final Thoughts
There you have it, folks. Honey Garlic Chicken Bites that are so good, they might just ruin other chicken dishes for you. Quick, easy, and dangerously delicious. Go ahead, make them tonight. Your taste buds will thank you.