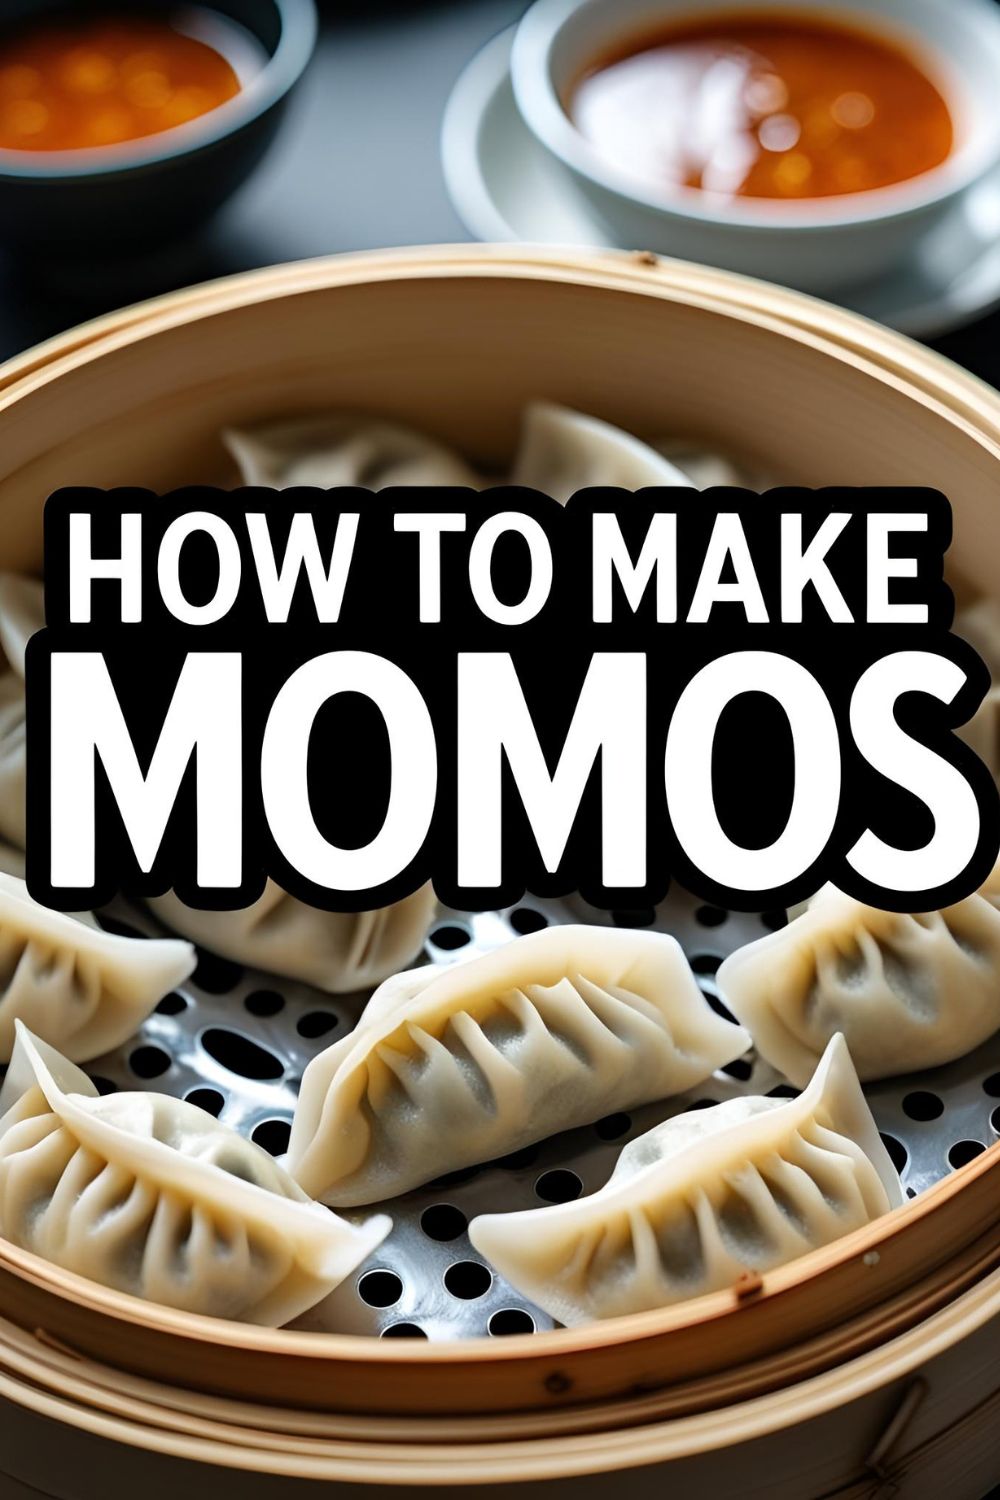
Homemade Momos Recipe: Easy Step-by-Step Guide to Delicious Dumplings
How to Make Momos: Your Guide to Delicious Dumplings
So, why should you bother making momos yourself? IMO, because they’re little pockets of pure joy! Forget those sad, frozen excuses for dumplings. Homemade momos are bursting with fresh flavor, you get to control exactly what goes inside (hello, customization!), and they’re seriously impressive to bust out at your next get-together. Plus, there’s a certain satisfaction in creating these little culinary masterpieces with your own two hands. Who needs therapy when you have dumplings?
Ingredients
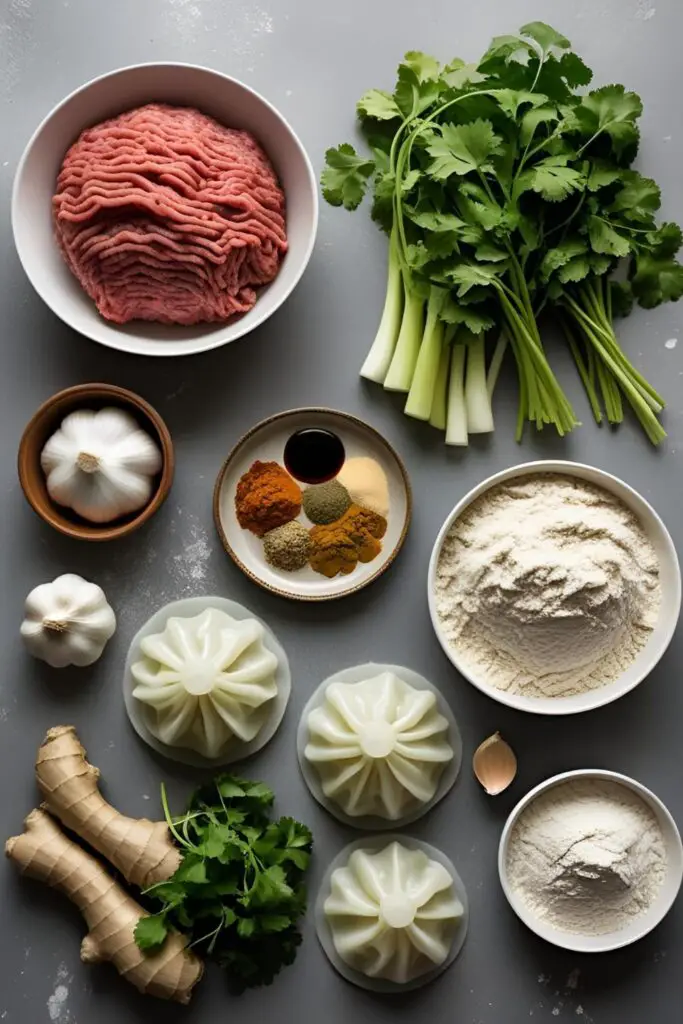
For the Filling:
- 1 pound ground meat (chicken, pork, lamb, or a mix – go wild!)
- 1 large onion, finely chopped
- 2-3 cloves garlic, minced (because garlic makes everything better, duh)
- 1 inch ginger, grated (adds that zing we all crave)
- 1/2 cup fresh cilantro, finely chopped (if you’re one of those people who hate cilantro, parsley or scallions work too, I guess :/)
- 1-2 green chilies, finely chopped (adjust to your spice tolerance, or skip if you’re a wimp… just kidding! Mostly.)
- 1 tablespoon soy sauce (for that umami punch)
- 1 teaspoon turmeric powder (for a hint of color and earthiness)
- 1/2 teaspoon cumin powder
- Salt and freshly ground black pepper, to taste (seasoning is your friend!)
- 1 tablespoon vegetable oil (for sautéing, optional but recommended)
For the Dough:
- 2 cups all-purpose flour (the magic starts here)
- 3/4 cup warm water (not too hot, not too cold, Goldilocks style)
- A pinch of salt
Tools & Kitchen Gadgets Used:
- Large mixing bowl (for the dough and filling)
- Chopping board
- Sharp knife
- Grater
- Garlic press (optional, but handy)
- Rolling pin (small, if you have one, but any will do in a pinch)
- Steamer basket (bamboo is traditional and looks cool, but metal works just as well)
- Large pot with a lid (to hold the steamer)
- Small bowl for water (for sealing the momos)
- Spatula or slotted spoon (for handling the cooked momos)
Step-by-Step Instructions
- Let’s Get Dough-y: In a large mixing bowl, combine the flour and salt. Gradually add the warm water, mixing with your hands until a shaggy dough forms. Knead the dough on a lightly floured surface for about 8-10 minutes, until it’s smooth and elastic. It should feel like a slightly firm playdough. Cover the dough with a damp cloth and let it rest for at least 30 minutes. This resting period is crucial, so don’t skip it unless you want tough momos (and nobody wants sad, tough momos).
- Whipping Up the Filling: While the dough is resting, let’s tackle the filling. In the same (or a different, if you’re fancy) large mixing bowl, combine the ground meat, chopped onion, minced garlic, grated ginger, chopped cilantro, and chopped green chilies (if using).
- Spice It Up! Add the soy sauce, turmeric powder, cumin powder, salt, and pepper to the meat mixture. If you’re feeling extra, you can sauté the onions, garlic, and ginger in the vegetable oil until softened before adding them to the meat. This adds another layer of flavor, but hey, no pressure. Mix everything thoroughly with your hands (yes, get in there!) until well combined.
- Divide and Conquer (the Dough): Once the dough has rested, gently punch it down. Divide it into two equal portions. Roll one portion into a long rope and then cut it into small, even-sized pieces (about 1 inch in diameter). You should get around 15-20 pieces per portion. Keep the other portion covered to prevent it from drying out.
- Rolling Out the Magic: Take one of the small dough balls and flatten it with your palm. Using a rolling pin, roll it out into a thin, circular disc (about 3-4 inches in diameter). The edges should be slightly thinner than the center. Don’t worry if they’re not perfectly round; they’ll still taste amazing. Repeat with all the dough balls. Keep the rolled-out wrappers covered with a damp cloth to prevent them from drying.
- The Art of Folding (It’s Easier Than You Think, Promise!): Now for the fun part – filling and folding! Take one wrapper and place a spoonful (about 1-2 teaspoons) of the filling in the center. There are many ways to fold a momo, from simple half-moons to more intricate pleated designs. Don’t stress too much about making them look perfect on your first try. The goal is to create a sealed dumpling. One easy method is to bring the edges together to form a half-moon shape and then crimp the edges to seal. You can also try making little pleats along one side and pressing them against the plain side. YouTube tutorials are your friend here if you’re feeling ambitious!
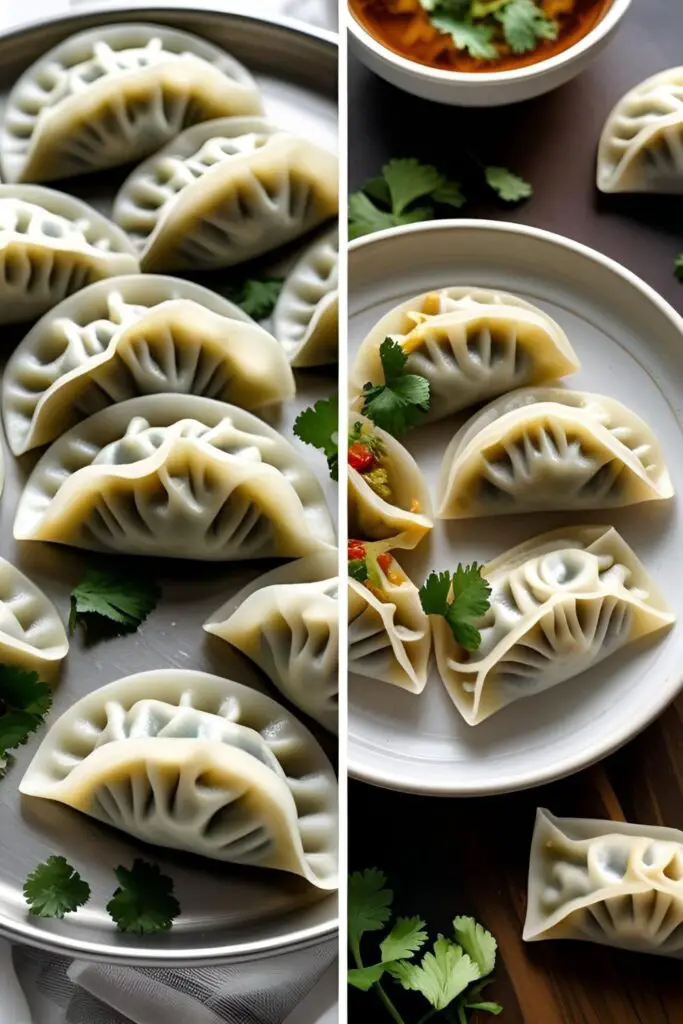
- Steaming to Perfection: Bring some water to a boil in the large pot. Place the steamer basket on top, ensuring the water doesn’t touch the bottom of the basket. Lightly grease the steamer basket with a little oil to prevent the momos from sticking. Arrange the momos in the steamer, leaving a little space between them. Don’t overcrowd the basket! Steam for about 12-15 minutes, or until the momos are cooked through and the dough looks slightly translucent.
- Serve and Devour! Carefully remove the steamed momos from the basket using a spatula or slotted spoon. Serve them hot with your favorite dipping sauces (tomato chutney, chili garlic sauce, soy sauce with vinegar – the possibilities are endless!). Prepare for a flavor explosion in your mouth.
Calories & Nutritional Info (Estimated per serving of 3-4 momos):
- Calories: 200-250 (depending on the filling and size)
- Protein: 15-20g
- Carbohydrates: 20-25g
- Fat: 8-12g (depending on the meat used)
Note: These are estimates and can vary. For more precise information, use a nutrition tracking app with the specific ingredients you use.
Common Mistakes to Avoid
- Overfilling the momos: Resist the urge to stuff them too much, or they might burst while steaming. A little goes a long way!
- Making the dough too dry or too wet: The dough should be smooth and pliable. If it’s too dry, it will be hard to roll out; if it’s too sticky, add a little more flour.
- Not resting the dough: Seriously, don’t skip this! It makes a huge difference in the texture of the momos.
- Letting the wrappers dry out: Keep the rolled-out wrappers covered with a damp cloth to prevent them from becoming brittle and tearing.
- Overcrowding the steamer: Give your momos some breathing room! Overcrowding will result in uneven cooking and potentially sticky dumplings.
- Not sealing the momos properly: Make sure the edges are tightly sealed, or the filling will escape during steaming (tragedy!).
- Under or over-steaming: 12-15 minutes is generally good, but keep an eye on them. Under-steamed momos will be doughy, while over-steamed ones might become rubbery.
Variations & Customizations
- Vegetarian Momos: Swap the ground meat for a mix of finely chopped vegetables like cabbage, carrots, mushrooms, spinach, and paneer (Indian cheese). You can also add some crumbled tofu or lentils for extra protein. Adjust the spices to your liking.
- Spicy Sichuan Momos: Add a generous amount of Sichuan peppercorns, dried red chilies, and Sichuan chili oil to your meat filling for a fiery kick. You can also include some fermented black beans for an extra layer of flavor. 🔥
- Keto-Friendly Momos (sort of!): This is a bit of a cheat, as traditional momo dough is carb-heavy. However, you can experiment with low-carb alternatives for the wrappers, like very thinly sliced cabbage leaves or almond flour-based dough (though this will significantly alter the texture). For the filling, focus on high-fat, moderate-protein options.
FAQ Section
Q1: What kind of meat is traditionally used in momos? Traditionally, momos are often made with ground pork, chicken, or lamb. However, you can use any ground meat you prefer!
Q2: Can I freeze uncooked momos? Absolutely! Arrange the folded, uncooked momos on a baking sheet lined with parchment paper, making sure they don’t touch. Freeze for a couple of hours until solid, then transfer them to a freezer-safe bag or container. They can be steamed directly from frozen, but you might need to add a few extra minutes to the cooking time.
Q3: What are some good dipping sauces for momos? Oh, the possibilities! Tomato chutney, chili garlic sauce, soy sauce mixed with vinegar and sesame oil, peanut sauce, or even a spicy yogurt dip are all fantastic options.

Q4: How do I prevent the momos from sticking to the steamer? Lightly grease the steamer basket with a little vegetable oil before placing the momos in it. You can also use parchment paper or cabbage leaves to line the bottom of the steamer.
Q5: My momo dough is too sticky. What should I do? Add a little more flour, one tablespoon at a time, and knead until the dough is smooth and no longer sticky. Be careful not to add too much, or the dough will become dry.
Q6: Can I bake or fry momos instead of steaming them? While steaming is the traditional method, you can definitely pan-fry or even bake them for a different texture. For pan-frying, steam them first for a few minutes, then pan-fry in a little oil until golden brown and crispy on the bottom. For baking, brush them with oil and bake at around 375°F (190°C) until golden brown.
Q7: Help! My momos are bursting while steaming. What am I doing wrong? You might be overfilling them or not sealing the edges properly. Try using a little less filling and make sure the edges are tightly crimped or folded to create a good seal.
Final Thoughts
Well, there you have it! You’re now officially armed with the knowledge to conquer the world of momo-making. Go forth, gather your ingredients, and prepare to impress yourself (and maybe a few friends). Trust me, once you taste the magic of a freshly steamed, homemade momo, you’ll wonder why you haven’t been making these all along. Now, if you’ll excuse me, all this talk about dumplings has made me seriously hungry. Happy folding! 🙂