Hibiscus Glaze: The Sweet & Savory Magic Sauce You Didn’t Know You Needed
Hibiscus glaze is the kitchen alchemy you didn’t know you were missing. It’s like your favorite floral tea went rogue as a syrupy topping—tart, tangy, and totally Instagrammable. Who knew a few dried petals could deliver this much flavor (and bragging rights)? Don’t laugh, but we’re about to drizzle it on everything from donuts to drumsticks. Ready to add some punch to your pantry? Let’s do it.
Why This Hibiscus Glaze is Awesome
- Flavor Explosion: Tart, floral, and slightly sweet, this glaze tastes like cranberry-meets-lemon It’s the kind of surprising zing that turns “meh” into “mmm!” in one spoonful.
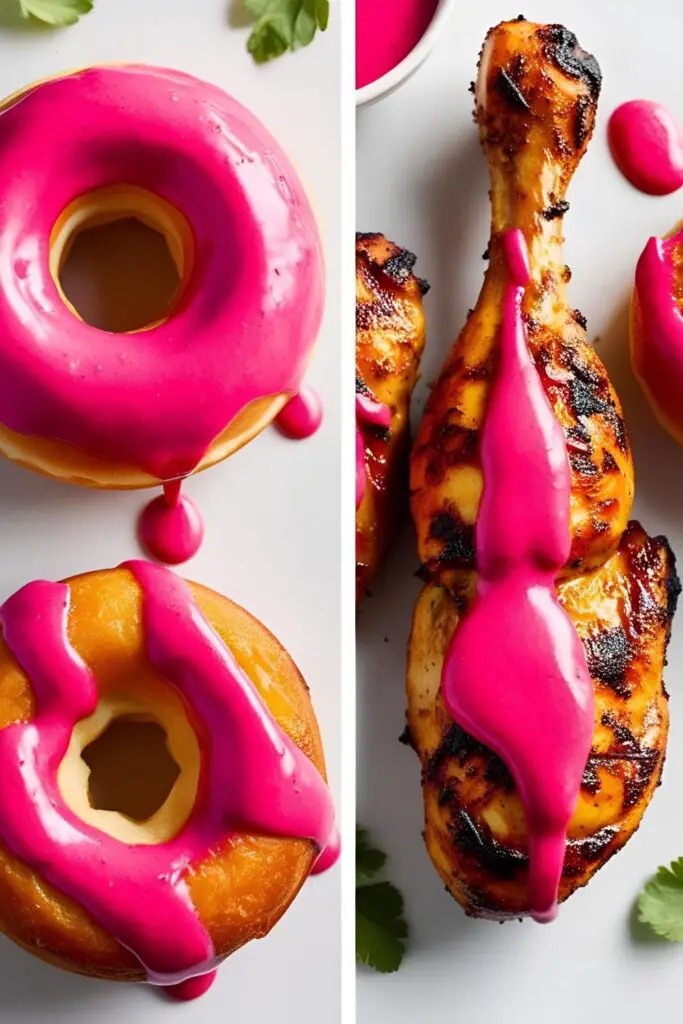
- Versatility: Think beyond donuts. This sauce is perfect on everything from chicken wings to spring rolls. (Veggies, cocktails, cakes – you name it, hibiscus glaze makes it better.)
- Wow Factor: That neon pink color was made for Instagram. Trust us, one drizzle of this glaze will have people double-tapping before they taste it.
- Easy Prep: It may look fancy, but it’s basically hibiscus tea + a little sugar + time. No sous-vide or wizard hat required.
Ingredients
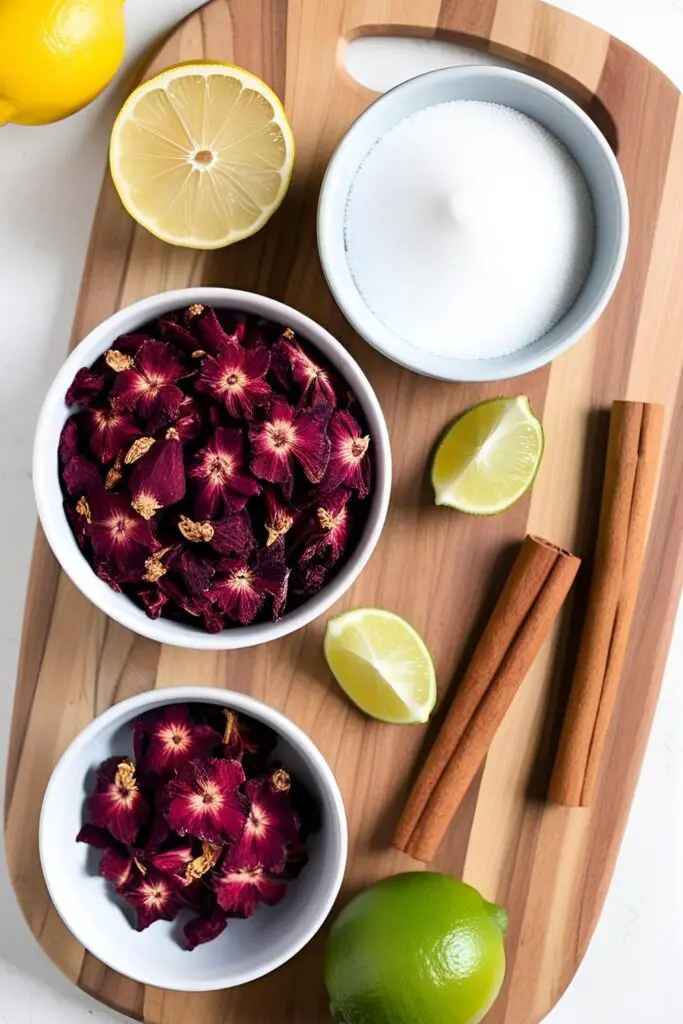
- Dried hibiscus flowers (or hibiscus tea bags) – the star of our show.
- Water – just enough to steep and extract that vibrant color.
- Sweetener – powdered sugar or white sugar (or coconut sugar/maple syrup for a vegan twist).
- Pinch of salt – trust us, it amplifies the other flavors.
- Vanilla or almond extract – a little splash for extra flavor complexity.
- Optional zing: fresh lemon or lime juice adds bright acidity.
- Optional spices: grated ginger, cinnamon, or cardamom, if you’re feeling adventurous.
Tools & Kitchen Gadgets
- Saucepan or pot (to boil water and reduce the glaze).
- Mixing bowl (for whisking up the glaze).
- Whisk or spoon (to combine ingredients).
- Fine mesh strainer (to catch those petals).
- Measuring cups and spoons (for accuracy, or wild guesses).
- Silicone spatula (for scraping every last drop).
- Pastry brush (for slathering glaze on meats or pastries).
- Storage jar (airtight, for leftovers).
Step-by-Step Instructions
- Steep the hibiscus: Bring water to a boil, then pour it over the dried hibiscus in a bowl. Let it steep for about 10 minutes (until the water turns a fierce magenta). This is basically making super-concentrated hibiscus tea, so yeah, it’s totally safe to drink too (but now we’re gonna glaze).
- Strain & mix: Strain out the petals (saving a few for garnish, if you’re extra), and pour the liquid into a mixing bowl. Add your sweetener and a pinch of salt, then whisk in about ¼ cup of the hibiscus brew along with a dash of vanilla or almond extract. Keep whisking until it’s smooth and lump-free.
- Heat & thicken: Pour the mixture back into the saucepan and gently heat it up, stirring constantly. For a thicker glaze, mix a teaspoon of cornstarch with cold water and whisk that slurry into the warm mixture. Continue cooking until it coats the back of your spoon like syrup. (No microwave shortcuts needed – patience is a virtue, even for glaze.)
- Taste & adjust: Give it a taste. Too tart? Add a little more sweetener. Too flat? Squeeze in some lemon or lime juice. Not pink enough? Oops – now you’d need more hibiscus. This is your creation, so tweak it to taste.
- Cool & serve: Let the glaze cool slightly – it will thicken as it reaches room temperature. Now go wild! Drizzle it over donuts, cakes, or salads. Brush it on chicken, fish, or tofu. Heck, dunk a fry in it just for fun. If you have leftovers (what leftovers?!) store them in a jar in the fridge – it’ll keep for up to 3 weeks, though it rarely lasts that long.
Calories & Nutritional Info
- Serving Size: ~2 tablespoons (30 mL).
- Calories: ~90 per serving.
- Carbs: ~22g (mostly sugar).
- Fat: 0g; Protein: 0g.
- Fiber: 0g (no it’s not fiber-filled!).
- Antioxidants: Hibiscus is high in antioxidants, but this glaze is essentially sweet syrup. Enjoy in moderation!
Common Mistakes to Avoid
- Skipping the steep: Rushing the infusion means weak flavor. Give those petals time (at least 5–10 minutes) to unleash their color and taste.
- Not straining properly: Get an artsy look with hibiscus bits if you want, but most people prefer a smooth glaze. If you love finding petals in your mouth, carry on.
- Over- or under-sweetening: Taste as you go. You can always add more sugar, but you can’t un-sugar your glaze once it’s too sweet. Too much tartness? Balance it with sweetness or a squeeze of citrus.
- Zero salt: Yes, salt! Just a pinch transforms that candy-like syrup into real flavor magic. Skipping it is a rookie move.
- Too hot to handle: Pouring piping-hot glaze on hot food is like pouring paint on a vase – it runs off! Let your goodies cool a tad before glazing for maximum stickiness.
Variations & Customizations
- Spicy Hibiscus Glaze: Stir in a pinch of cayenne or chili flakes for heat. This killer twist is perfect on barbecue chicken wings or tacos.
- Sugar-Free/Vegan Version: Swap sugar for a non-caloric sweetener (like stevia or erythritol) and use maple syrup instead of honey. You’ll get the vivid color and tang without the sugar crash.
- Extra-Thick Glaze: Let the mixture simmer longer to reduce or whisk in more cornstarch. You’ll end up with a jammy spread that’s great on toast or bagels.
- Citrus-Infused: Add orange zest or substitute some fresh orange juice for the water. The citrus + hibiscus combo gives a bright, tropical twist to salads or cocktails.
- Herb & Spice Boost: Simmer in a sprig of rosemary, a cinnamon stick, or star anise for a gourmet spin. These subtle notes play well on roasted veggies or glazed ham.
FAQ
Q: How do I make hibiscus glaze?
A: It’s easy-peasy! Basically, steep dried hibiscus in hot water like a strong tea, strain, then whisk the brew together with your sweetener (and a pinch of salt). Heat it up a bit to dissolve everything and thicken slightly. Boom – you’re done.
Q: What does hibiscus glaze taste like?
A: Imagine cranberry jam + floral tea + a splash of lemon – that’s hibiscus in a nutshel. It’s bright, tart, and slightly sweet, with a flowery edge. One bite of a doughnut with this glaze, and you’ll see why we’re obsessed.
Q: What can I use hibiscus glaze on?
A: Everything! This funky glaze plays well with sweet and savory. Drizzle it on baked goods (donuts, cakes), but don’t stop there – it’s “sold out” level on roasted chicken wings, grilled fish, veggie skewers, or even fresh fruit and yogurt. If it needs an upgrade, hibiscus glaze has your back.
Q: Is hibiscus glaze vegan?
A: Sure is, as long as you use vegan-friendly ingredients. Stick to cane sugar or plant-based sweeteners instead of honey, and you’re golden. The basic recipe has no dairy or eggs (and hibiscus itself is just plant power).
Q: Is hibiscus glaze healthy?
A: Hibiscus (the flower) is packed with antioxidants and vitamin C, but remember – your glaze is mostly sugar. It’s a flavorful treat, not a health tonic. Enjoy the benefits of hibiscus, but know that the carbs pile up fast.
Q: How long does hibiscus glaze last?
A: In the fridge, it keeps nicely for about 1–2 weeks (some say u p to 3 weeks) if stored in an airtight container. It’s basically a syrup, so it stays good as long as it doesn’t grow mold. (And let’s be honest, it rarely lasts that long anyway!)

Q: Can I make hibiscus glaze sugar-free?
A: Absolutely. Swap in a non-caloric sweetener like stevia, erythritol, or monk fruit. You’ll still get the vivid color and tang — just skip the sugar crash. Taste as you go, since sweeteners vary in intensity.
Final Thoughts
Who knew flower power could taste this good? With a little hibiscus glaze in your life, even salad will start to sing — and your Insta feed will thank you. So go on, get saucy: glaze everything in sight, snap a pic, and tag your foodie friends. Trust us, this is one trend you’ll actually want to share.