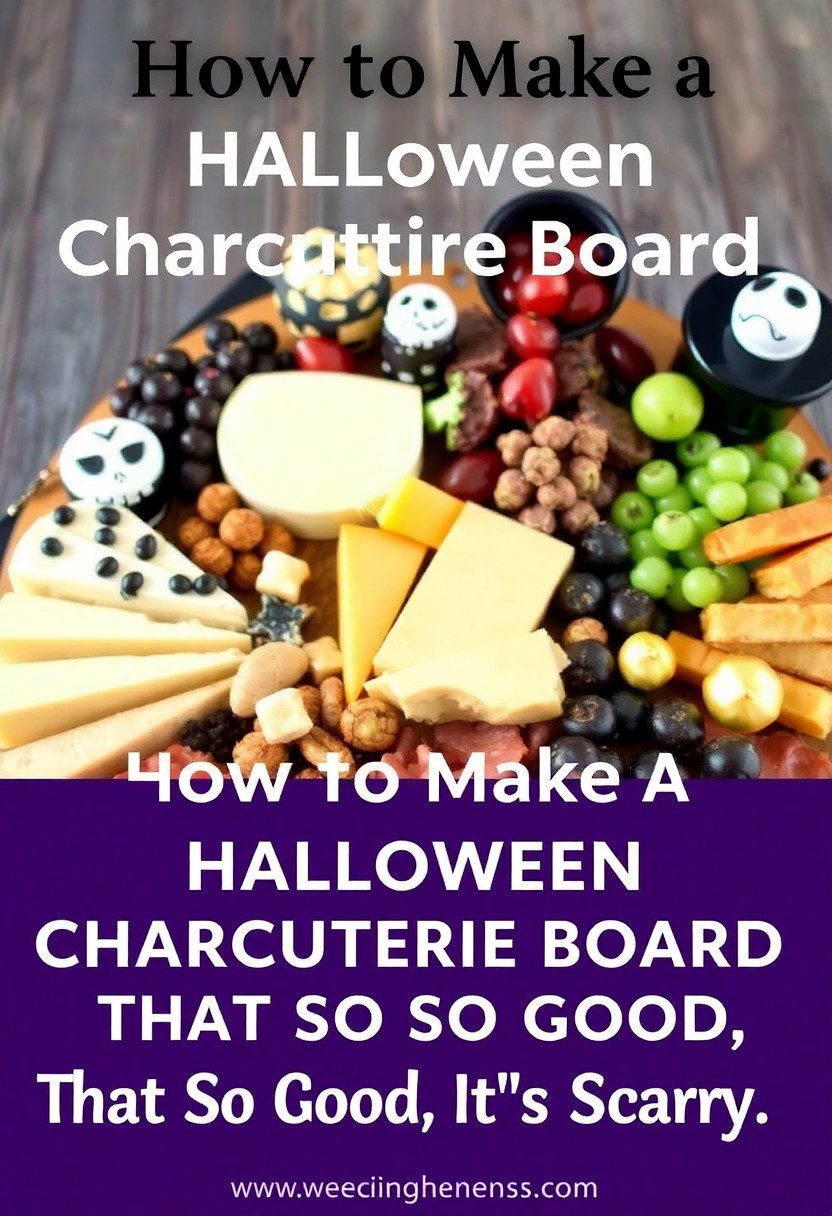
How to Build a Halloween Charcuterie Board That’s So Good, It’s Scary
The Trick to This Treat? It’s Not Just Candy
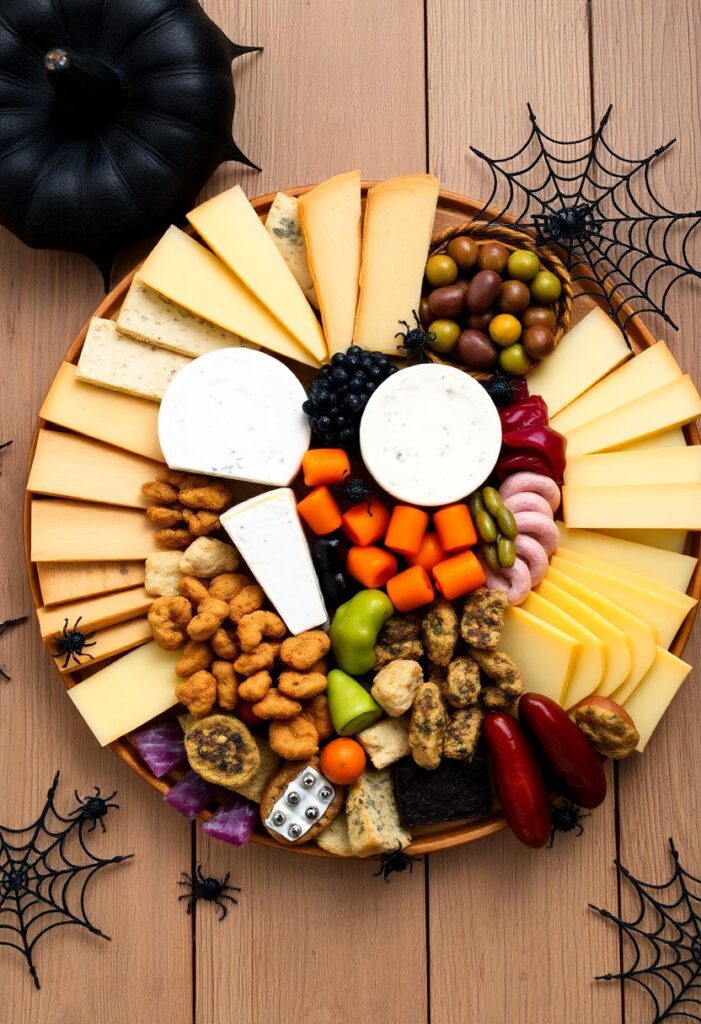
You know that moment when you walk into a Halloween party and the only thing scarier than the decorations is the sad bowl of candy corn on the table? Yeah, we’re not doing that this year. Enter the Halloween charcuterie board—a spooky, snack-packed masterpiece that’s part appetizer, part art installation, and 100% crowd-pleaser.
This isn’t your grandma’s cheese plate. We’re talking salami mummies, brie ghosts, and candy eyeballs staring back at you while you snack. It’s creepy, it’s creative, and it’s ridiculously easy to pull off—even if your knife skills are more “slasher film” than “Michelin star.”
🧛 Why This Halloween Charcuterie Board Is a Total Graveyard Smash
Let’s be honest: Halloween is the one time of year when playing with your food is not only acceptable—it’s encouraged. And this Halloween charcuterie board is the ultimate way to embrace that spirit.
- Flavor Variety: Sweet, salty, savory, and spooky all coexist in harmony.
- Visual Impact: It’s a centerpiece that doubles as a conversation starter.
- Customizable: Whether you’re catering to kids, adults, or the undead, you can tailor it to your audience.
- No Cooking Required: Unless you count unwrapping cheese as cooking.
🧙♀️ Ingredients: Summon These Snacks
Cheeses:
- Brie (for ghost shapes)
- Cheddar (cut into pumpkins or bats)
- Gouda (smoked for that eerie effect)
Meats:
- Salami (perfect for mummies)
- Prosciutto (wrap around breadsticks for “witches’ fingers”)
- Pepperoni (mini slices for eyes)
Fruits & Veggies:
- Black grapes (they look like eyeballs—just go with it)
- Carrot sticks (for broomsticks)
- Olives (stuffed with pimentos for that bloodshot look)
Sweets & Treats:
- Candy eyeballs
- Gummy worms
- Chocolate-covered pretzels (white ones look like bones)
Crackers & Bread:
- Assorted crackers
- Breadsticks
- Pita chips
Dips & Spreads:
- Hummus (add a swirl of sriracha for a “bloody” effect)
- Jam (fig or raspberry for that dark, mysterious vibe)
🛠️ Tools & Kitchen Gadgets: Your Witch’s Arsenal
- Charcuterie Board: A large wooden board or slate
- Cheese Knives: For slicing and spreading
- Mini Cookie Cutters: Pumpkin, bat, and ghost shapes
- Serving Tongs: Keep those fingers clean
- Ramekins: For dips and small items
- Decorative Halloween-Themed Serving Trays: Optional, but adds flair
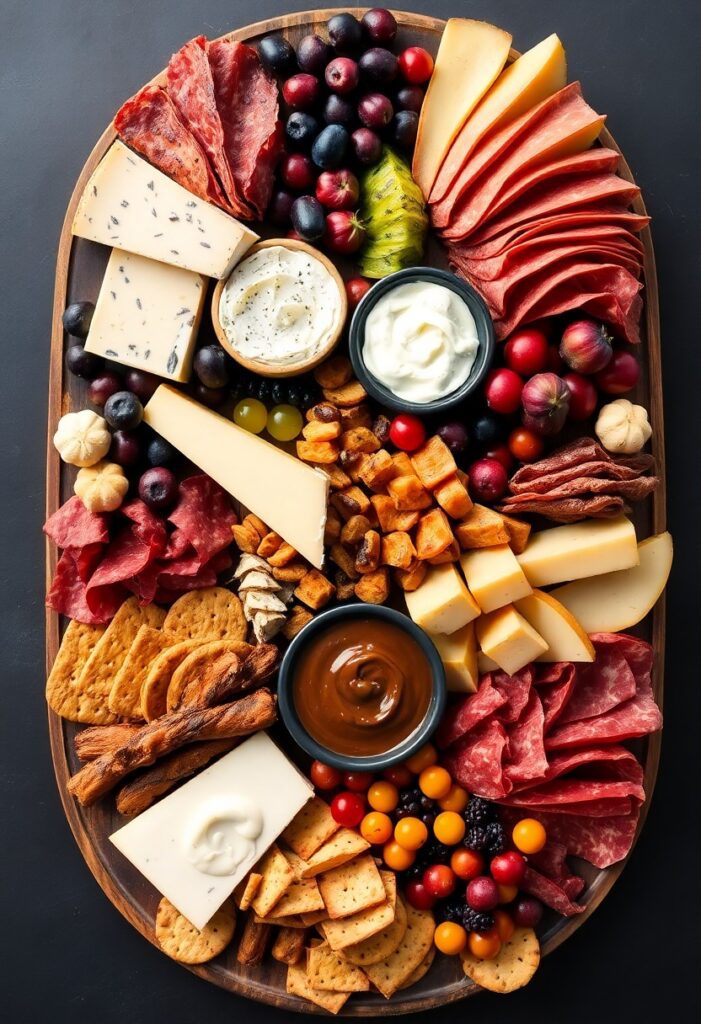
🧟 Step-by-Step Instructions: Assembling Your Spooky Spread
- Start with the Board: Place your largest items first—cheese wedges, ramekins with dips, and clusters of grapes.
- Add the Meats: Fold salami into “roses” or roll prosciutto into “witches’ fingers.”
- Place the Crackers: Fan them out around the cheeses and meats.
- Fill in the Gaps: Add fruits, veggies, and sweets to fill any empty spaces.
- Decorate: Place candy eyeballs strategically, and use cookie cutters to shape cheeses.
- Final Touches: Add any decorative items like mini pumpkins or fake spiders (just make sure they’re not edible).
🧠 Calories & Nutritional Info (Per Serving)
- Calories: Approximately 250–300
- Protein: 10–15g
- Fat: 15–20g
- Carbohydrates: 20–25g
- Sugar: 5–10g
Note: These are estimates and will vary based on specific ingredients used.
⚠️ Common Mistakes to Avoid
- Overcrowding the Board: Leave some space so each item stands out.
- Lack of Variety: Mix textures and flavors to keep it interesting.
- Ignoring Dietary Restrictions: Include vegetarian or gluten-free options.
- Skipping the Theme: It’s Halloween—go all out with the spooky elements.
- Not Prepping Ahead: Assemble the board shortly before guests arrive to keep everything fresh.
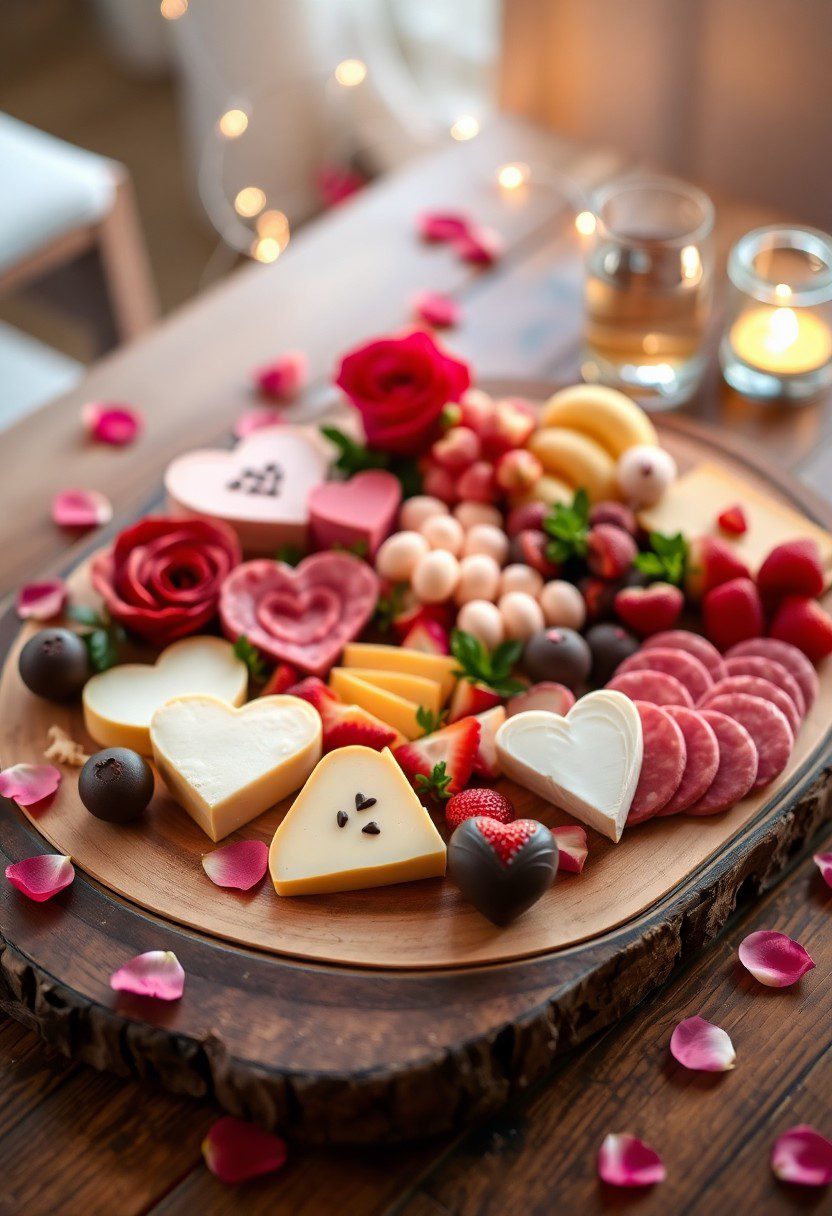
🧪 Variations & Customizations
- Keto-Friendly: Focus on meats, cheeses, and low-carb veggies.
- Vegetarian: Skip the meats and add more fruits, nuts, and plant-based cheeses.
- Sweet Tooth Special: Make a dessert board with cookies, candies, and chocolate-covered fruits.
❓ FAQ Section
Q: How far in advance can I prepare the Halloween charcuterie board?
A: Assemble it up to 2 hours ahead and refrigerate. Add crackers and delicate items just before serving.
Q: What are some kid-friendly items to include?
A: Mini sandwiches, cheese cubes, fruit slices, and fun-shaped cookies.
Q: Can I make a Halloween charcuterie board on a budget?
A: Absolutely! Use store-brand items and DIY decorations.
Q: How do I transport the board to a party?
A: Use a tray with raised edges, cover with plastic wrap, and secure items with toothpicks if needed.
Q: What drinks pair well with a Halloween charcuterie board?
A: Sparkling cider, red wine, or themed cocktails/mocktails.
Q: How do I keep fruits from browning?
A: Toss them in lemon juice before placing them on the board.

Q: Can I make a vegan Halloween charcuterie board?
A: Yes! Use plant-based cheeses, meats, and plenty of fruits and veggies.
🎉 Final Thoughts
So there you have it—a Halloween charcuterie board that’s equal parts creepy and delicious. Whether you’re hosting a haunted house party or just want to impress your friends on Instagram, this board is your ticket to becoming the ghostess with the mostest.
Now go forth and create your masterpiece. And remember, if anyone asks, the eyeballs are totally edible.