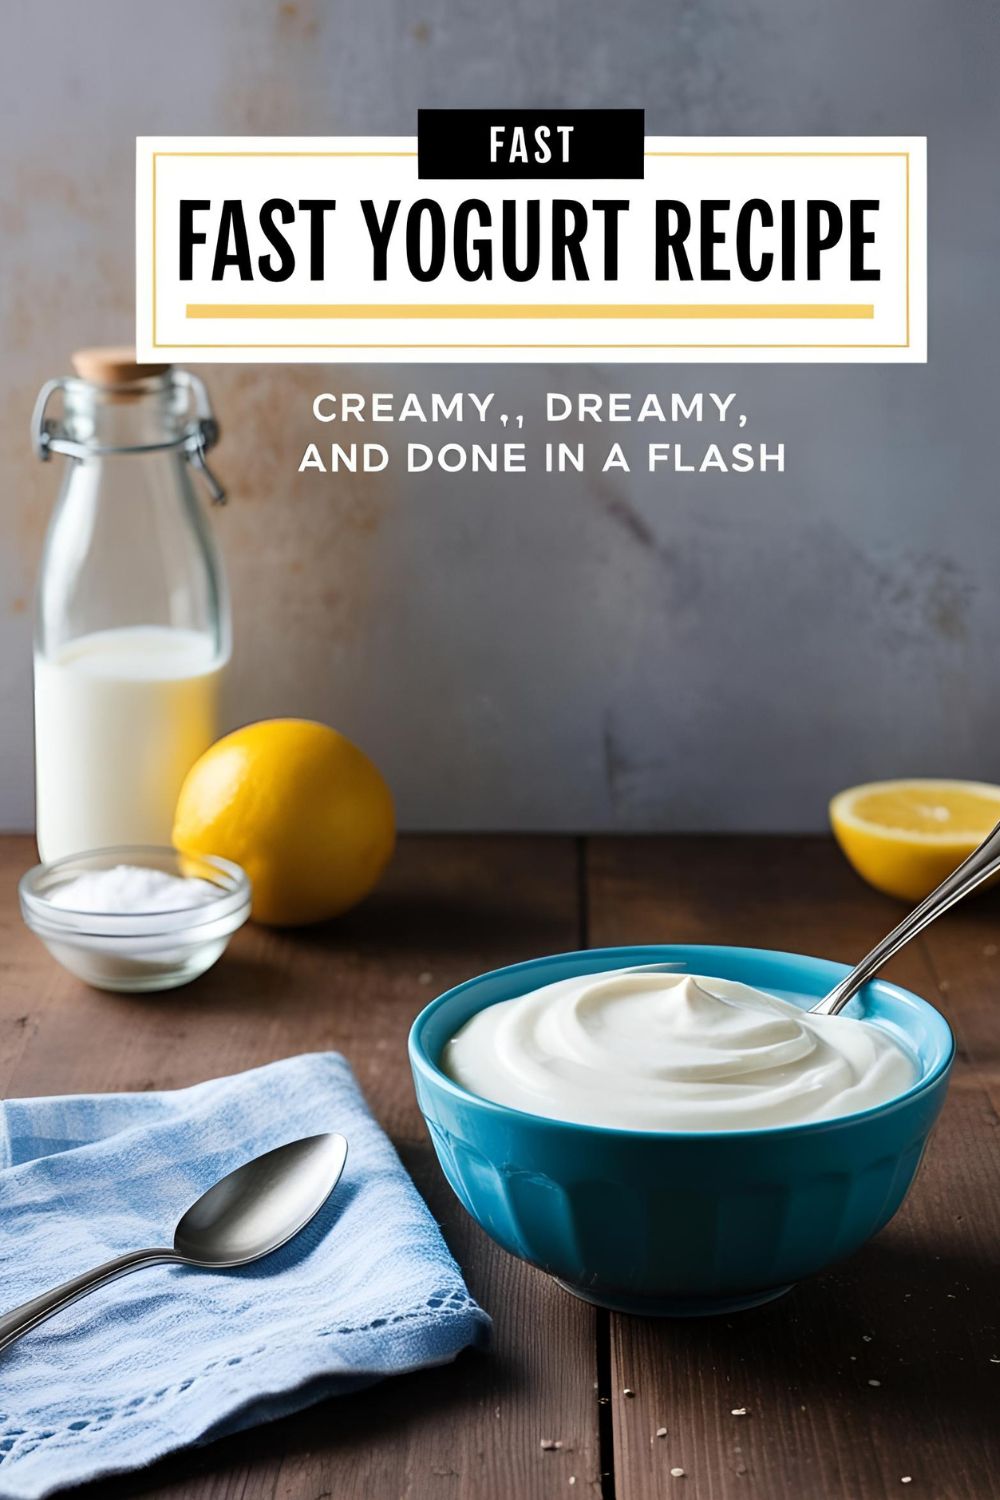
Fast Yogurt Recipe: Creamy, Dreamy, and Done in a Flash
The “I-Don’t-Have-Time-for-This” Yogurt Hack
Ever stood in the dairy aisle, staring at overpriced yogurt tubs, wondering if your wallet could survive another week of this cultured addiction? Yeah, same. But guess what? Making fast yogurt at home is not only possible—it’s ridiculously easy. No fancy gadgets, no mystical fermentation rituals, just pure, creamy goodness in record time.
Why This Recipe Is Your New Best Friend
- Speedy: Ready in just a few hours.
- Budget-Friendly: Costs a fraction of store-bought versions.
- Customizable: Sweet, tangy, thick, or drinkable—you decide.
- Impressive: Serve it at brunch and watch your friends swoon.
🛒 Ingredients
- 4 cups whole milk (or any milk you prefer)
- 2 tablespoons plain yogurt (with live cultures)
- Optional: 2 tablespoons powdered milk (for extra creaminess)
Substitutions: Use plant-based milk and a vegan yogurt starter for a dairy-free version.
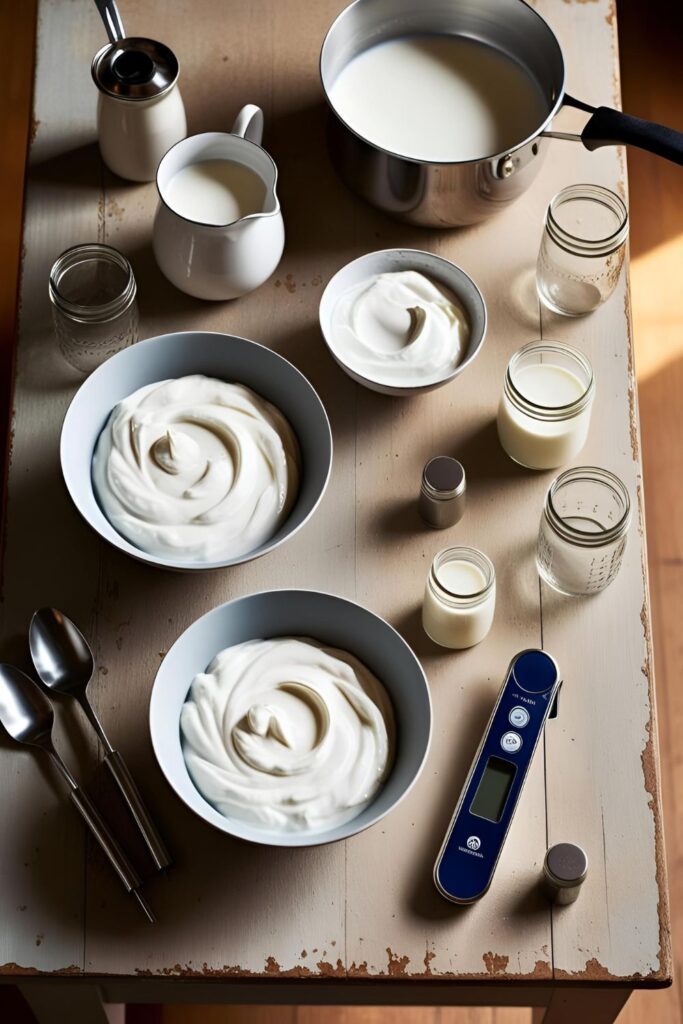
🧰 Tools & Kitchen Gadgets Used
- Saucepan: To heat the milk.
- Thermometer: Ensures accurate temperatures.
- Whisk: For mixing.
- Measuring cups and spoons: Precision matters.
- Glass jars or containers: For incubation.
- Towel or blanket: Keeps the yogurt warm during incubation.
👩🍳 Step-by-Step Instructions
- Heat the Milk: Pour milk into a saucepan and heat until it reaches 180°F (82°C). This kills any unwanted bacteria.
- Cool the Milk: Let the milk cool down to 110°F (43°C). Patience, my friend.
- Add the Starter: Whisk in the plain yogurt until fully incorporated.
- Incubate: Pour the mixture into containers, cover, and wrap them in a towel. Place in a warm spot for 4-6 hours.
- Chill: Once set, refrigerate for at least 2 hours before eating.
🧮 Calories & Nutritional Info (Per 1/2 Cup Serving)
- Calories: 100
- Protein: 5g
- Fat: 4g
- Carbohydrates: 8g
- Calcium: 15% DV
- Probiotics: Yes, your gut will thank you.
❌ Common Mistakes to Avoid
- Adding starter to hot milk: You’ll kill the cultures. Cool it down first.
- Using flavored yogurt as a starter: Stick to plain with live cultures.
- Skipping the thermometer: Guesswork leads to inconsistent results.
- Moving the yogurt during incubation: Let it rest undisturbed.
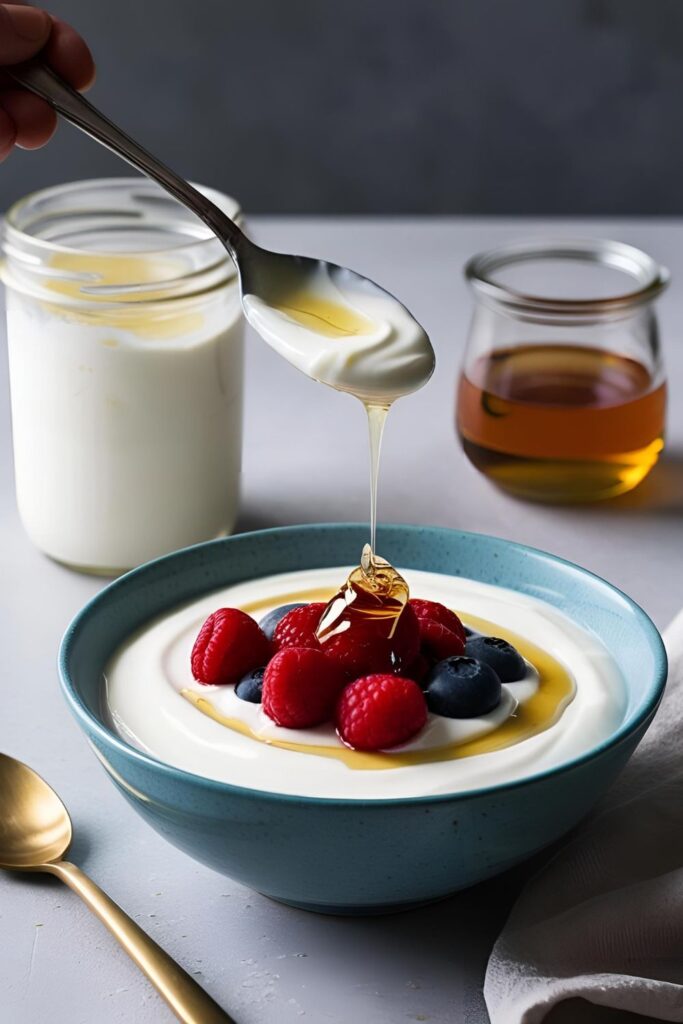
🔄 Variations & Customizations
- Greek Yogurt: Strain the finished yogurt through cheesecloth for a thicker texture.
- Flavored Yogurt: Add honey, vanilla, or fruit after incubation.
- Vegan Yogurt: Use almond or soy milk with a vegan starter culture.
❓ FAQ Section
Q1: Can I use non-dairy milk?
A: Yes, but you’ll need a vegan starter culture.
Q2: How long does homemade yogurt last?
A: Up to 2 weeks in the refrigerator.
Q3: Why is my yogurt runny?
A: It may need more incubation time or a better starter.
Q4: Can I use ultra-pasteurized milk?
A: It’s not recommended; it may not set properly.
Q5: Do I need a yogurt maker?
A: Nope! A warm spot and some patience are all you need.
Q6: Can I flavor the yogurt before incubation?
A: It’s best to add flavors after to avoid interfering with the culturing process.

Q7: Is it cheaper to make yogurt at home?
A: Absolutely. It’s cost-effective and customizable.
🏁 Final Thoughts
Making fast yogurt at home is a game-changer. It’s quick, easy, and customizable to your taste. Once you try it, you’ll wonder why you ever bought the store-bought stuff. So, grab your milk and starter, and let’s get culturing!