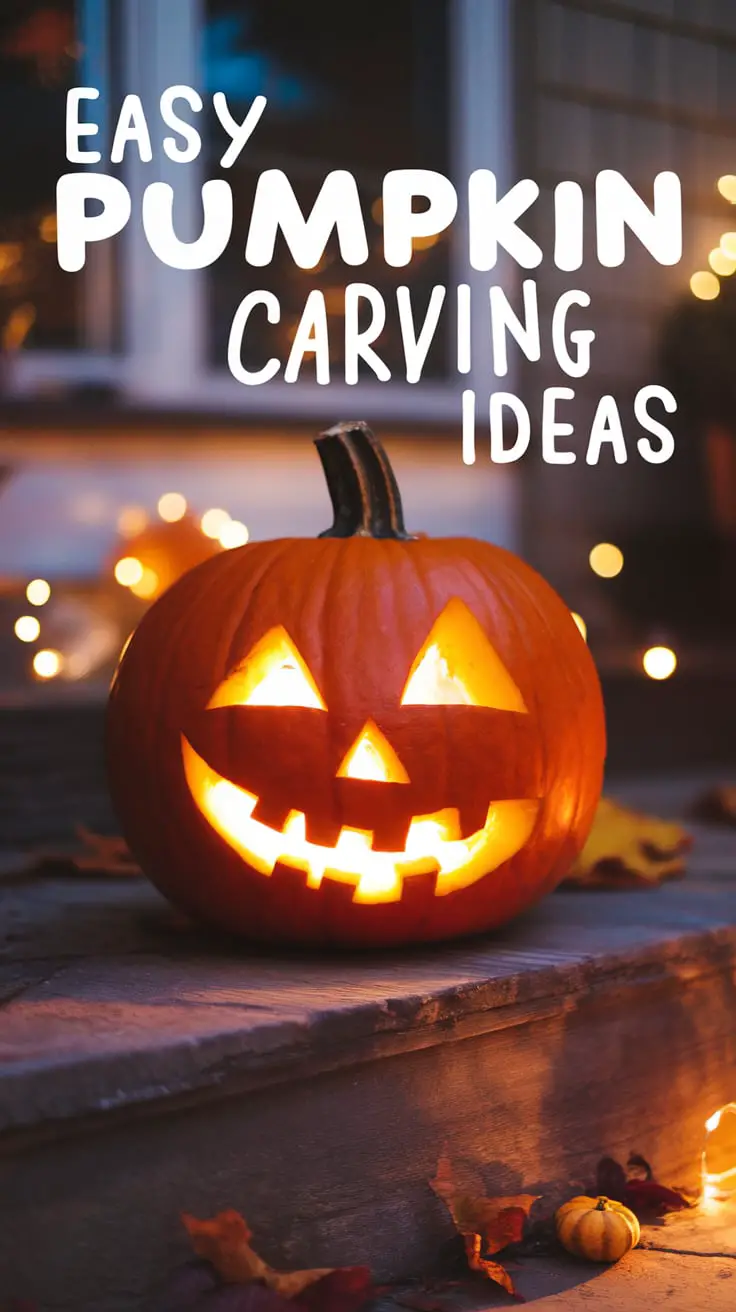
Easy Pumpkin Carving Ideas: Transform Your Jack-o’-Lantern Game!
Remember that one Halloween? You had grand visions of a spooky, intricate jack-o’-lantern, worthy of a horror movie set. You bought the biggest pumpkin, armed yourself with a flimsy kitchen knife, and then… reality hit. It was messy, frustrating, and ended with a sad, lopsided grin that looked more like a cry for help than a spooky decoration. Yeah, I’ve been there too. For years, my pumpkin carving attempts were less “artistic expression” and more “carpal tunnel waiting to happen.”
But what if I told you that creating a show-stopping jack-o’-lantern doesn’t require an art degree or professional sculpting tools? What if there are genuinely easy pumpkin carving ideas that deliver maximum impact with minimum effort? That’s right, my friend, you’re about to unlock the secrets to stress-free, fun pumpkin carving designs that will make your porch the envy of the neighborhood. Get ready to transform your pumpkins into festive masterpieces, proving that even a beginner can be a carving champion! 🎃
Why Easy Pumpkin Carving Ideas Are Your Halloween Superpower
So, why choose simple pumpkin carving ideas when you could try to recreate a haunted mansion on a gourd? Because Halloween should be fun, not frustrating! Opting for easy pumpkin carving designs means:
- Less Stress: No more wrestling with tough pumpkin flesh or tiny, intricate details that snap. This is about enjoyment, not exasperation.
- Faster Results: You can create something awesome in less time, perfect for last minute pumpkin carving ideas or when you have multiple pumpkins to tackle.
- Higher Success Rate: Fewer opportunities for things to go wrong means a better-looking jack-o’-lantern and a happier carver.
- Family-Friendly Fun: Beginner pumpkin carving ideas are perfect for involving kids of all ages, creating cherished Halloween memories without the tears (yours or theirs!).
This isn’t just about simplicity; it’s about smart design. You can achieve genuinely cool pumpkin carving ideas without hours of painstaking work. If you’re looking for the best pumpkin carving ideas for beginners that are both achievable and impressive, you’ve found your guide. Are you ready to enjoy the carving process as much as the end result? I thought so!

Your Pumpkin Prep Squad: Essential Tools & Ingredients (Yes, Ingredients!)
While pumpkins are the main “ingredient,” a few key tools will make your pumpkin carving experience smoother and safer. You don’t need a professional studio, just the basics!
- Pumpkins!
- Choose pumpkins that are firm, free of soft spots, and have a sturdy stem. Look for relatively flat bottoms so they don’t roll around.
- Consider different sizes and shapes for variety in your fun pumpkin carving designs.
- Newspaper or Drop Cloth:
- This is non-negotiable! Pumpkin carving is messy. Lay down plenty of newspaper or an old sheet to protect your workspace.
- Bowl (Large):
- For scooping out the slimy guts and seeds.
- Large Spoon or Ice Cream Scoop:
- Your best friend for gut removal. A sturdy scoop makes this job much easier.
- Basic Carving Tools:
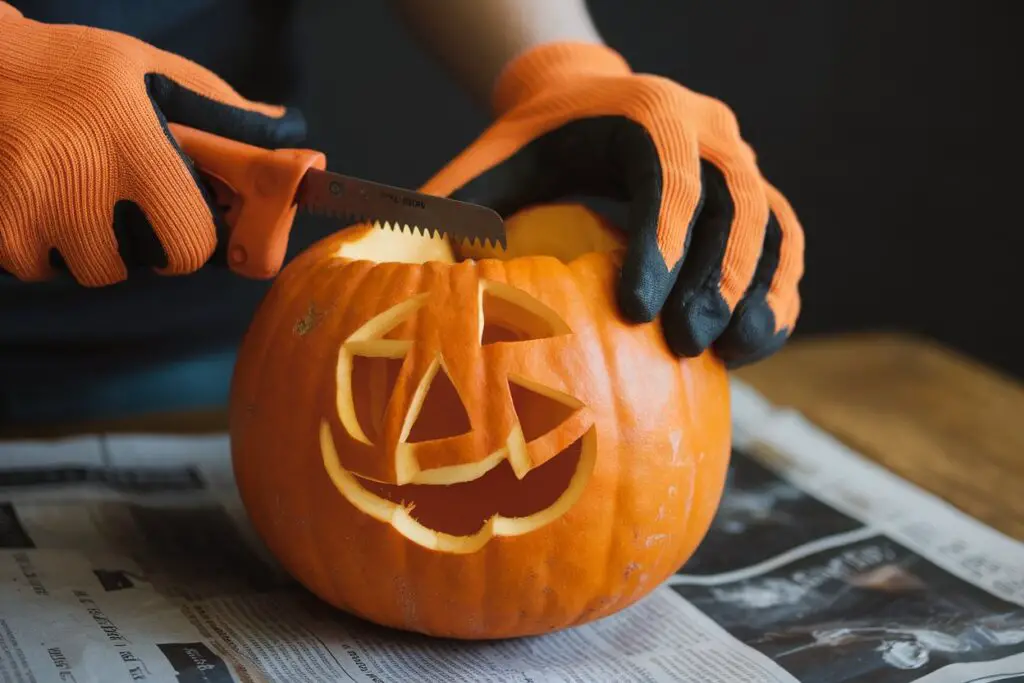
- “What do you use to carve a pumpkin?” Forget the flimsy dollar-store plastic knives. Invest in a basic pumpkin carving kit. These usually contain small, serrated saws and a poking tool, which are far safer and more effective than kitchen knives for cutting the pumpkin flesh.
- “What can I use instead of a pumpkin carving kit?” If you’re in a pinch, a sturdy, small serrated knife (like a steak knife) and a strong metal spoon for scraping can work, but a kit is genuinely safer and easier.
- Dry Erase Marker or Permanent Marker:
- For drawing your design directly onto the pumpkin. Dry erase markers are great for mistakes!
- Paper Towels or Wet Rags:
- For wiping down the pumpkin and your hands.
- Tea Lights or Battery-Operated LED Candles:
- For lighting up your finished masterpiece. Battery-operated ones are safer, especially around kids.
The Pumpkin Carving Playbook: How to Carve Your Masterpiece (Step-by-Step!)
Alright, let’s turn that round gourd into a spooky (or silly!) masterpiece. These pumpkin carving tips for beginners focus on simplicity and success.
Step 1: Prep Your Pumpkin (The Messy But Crucial Part!)
- Protect Your Workspace: Spread ample newspaper or a drop cloth over your table. Seriously, this step is essential unless you enjoy scrubbing dried pumpkin guts off your floors for weeks.
- Cut the Lid: This is usually the trickiest cut.
- Traditional Top Cut: Use your small serrated saw from your carving kit to cut a circle around the stem. Make the cut at a slight angle (about 45 degrees) towards the center of the pumpkin, rather than straight down. This creates a lip that prevents the lid from falling into the pumpkin.
- Bottom Cut (Recommended for Beginners!): For easier carving and better stability, consider cutting a circle out of the bottom of the pumpkin instead. This allows the pumpkin to sit flat and makes inserting a light much easier. You won’t see the cut when displayed. This answers “What is the easiest way to carve a pumpkin?” (Bottom cut often is!).
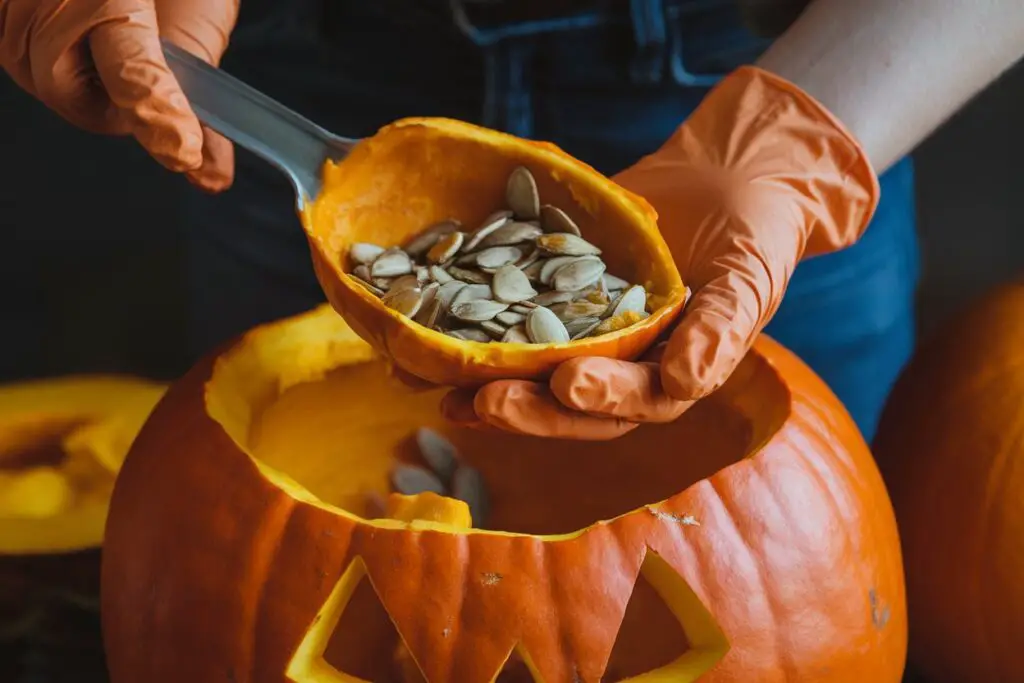
- Scoop Out the Guts: Use your large spoon or ice cream scoop to remove all the seeds and stringy pulp from the inside of the pumpkin. Scrape the interior walls clean; a smoother inside can help the light shine better. Save those seeds for roasting, by the way!
Step 2: Draw Your Design (Simplicity is Genius!)
This is where your easy pumpkin carving ideas come to life. Resist the urge to go overly complicated!
- Choose a Simple Design: For beginner pumpkin carving, simple shapes are your friend. Think classic triangles for eyes and nose, or a jagged smile. Even simple geometric shapes like circles, squares, or stars can look incredibly effective. Avoid super fine details or tiny cutouts that will be difficult and prone to breaking.
- “What simple tools do you need for pumpkin carving?” For drawing, just a marker!
- “What can you carve a pumpkin with besides a knife?” For drawing, just a marker!
- Draw Directly: Use your dry erase marker (great for erasing mistakes!) or a permanent marker to draw your design directly onto the clean surface of the pumpkin. Don’t press too hard.
- Use Templates (Optional but Helpful): For perfectly symmetrical or more complex (but still easy!) designs, use pumpkin carving templates for beginners. Tape the template onto the pumpkin, then use a small poking tool (often found in kits) to poke holes along the lines of your design. This creates a dotted outline to follow with your saw.
Step 3: Carve Your Creation (Slow and Steady Wins the Race!)
This is the most satisfying part, watching your fun pumpkin carving designs emerge!
- Use Proper Tools: Use the small serrated saw from your carving kit. These saws are designed to cut through pumpkin flesh easily and safely. Never use a regular kitchen knife for intricate cuts, as they can slip and cause injury.
- Start from the Center (or Smaller Details): Begin carving your design. For complex shapes, it’s often easier to start with smaller, inner sections first. For a face, start with the eyes, then the nose, then the mouth.
- Saw, Don’t Push: Use a sawing motion (back and forth) rather than pushing the blade straight through. This is more effective and reduces the chance of breaking the pumpkin or slipping.
- Take Your Time: Don’t rush! If a piece is stuck, gently push it from the inside, or carefully wiggle the saw. If a piece breaks off, don’t panic! You can sometimes reattach it with toothpicks.
Step 4: Clean Up & Light Up!
- Remove Cut Pieces: Once you’ve carved out all your design pieces, gently push them out from the inside.
- Clean Up: Wipe down the outside of your pumpkin with a damp cloth to remove any marker lines or pumpkin residue.
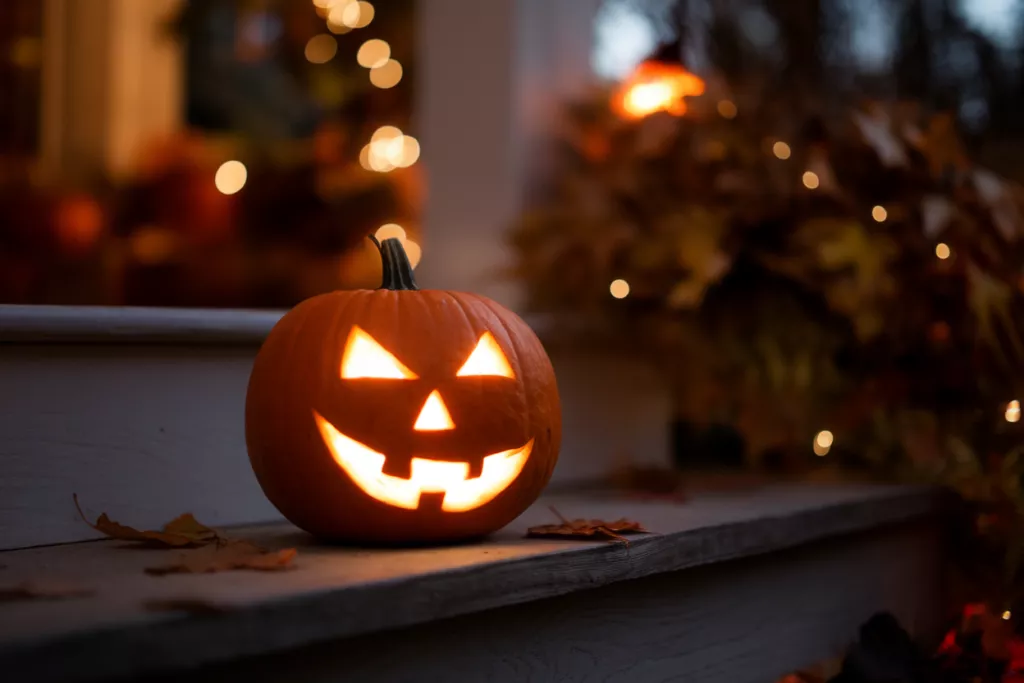
- Light It Up: Place a tea light or battery-operated LED candle inside your pumpkin. If using a candle, you might need to cut a small chimney hole in the top (if you cut the lid from the top) to allow heat to escape. Battery-operated candles are safer and last longer!
Beyond the Knife: No-Carve Pumpkin Ideas for Creative Fun!
Don’t want to deal with the mess? Or looking for family friendly pumpkin carving alternatives? No carve pumpkin ideas are your secret weapon for super easy pumpkin designs!
- Paint It! Use acrylic paints to create faces, patterns, or scenes. You can paint spooky spiders, friendly ghosts, or even elegant designs.
- Decorate with Markers: Permanent markers can be used for intricate patterns or simple outlines.
- Glitter Bomb: Cover sections of the pumpkin with glue, then sprinkle with glitter for a sparkly, festive look.
- Googly Eyes Galore: Hot glue or stick on googly eyes of various sizes for a silly or spooky effect.
- Yarn Wrap: Wrap pumpkins tightly with colorful yarn, securing with hot glue, then add felt cutouts for features.
- Decoupage: Glue fabric scraps, fall leaves, or even comic book pages onto your pumpkin for a unique texture.
- Accessory Attack: Dress up your pumpkin with hats, scarves, glasses, wigs, or even mini masks. Turn it into a character!
Calories & Nutritional Info (For the Seeds, Not the Gourd!)
While carving a pumpkin isn’t about eating the pumpkin itself, the seeds inside are a nutritional powerhouse! This is why many people love a pumpkin seeds recipe roasted.
- Pumpkin Flesh: Edible, but typically used for purees in pies or soups, not directly eaten after carving. Very low calorie.
- Pumpkin Seeds (Roasted, per 1/4 cup):
- Estimated Calories: ~160 calories
- Key Nutritional Notes: High in protein, healthy fats, fiber, magnesium, zinc, and iron. A truly healthy roasted pumpkin seeds snack!
Common Mistakes to Avoid (So Your Pumpkin Doesn’t Rot Early!)
Even with easy pumpkin carving ideas, a few common slip-ups can lead to a less-than-stellar jack-o’-lantern or one that rots prematurely. Learn from these pumpkin carving tips for beginners!
- Cutting Straight Down on the Lid: Always cut the lid at an angle! A straight cut means the lid will fall right into the pumpkin.
- Not Cleaning the Interior Thoroughly: Any leftover stringy bits or pulp will encourage mold and rot. Scrape those walls clean!
- Using Dull Knives (Non-Kit): If you’re not using a proper carving kit, a dull kitchen knife is dangerous and will tear the pumpkin, not cut cleanly.
- Over-Complicating the Design: For beginners, resist the urge to be an artist right away. Simple designs are often the most impactful and easiest to execute without breaking the pumpkin. This ensures quick pumpkin carving.
- Not Drying the Carved Edges: After carving, gently pat the cut edges dry. You can even rub a little petroleum jelly (Vaseline) on the cut edges to slow down moisture loss and rot. This answers “How do you preserve a carved pumpkin?”
- Placing in Direct Sunlight: Direct sun can bake and rot your pumpkin quickly. Keep it in a cool, shady spot if possible.
- Waiting Too Long to Carve: While you can carve a pumpkin the day before Halloween, for the longest life, carve it closer to the actual day. “Can I carve a pumpkin the day before Halloween?” Yes, but it won’t last as long as one carved closer to the date. For maximum freshness, 1-3 days before is ideal.
Variations & Customizations (Beyond the Classic Grin!)
Once you master these easy pumpkin carving ideas, you’ll find endless ways to make your pumpkins unique! These are great for creative pumpkin carving ideas and unique pumpkin carving ideas.
- Silhouettes: Instead of cutting out faces, cut out shapes (bats, cats, spooky trees) and arrange them inside the pumpkin for a glowing silhouette effect against the back wall of the pumpkin.
- Cookie Cutter Carving: For super simple pumpkin carving ideas, use metal cookie cutters (ghosts, stars, moons) and a rubber mallet to tap them into the pumpkin. Then just pop the shapes out! Great for family friendly pumpkin carving.
- Multi-Pumpkin Scene: Carve a few pumpkins with complementary designs (e.g., one with a scary face, one with a “boo!” message, one with a spiderweb) to create a larger display.
- Glow-in-the-Dark Paint Accents: After carving, paint elements of your design with glow-in-the-dark paint for an extra spooky effect when the lights go out.
- Stacked Pumpkins: Carve several different sized pumpkins, then stack them, securing with wooden dowels, for a totem pole effect.
FAQ Section (Your Pumpkin Ponderings, Answered!)
Still scratching your head over the best way to tackle your Halloween gourds? Here are some common queries from the “People Also Ask” section of Google search results for easy pumpkin carving ideas.
The easiest way to carve a pumpkin for beginners is to cut the lid from the bottom of the pumpkin instead of the top. This makes it more stable for carving and easier to place a light. Use a basic pumpkin carving kit with small, serrated saws and follow simple designs like triangles or basic geometric shapes.
To carve a pumpkin, you typically use a basic pumpkin carving kit that includes a small, serrated saw tool for cutting and a poking tool for transferring designs. A large spoon or ice cream scoop is essential for gutting. For drawing your design, use a dry erase or permanent marker. This covers “What simple tools do you need for pumpkin carving?”

If you don’t have a pumpkin carving kit, you can use a small, sturdy serrated knife (like a steak knife, with extreme caution) for cutting, and a strong metal spoon or ice cream scoop for gutting. However, kits are safer and produce cleaner cuts, especially for beginner pumpkin carving.
To preserve a carved pumpkin and prevent it from rotting quickly, clean the interior thoroughly after gutting. You can also spray the inside and cut edges with a mixture of bleach and water (1 tsp bleach to 1 quart water), or rub petroleum jelly on the cut edges to seal in moisture. Keep the pumpkin in a cool, shaded area.
Yes, you can carve a pumpkin the day before Halloween. For the best freshness and appearance on Halloween night, carving 1-3 days beforehand is ideal. If you carve it too far in advance, it may start to shrivel or mold.
Besides a knife (or saw from a kit), you can “carve” a pumpkin using power drills for dotted patterns (use different bit sizes), or metal cookie cutters tapped with a rubber mallet. For no carve pumpkin ideas, you can use paint, markers, glitter, googly eyes, yarn, or hot glue on accessories.
The simple tools you need for pumpkin carving include: a large spoon or scoop for gutting, a small serrated saw (from a basic kit is ideal) for cutting, a poking tool (often in kits) for outlines, and a dry erase or permanent marker for drawing your design.
Final Thoughts: Your Spooky Season Starts Now!
You’ve done it! You’ve officially mastered easy pumpkin carving ideas that are both achievable and impressive. No more frustrating struggles or sad, lopsided smiles. You now possess the secrets to create fun pumpkin carving designs that will light up your Halloween night with pride. Go forth and carve, my friend, and enjoy every moment of this festive tradition. Your porch (and your inner child!) will thank you. Now, if you’ll excuse me, I think I hear a pumpkin calling my name… for a spooky makeover! 👻🧡✨