Elevate Your Ambiance – Step-by-Step Instructions For DIY Layered Candles That Sparkle
It’s time to transform your space and elevate your ambiance with beautiful DIY layered candles that sparkle. In this guide, you’ll discover step-by-step instructions on how to create stunning candles that not only illuminate your home but also add a personal touch to your decor. With the right materials and techniques, you can create beautifully layered effects that are sure to impress. Just follow these simple instructions to ensure your candle-making experience is not only enjoyable but also safe!
Materials Needed
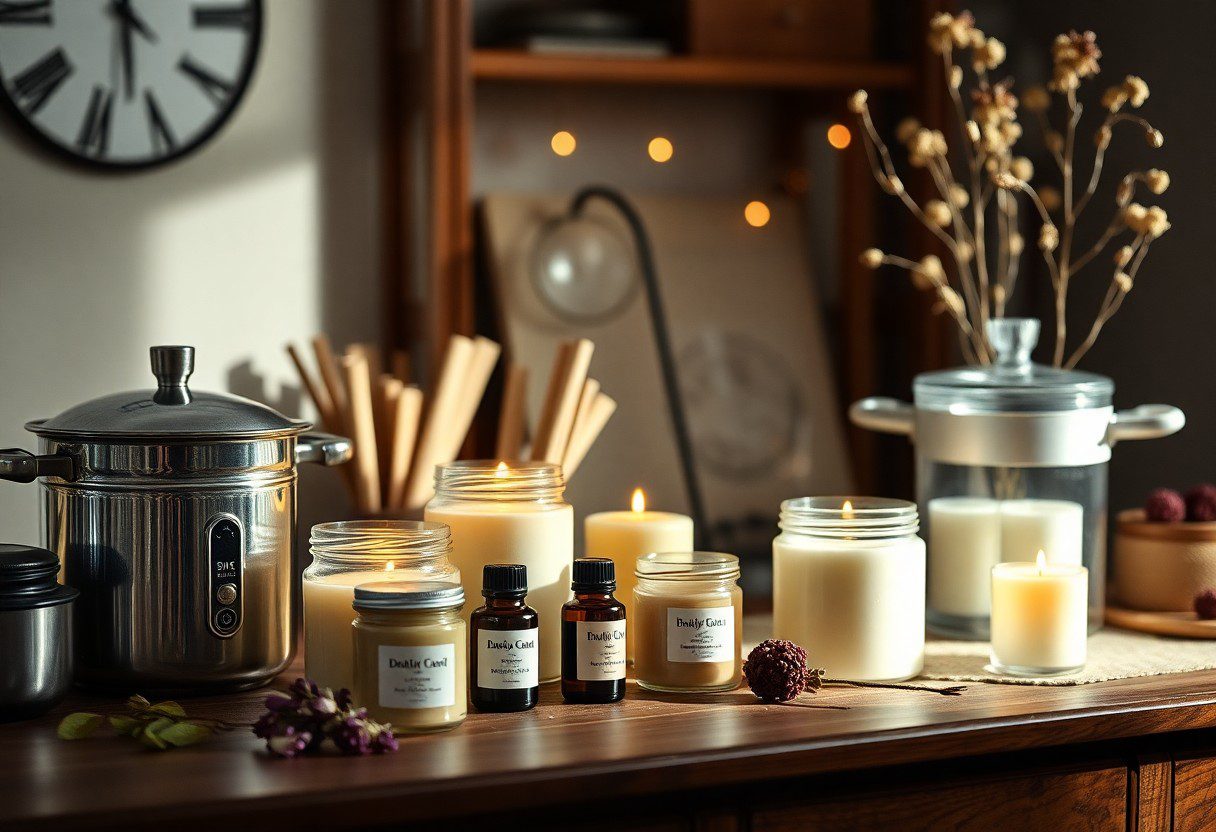
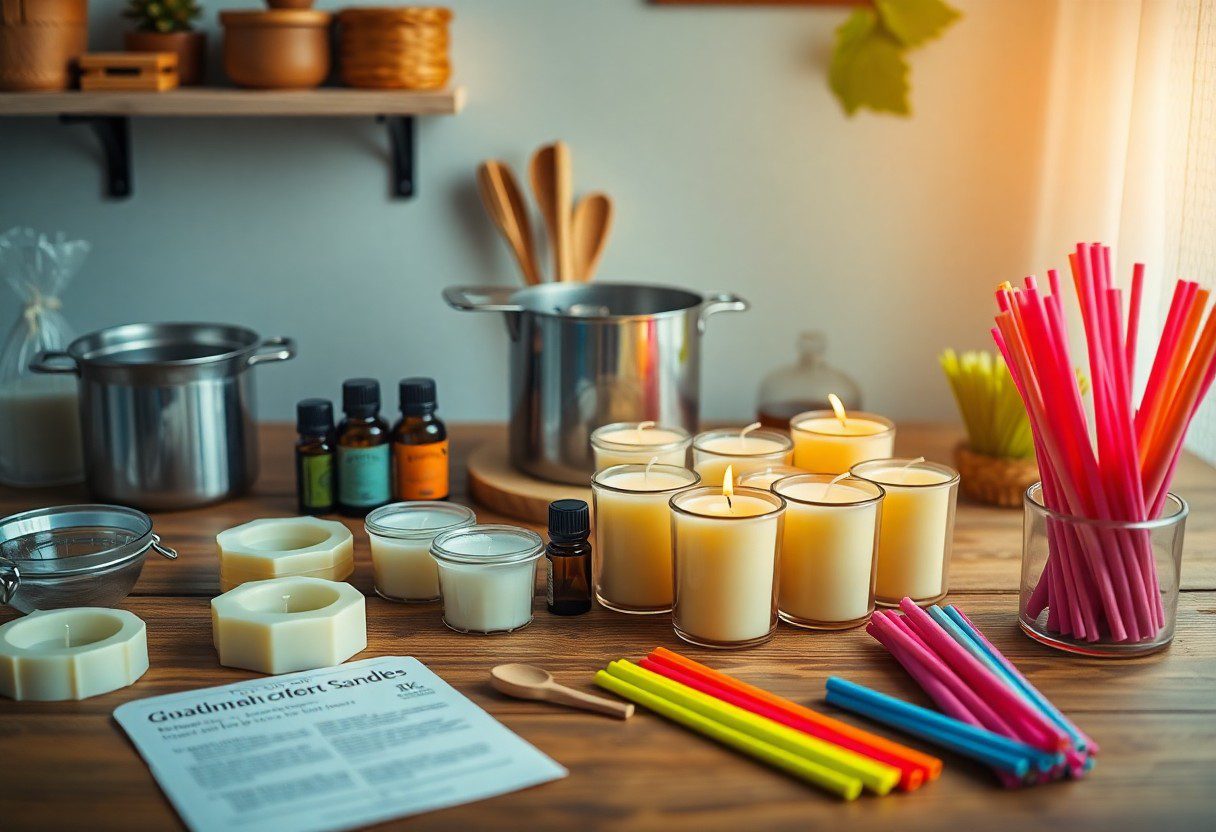
Your journey to creating stunning layered candles begins with gathering crucial materials. Here’s your comprehensive list to get started:
| Wax Types | Wick Selection |
| Paraffin Wax | Cotton Wicks |
| Beeswax | Wooden Wicks |
| Soy Wax | LED Wicks |
| Gel Wax |
Recognizing the importance of each material will help you craft candles that not only look beautiful but also burn effectively.
Wax Types
Along with scent and color, the type of wax you choose can greatly impact your candle’s burning properties and appearance. The main options include:
- Paraffin Wax
- Beeswax
- Soy Wax
- Gel Wax
Each wax type offers unique qualities, such as scent retention and burn time, so select based on your desired outcome. Recognizing these differences will guide your decision-making process.
Wick Selection
One of the key factors in achieving an even burn is selecting the right wick. The wick must match the wax type and the candle’s diameter to ensure an optimal burn.
Types of wicks include cotton, wooden, and LED wicks. Cotton wicks are popular for their straightforward use and even burn, while wooden wicks can create a cozy crackling sound. LED wicks, on the other hand, offer a safe alternative for those who prefer flameless candles. Choose wisely to enhance your candle’s performance!
Dyes and Fragrances
Any candle maker knows that adding color and scent can elevate your candle’s overall appeal. This is where dyes and fragrances come into play, allowing you to customize the look and aroma.
Plus, ensure that you use candle-safe dyes and fragrance oils to avoid compromising the candle’s quality. Avoid using any non-candle specific materials as they can be potentially harmful. By controlling these elements, you can create a beautiful and enticing ambiance in your space.
Preparing Your Workspace
One of the most important steps to ensure a smooth DIY process is preparing your workspace. Start by designating a clean, flat surface that is well-ventilated and free from clutter. Gather your materials and tools ahead of time so you can focus on the creative process. You may want to cover your workspace with newspapers or a drop cloth to catch any spills or drips, helping to make cleanup easier and protecting your surfaces.
Safety Precautions
Among the most important aspects of candle making is prioritizing safety. Make sure to wear protective gear, such as gloves and goggles, as you will be handling hot wax and potentially sharp tools. Additionally, keep a fire extinguisher nearby just in case, and avoid using flammable materials in your workspace. By taking these precautions, you can create a safe environment for your candle-making project.
Organizing Your Tools
About your workspace, organizing your tools effectively can enhance your DIY experience. Lay out all necessary tools, such as melting pots, wick holders, and thermometers, within easy reach. Use small containers or trays to keep your materials separate and avoid any mix-ups during the process. This will not only save you time but also help prevent accidents, allowing for a seamless and enjoyable candle-making experience.
Safety is your top priority during the organization of tools. Ensuring that tools like knives or scissors are stored safely will help you avoid any injuries. Additionally, keep hot equipment away from unprotected areas, and never leave melting wax unattended. By clearly designating spaces for your tools, you create a more organized and less cluttered workspace, which will ultimately enhance your overall productivity and safety.
Melting and Mixing Wax
Despite the complexity that might seem involved in melting and mixing wax, it’s a straightforward process that anyone can master. Following the right techniques will ensure your candles are beautifully layered and well-crafted. For a comprehensive understanding, check out The Ultimate Guide To Making Pillar Candles.
Double Boiler Method
To achieve evenly melted wax, the double boiler method is highly recommended. This technique involves placing your wax in a heatproof container, then setting it inside a pot of simmering water. This indirect heat will gently melt the wax without the risk of burning, allowing for a smoother and more consistent texture for your DIY candles.
Adding Color and Scent
Besides wax, you can elevate your candles by adding color and fragrance to create a personalized touch. Choose dyes specifically designed for candle-making and incorporate necessary oils or fragrance oils for a delightful aroma in your finished product.
It’s important to note that using the right amount of color and fragrance will make a significant difference. Too much dye can lead to undesirable results, while the perfect amount will enhance visual appeal and provide a pleasant scent when lit. Always ensure you are using high-quality supplies to avoid any unsightly separation or burning issues, allowing you to enjoy your creations to the fullest.
Layering Techniques
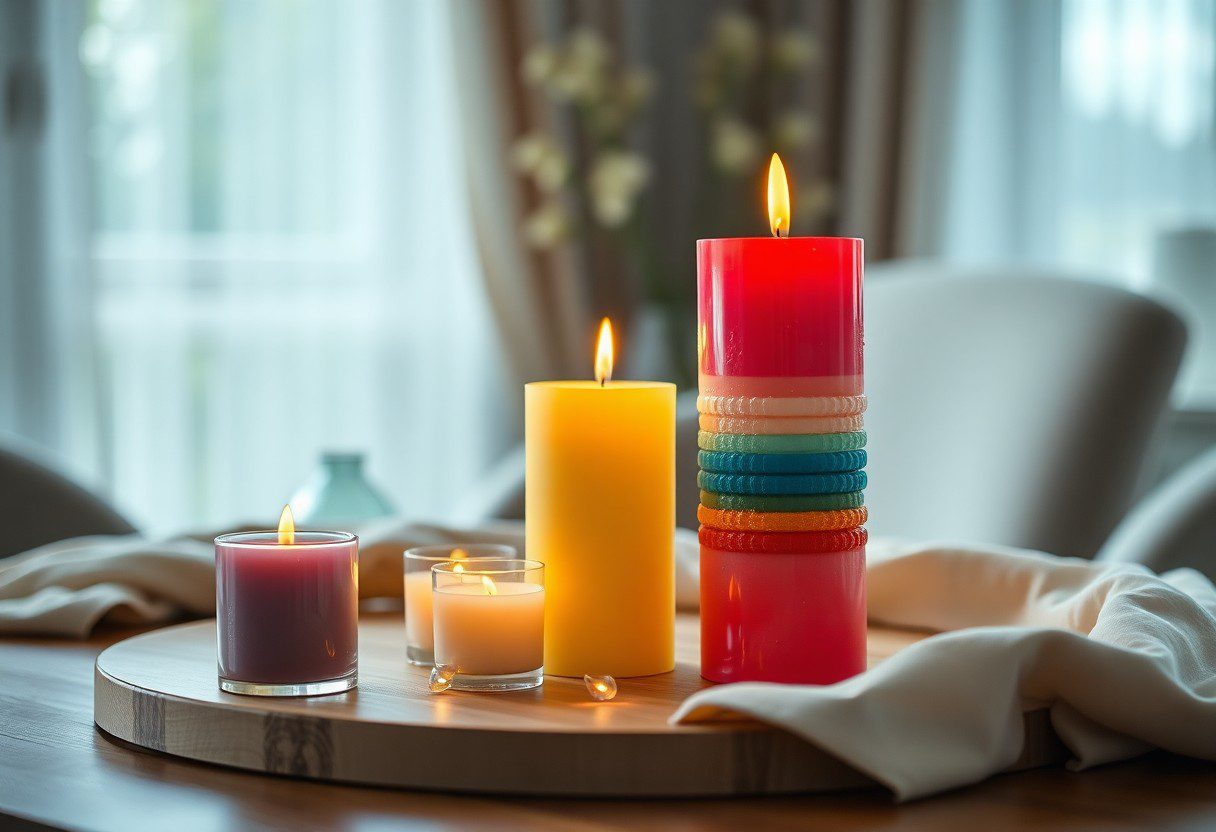
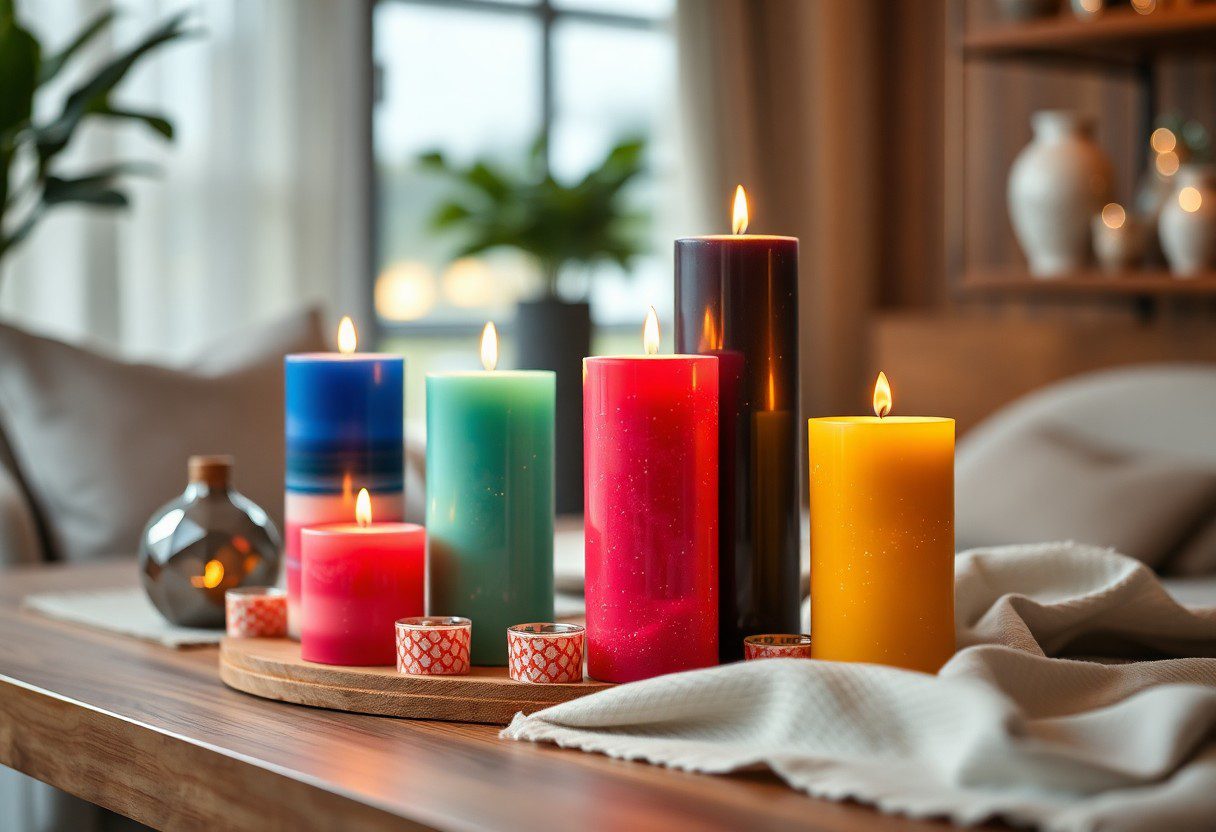
Your candle-making masterpiece lies in the art of layering. By combining different wax colors, scents, and textures, you can create stunning visual effects that elevate the ambiance in any space. The beauty of layered candles is not only aesthetic; they’ll also provide a multi-sensory experience, with each layer releasing its unique fragrance as it burns. Follow these techniques to ensure your candles are not just functional, but downright spectacular.
Creating Distinct Layers
About achieving visible separation between colors involves careful planning and execution. Start by pouring the first layer and allowing it to cool slightly. Pour the subsequent layer when the previous one has set, ensuring that the layers adhere well but maintain their distinct appearance. Experimenting with contrasting shades can create an eye-catching effect that draws attention.
Timing Between Layers
Behind every great layered candle is a keen understanding of timing. Pouring layers too soon can result in blending of colors, while waiting too long may cause the layers to separate completely. To find that sweet spot, allow each layer to set until it’s just firm to the touch, yet warm enough for the next layer to bond seamlessly, creating a cohesive and visually appealing candle.
Further, it’s crucial to monitor the temperature of your wax closely. If the first layer cools completely, it may become difficult for the subsequent layers to fuse, leading to uneven burning and a less polished look. Aim for a golden window of a few minutes where the previous layer is set but still warm for optimal layering. This approach will ensure your candles not only look beautiful but also burn uniformly, providing a delightful experience.
Pouring and Setting
For a flawless finish, ensure that your workspace is tidy and prepared for pouring your layered candles. Carefully measure and melt the wax in increments, maintaining the desired temperature. Once melted, pour in stages, allowing each layer to cool slightly before adding the next. This will create stunning visual effects and maintain the integrity of your candle.
Pouring Techniques
The key to a successful candle is your pouring technique. Aim for a steady, controlled flow as you pour the wax into your molds. Holding the pouring pot at an angle can help minimize splashes and ensure that each layer adheres properly. Take your time with each pour to achieve that professional, layered look.
Cooling and Curing Processes
Setting your candles properly is vital for achieving the best results. In addition to cooling, which typically takes several hours, curing your candles allows them to harden and develop the best fragrance throw. For best results, you should allow your candles to cure for a minimum of 24 hours before lighting. This extra time ensures the wax and fragrance bind effectively, enhancing the overall quality of your candles.
Finishing Touches
To truly elevate your ambiance, the finishing touches on your layered candles are key. You can enhance their beauty and uniqueness with simple steps. For more guidance, check out this DIY Candle Making: A Step-by-Step Guide to Creating … that will assist you in perfecting your crafting skills.
Trimming the Wick
Behind every beautiful candle is a well-trimmed wick. After your candle has cooled completely, take sharp scissors to trim the wick to about 1/4 inch. This encourages a steady flame and reduces soot, allowing your candle to burn more evenly and safely. A well-maintained wick is necessary for an optimal candle experience.
Decorating the Candle
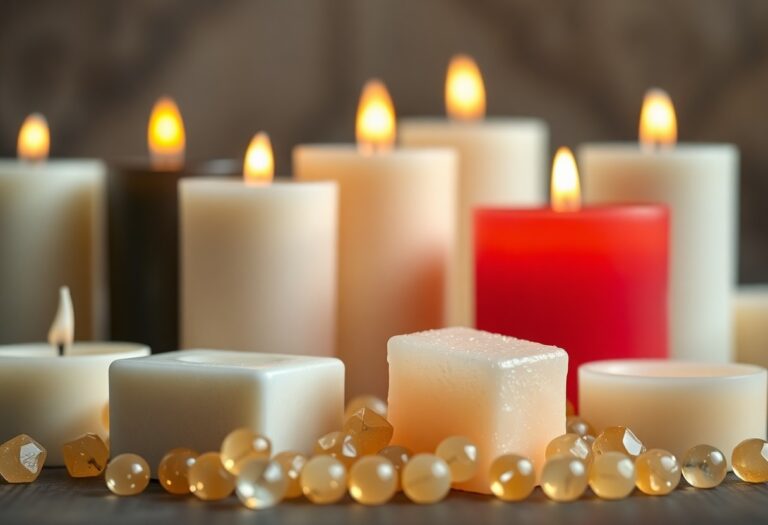
Touches of creativity can significantly enhance the overall look of your finished candles. You can use decorative items like ribbons, dried flowers, or beads to create a visually appealing design. Incorporating these elements not only makes your candles stand out but also personalizes them for gifting. Just ensure any decorations are heat-safe to prevent any unwanted hazards as your candle burns.
Wick placement is important for a successful design. You can also consider pouring extra wax at the top to create a smooth base for your decorations. Always ensure that any added embellishments are non-flammable and will not hinder the candle’s burn quality. This way, your stunning decor enhances the ambiance without compromising safety.
Conclusion
On the whole, creating DIY layered candles that sparkle not only enhances your ambiance but also allows you to personalize your space. By following these step-by-step instructions, you can craft beautiful candles that reflect your style and add a warm glow to any room. Embrace your creative side and enjoy the process of making these stunning decorations that will impress your guests and elevate your environment. Start your candle-making journey today and enjoy the glow of your unique creations.
FAQ
Q: What materials do I need to create layered candles?
A: To make layered candles, you will need: wax (such as paraffin or soy), candle wicks, fragrance oils (optional), colored dyes specifically made for candles, a double boiler or microwave-safe container for melting the wax, pouring pitchers, a thermometer, and heat-resistant containers or molds for shaping the candles. Additionally, you’ll want a stirring tool to blend colors and scents as you go.
Q: How do I achieve even layers when layering the candles?
A: To achieve even layers when creating your layered candles, first ensure that each layer of wax is completely cooled and set before adding the next one. Use a thermometer to monitor the temperature of the wax; ideal pouring temperatures help prevent uneven layering. Pour each layer slowly and steadily to avoid bubbling. Also, consider using a timer to give each layer sufficient time to solidify before adding the next, ensuring that the layers adhere well to each other.
Q: Can I customize the scents and colors for my layered candles?
A: Yes, customizing scents and colors is one of the most enjoyable aspects of making layered candles. You can add different fragrance oils to each layer for a unique scent profile. Pertaining to colors, you can use candle dyes to achieve various shades, layering different colors to create a beautiful gradient effect. Be sure to test the oils and dyes before pouring the entire candle to ensure the colors and scents blend harmoniously.

